User:Jeanine Verloop
I L L U S T R A T I O N D E P A R T M E N T
Making is Connecting
Bonding
0889920@hr.nl
Why I make
5 sentences
1. I am a maker because it excites me.
2. I am a maker in response to the digital movement, in making I want to expand beyond just drawing.
3. I am a maker in shaping my voice trough design and objects.
4. I am a maker because I am searching.
5. Making is in my blood, I can't go without.
1000 words
As an illustration student paper is my most obvious medium. For me this is starting to get boring. My issue is that I always want something different, something different than I 'should' be doing. Before the WDKA I studied Graphic Design, when I studied Graphic Design I wanted Illustration for the freedom of making my own image, free of the strict rules of 'hip' design. Now that I study Illustration I crave something more, I crave making things. Every part of making excites me. The start of discovering the possibilities of a new material, the process where everything goes wrong, and the end result where I can see how much I've learned. That little edge of the material I use excites me. I am a maker because I don't want to be just another Illustrator that can draw nice infographics. I want to be an image maker, not depending on a certain medium.
As an art student people ask me a lot what it is that is do. I still find it difficult to explain, when people ask me I would rather show me work. In making I try to shape my voice as a maker. When I make my head is clear, what I want is clear. When I am not making I am struggling. When I am working the world stops for me, the only thing that is important is my mind, the material and my tools. You could say that when you make you are always in a set of three. You can want something, but the tools could do another thing or the material won't have it. The dynamic between the three is ever changing and makes for new findings.
I find it most interesting how individually unique objects can be. The mistake you make can be a great design element. People think mistakes ruins their work, on contrary I think the mistakes and little faults (not sure we should call them mistakes) makes a work unique. A mistake can give a new perspective on the character of you material or tool. You might end up with a better result because of that mistake. I lose interest in a product when it's perfect. A 3D printer can print the exact same object a hundred times. When you give two people the same set of rules, materials, tools and workspace, the objects will not be the same. That's what keeps the work interesting.
Making should not always be about the results alone. The process of making is what it should be about for the maker. Of course I want a beautiful result, but if I want something beautiful I could buy it. The experience of making can not be bought.
Making is in my blood. I come from a little village where people are (I think) more self sufficient than in the big city. I grew up in a making environment. My grandparents were real makers. I remember how the brothers of my grandmother would go on the field, walking in a line and hunting for rabbits and pheasant. Eventually they ended up on your plate, skinned by them and seasoned by Grandma. When I wanted a cute summery dress or a warm sweater I would go to my grandmother and tell her exactly what I wanted to have and she would draw the pattern. I really admire my grandmother, she can make anything happen behind her sewing machine. My grandfather taught me how to build thing with the material forehand. I wanted a rabbit but had no cage, together with my grandfather I build one. That hands on attitude really influenced me. I can walk into a crappy room and see all the opportunities behind the mess.
For me it's not a choice to make. I can not not make. This quarter I had some struggle with my own department, that frustration contaminated my process by Digital Craft, what made me more frustrated, which resulted in this blockade. Through making I cleared my head and found my way back to enjoying school again. You could say making is my therapy. Making does not revolve around art for me. The satisfaction I get from building my own improvised closet for my microwave can be just as great as modeling a perfect ear.
Technique
Historical technique
I don't think clay really needs a material introduction. I will be using DAS clay, this clay dries by air. It dries hard to a durable matt finish that can be painted and varnished. Clay tablets were the first know writing medium. Clays sintered in fire were the first form of ceramic, Some of the earliest pottery shards recovered are from central Honshu, Japan. They are associated with the Jomon culture and deposits they were recovered from have been dated to around 14,000 BC. Clay is also used in industrial processes like the making of paper, cement production and chemical filtering and let's not forget in medicine.
Clay is one of the oldest building material on earth.
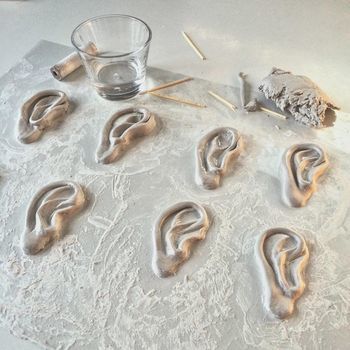
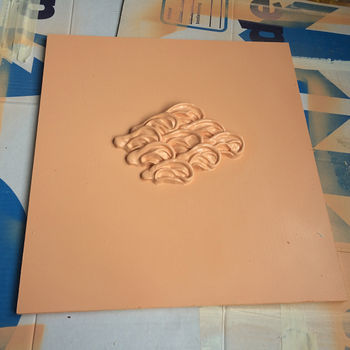
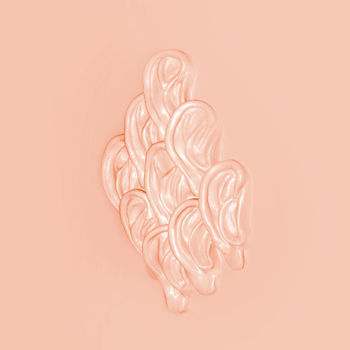
I really like working with clay, I can fully control the material and manipulate it the way I need. For my first example I made the ears. In design I really like ears, their complicated and quit ugly if you ask me. An ear on their own looks like an alien object. First I made each ear individually, later I composed them on a piece of wood. I wanted to make some kind of freaky 3D painting. Afterwards I sprayed them 3 times with this color. As finishing touch I used varnish.
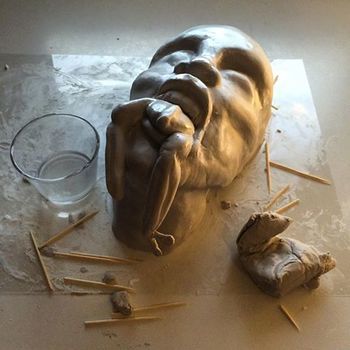
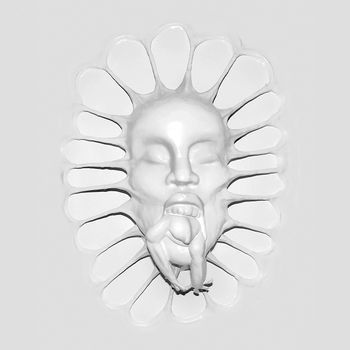
Secondly I made the head with the frog coming out. The design is based on a drawing I once did for a book. My grandmother used to tell my little sister that there where frogs in the tapwater. My sister was obsessed with that.
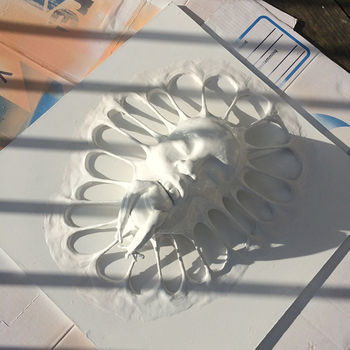
My approach for this object was different. I didn't want to use a lot of clay, because it wouldn't dry as quick and the result would be really heavy. Therefore I used a base of styrofoam. I cut the styrofoam to the shape (head) I wanted en then build the clay on top of that. For the strings coming out of the head I used skewers with several tiny layers of clay. The clay dries up in a grey tone, I sprayed it clear white. They again I used the varnish.
The reason I liked the varnish is because it makes the clay object look less like clay.
Pushed to the limit
Resin casting is a method where a mold is filled with a liquid resin, which then hardens. Primarily it's used for small-scale production, for example dentistry. Synthetic resin is thermosetting polymer, what means that during the process the liquid monomer polymerizes into the polymer, thereby hardening into a solid. Most commonly a thermosetting resin is used that polymerizes by mixing with a curing agent (polymerization catalyst) at room temperature and normal pressure. The simplest method is gravity casting where the resin is poured into the mold and pulled down into all the parts by gravity, this is the method I plan to use.
First experiment
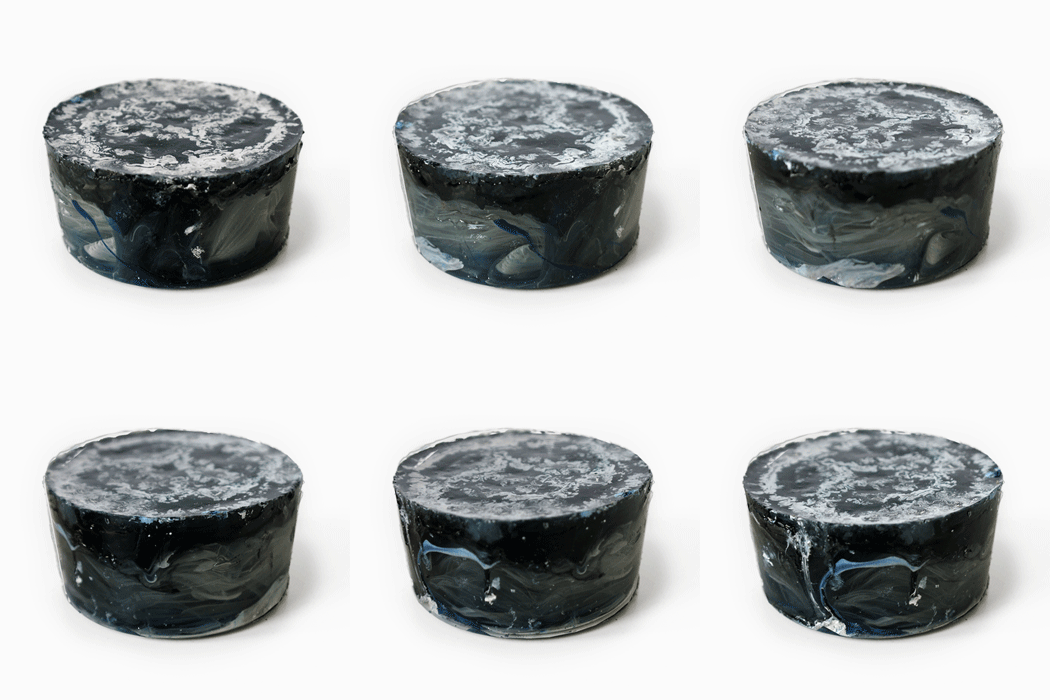
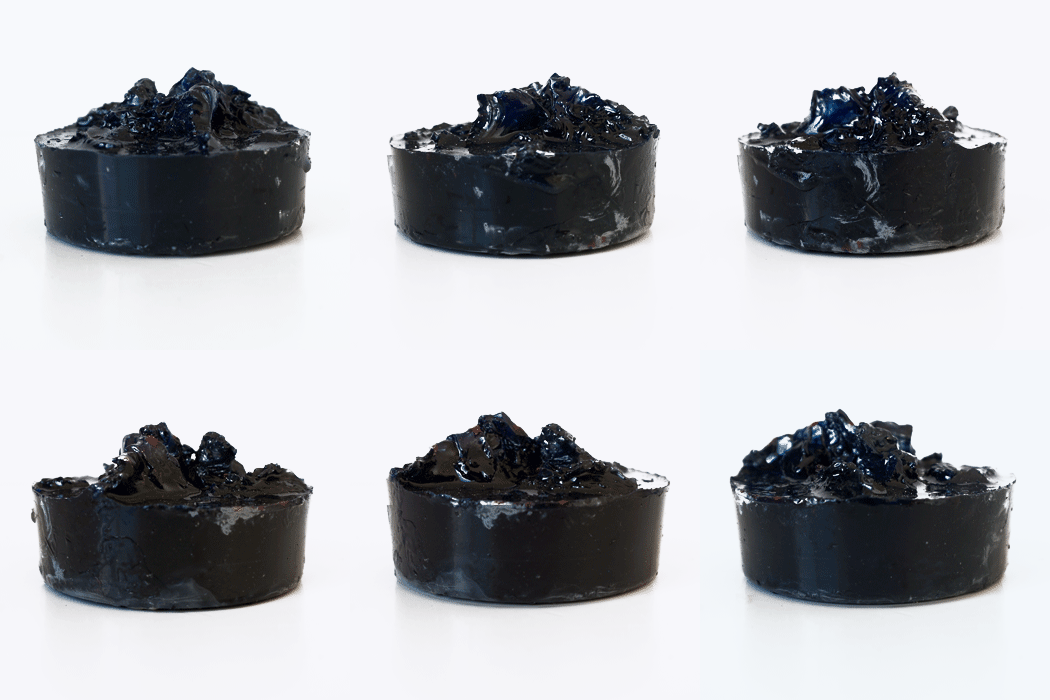
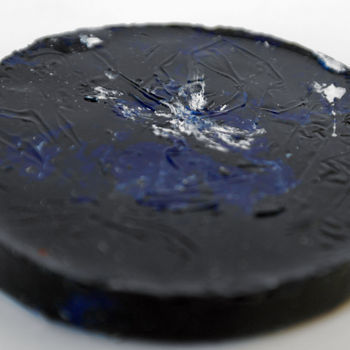
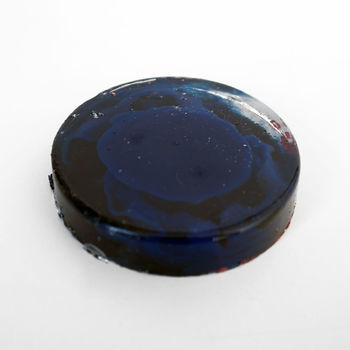
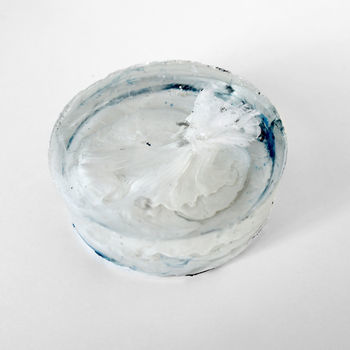
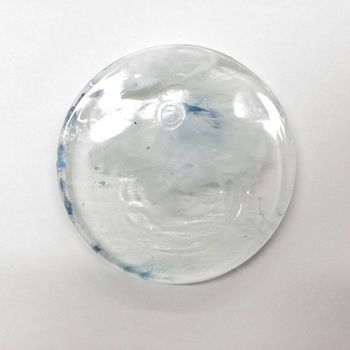
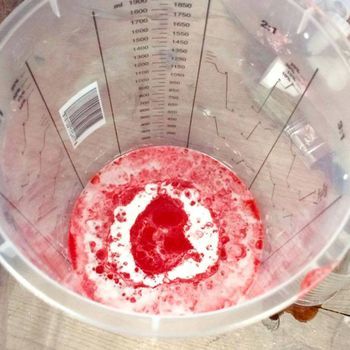
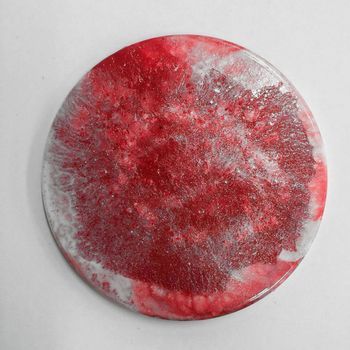
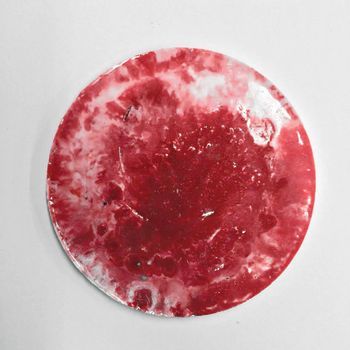
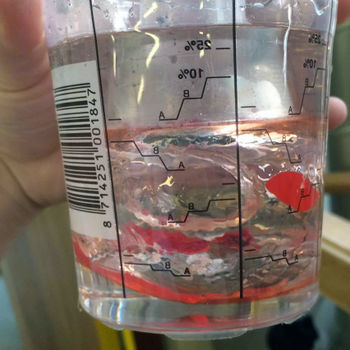
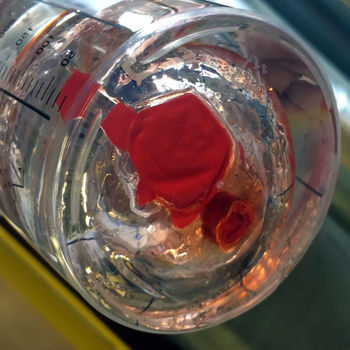
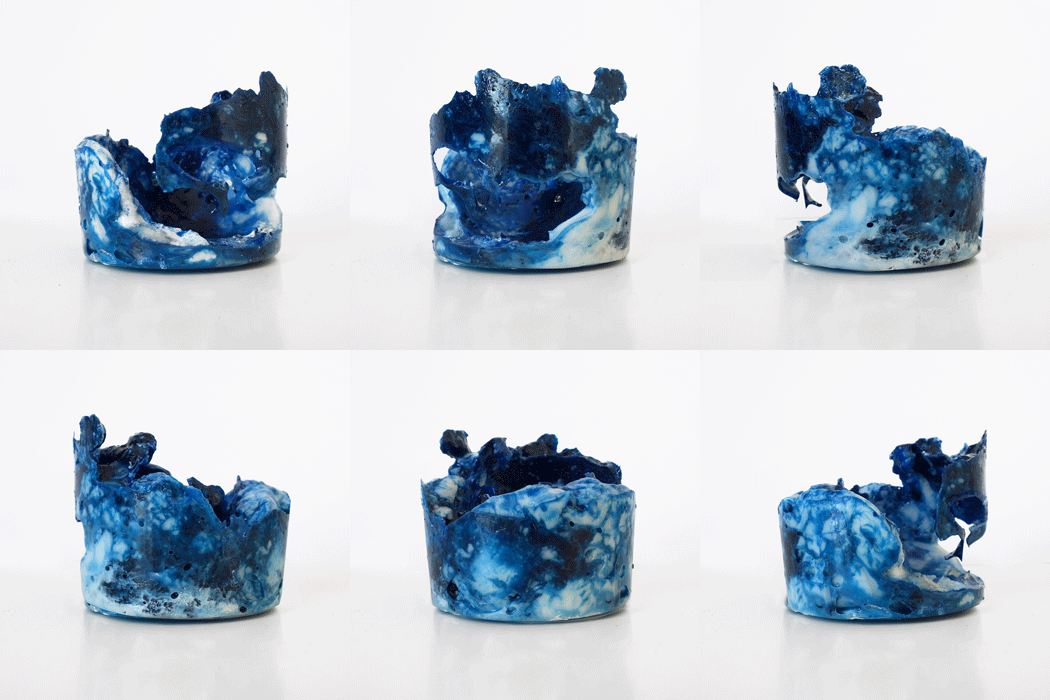
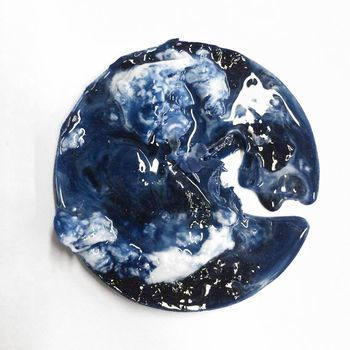
I worked before with casting resin to harden a wooden surface. I found out the residue dried up in the cup and I could easily get it out. I stored that as an inspiration piece, now I wanted to look further what the material could do. I started making little cups with color, without color. Mixed and unmixed. Because I was to enthusiastic to get the resin out of the cup I found out that you could make mineral shapes. I wanted to see if I could better control the pouring of color. In the red example I poured the resin over a cup. This way the resin poured more slowly, resulting in less mixing of the color.
Stone
Online I saw many different applications of casting resin. The one that intrigued me the most was the tables with half wood, half casting resin. The polished feel of the resin and the rough wood seemed like a combination made in heaven.
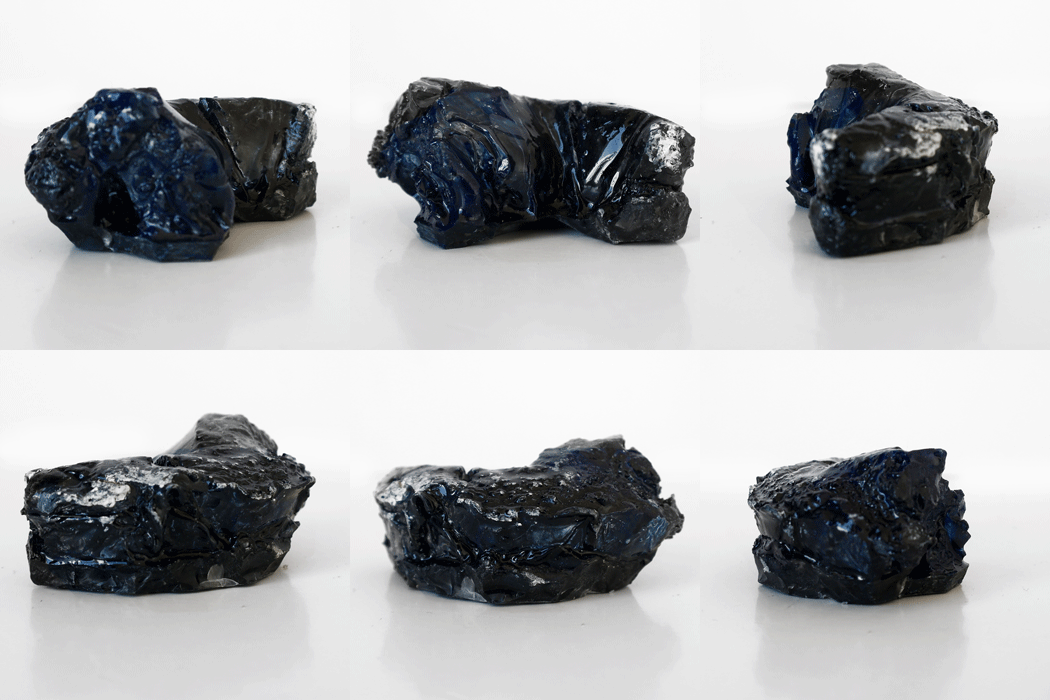
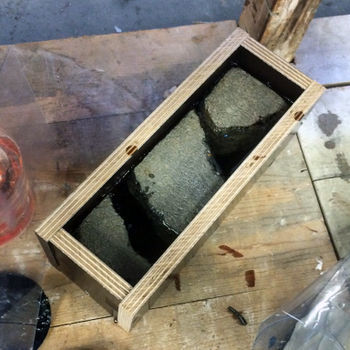
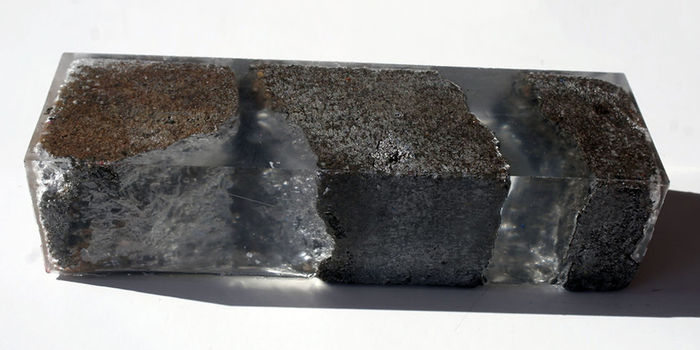
I wanted to try make something with the same feeling, rough and polished. I broke a stone from my parents backyard and made a mold for that. I made the mall from betonplex, wood with a coating, so the resin wouldn't attach to the mall. I closed the mold with the stone inside, this way the mold fitted perfectly.
It was a surprise tot the area where the resin and the stone touch, the two together made a crystallized structure. When the light hits it it looks really cool.
tights
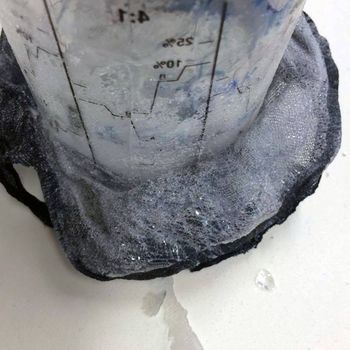
It was really interesting to me how polyester hars could make something soft, really hard. The plan was to work with tights and make drinking cups out of soft material.
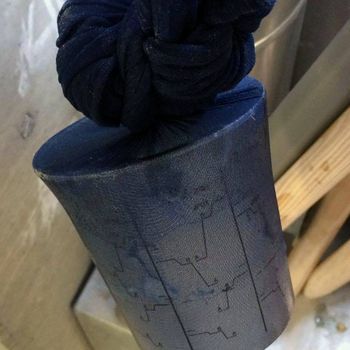
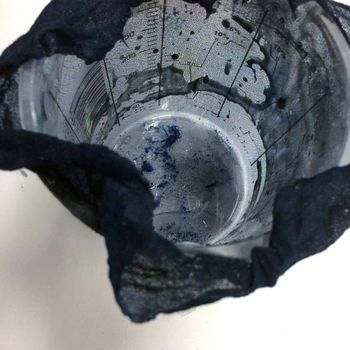
I made two different cups. By the first one I coated a plastic cup with casting resin. Then I put the tights over it and also covered the tights in casting resin. The second one I put on the tight and then the casting resin.
The resin took really long to dry. When it finally dried I couldn't get the tight of the cup without breaking the form it had taken. So unfortunately this experiment wasn't that succesfull. Now I am writing this I think it maybe would me possible with multiple layers of resin. So the form would be stronger than the plastic cup.
balloon
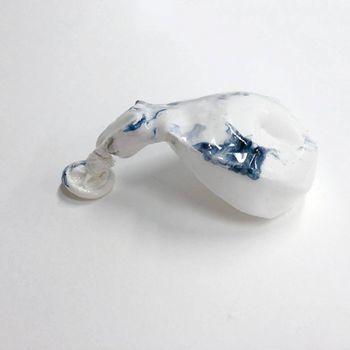
When I was working with the casting resin I immediately noticed that the resin would form to the form it was in. I wanted to find a way to play with that. I came up with putting a balloon in the casting resin, after the resin would dry I could take the ballon out.
The first issue I had was getting the balloon in the resin, because of the air the balloon would not stay under. I build, with the tools laying around at the ceramics station, a heavy installation to keep the balloon under. Second problem was the reaction between the materials. The temperature raised because of that, which resulted in the balloon breaking. Luckily the resin was hard enough, so the form of the balloon was left in the resin.When I wanted to take the balloon out, It was nog longer possible because the balloon had become attached to the resin. Later I tried to mix the balloon with the resin one more time. I found out it was not impossible. First I let the resin dry partially. Then I put the balloon in and poured some resin over it. This way the balloon was not surrounded with warmth.
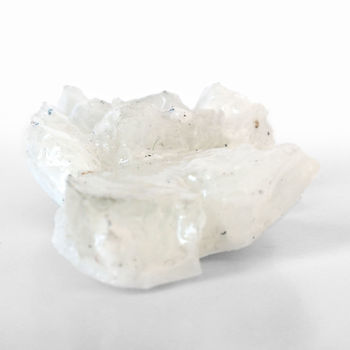
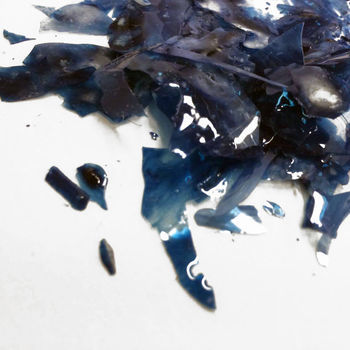
Because putting the balloon in resin did not work the way I wanted, I tried to put resin in the balloon. This plan did not succeed at all, the resin could not be poured in the balloon. I had to force it in the balloon with a cream spray (the one bakers use to decorate pie). Still the resin would not go in the balloon. I gave up on the whole balloon idea. A lucky coincidence was when I tried to get the resin out of the balloon cup, I got tiny shining shivers.
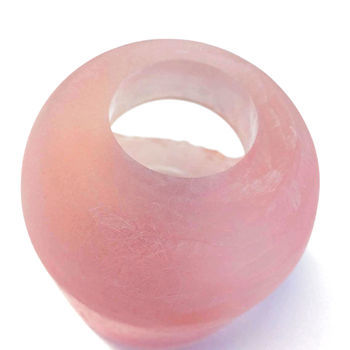
As a final step I wanted to experiment with sanding casting resin. I started on the machine, to make the top round. To get a round shape, I adjusted the platform several times. When I finished the raw form I moved on to the next stage. Sanding by hand. I started with grain 80. In the first image you can see the left side finished with grain 80, on the right you can still see the marks of the machine.
Making new material
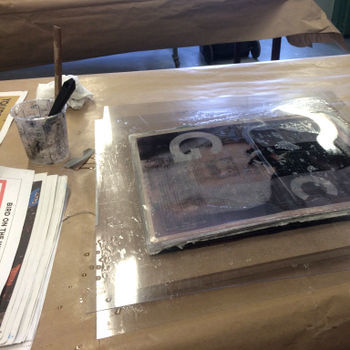
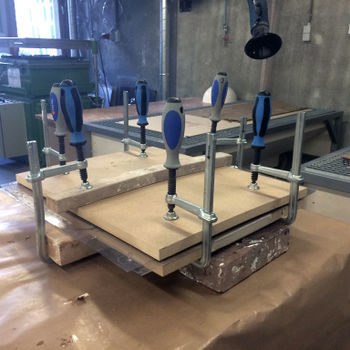
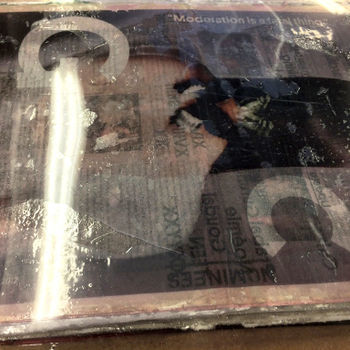
With casting resin as a 'glue' I tried to make new material from old papers. Each layer I smeared in with resin. I put more that 100 (no joke) layers on tom of each other. Then I pressed them together, resulting in a plank. The plan was to put the plank under the milling machine. At this moment I don't think I will have time for Thursday to accomplish that. I will edit this piece later on in my own time.
New skill try out
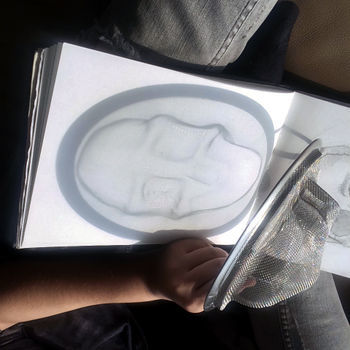
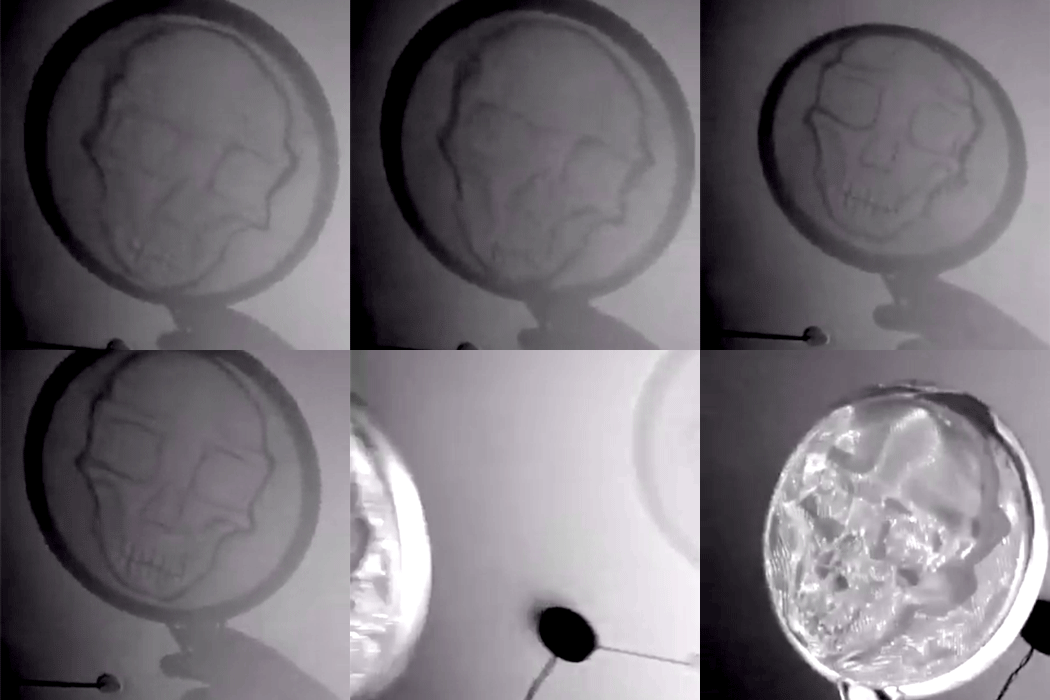
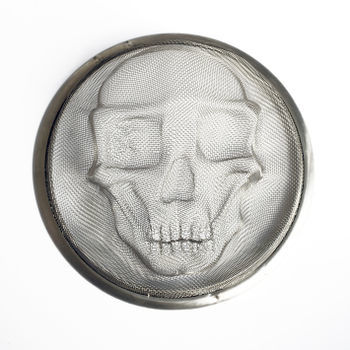
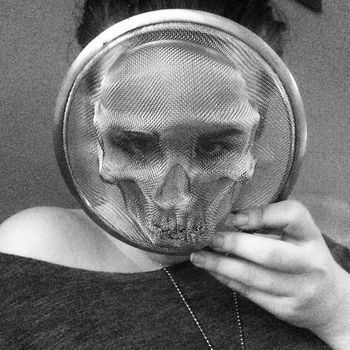
For my new skill I was inspired by the Shadow Faces installation by Isaac Cordal. Isaac Cordal created three-dimensional grid faces and used street lights to cast their shadows onto the pavement in London, England. 3D faces were sculpted into the metal grids of several kitchen strainers. This is work what really excites me, a dull object like a kitchen strainer transformed in a piece of art. I bought a kitchen strainer and started working.
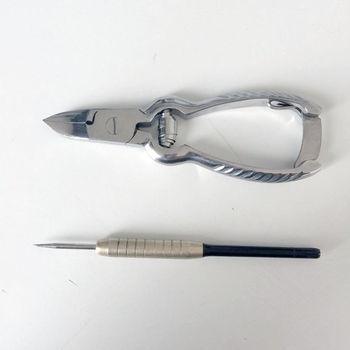
My approach was to connect the strains of metal together. With the light shining through it, it would created shadow. I found it to be really difficult. Therefore I started to mold the strainer with my bare hands. Later on I made details with clipping the material together. I also used a dart to make holes bigger and force clean lines.
The skills I learned from modelling I could use with the kitchen restrainer. The difference was the need for tools afterwards. In this way I learned something new.
Comparitive technique
example 1
I compared making the mask from a kitchen strainer to modelling because the working method had some similarities. The clay starts from building up material, the kitchen strainer started with a set form. With clay you make an object from modelling the material by hand (at least that is what I did), the same thing with the kitchen strainer. By pushing and rubbing with my vingers/hands I created the first form of both these objects. The methods are changing when I've got the basic shape. Clay, I'm going to add and make details by using a toothpick. The kitchen strainer I deform by squeezing the material together and using the dart to make clean lines.
example 2
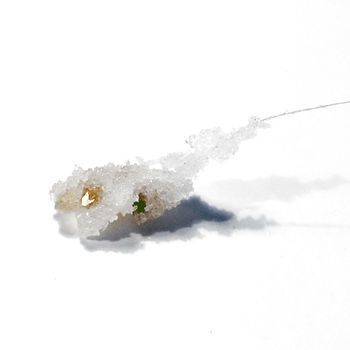
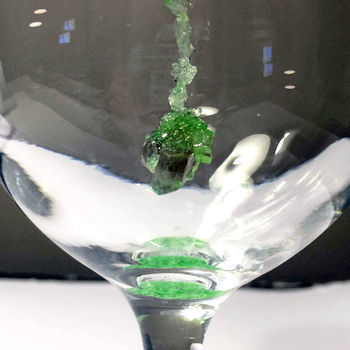
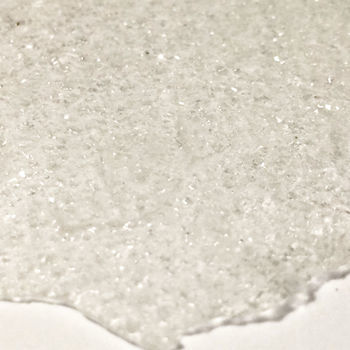
I want to compare crystallised sugar with crystals shapes made from casting resin. While working with casting resin I found out that you could make a puddle of almost hardened resin, in the shape of a mineral. The production is the same at the point where you mix the resin (casting resin / sugar) with an hardener (epoxy / water). Also both productions need warmth for the hardening process. Dissolve the sugar in the boiling water. You can heat the sugar solution on the stove or in the microwave if you have trouble getting the sugar to dissolve.
Final work
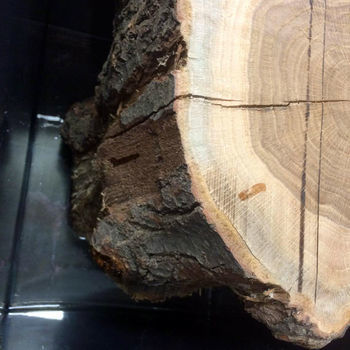
For my final piece I wanted to further investigate the properties of casting resin. Inspired by makers such as Jack Craig (www.jackpcraig.com) I wanted to make my own fusion object. I really like using objects I find in my surrounding with more uncommon materials. A while ago my mom decided to remove some trees, when I visited my parents I got the idea to incorporate a piece of tree trunk in casting resin.
Process
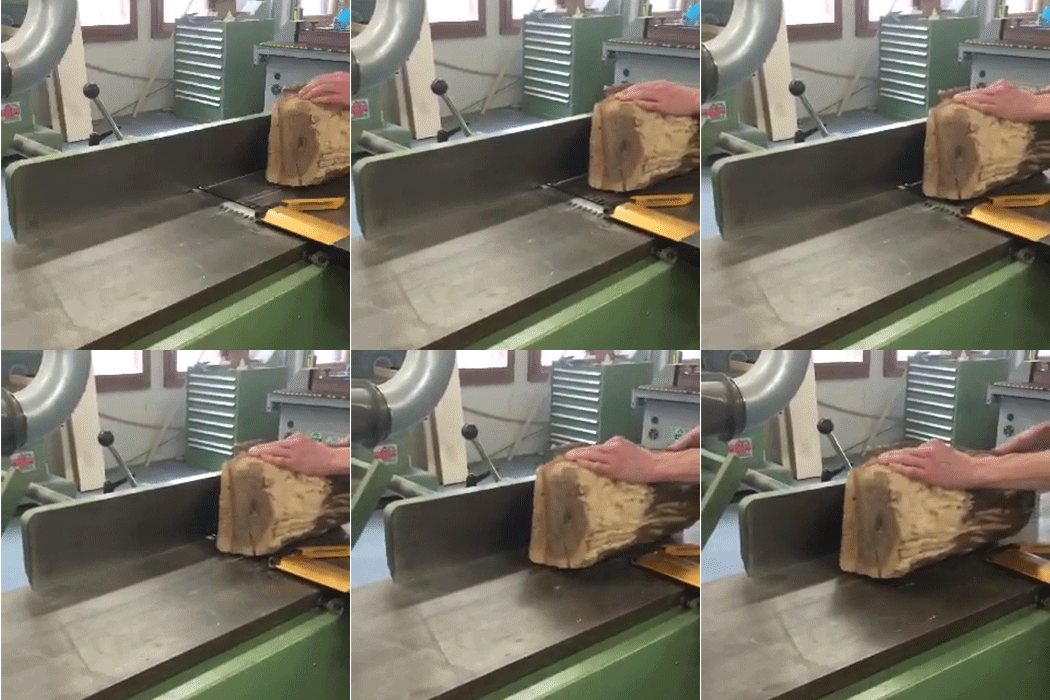
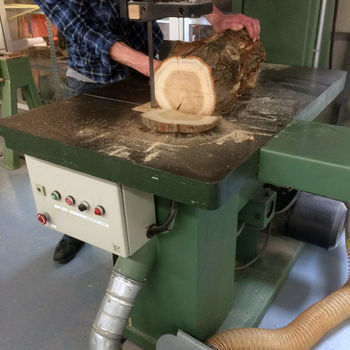
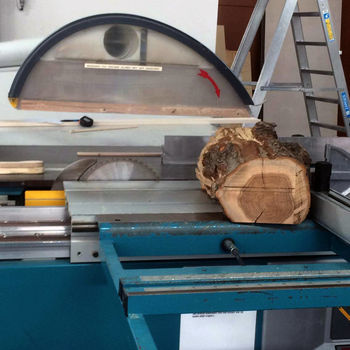
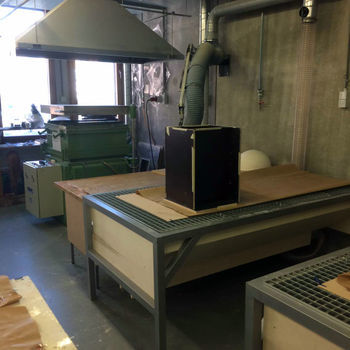
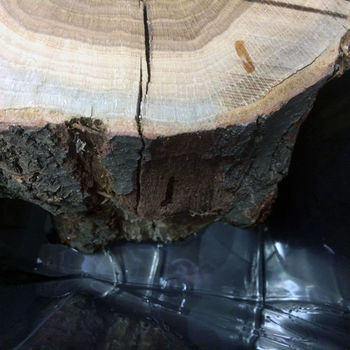
My first action was to go to the wood workplace and try to refine the tree trunk. In the length, I had a piece planed off. I sawed a piece from the top and bottom side, afterwards I also had a piece planed off. Because I did not have the nessecary expierence I had some help.
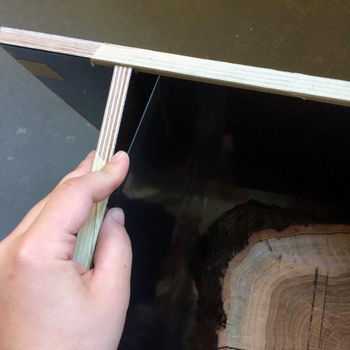
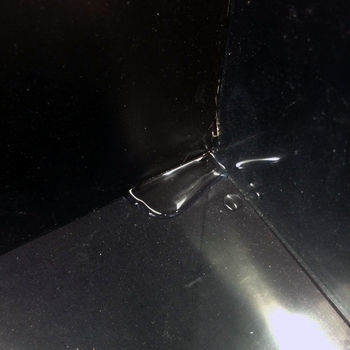
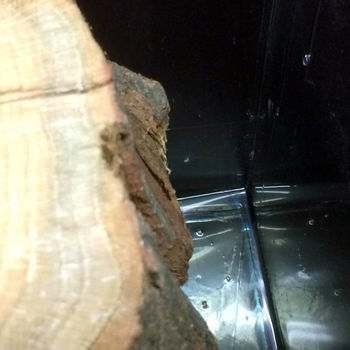
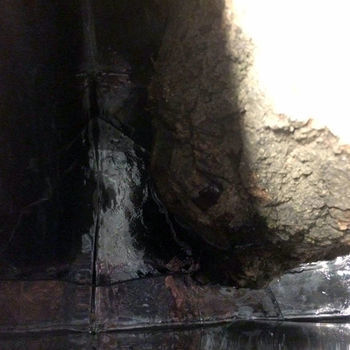
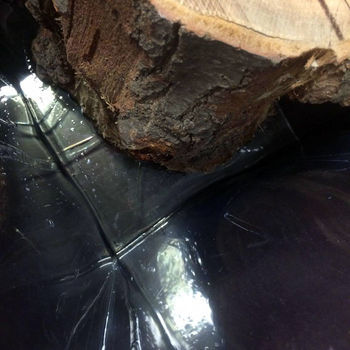
When I made the mold for the stone I noticed how the stone inherited a little bit of the roughness of the wood. Therefore I decided to use PVC as an extra layering. Here I made a mistake, because I could not bend the PVS properly I cut the pieces and placed them in the mold, with a couple of sides stuck between the wood. When I arrived at ceramics they pointed out my mistake. Because I did not have the time to correct it properly I used tape to fasten the PVC in the corners.
I am working with a larger amount of casting resin, therefore I must pour in stages. The ratio of casting resin and hardener is also different. Casting resin generates heat upon curing, the more casting resin, the more heat. Normally I would add 1% of hardener, now I only use 0.5% of hardener. With every layer I used less hardener. Because the layer would have warmth of the layer underneath it.
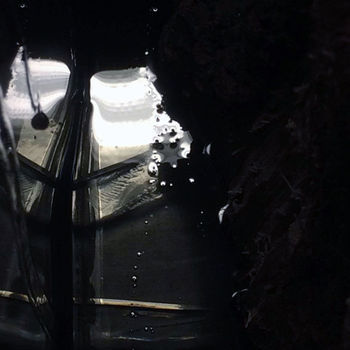
I poured the casting resin per litre. When you watch closely you notice the surface changing in an orange peel structure. I tried to measure the warmth of the resin on the outside of the mall. Underline tried! Because after pouring the third litre the resin became really hot. Resulting in some cracks and the PVC distorted. Wich is not that surprising, here I really learned my lesson in the two types of plastic. The kind (like casting resin) that produces warmth while hardening, and the kind that transforms with warmth.
I left he resin alone to not make it worse. The next day gave me two options. Stopping and taking the PVC out, wich would me a challenge because the PVC was stuck between the wood. Or I could keep working and later correct the bubbles I created. I chose the last. I really took my time to pour this time. Over the duration of 10 minutes I really slowly poured the resin, giving it time to fill the cracks. After 4.5 hours I poured the next layer. If possible I want to do two extra layers (litres) today (dinsdag 19 april).
This morning I poured the final layer, unfortunately I do not have the time to pour another layer. So this will have to do. I won't be able to complete my piece the way I wanted, but that's not a problem. I think the unfinished piece shows how far I've come and how much knowledge I have gathered from making this.
Casting resin stays a bit sticky after hardening, to fasten this process I will put my piece in the oven to speed up this process. I already talked about this with the people from ceramics, they told me it would be best if the oven temperature is 60 degrees on a program of 10 hours. After this I can start with the finishing touches. I'll have to straighten the form (because of the PVC). I think I will saw a piece of the sides. After this I can start sanding. My goal is to get it as transparent as casting resin can be. I know this takes a lot of time, but this is something I really want and need to do. I am excited to finish it. For me the process is just about to start!
Reflection
When I don't finish what I set out to do I usually feel lik I failed. Maybe you do fail when you do not finish, but in my case I do not feel like a loser. I am excited to finish my product. I learned so much in such a short amount of time! That is worth more to me than reaching the given deadline.
1 sentence why I make
I MAKE TO BE BETTER Every time I make I want to be better than I was before, every time I make I want to learn something and get a wider perspective on my abilities. Also when I make my head is clear, in that sense I am better when I make.
result
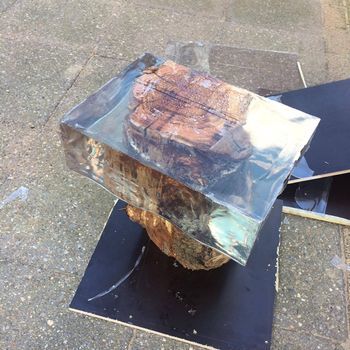
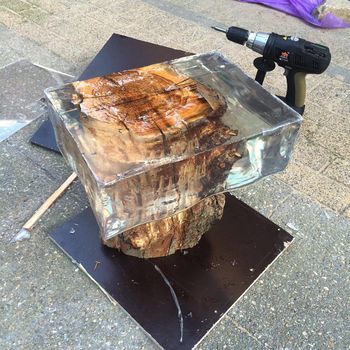
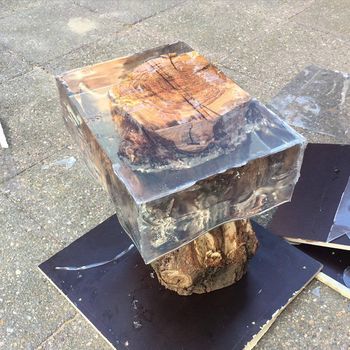
I realise it might be to late to post these pictures, today (saterday) I finally could take the mold completely of my piece and start sanding. First I talked about putting the casting resin in the oven to speed up the process of getting less sticky, but that was not necessary anymore. I was to late to store my piece at the ceramics station, therefore I put it in my boyfriends car. Because the car was hot and small space there was no need to put it in the oven. I really enjoyed the process of making this, now it is finally taking shape en becoming more and more a product.
