Difference between revisions of "/Group Wiki Page"
Mandy.franca (talk | contribs) |
Mandy.franca (talk | contribs) (→STEP 1) |
||
| Line 29: | Line 29: | ||
*arduino | *arduino | ||
*servo motor | *servo motor | ||
| + | *motor | ||
| + | *breadboard | ||
*battery | *battery | ||
*wood | *wood | ||
*perspex | *perspex | ||
| + | |||
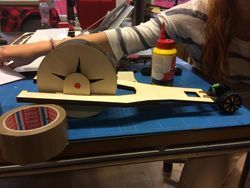
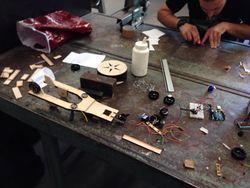
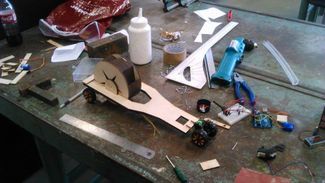
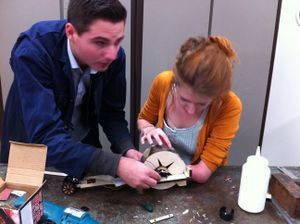
[[File:IMG 8387.JPG |270px]] [[File:IMG 8390.JPG |150px]] [[File:IMG 8389.JPG |150px]] [[File:IMG 8350.JPG |300px]] [[File:IMG 8388.JPG |270px]] [[File:10749556 757660024300298 166252713 n.jpg | 150px]] [[File:10743632 757660020966965 1016749444 n.jpg | 150px]] [[File:10743387 757660037633630 1840261856 n.jpg |150px]] [[File:10694935 757660027633631 1535394472 n.jpg |150px]] [[File:10749395 757978427601791 804054657 n.jpg |880px]] | [[File:IMG 8387.JPG |270px]] [[File:IMG 8390.JPG |150px]] [[File:IMG 8389.JPG |150px]] [[File:IMG 8350.JPG |300px]] [[File:IMG 8388.JPG |270px]] [[File:10749556 757660024300298 166252713 n.jpg | 150px]] [[File:10743632 757660020966965 1016749444 n.jpg | 150px]] [[File:10743387 757660037633630 1840261856 n.jpg |150px]] [[File:10694935 757660027633631 1535394472 n.jpg |150px]] [[File:10749395 757978427601791 804054657 n.jpg |880px]] | ||
| − | |||
====STEP 2==== | ====STEP 2==== | ||
Latest revision as of 18:13, 28 October 2014
Contents
Tools & Tech Group 5
- Sven van der Velden (Arduino & Technical leader)
- Kevin Verbeek (Design & Assembling)
- Nathalie Everts (Design & Assembling)
- Mandy Franca (Design & Assembling, Documentation)
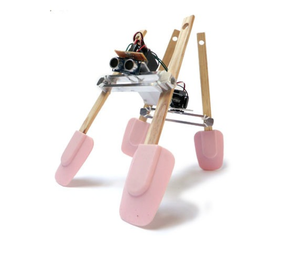
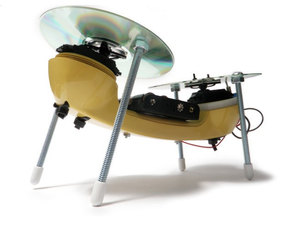
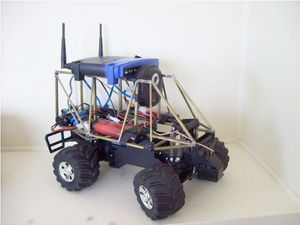
Inspiration
Concept
Our concept was to create a useless robot!
* At first we wanted to make a 'spy robot' what we showed during the first presentation. After a group meeting after that, we decided to make a useless robot.
Sketches
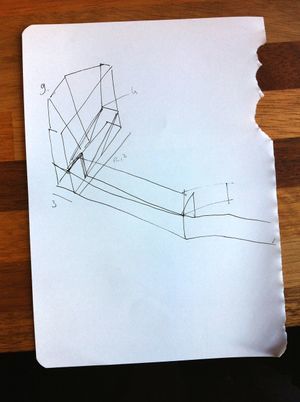
During our second meeting together we came up with a sketch of the useless robot. The plan was to make a robot that could drop skittles and pick it up again. It has a wheel that will pick the skittle up, drops it in a funnel that is connected to a tube and drops it on the floor.
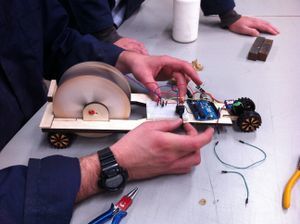
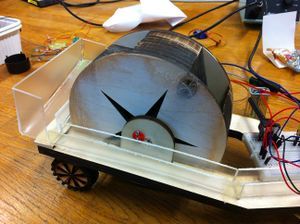
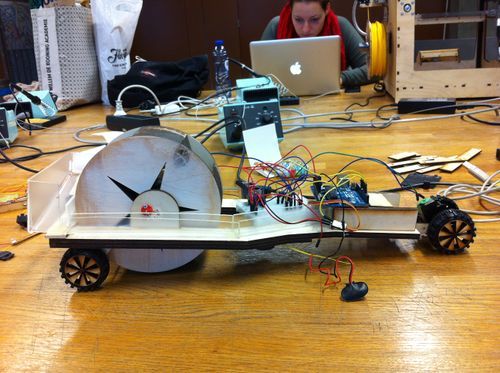
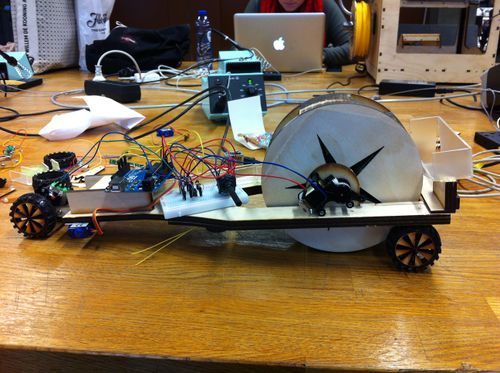
Building THE useless robot
STEP 1
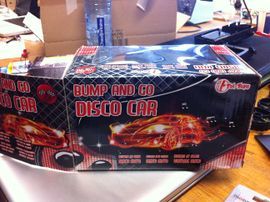
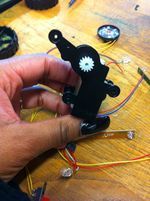
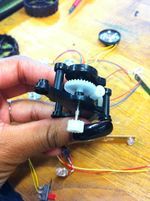
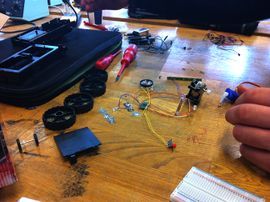
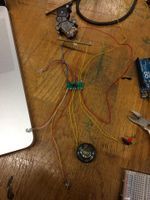
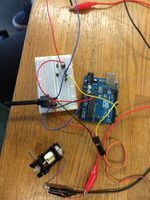
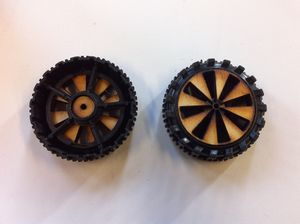
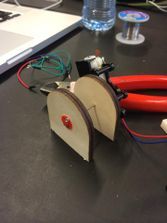
We bought two toy cars from the Action that we disassembled. We used the two motors and the wheels for our robot.
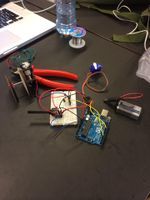
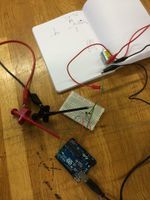
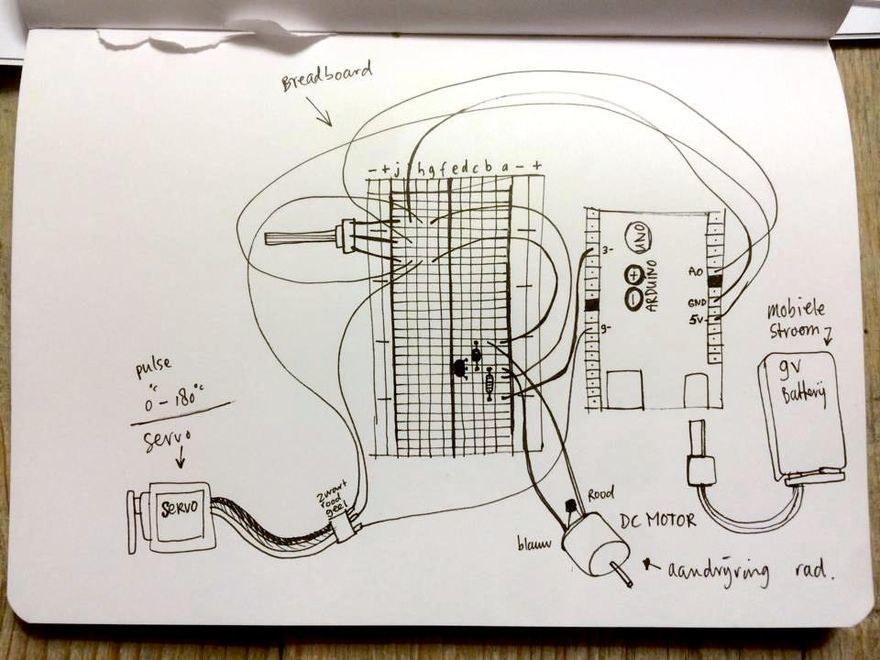
We needed:
- arduino
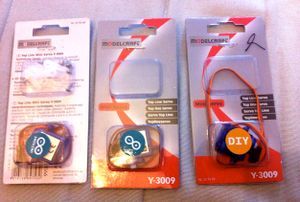
- servo motor
- motor
- breadboard
- battery
- wood
- perspex
STEP 2
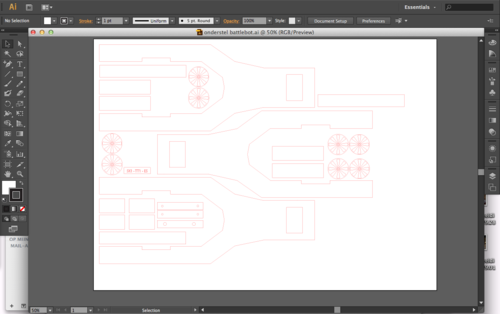
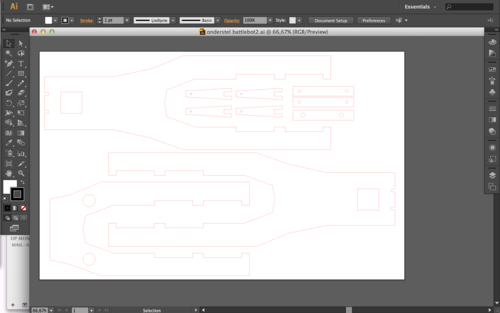
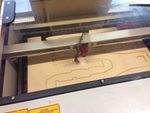
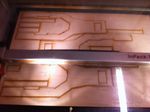
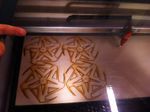
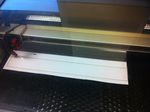
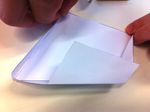
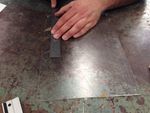
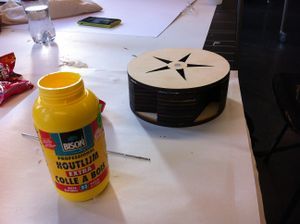
We all designed components for the robot in Illustrator, made prototypes and lasercut them at the Citylab.
STEP 3
BUILD!
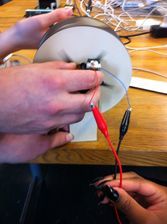
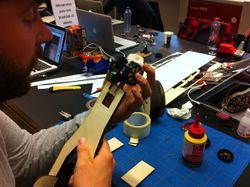
It was finally time to bring all those lose components together and build & test our robot!
DONE!
