Difference between revisions of "User:AstridvanLoon"
| Line 68: | Line 68: | ||
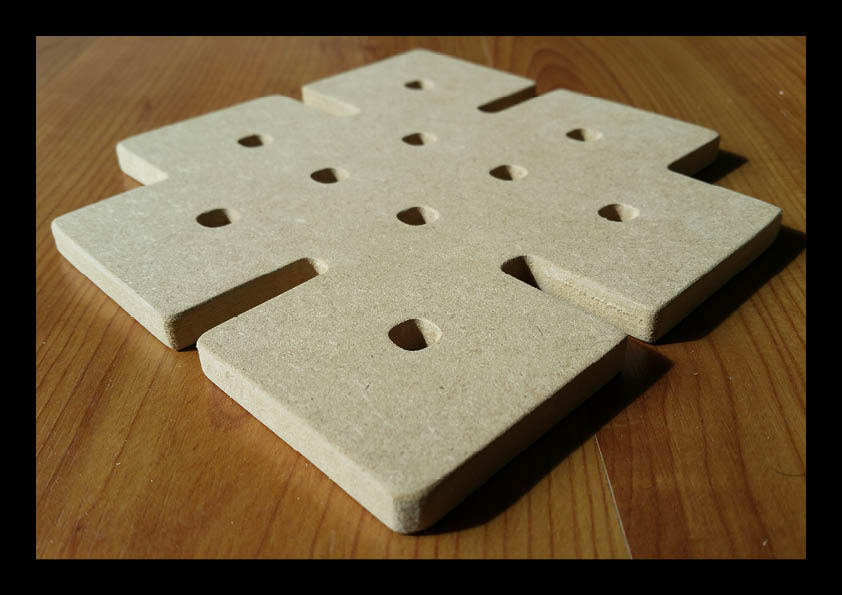
==='''Endwork'''=== | ==='''Endwork'''=== | ||
| + | |||
| + | Making a Puzzle | ||
[[File:Workshopeindwerk5.jpg|Caption]] | [[File:Workshopeindwerk5.jpg|Caption]] | ||
[[File:Workshopeindwerk4.jpg|Caption]] | [[File:Workshopeindwerk4.jpg|Caption]] | ||
Revision as of 09:34, 11 April 2016
Astrid van Loon | 0896899 | DBKV VT2B | Email: astridvanloon_1991@hotmail.com
_____________________________________________________________________________________________________________________________________________________________

Contents
Experiments:
Etching
Etching is traditionally the process of using strong acid or mordant to cut into the unprotected parts of a metal surface to create a design in the metal. I really wanted to try this method for a pretty long time, and i thought now was the perfect opportunity. It is a method of print making, but i feel like the copper plate itself is already very special. I love how the plates of old master pieces often still exist because the material will last very long. I first tried the basic method. Using wax to cover the plate and scratch that off. Then i had to soak the plate in acid so it was engraved because the parts that are not covered with wax will dissolve.
History of the technique
The process as applied to printmaking is believed to have been invented by Daniel Hopfer (circa 1470–1536) of Augsburg, Germany. Hopfer was a craftsman who decorated armour in this way, and applied the method to printmaking, using iron plates (many of which still exist). Apart from his prints, there are two proven examples of his work on armour: a shield from 1536 now in the Real Armeria of Madrid and a sword in the Germanisches Nationalmuseum of Nuremberg. An Augsburg horse armour in the German Historical Museum, Berlin, dating to between 1512 and 1515, is decorated with motifs from Hopfer's etchings and woodcuts, but this is no evidence that Hopfer himself worked on it, as his decorative prints were largely produced as patterns for other craftsmen in various media. The switch to copper plates was probably made in Italy, and thereafter etching soon came to challenge engraving as the most popular medium for artists in printmaking. Its great advantage was that, unlike engraving where the difficult technique for using the burin requires special skill in metalworking, the basic technique for creating the image on the plate in etching is relatively easy to learn for an artist trained in drawing. On the other hand, the handling of the ground and acid need skill and experience, and are not without health and safety risks, as well as the risk of a ruined plate.
What i did
Before i started i had to prepare my plate. I had to use fine steel wool and a piece of cloth and rub copper oil on to the plate till the surface was super shiny and smooth. With a hand file i beveled the edges of the plate. This is because otherwise the sharp edges can damage the paper when it goes trough the press. After that i degreased the plate. I did that with soy sauce and a piece of spunge. Then i washed the plate under running water, and put it in an oven for a few minutes to dry. When the plate was fat fry i was started with etching the plate. The design i already make earlier. After 3 hours i was done with the design. I first tried the basic method. I used wax to cover the plate, baked it in the oven and scratch that off. Then i had to soak the plate in acid so it was engraved because the parts that are not covered with wax will dissolve. It was a very long proces because every time when you bring an other layer on the plate you needed to wait. First time 1 minut in they acid 15 minutes in the oven, second time 2 minutes in the acid 15 minutes in the oven, third time 4 minutes in the acid 15 minutes in the oven en the fourth en last step was 8 minutes 15 minutes in the oven. I also used the dry needle technique.

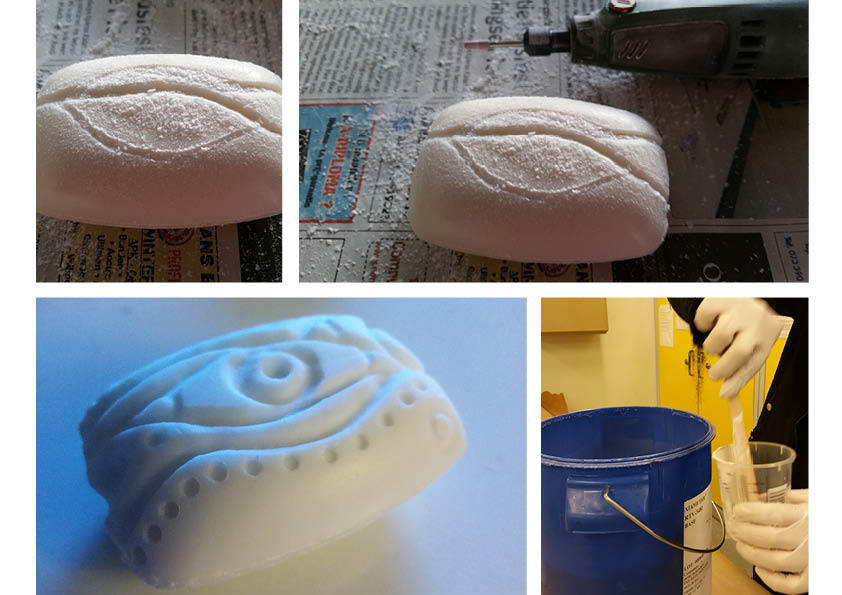
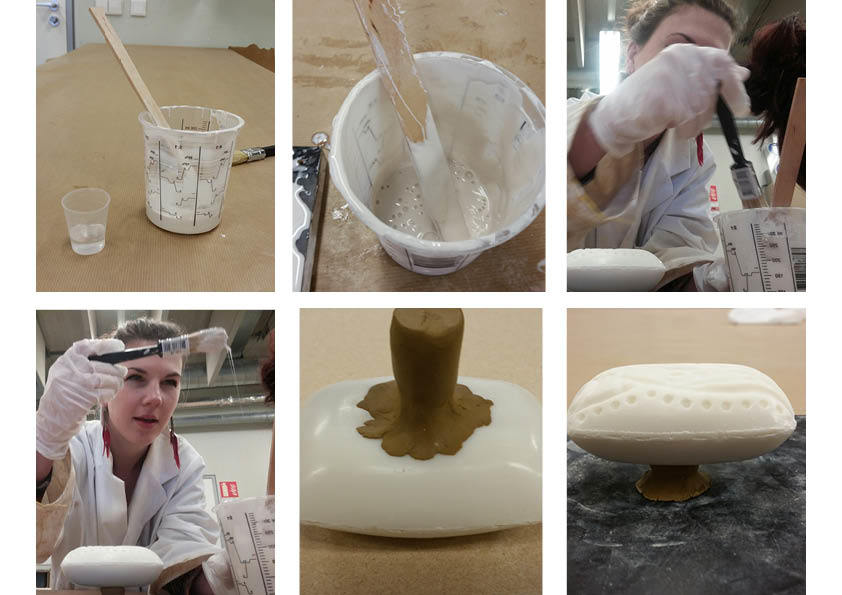
Soap carving
Carving daily objects
Carving in soap, create forms and you can use it as a mold to multiply the object.
Together with Simone and Marieke we carved 3 different soaps. After this we went to the ceramic station, where we greased the form with silicone to make a mold. While creating the mold we encountered some problems regarding the silicone layers needed to craft it. The first 3 'soft' layers of silicone were a succes and needed 24 hours to dry before the next layer could be added. While applying the fourth and last layer, which is the strongest needed to finish the mold, we found out that the last layer did not bind with the other layers. The soap and previous silicone layers had a chemical reaction which caused this.


Wood carving
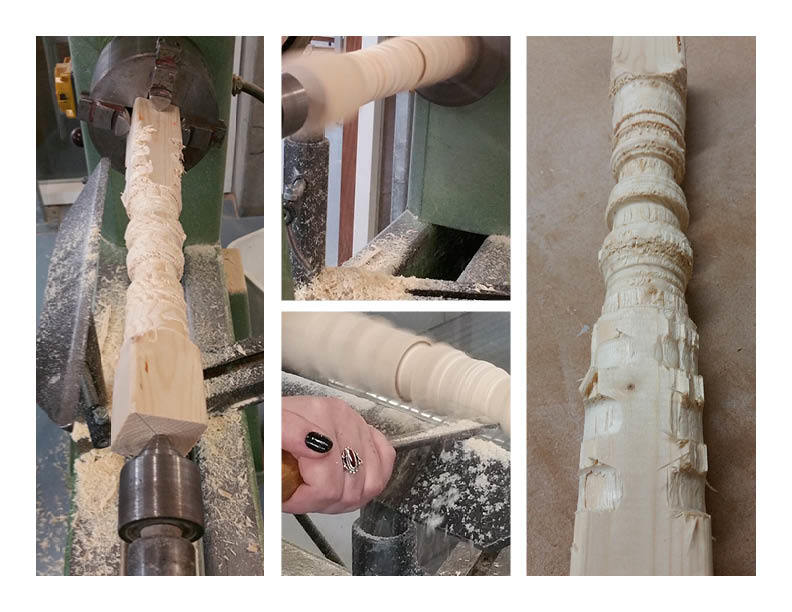

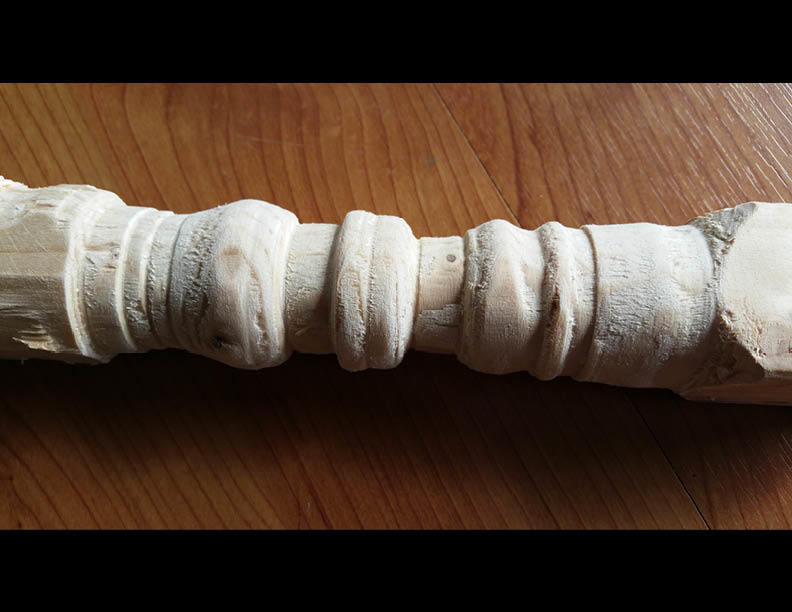

Workshop milling machine
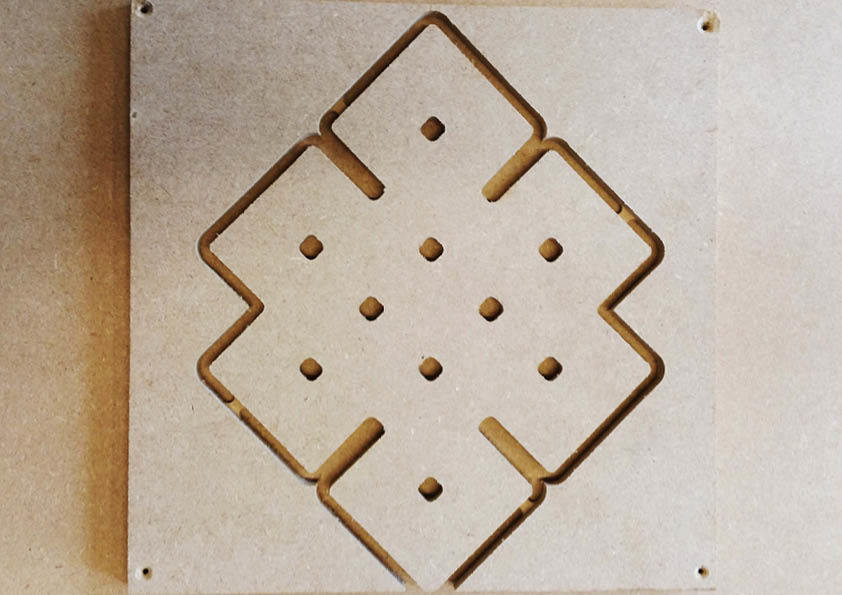

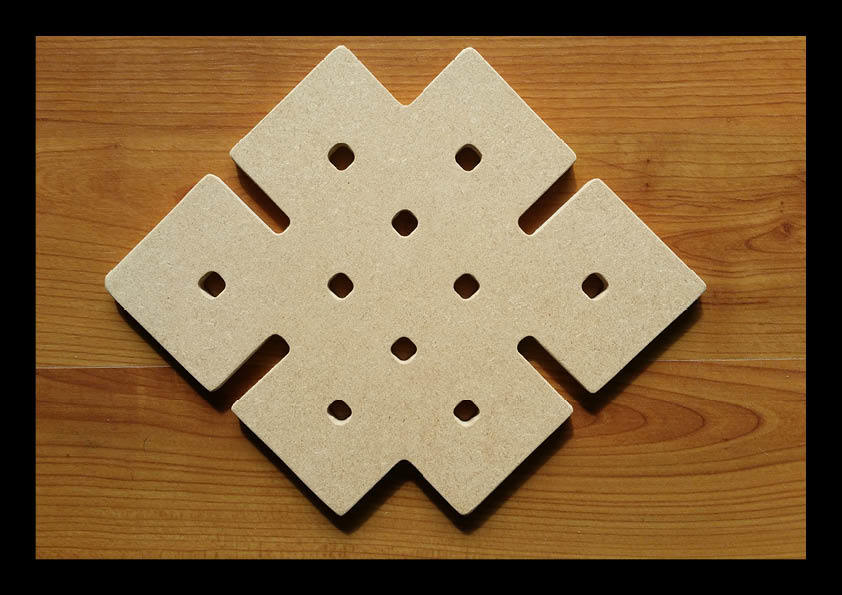


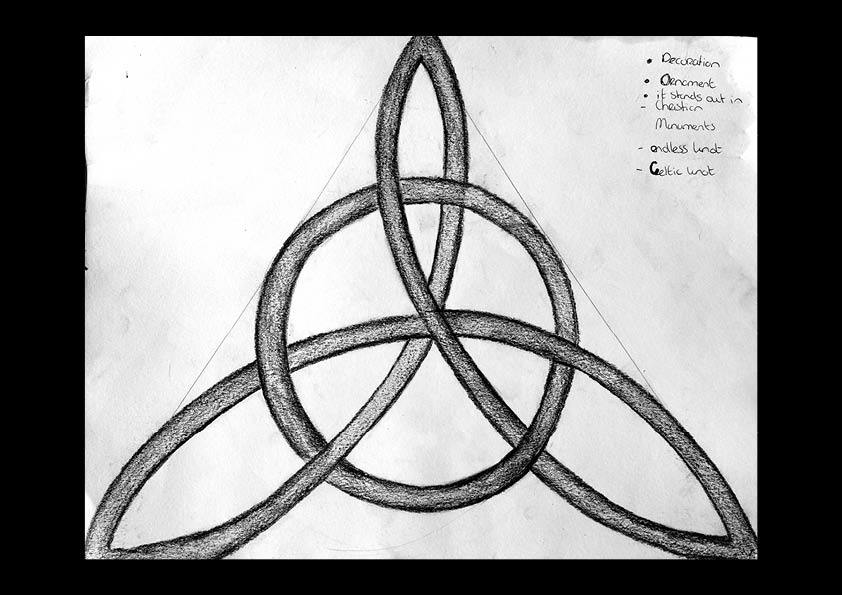
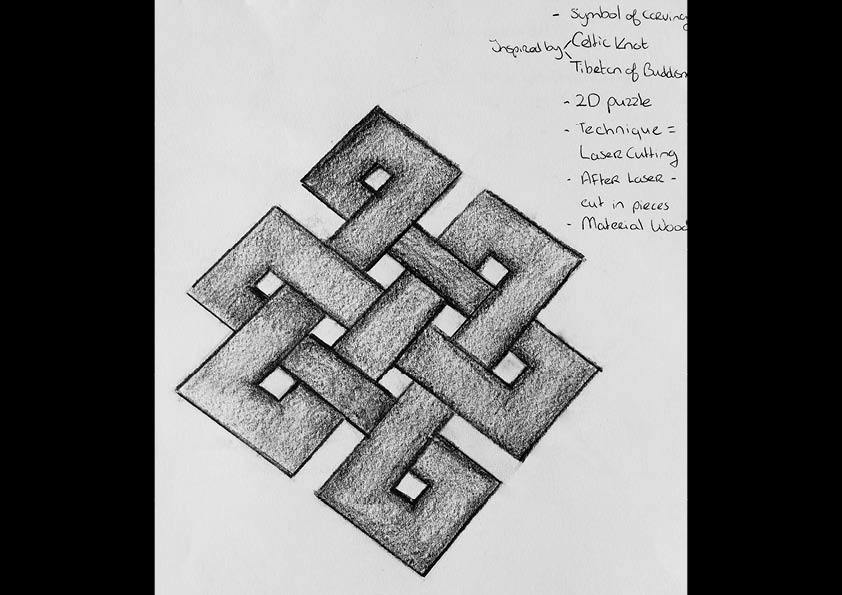
Endwork
Making a Puzzle