User:Destinshiro
Expanded Toolbox 2017
[[File:
]]
Quint Verhaart - Fashion Design
Quintverhaart@hotmail.com
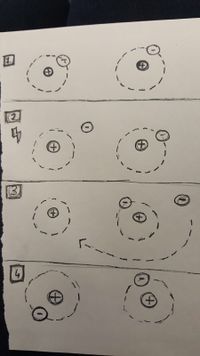
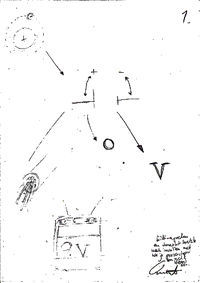
Les opdracht 1: Hoe elektriciteit werkt. In groep voorgedaan als: Electron (-), Proton (+), Neutron.
[[File:
]]
ONDERZOEK EIGEN PROJECT.
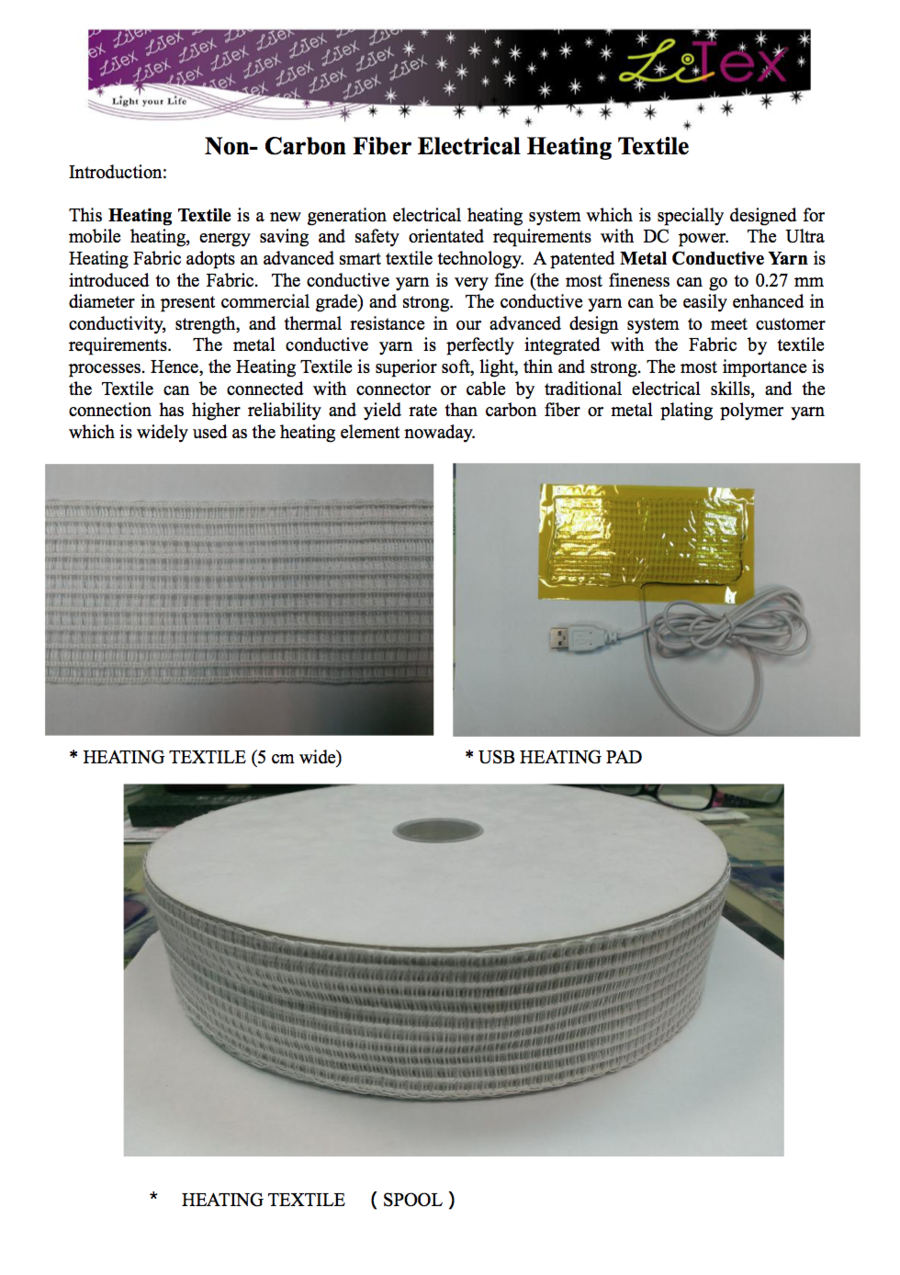
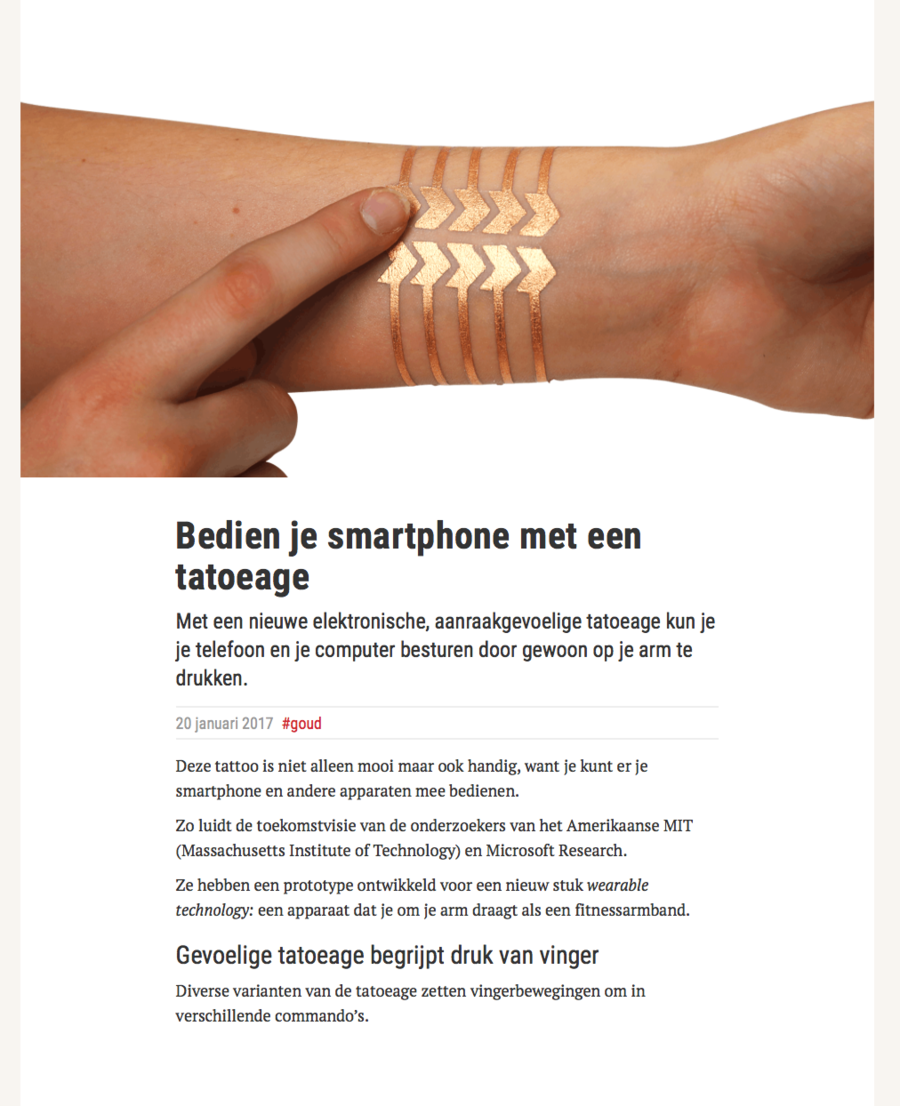
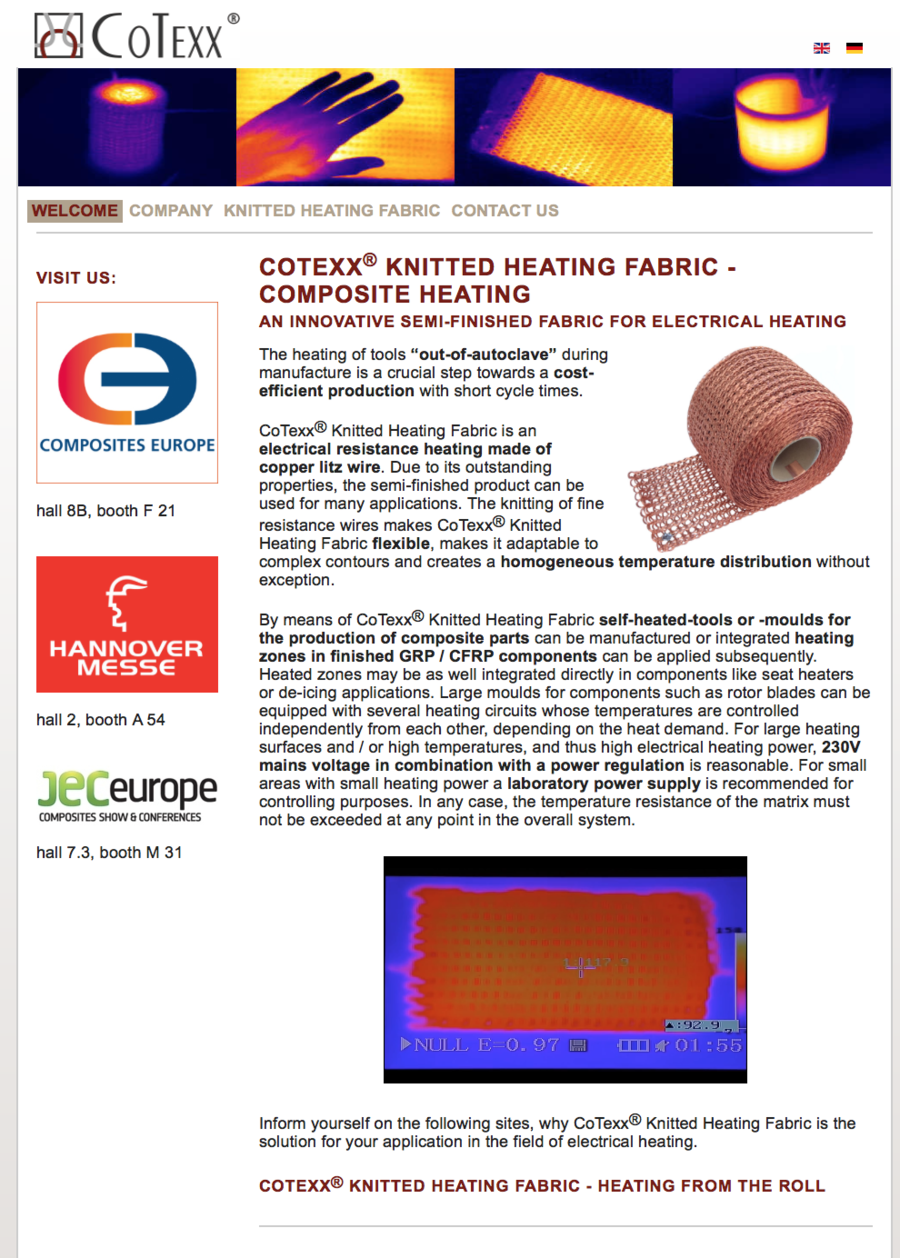
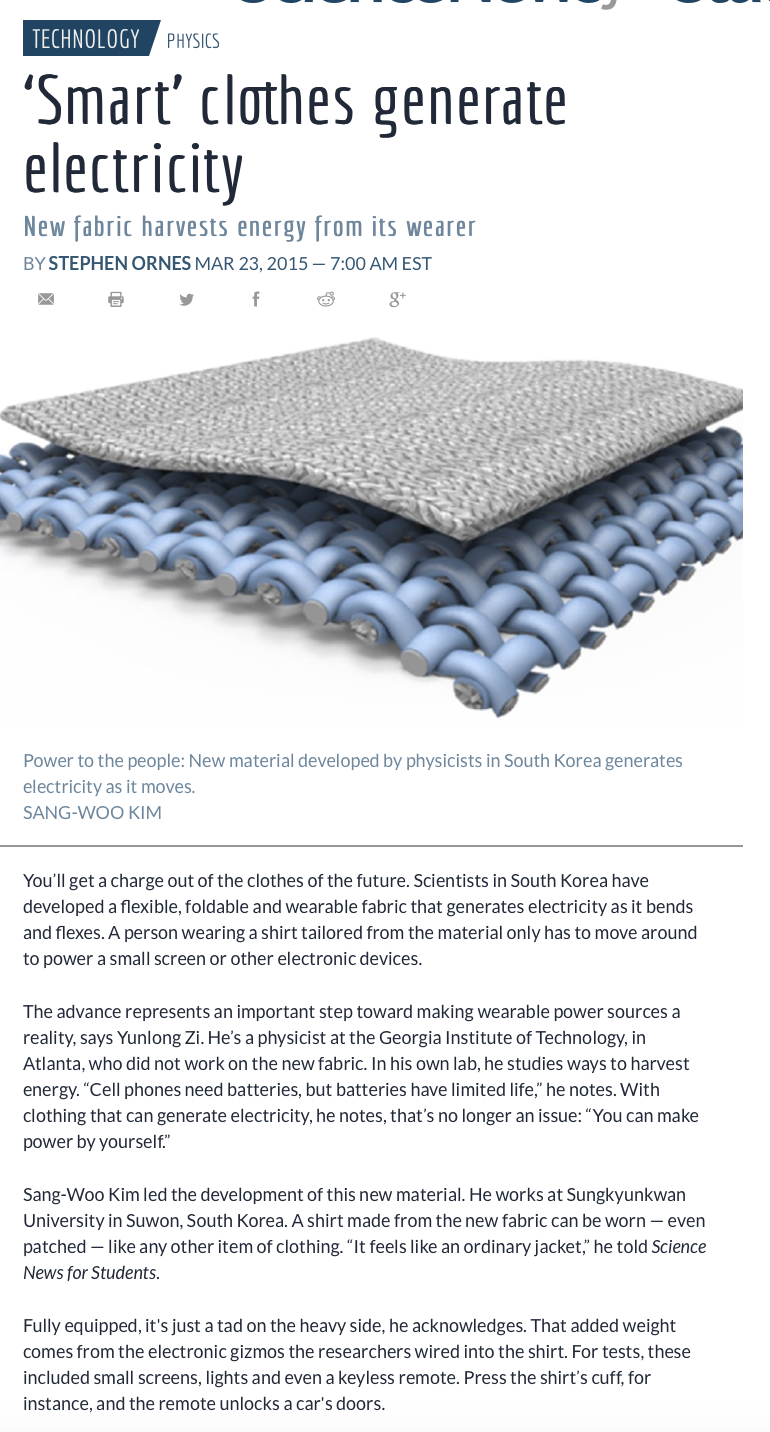
Kledingstuk dat draagbaar verwarmt kan worden zonder aan een stopcontact verbonden te zijn.
Les Opdracht 2:
[[File:
]]
Contents
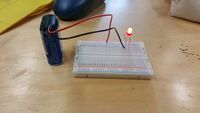
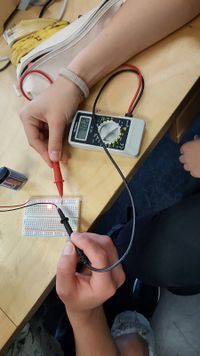
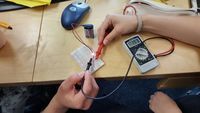
Measuring Voltage
What you need (ask at the Interaction Station):
* Multimeter
* 9 Volt battery (5V in the tutorial)
* 9 Volt battery clip for in a breadboard
* 470 Ohm resistor (1K Ohm in the tutorial)
* LED
* breadboard
[[File:
]]
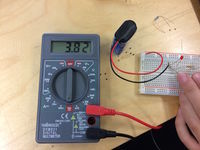
Outcome: Voltage 7
Resistance 465
Ampere 19.3
Measuring resistance
What you need (ask at the Interaction Station):
* Multimeter
* 3 random resistors
* 3 resistors of the same value
* breadboard
Series Resistance Outcome: Volt 1th restitor 2.38
Volt 2nd/3th 2.39
Volt 1th + 2nd together 4.77
Volt 2nd + 3th together 4.78
Volt 1th +2nd +3th together 7.16
I = V/R
9,11: 2,38 = 3,83
9,11 : 7,16 = 1,27
[[File:
]]
Parallell Resistance Outcome
Voltage van de drie restitors 8.41
Measuring Current
What you need (ask at the Interaction Station):
* Multimeter
* 9 Volt battery (5V in the tutorial)
* 9 Volt battery clip for in a breadboard
* 470 Ohm resistor (1K Ohm in the tutorial)
* LED
* breadboard
Outcome Volt 7
Resistance 465
Ampere 19.3
[[File:
]]
Measuring voltage and current in a series circuit
What you need (ask at the Interaction Station):
* Multimeter
* 9 Volt battery (5V in the tutorial)
* 9 Volt battery clip for in a breadboard
* 3 resistors random resistors
* breadboard
Outcome Volt 9.11
Ampere 3.83
I = V/R
9,11: 2,38 = 3,83
9,11 : 7,16 = 1,27
Measuring voltage and current in a parallel circuit
What you need (ask at the Interaction Station):
* Multimeter
* 9 Volt battery (5V in the tutorial)
* 9 Volt battery clip for in a breadboard
* 3 resistors random resistors
* breadboard
Outcome:
Battery voltage: 8.58
Voltage van de drie restitors : 8.41
I=V/R
8.58/8.41 = 1.02
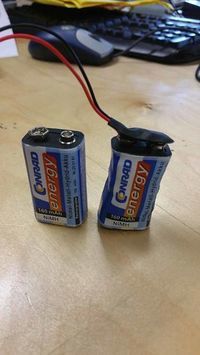
DOOR HET VERKEERD VERBINDEN VAN DE ELEMENTEN BEGON DE BATTERIJ WARM TE WORDEN, WAARDOOR HET UIT EINDELIJK IN ELKAAR ZAKTE.
ERG INTERESSANTE UITKOMST :)
[[File:
]]
Les Opdracht 3:
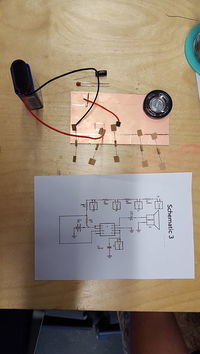
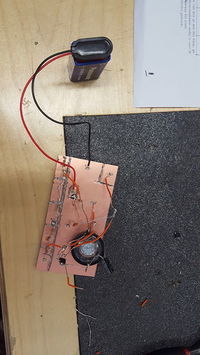
Het maken van een keyboard dat door middel van geleiding via het koperen bord en de speaker geluid maakt op verschillende toon hoogtes.
In samenwerking met Iris. [[File:
]] [[File:
]]
Les Opdracht 4:
De uitkomst van de gesmolten batterij was voor mij erg opvallend in dit project, dat juist het gefaalde een onverwachte twist kan geven aan het onderzoek. Hierop wil ik verder werken met mens en warmte. Het risico van opdracht 2 dat de batterij smolt, op dat risico wil ik mijn project baseren. Wat als de batterij nog langer had gestaan? Wat als dit ook met mijn project gebeurd? Dat ga ik nu onderzoeken.
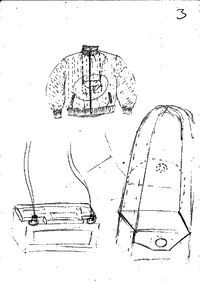
Hier enigszins ideeën wat mij opviel en in de richting dat ik bij de bespreking wilde werken.
[[File:
]] [[File:
]]
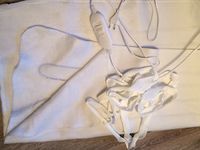
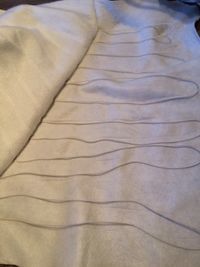
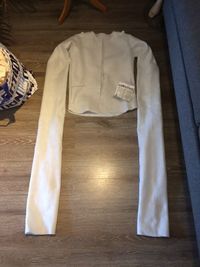
Om de warmte in contact te brengen met mensen heb ik gekozen voor een verwarmingsdeken, omdat dit gelijk tegen het lichaam van een persoon zit. Dit ga ik uit elkaar halen om te zien wat voor elementen erin zitten en hoe ik deze zou kunnen omzetten tot zowel een eigen object evenals het interactief gebruikt wordt.
[[File:
]] [[File:
]] [[File:
]] [[File:
]] [[File:
]] [[File:
]]
Als groep voor eind presentatie kwamen wij overeen met zowel het interactief zijn met ons eigen gemaakte product en de onhandigheid ervan. Onze producten zijn zo gemaakt dat het onder 1 thema valt.

