Difference between revisions of "User:Emielgilijamse"
(→Film) |
|||
| Line 84: | Line 84: | ||
We wanted to make three different films, all lasting 10 seconds. These short films give the viewer information about the temperature in different ways. The first gives values in numbers in three different catagories. A random value, temperature in degree celsius and degree fahrenheit. Using a scale from -15 till 68 degrees celsius. Below -15 and above 68 degree celsius the human cell structure falls apart. Giving us fluctuating numbers representing the three chosen catagories. These values are mixed together randomly so they would be hard to define what the values mean. | We wanted to make three different films, all lasting 10 seconds. These short films give the viewer information about the temperature in different ways. The first gives values in numbers in three different catagories. A random value, temperature in degree celsius and degree fahrenheit. Using a scale from -15 till 68 degrees celsius. Below -15 and above 68 degree celsius the human cell structure falls apart. Giving us fluctuating numbers representing the three chosen catagories. These values are mixed together randomly so they would be hard to define what the values mean. | ||
| − | (film01) | + | (film01) http://digitalcraft.wdka.nl/wiki/User:Sjoerdlegue#Video_1 |
The second movie would provide more information about how we measured the temperature and what the values in the previous movie meant. We used the setup as shown above, but added an other feature. We decided a different visual reference would be interesting. We connected the values given by the sensor to a screen which translated these into greyvalues. We used the same scale as for the numbers, only this time we needed the colour codes aswell so combining it with RGB colour values. So our -15 degree celsius was set on 0, and the 68 degree celsius on 255. With the information we recieved, we were able to let the greyvalue change with the temperature given by the heatsensor. | The second movie would provide more information about how we measured the temperature and what the values in the previous movie meant. We used the setup as shown above, but added an other feature. We decided a different visual reference would be interesting. We connected the values given by the sensor to a screen which translated these into greyvalues. We used the same scale as for the numbers, only this time we needed the colour codes aswell so combining it with RGB colour values. So our -15 degree celsius was set on 0, and the 68 degree celsius on 255. With the information we recieved, we were able to let the greyvalue change with the temperature given by the heatsensor. | ||
| − | (film02) | + | (film02) http://digitalcraft.wdka.nl/wiki/User:Sjoerdlegue#Video_2 |
The final film needed interaction with the human senses. We used the same setup as with the second film, only this time we wanted to combine the digital sensor with the human sensor. We wanted to use the flame to see how long it would take untill the human sensor would tell the body to pull the hand from the flame. Using the changing colours to see if they could effect the human sensor. To see if with a temperature of let's say, 50 degree celsius looking at a white background, would 'feel' different then looking at a dark grey background. | The final film needed interaction with the human senses. We used the same setup as with the second film, only this time we wanted to combine the digital sensor with the human sensor. We wanted to use the flame to see how long it would take untill the human sensor would tell the body to pull the hand from the flame. Using the changing colours to see if they could effect the human sensor. To see if with a temperature of let's say, 50 degree celsius looking at a white background, would 'feel' different then looking at a dark grey background. | ||
| − | (film03) | + | (film03) http://digitalcraft.wdka.nl/wiki/User:Sjoerdlegue#Video_3 |
We were confindent we had an interesting idea for making an object inspired by the film. But soon we discovered there was room for improvement. Our final film, which we thought had the most potential for the second part of the project, seemed to be a bit to cruel. Using pain in a project raises a lot of questions. Why and how and more important, what we wanted to achieve, were to vague. It also seemed our second film was the strongest one. So this film became the base of our object/installation. | We were confindent we had an interesting idea for making an object inspired by the film. But soon we discovered there was room for improvement. Our final film, which we thought had the most potential for the second part of the project, seemed to be a bit to cruel. Using pain in a project raises a lot of questions. Why and how and more important, what we wanted to achieve, were to vague. It also seemed our second film was the strongest one. So this film became the base of our object/installation. | ||
Revision as of 14:54, 1 November 2017
Digital Craft: Practice Q9 "How to be human"
Contents
Project 1 "On the body"
Exploring bespoke technologies as remediation, adaptions or extensions of the human body
Introduction
'What I wanted to achieve was to find a relevant example of a traditional technique using a modeling methode as used in modeling software.'
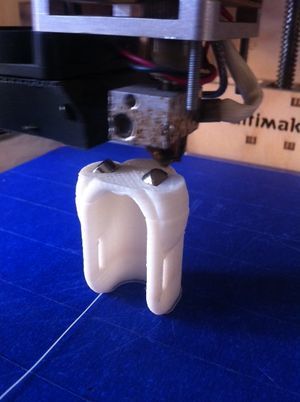
At this point I am especially interested in the "craft" in "digital craft'. I decided to interpret the human body as a toolkit. Focusing on the finger, which is giving us the ability to create forms and shape objects in traditional crafts. Looking back in history, the hand and its finger were one of the first and most essential tools used by man to shape and form. Especially looking at ceramics and sculptures, in which our hands and fingers are still essential. But in our digital age we've defined different ways of creating, inspired by our manual methods, but different in possibilties and approach.
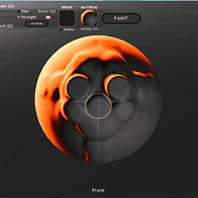
Where the traditional ways of shaping materials like clay, direct contact with the material is inevitable, the modern modeling process takes place in a digital enviroment. Software like Meshmixer and Sculptris gives you the possibilty to pull and push an unlimited amount of mass, giving you endless possibilties, which are practically impossible using the traditional ways of shaping by hand. I wanted to design and create an extension of the human finger. Combining traditional ways of shaping, inspired by the modern approach of modeling as seen in free-form modeling software.
Research
Using technology to alter human capabilties.
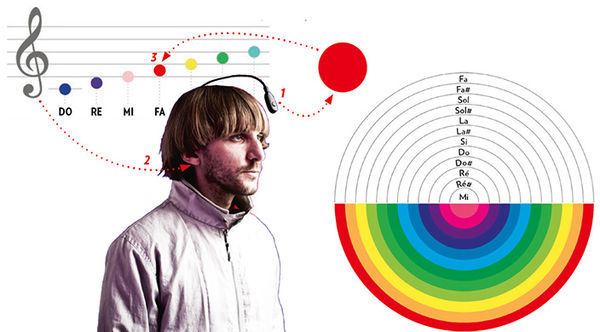
After reading the article 'How Humans Are Shaping Our Own Evolution' (by D.T. Max, National Geography, issue april 2017), I became acquianted with the existence of Neil Harbisson. He's is known as one of the most famous living human cyborgs of our time. He has a rare condition called achromatopsia; he cannot perceive color. Together with science he now is using a device attached to the back of his head. Not by sight but through vibrations on the back of his skull he can indentify colors. Using technology not only gave him the abilty to indentify his surroundings, he gained an extra sence in a way normal human beings can not. He is able to do something others can not, because of technology.
This example of Neil Harbisson is an interesting way of showing the value of using technology to extent our possibilities. To add devices to our body making us do things we could not do before. The focus for this project will be on extending the human ability to shape form using the finger as a tool.
The way Harbisson is helped by technology is a rather extreme example. We can use technology, low- or hightech, to increase our capabilities. I want to design and make a device which can be added and removed from the human body. The device will only serve one single purpose. Focussing on the human finger as a tool, I will use simple technology to change the way of using it. Can I mimic the way of shaping in a digital enviroment, to make a combination between a new way of shaping with a traditional craft?
To find a way to make the project physical, I needed relevant examples. Inspired by the methode designer Jolan van der Wiel is using to shape his collection "Gravity"-stools, I decided to try this technique myself.
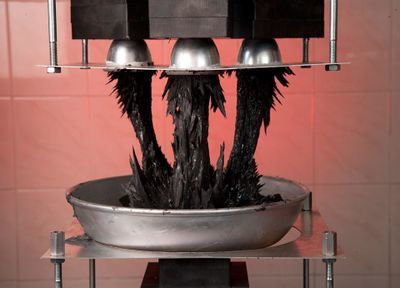
Getting my hands on a magnet was not really the challenge. Finding the right material to shape it with one, took some effort.
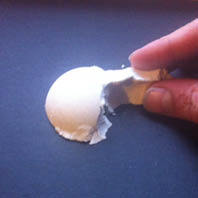
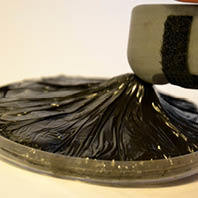
I started with metal sawdust and woodglue as binder. The first results were promising but I was unable to keep the shape after removing the magnet. I needed a more firm base material, like clay to get a better result. I found a non-drying subsitute of clay, plasticine, which I found interesting to work with. Because of it's characteristics, chalk and petroleum, I could create a firm base and have the ability to change its'density using pertoleum based fluids (lampoil). The more dense variant could be moulded in a basic form to shape, the more fluid one could be pulled up from a flat surface.
Result
I was hoping I would be able to shape more freely with the substance I have had created. Pull and shape the material in a new way. Although searching for more form freedom, it turned out to be very limited. it did not matter what the density of the substance was, the maximum amound of material that could be pulled out, was around 10 mm. Not enough for what I had in mind.
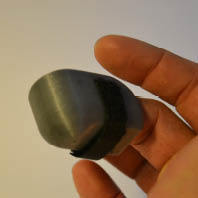
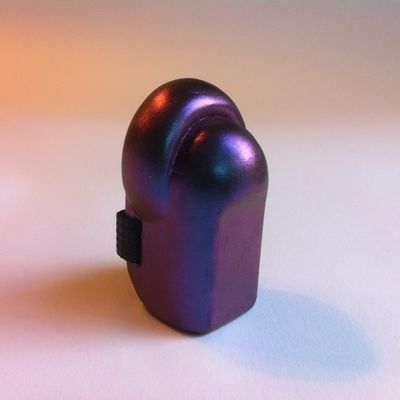
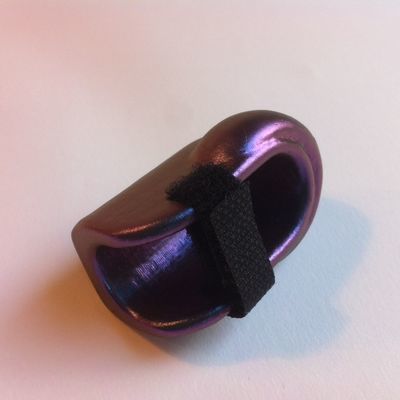
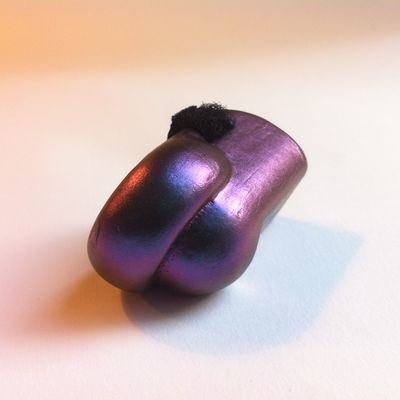
Only then I realized I was focussing on the substance more than the object itself. I had to turn this around and leave the substance for what it is. A shame for sure, but if I wanted to engineer it into something useful, I would need more time. So I decided to created three different versions of the original tool, with different strenghts. I wanted to change a few things on the object. The design would stay practically the same, but I wanted to involve the user himself. Let the user decide what the function is, what you can use it for. But to encourage the random user to put on the tool and play around with it, it needs to be visually attractive, more like jewellery. That's why I decided to use a coating with draws attention en curiosity. So the user would be triggered to experiment and decide what the most relevant function of this tool is. Which could be decoration, moving and attracting certain materials or a tool to increase attention, experimentation and inquisitivity.
Project 2 "Sensitivity Training"
Understanding and learning to work with sensors
Teammates: Sjoerd and Pepijn
Introduction
After a brief introduction about a selection of common used sensors, we had to choose one for this project. We chose the Heat-sensor. Our task was to connect sensors with the human perception, make a combination between man and machine. This project could basically be devided in two; a movie and an object. These two parts needed to be connected in some way. We almost immediately decided to use a common heat sensor, a device which gives us the temperature in numbers. And use the human heat sensor, triggered by feeling and pain stimuli.
Research
Film
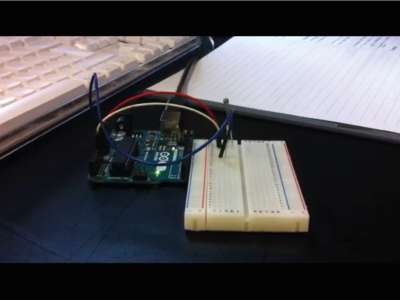
To get a full understanding of how the sensor device that we wanted to use works, we decided to make our own setup. For the film we were using the Ardiuno UNO and heat sensor to measure the temperature. The setup can be seen below.
We wanted to make three different films, all lasting 10 seconds. These short films give the viewer information about the temperature in different ways. The first gives values in numbers in three different catagories. A random value, temperature in degree celsius and degree fahrenheit. Using a scale from -15 till 68 degrees celsius. Below -15 and above 68 degree celsius the human cell structure falls apart. Giving us fluctuating numbers representing the three chosen catagories. These values are mixed together randomly so they would be hard to define what the values mean.
(film01) http://digitalcraft.wdka.nl/wiki/User:Sjoerdlegue#Video_1
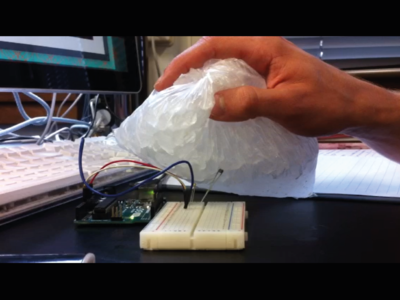
The second movie would provide more information about how we measured the temperature and what the values in the previous movie meant. We used the setup as shown above, but added an other feature. We decided a different visual reference would be interesting. We connected the values given by the sensor to a screen which translated these into greyvalues. We used the same scale as for the numbers, only this time we needed the colour codes aswell so combining it with RGB colour values. So our -15 degree celsius was set on 0, and the 68 degree celsius on 255. With the information we recieved, we were able to let the greyvalue change with the temperature given by the heatsensor.
(film02) http://digitalcraft.wdka.nl/wiki/User:Sjoerdlegue#Video_2
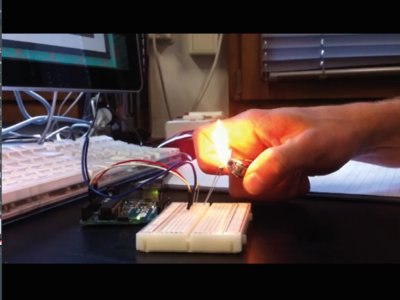
The final film needed interaction with the human senses. We used the same setup as with the second film, only this time we wanted to combine the digital sensor with the human sensor. We wanted to use the flame to see how long it would take untill the human sensor would tell the body to pull the hand from the flame. Using the changing colours to see if they could effect the human sensor. To see if with a temperature of let's say, 50 degree celsius looking at a white background, would 'feel' different then looking at a dark grey background.
(film03) http://digitalcraft.wdka.nl/wiki/User:Sjoerdlegue#Video_3
We were confindent we had an interesting idea for making an object inspired by the film. But soon we discovered there was room for improvement. Our final film, which we thought had the most potential for the second part of the project, seemed to be a bit to cruel. Using pain in a project raises a lot of questions. Why and how and more important, what we wanted to achieve, were to vague. It also seemed our second film was the strongest one. So this film became the base of our object/installation.
Installation
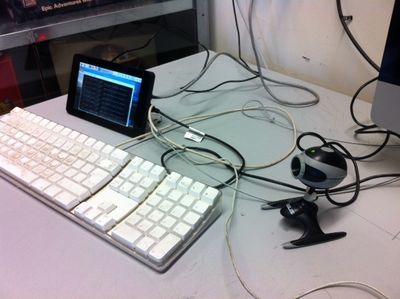
Our search for an interesting second part of this project, started withthe idea to make our own infra-red camera. We hacked an old webcam, following a DIY on youtube. Not long after that we discovered the result was not interesting enough although we had it in a wokring condition. The setup we had can be seen below.
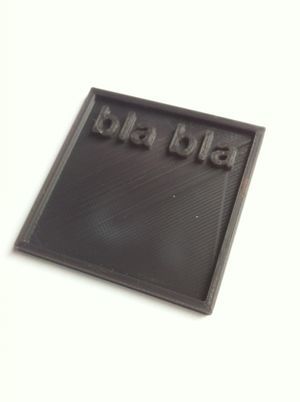
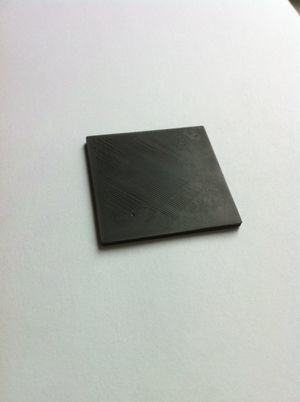
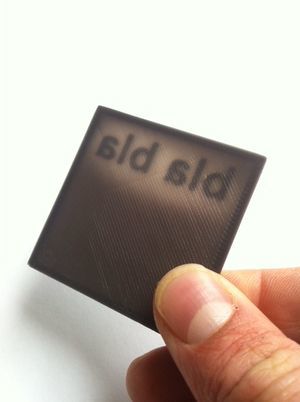
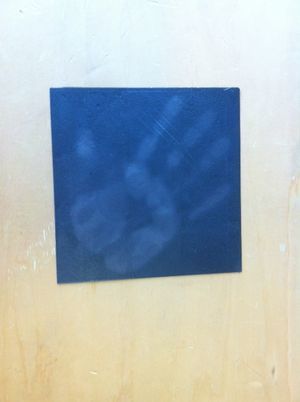
For the installation we went looking for an other kind of heatsensor, one we could shape ourselves. We came across thermal filament for the 3d-printer which reacts on heatsources like bodyheat and sunlight. Before thinking about the shape we wanted to use, we started by experimenting with the material itself.
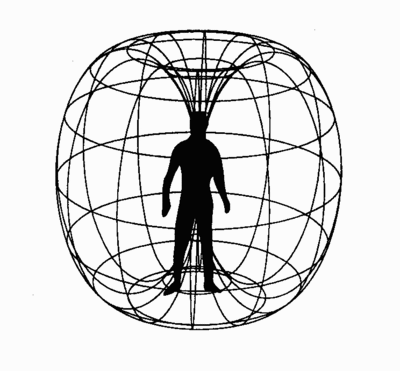
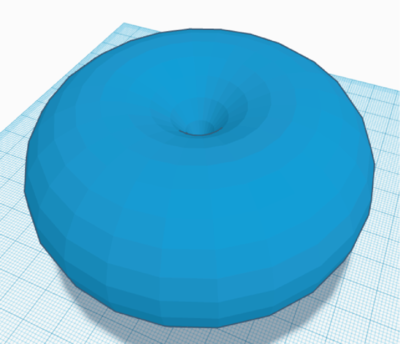
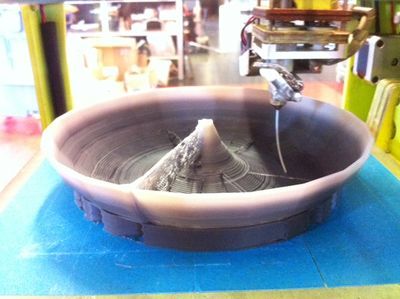
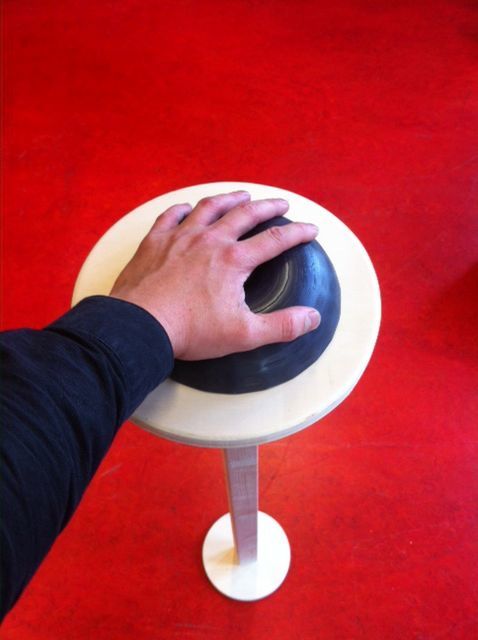
During the experiments we tried to find the best way of using this material for our object. The fact that the material becomes slightly translucent could be used to make image or text appear and dissapear. After trying some samples and showing them to others, showed that the material itself is already interesting. We found out that people were curious of what the material would do by heating it using your hands. We wanted to keep the mysterious property of this material more or less secret. We wanted to invite the user to touch the object and see what would happen. What we needed to encourage people to hold the object, was an attractive shape. Both strange and alien as natural and friendly. The shape of the magnetic energy field that surrounds us humans beings, has the shape of a torus. This "fat donut" appeared to be an interesting shape for our object.
The printed object had to be placed on some sort of tripod to make it easier for people to touch. The whole installation should invite people to participate and interact with the object. That is also the reason why we chose to add a poster which gives visual information about the project. The title 'energy flows were the attention goes' should give the user comfort in touching the object and figure out what it does. This installation basically registers the influence of your body heat for a short amount of time, it is functioning as a heat sensor.
Result
Project 3 "Mind (of) the machine"
Reconstruct images using the pixel enhancer algorithm
Teammate: Noemi Biró
Introduction
Boris Smeenk and Arthur Boer used an algorithm to reconstruct images taken from a data sheet collected from different sources on the internet. This algorithm processes a large amount of images, tries to understand the shapes and colours. It wants to create new shapes based on the data it has been given, basically combining the different content in what it thinks is logic. We needed a large amount of data, containing images, the so called data set. Run it through the algorithm, giving us the an insight in how it thinks and what it will give us back.
Datasets
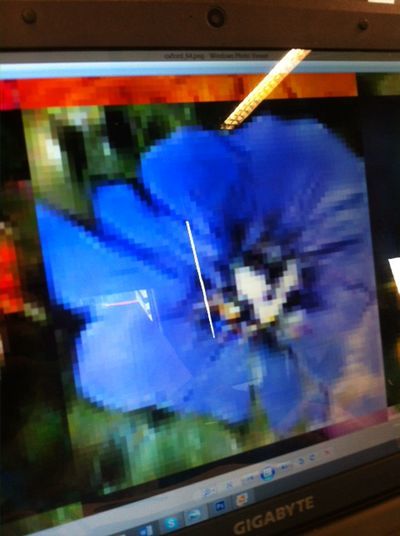
Inspired by this algorithm, we wanted to explore its possibilities by giving it two very different datasets. We chose to run a dataset which contains a large amount of relatively similar images. Similar in the imagesize, content and quality, a 'clean' dataset. We came across a Oxford University dataset which contained 8000 images of flowers. The purpose of this dataset was scientific, so we knew it would not be polluted by images which were out of place.
Flowers
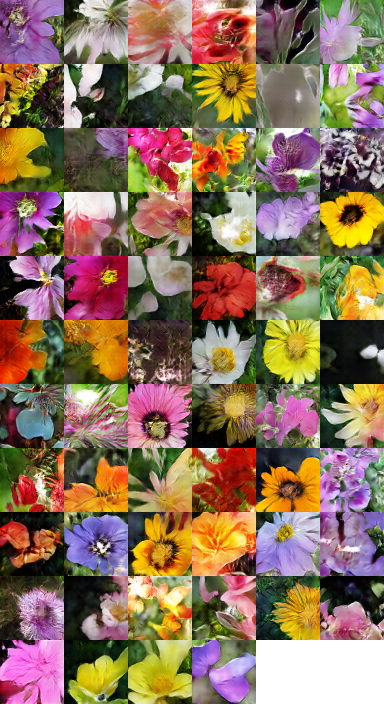
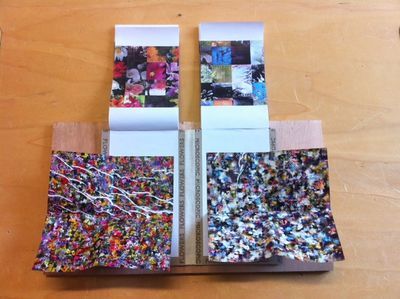
We gave the algorithm 8000 flower images. This is what it gave us back.
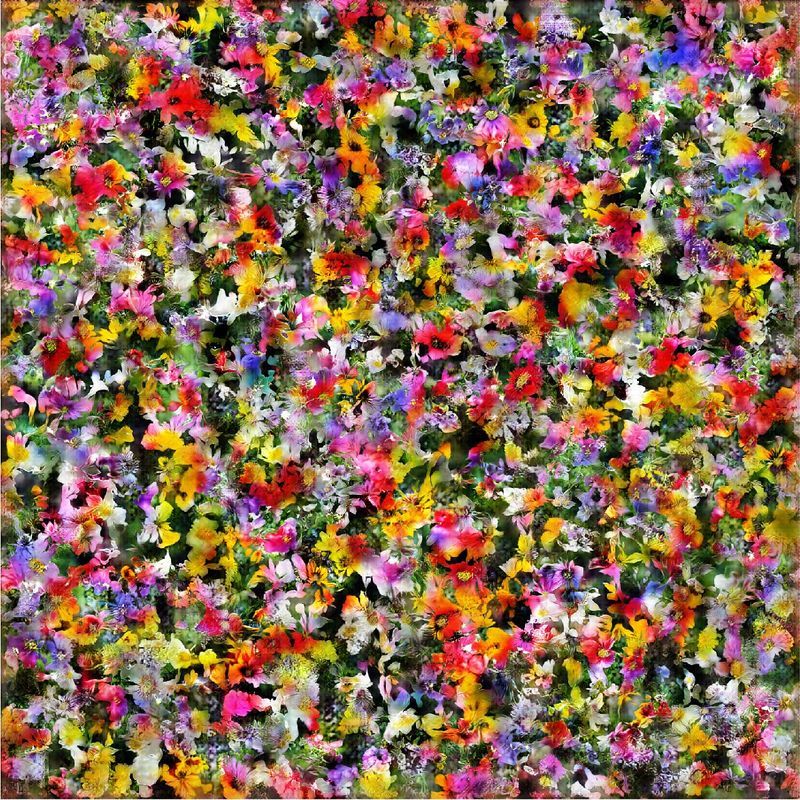
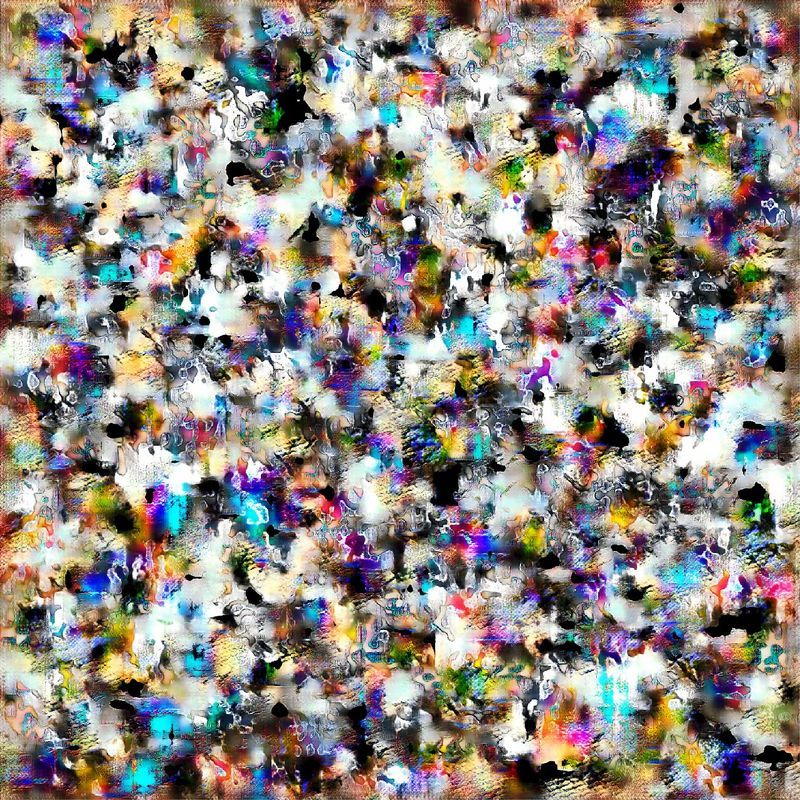
The image on the left are all the flowers combined in a small amount of frames. The original content from the dataset is still very clear. All the different image show the shapes, texture and colour from the original images. Though non of the flowers are existing, they are all shaped by the algorithm. The image on the right shows an other ability of the algorithm. Combining all generated images into one large blended image. Also in this image the original shapes can be seen clearly.
Microscopic
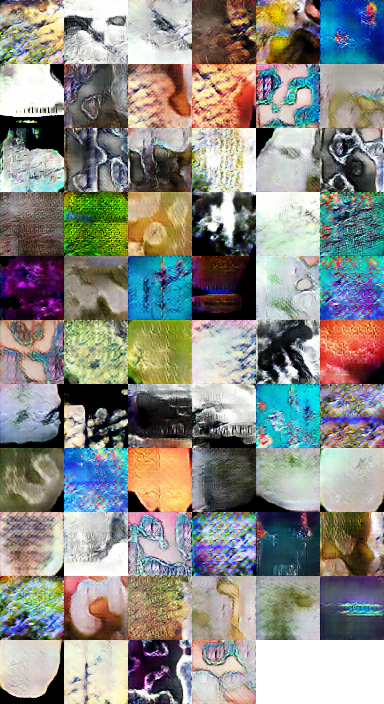
The first dataset gave us more or less what we have expected, seen the 'clean' set we have given the algorithm. For the second one we wanted to try the opposit. We wanted to run a 'dirty' dataset. An uncontrolled set in which all sorts of different images can be found. Then only communal thing would be its search term. We chose 'microscopic' because of the fact that most of the microscopic images we know, are already abstract and undefinable. Beside this fact, we generated this dataset from Instagram. So instead of a scientific dataset, we know used a public dataset. This set had less images as the first, which is an extra element in making it harder for the algorithm to understand were the content is about. And how it should understand and combine it to recreate a set of images.
Booklet
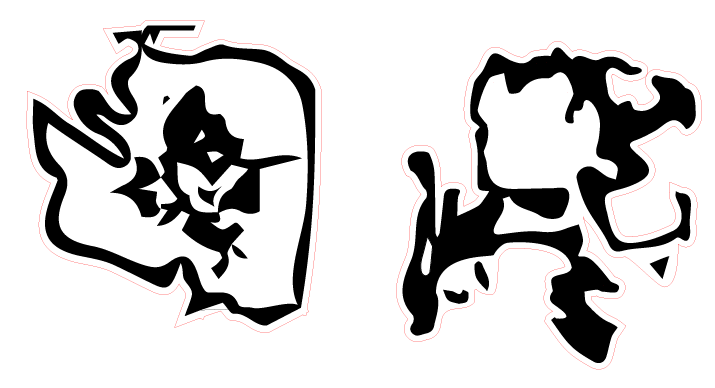
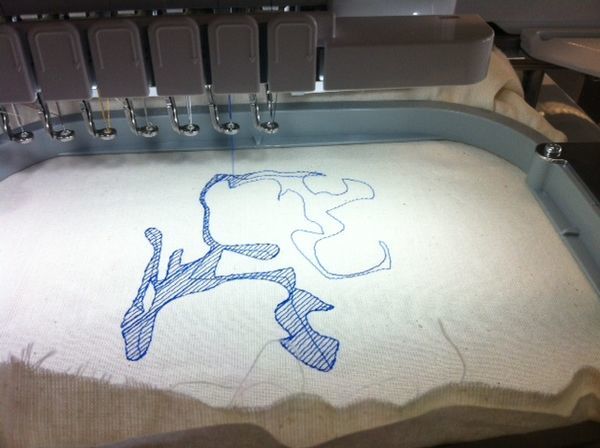
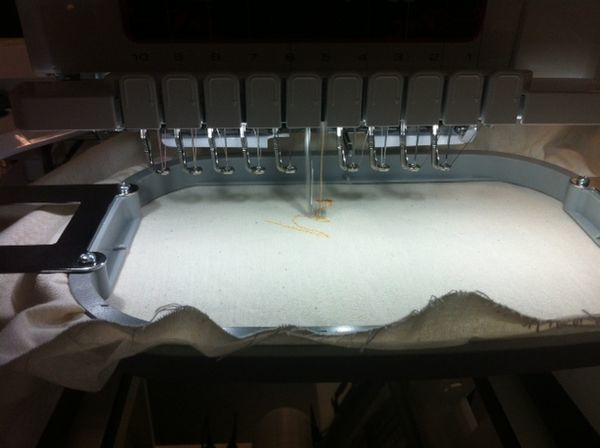
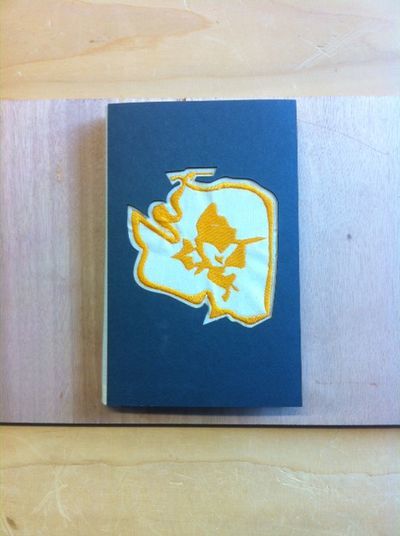
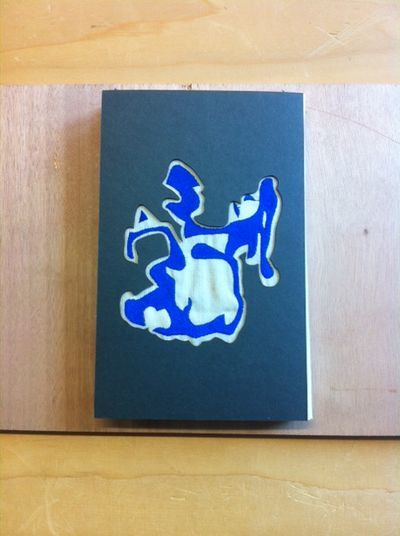
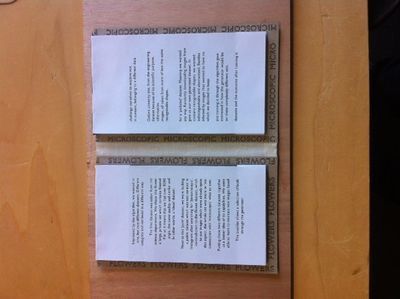
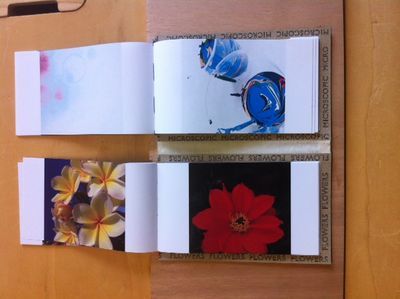
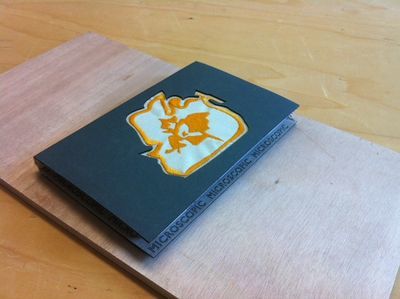
The fact we worked with two datasets gave us the idea to split the book in half. Meaning we would combine the two seperate results as individual booklets sharing the same bookcover. We also decided we wanted to do something extra with the results the machine gave us. It gave us images, which can be converted to vectors and then be lasercut or put in the embroiderymachine. We decided to show these possibilties on the booklets cover.
Also the use of different colours had to make it more clear which dataset belonged to which cover. The blue and yellow threads made it more clear you were dealing with two different sets. Presented in a way you were able to compare the two and see how the machine deals with the differences between the two.

