Difference between revisions of "User:Hugo"
| Line 50: | Line 50: | ||
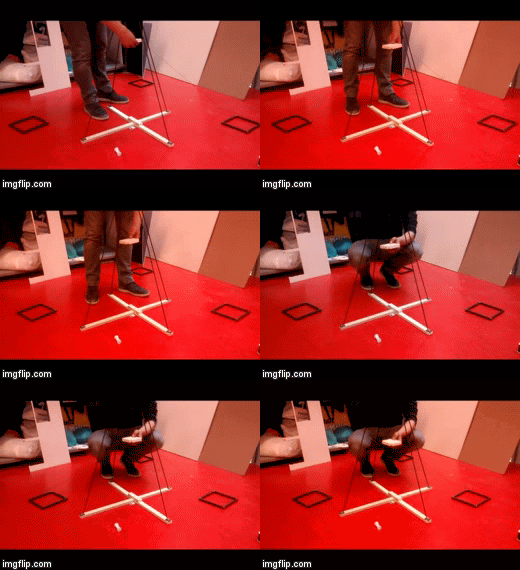
In order to really show the beautiful process of making rope, I had to scale it up. | In order to really show the beautiful process of making rope, I had to scale it up. | ||
[[File:Touwmachine 2.gif|400px|right]] | [[File:Touwmachine 2.gif|400px|right]] | ||
| + | |||
| + | |||
| + | |||
| + | |||
==large scale experiment, the yarn lenght== | ==large scale experiment, the yarn lenght== | ||
Revision as of 14:32, 23 April 2016
Hallo my name is Hugo van der Loo second year product designer at Willem de Kooning academy.
I have choosen the practise digital craft because I'm interrested in the connection between theorie and praktise. The history of craft industry and making is a central theme in this quater. I want to make a product that translate my point of view toward this topic.
Contents
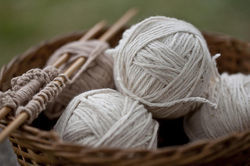
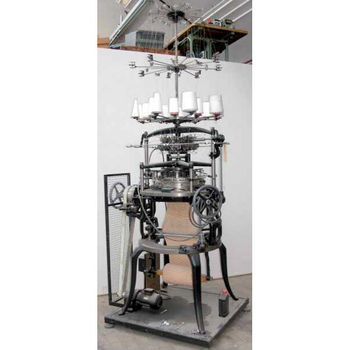
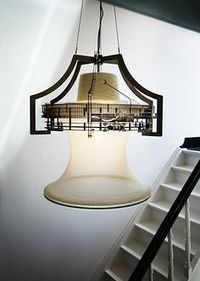
Three pictures of the knitting technique
Above three pictures of the knitting tehnique. The first one is knitting by hand, the second knitting with a 19th century machine, the thidt one is a knitting machine as part of a lamp.
My own rope machine
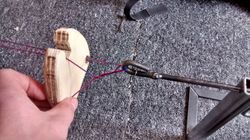
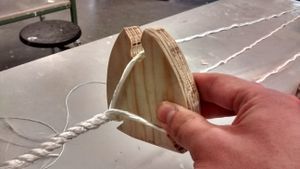
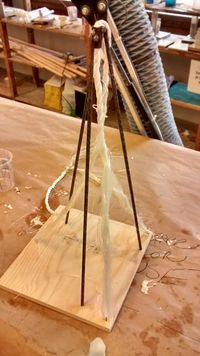
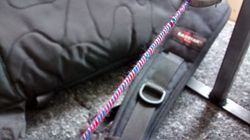 I was inspired by a book about knots. I looked at a piece of rope a thought to myself how something like that is made? It’s such a simple product, but it consists of a lot tiny yarns. On internet I learned about rope making and found out that the basics of the machine aren’t that complicated. I went in the metal workstation to make my own small rope machine.
After I made my own rope with a lot of different materials. I realized that I liked the process of making more interesting than the actual product itself. The threading of the yarns. The rotation of that forms a rope. I was fascinated by this process and wanted to capture it in an object.
Glass fiber rope
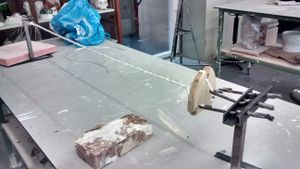
I wanted to capture the making of the rope. One of the materials that I used for my rope was glass fiber. This material is often used in combination with epoxy resin to make a strong and lightweight material. I wanted to see if I could freeze the process of the rope making by using epoxy resin to harden it.
The experiment was a success. The material was very hard. But I misted the machine aspect within the object. One of the most interesting aspects was the movement. I wanted to keep this movement of the yarns in my design, so I choose not to continue with the hardening of the rope.
Rope machine "small scale"
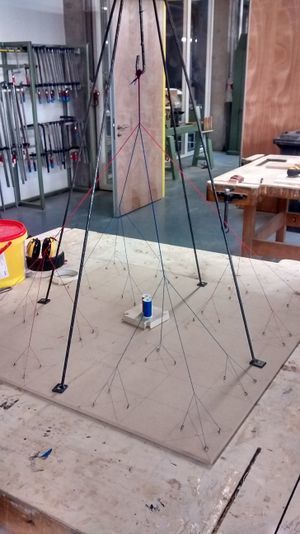
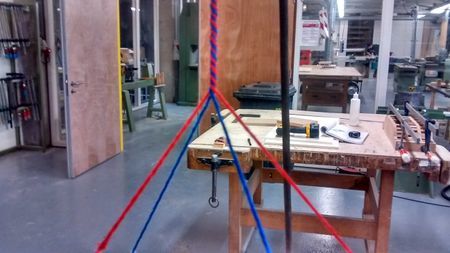
I wanted to show how rope is made. How 3 yarns are twisted together, how that rope is twisted together with 4 other ropes, and how that rope again is twisted together with 3 other ropes. This almost mathematical grid on which the yarns are tighten was very beautiful and looked architectural. I got a lot of positive reactions on this experiment but the general feedback was: Make it bigger! In order to really show the beautiful process of making rope, I had to scale it up.
large scale experiment, the yarn lenght
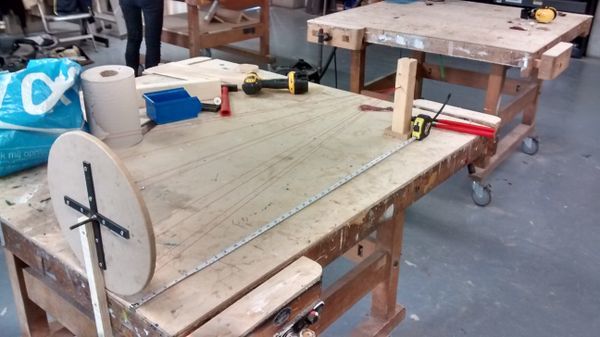
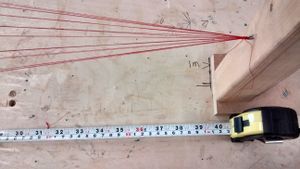
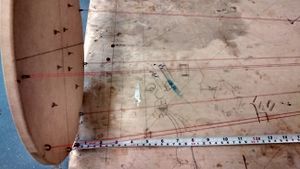
I had noticed that when you twist the yarns to make a rope the rope is shortening in length. Before I could start making the large rope making installation, I needed to know how much length is actually lost per meter of yarn. I measured one meter of yarn and twisted it with a drill. Then I measured it again and got the amount of centimeters the yarn had shortened.
The experiment was a success, I measured that one meter of yarns turns into 85 cm of rope. But I realized that the rope will shorten every time it’s twisted around each other so it will be very hard to calculate how long the yarns had to be to get a decent length of rope.
separate yarnspools experiment
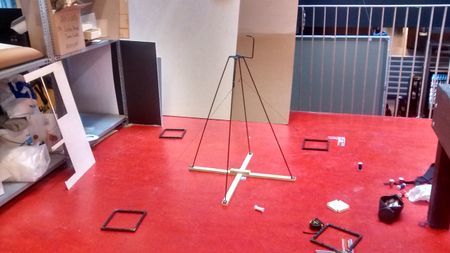
Because it was hard to figure out how long I had to make the yarns in order to have a decent length of rope. I decided to instead of let the hook come down from the top as the rope is being made. I let the yarns move to the center. When you attach the yarns on different spools on de floor and you rotate the yarns from above, the rope will pull the spools towards the center. This extra movement in the machine I really liked and is actually a typical aspect of the traditional rope making. When you make rope the old fashion way, one end of the rope would be on a trolley. When the rope was made this trolley would gradually be pulled towards the hook that was rotated. I did an experiment to put this theory into practice.
large scale experiment,attaching the yarns
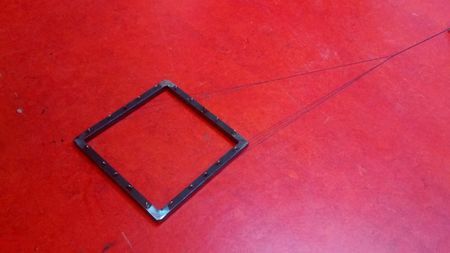
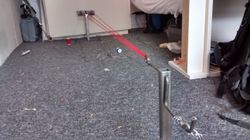
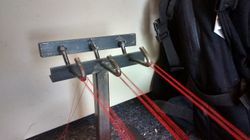
Because the machine is made of iron I wanted the spools there the yarns are attached to, to be made out of metal as well. I welded a square in which I drilled holes. In these holes I welded metal hooks for the yarns to be attach to. Because I wanted the metal squares to be able to move around the flour towards the center as the rope was being made. I made the squares out of solid steel so they would be heavy enough to keep the yarns tensed, but light enough to be able to move. To test this, I did a small scale experiment using the rig I made for my pervious rope machine.

