Difference between revisions of "AE Scripts"
| Line 90: | Line 90: | ||
[[File:WigglingSquares8.png|500px]] <br> | [[File:WigglingSquares8.png|500px]] <br> | ||
=== TIP === You can use the 'wiggle' expression to create a random color text animation as well! follow [https://www.youtube.com/watch?v=37a3YHq4suE >>this] tutorial | |||
<br> | <br> | ||
Revision as of 19:53, 5 October 2023
On this page you will find a series of guides to create short animations combined into one. You will be adding Scrips into Adobe After Effects.
For this demo I chose the words 'Visual Coding' + square shape + the colours #260340 and #d3e52b on a 5:4 canvas ratio.
Guide: Text Reveal/ Countdown
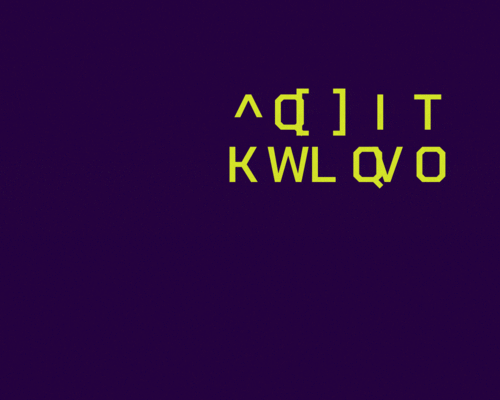
This short assignment demonstrate how to create a generative text animation.
| skills | wiggle expression |
| time to complete | 10 minutes |
step 1
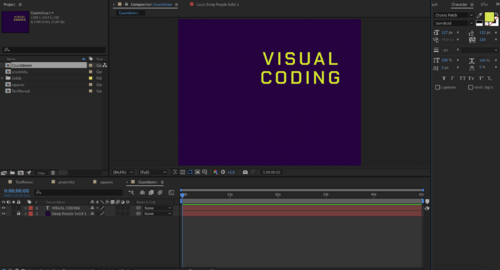
write text on your background (or solid background layer for creating GIFs).
center your anchor point [ - command double-click on your anchor icon - ]
step 2
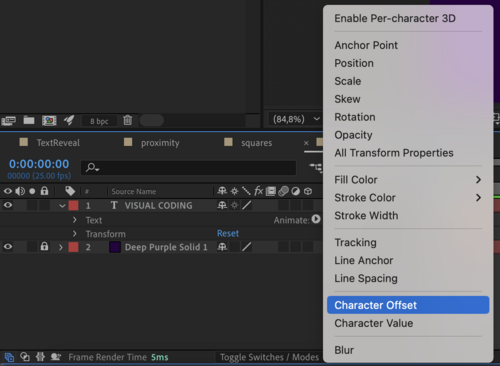
open your text layer > animate > character offset
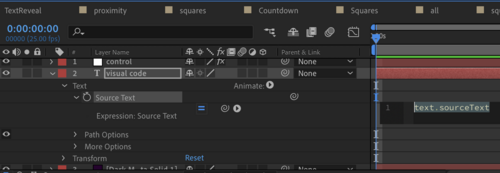
step 3
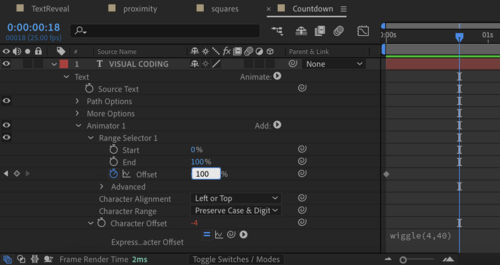
Alt + Stopwatch >wiggle (4,40)

step 4
Range Selector >offset
Stopwatch on 0% >keyframe 100%
Adjust keyframe to you will: closer to the beginning for shorter countdown, further for longer countdown.

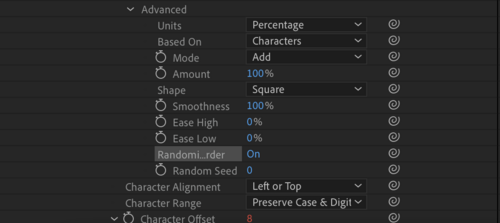
step 5
Advanced > Random order ON
Random seed: 6
=== TIP === You can use the 'wiggle' expression to create a random color text animation as well! follow >>this tutorial
Guide: Multiple Wiggles
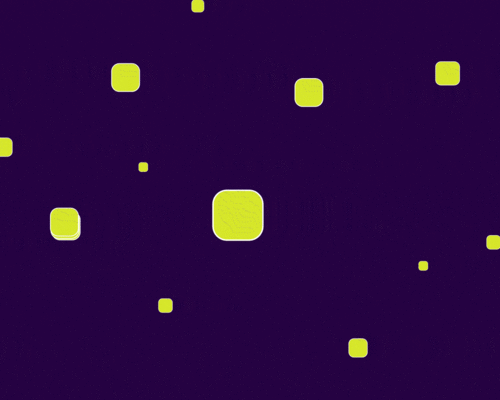
This short assignment demonstrate how to adjust multiple layers at the same time.
| skills | wiggle expression |
| layer control expression | |
| time to complete | 17 minutes |
step 1
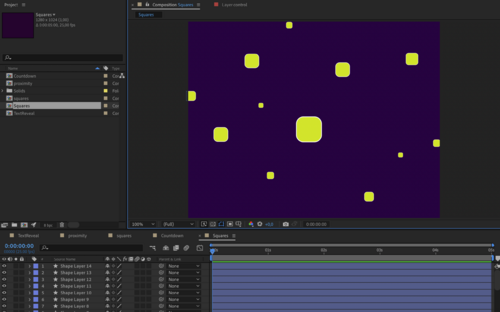
create multiple shape on your background/ solid.
step 2
add a Null layer > rename it 'control'.
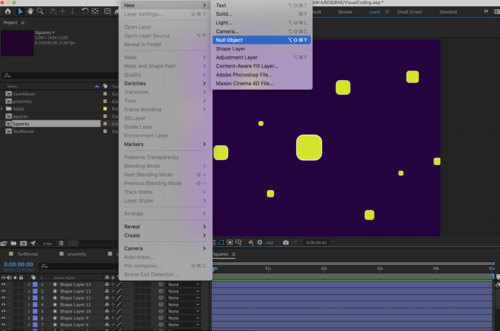

step 3
add Expressions Effect > Slider Control to your control layer.
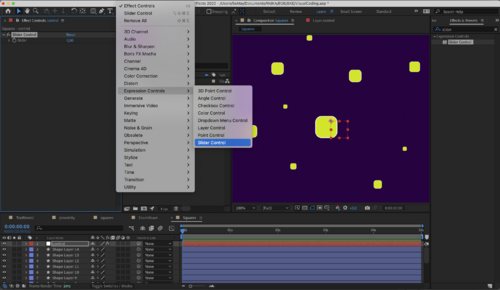
step 4
add another slider with command D and name them: Time and Position.
Lock the Effects panel to keep it visible.
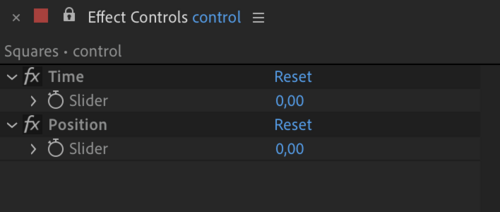
step 5
Open the top layer's Position and Alt-click the Stopwatch.
Write wiggle and keep the brackets empty.
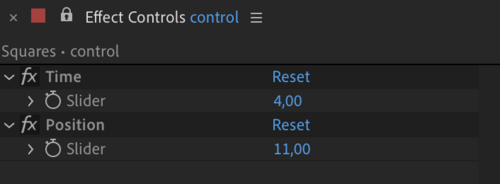
connect the values with the Time , Position sliders using the PickWhip.

step 6
control-click (right-click) the Position stop watch > select 'Copy Expression Only'

step 7
select all there rest of the shape layers > paste.
step 8
You can now adjust the wiggle values of all the layers together.
=== TIP === You can use the 'wiggle' expression to create a random color text animation as well! follow >>this tutorial
Guide: Font Weight
This short assignment demonstrates how to animate text using and editing a given code.
You can follow the original tutorial showing 3 ways to animate text weight >>here (expression Strats at 6:51)
| skills | copy-and-adjust code |
| layer control expression | |
| time to complete | 21 minutes |
step 1
Add a text layer. Choose a typeface with multiple weights.
step 2
add a Null layer > rename it 'control'.
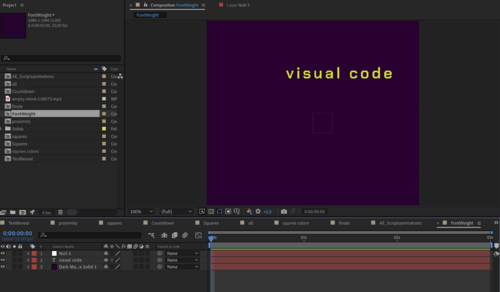
step 3
add a Slider Control effect to the Null layer > rename it 'font weight'.
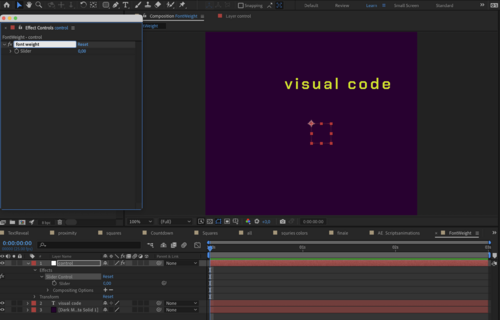
step 4
click your text layer drop-down arrow > open the 'TEXT' drop down menu.
next to the Source stop watch alt(Option)-click > paste in the following code:
var array=[
"ChakraPetch-ExtraLight",
"ChakraPetch-Light",
"ChakraPetch-Regular",
"ChakraPetch-Medium",
"ChakraPetch-SemiBold",
"ChakraPetch-Bold"
];
r = Math.round(thisComp.layer("control").effect("font weight")("Slider"));
style.setFont(array[r]);
step 5
adjust the code content - change the names of the fonts to your own selection.
step 6
mark everything inside the brackets of r=Math.round(). connect the whip-pick next to the code with the font weight slider. your text and null layer should now be connected.
step 7
start animating: set the slider on 0 and the indicator in the beginning of the timeline. click the stop-watch next to the slider under the control layer.
move forward in time and set the control slider on 5 (when using 6 fonts). go further in time and set it bak to 0.
Recommended Tutorials
You can watch our pre-tested video tutorials to create the above and more.
1. introduction to Expressions
2. Things Wiggle can do
3. Wiggle multiple objects
4. Flicker/ Glitch
5. Random letter reveal
6. Random options
7. Random XYZ Position
8. Five copy-paste Expressions
9. Adobe Expressions Examples
10. Using ChatGPT to Create AE Animations
