Difference between revisions of "Quickstartguide:Sublimation"
| (5 intermediate revisions by 2 users not shown) | |||
| Line 21: | Line 21: | ||
== Setting up the Heat Press == | == Setting up the Heat Press == | ||
* Turn it on with the red switch on the | * Turn it on with the red switch on the top of the machine side. | ||
* After switching the machine on, | * After switching the machine on, choose the Sublimation setting from the presets menu. | ||
* | * More detailed information you can find here: http://ps.wdka.nl/wiki/Quickstartguide:Transferpress | ||
| Line 67: | Line 67: | ||
== Prepare the garments == | == Prepare the garments == | ||
* Before sublimation, preheat the garment for 2 | * Before sublimation, preheat the garment for 2 seconds (the preheating step is teh first one in the Sublimation presets settings.) Preheating helps to reduce wrinkles and to open up the fibres of the fabric before applying the design. | ||
* To place the fabric on in the heat press - without burning yourself - slide the tray towards you. | * To place the fabric on in the heat press - without burning yourself - slide the tray towards you. | ||
[[File:Heat press | [[File:Heat press handle.jpg|320px]] [[File:Heat press placing fabric.jpg|320px]] | ||
Latest revision as of 14:23, 24 October 2023
File Preparation
To transfer an image to a piece of fabric, you must save your design as:
- JPEG
- PNG
- Photoshop File
NOTE: You don't have to mirror the design now since the printer will do it later.
Materials for Sublimation
Unfortunately, it is not possible to print on any kind of fabric. It is recommended to use a fabric that is made of synthetic fibres (Nylon, Elastane, Polyester). These allow the heat of the press to seal the print and make it last longer. It is not recommended to use natural fibres such as cotton or linen, since the print won't stick properly to the fabric and will most likely disappear after the first wash.
Keep colour in mind
It is best to transfer an image onto a white or light coloured fabric so that the image looks more vibrant and closer to the digital version.
Setting up the Heat Press
- Turn it on with the red switch on the top of the machine side.
- After switching the machine on, choose the Sublimation setting from the presets menu.
- More detailed information you can find here: http://ps.wdka.nl/wiki/Quickstartguide:Transferpress
Sublimation Settings
- Go to the Heat Transfer Press to set up the heat press.
- Now wait for the machine to heat up. It usually takes from 15 to 20 minutes. You can use this time to gather your materials and print the design you want to transfer onto the fabric.
Printing
- Open your file in any program you can print from (Photo Viewer, Acrobat, Photoshop, etc.).
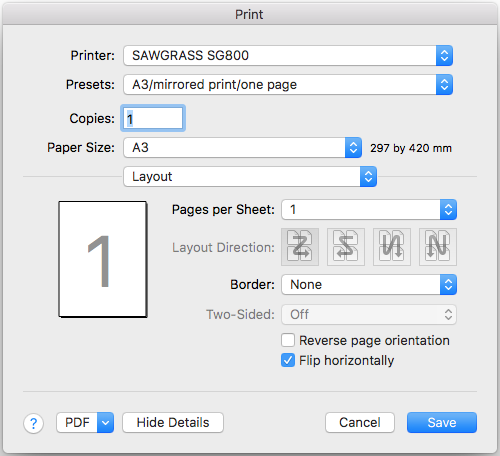
- Hit <command+P> on the keyboard or >File>Print to go to the print dialogue.
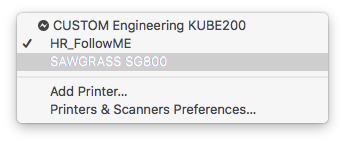
- Make sure to choose the <SAWGRASS SG800> as the printer.
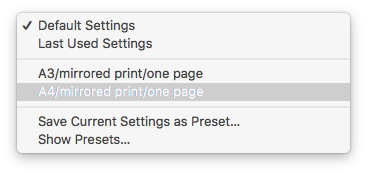
- Choose <A3/mirrored/one page> or <A4/mirrored/one page> as preset.
This sets the printer to the right paper size, the right color profile and it flips the image.
- Hit print.
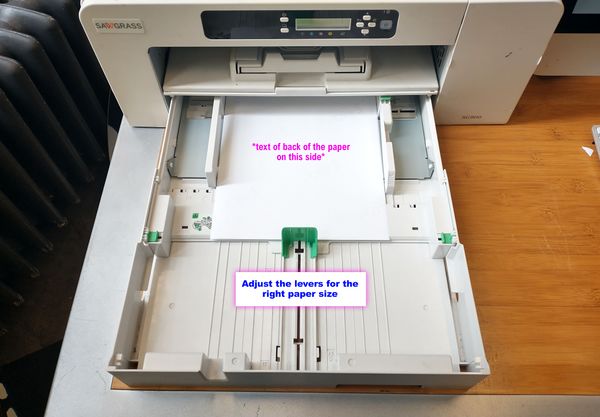
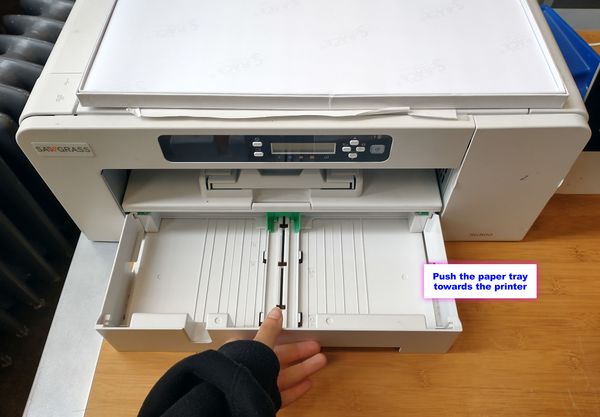
- Place the transfer paper face down (the text on the back readable to you) in the paper tray.
- Wait till the print is done.
Prepare the garments
- Before sublimation, preheat the garment for 2 seconds (the preheating step is teh first one in the Sublimation presets settings.) Preheating helps to reduce wrinkles and to open up the fibres of the fabric before applying the design.
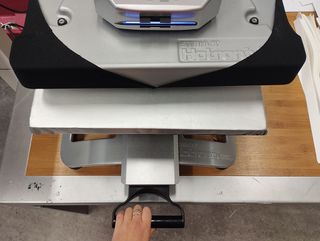
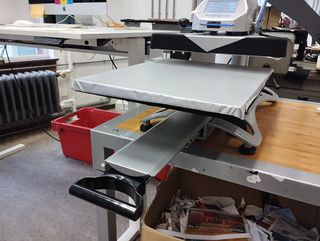
- To place the fabric on in the heat press - without burning yourself - slide the tray towards you.
