Difference between revisions of "User:JeroenRijnart"
| Line 53: | Line 53: | ||
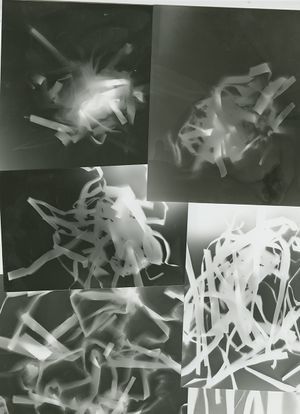
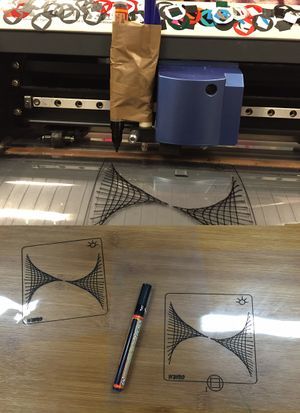
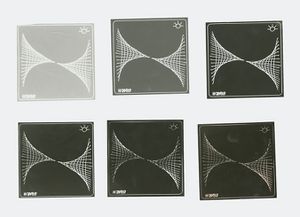
The first photograms I made where made with cut up paper. After that I made a stencil using transparent paper, an acrylic paint marker and a plotter so I could transfer my design to light sensitive paper. Using the lights provided in the dark room resulted in a very clean print, so I started to use a lighter to expose the paper for a more blurry effect. | The first photograms I made where made with cut up paper. After that I made a stencil using transparent paper, an acrylic paint marker and a plotter so I could transfer my design to light sensitive paper. Using the lights provided in the dark room resulted in a very clean print, so I started to use a lighter to expose the paper for a more blurry effect. | ||
| − | |||
Revision as of 22:58, 16 April 2016
Jeroen Rijnart; 0873511@hr.nl
Contents
Why I am a maker:
I like the idea that something I imagined can take physical or visual form.
I like the idea of creating something and sending it off into the world, reaching someone, somewhere sometime, without me knowing who. To let it up to the user/viewer what to think of it or what to do with it.
I like the idea that something that sprung from my imagination can influence someone else's imagination, especially in this day and age where the other person can be in a different corner of the world.
- Losing/gaining control
- making something with/for someone else, community
- instruct-able, video, ask someone to make something based on my instruction
- chain reaction
Pre industrial technique: Etching
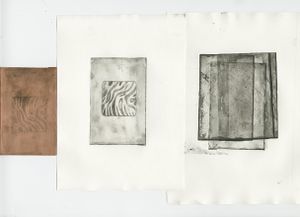
The pre industrial technique I chose was etching, turns out I'm not really good at drawing in copper. Although I like the textures you get from this printing technique, so I printed the backside of my plate.
Comparative Work: Riso v Xerox
New technique: Photograms as a reproduction technique
The first photograms I made where made with cut up paper. After that I made a stencil using transparent paper, an acrylic paint marker and a plotter so I could transfer my design to light sensitive paper. Using the lights provided in the dark room resulted in a very clean print, so I started to use a lighter to expose the paper for a more blurry effect.
To the limit: Wet printing
