Difference between revisions of "User:Diederick"
| Line 130: | Line 130: | ||
[[File:IMG_8918.JPG|500px|Caption]] | [[File:IMG_8918.JPG|500px|Caption]] | ||
[[File:IMG_8939.JPG|500px|Caption]] | [[File:IMG_8939.JPG|500px|Caption]] | ||
| + | |||
| + | [[File:45_DEGREES_SO_DEEP.jpg|500px|Caption]] | ||
=45DEGREES EVERYWHERE // 45DEGREES OF TOWER= | =45DEGREES EVERYWHERE // 45DEGREES OF TOWER= | ||
Revision as of 19:40, 19 April 2016
diederick.boeschoten@gmail.com
Do Glitches Know How To Get Itches?
STUDIO PRACTICE
Bonder.
I study graphic design.
My biggest motivation to get into digital craft, was because I'm starting to grow interest into hardware hacking, processing and more digital things. Besides that I really like to build things, research things and make things happen.
Contents
Start of finding a way to fuse and bond something
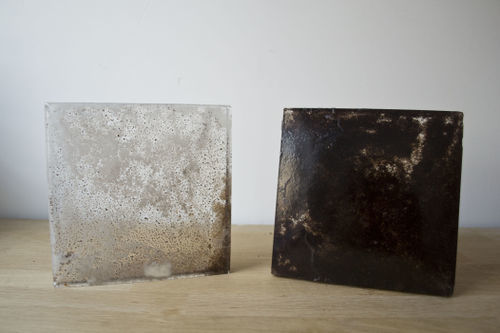
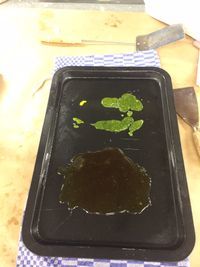
I started with researching manners to bind to materials. In this case by using epoxyharsh.
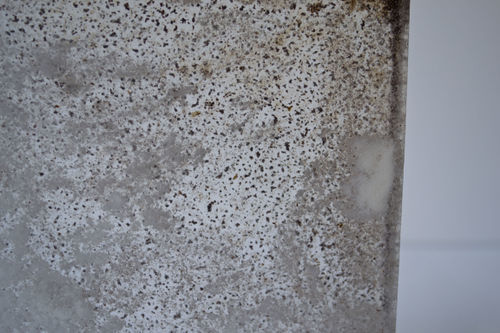
I filled these plates up with coffee- and milk powder. Mostly cause that was what I could find on such short notice. But it did made me wonder if
eatable things could make for an interesting image. The thing with the epoxy harsh is that it looks cool, but doesn't really do anything further.
A comparative example
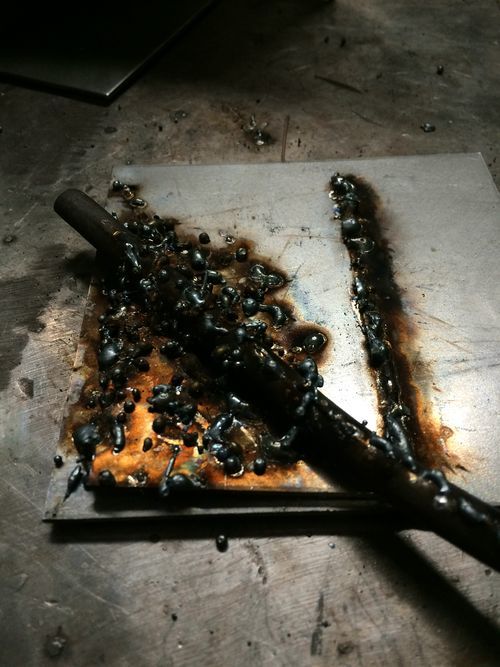
Voor het vergelijkende voorbeeld in de making-technique bonding heb ik gezocht naar een techniek waarmee ik twee dezelfde soorten kon vastmaken aan elkaar.
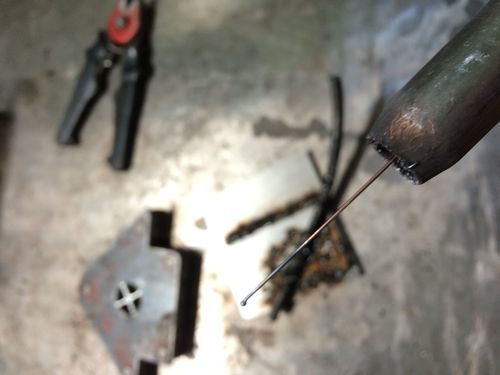
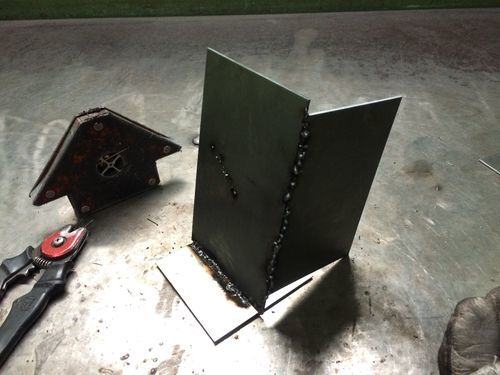
Lassen is het verbinden van materialen door druk en/of warmte, hierdoor wordt het materiaal zacht op een bepaald punt. Door dan materiaal met ongeveer dezelfde samenstelling toe te voegen, ontstaat er continuiteit tussen de te verbinden delen. Maar omdat dit in de werkplaats alleen mogelijk was met metaal, zocht ik naar een andere manier om door warmte een materiaal te verbinden.
De transferpers is er speciaal voor het thermisch overbrengen van beelden op allerlei materialen waarbij te denken valt aan sublimatie en plastisol transfers maar ook transfers welke gemaakt worden middels digitaal printen. Maar dus ook geschikt om bepaalde materialen tot grootte hoogte te verwarmen. In dit geval is het enkel wachten tot het zover gesmolten is dat het een geheel wordt.
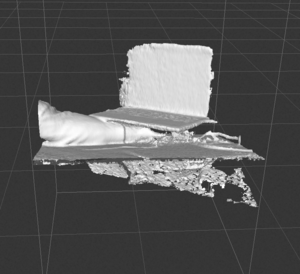
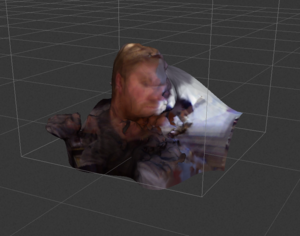
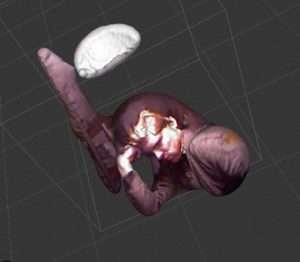
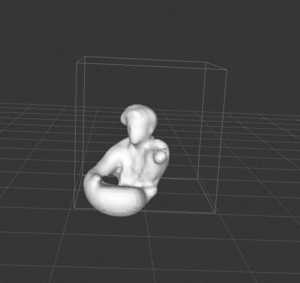
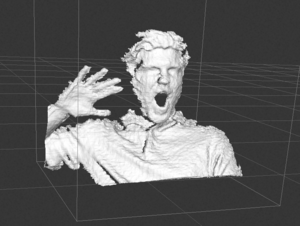
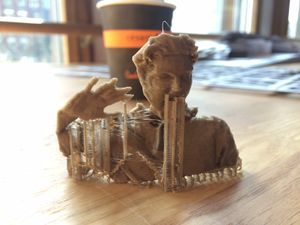
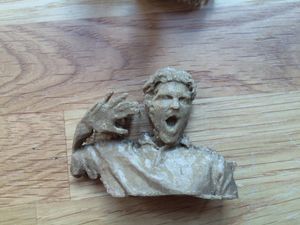
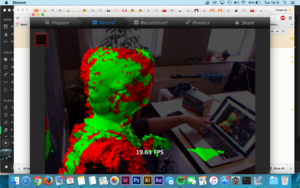
K1nect scanning + 3D printing
An example of a new skill-try out something you have never done before and identify your position on a learning curve.
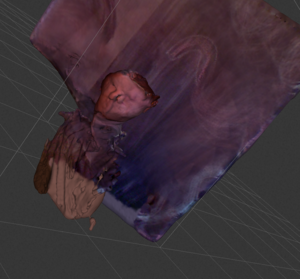
Voor mijn nieuwe skill wil ik mijzelf richten op 3D scannen en 3D printen. In de eerste instantie heb ik de 123D Catch app gedownload op mijn iPhone. Hoeveel kan ik hiermee bereiken?
Voor de volgende stap ga ik de Kinect gebruiken om scans te maken.
Om mijn positie als maker te bepalen wil ik eerst nog verder onderzoeken. Maar het onderzoeken naar de manier waarop een bepaald materiaal is opgebouwd trekt mijn interesse. Verder dan het harsgieten wil ik suikerglas gaan maken in de verdere weken.
Sugarglass
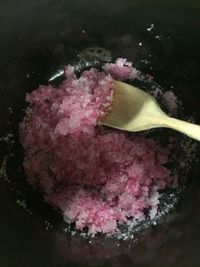
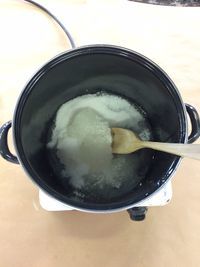
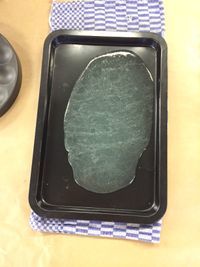
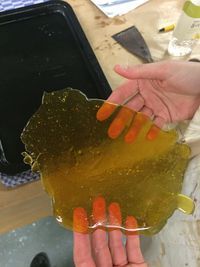
The proces of binding sugar with cornsyrup by heating it and then cooling it. I'm thinking about using this material for making cutlery. Because the material is super sweet.. In this way the cutlery itself is made of sweet, so by using it you could add sweetness to your meal.
Downfall of this material is that it's very sticky.. And melts by higher temperatures. So it could only be used in cold dishes like icecream.
THE MAX is where we GO
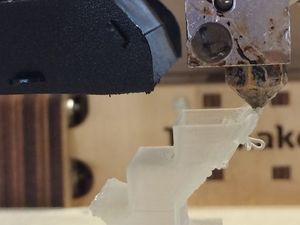
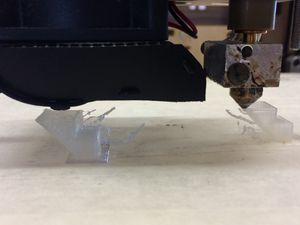
The maximum of a ultimaker2. I'm trying to get to the max of my limited 3D skills. I'm new to this, so I'm trying to get to two goals. I want to create something without support, and something without. I learned that 45 degrees is around the max of a printer. So I build a stairs to try this. This worked. But when I made one without brim (support aorund the foot) the stairs collapsed.
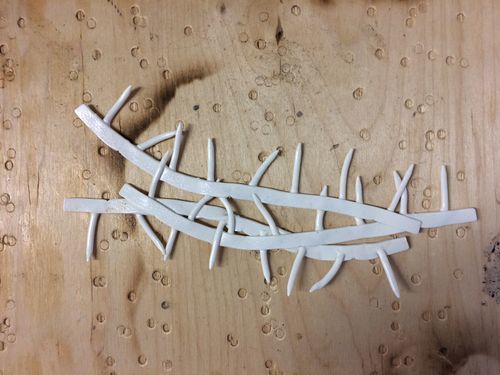
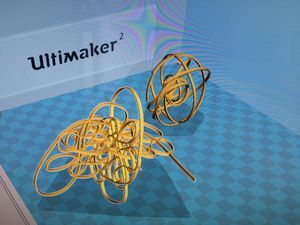
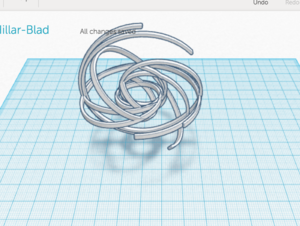
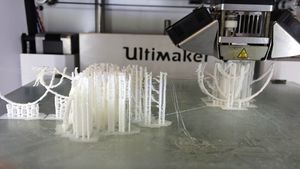
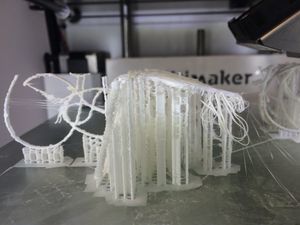
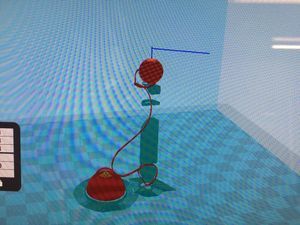
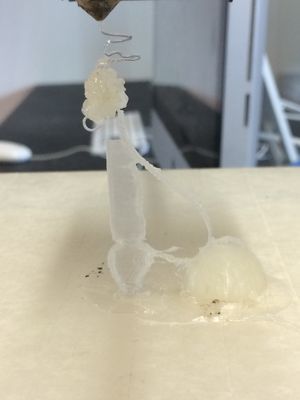
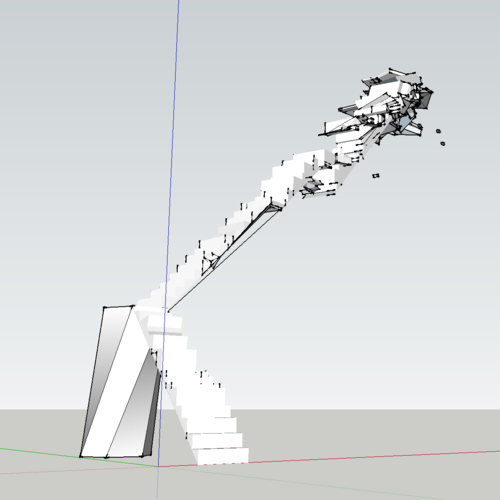
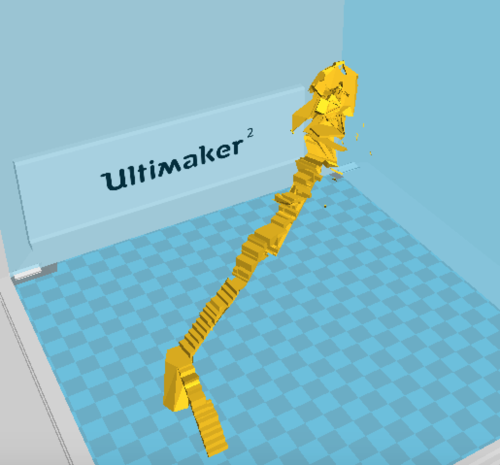
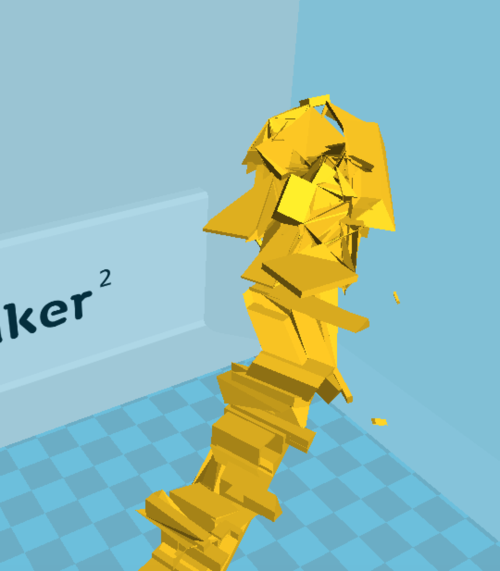
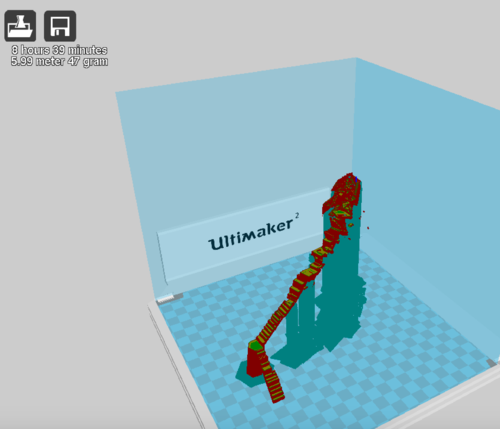
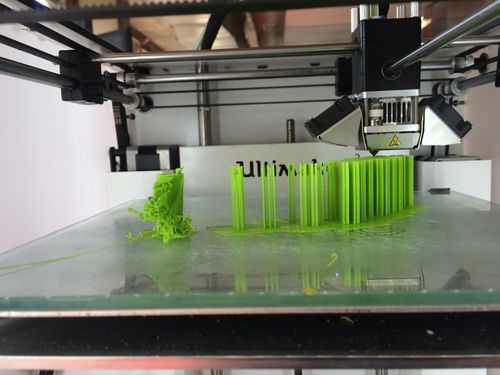
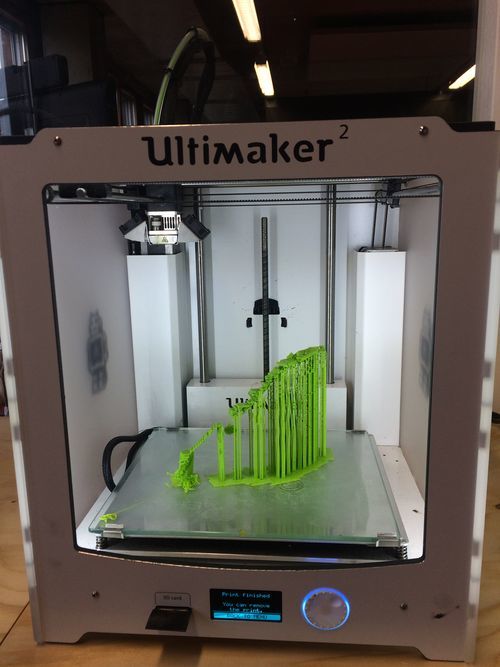
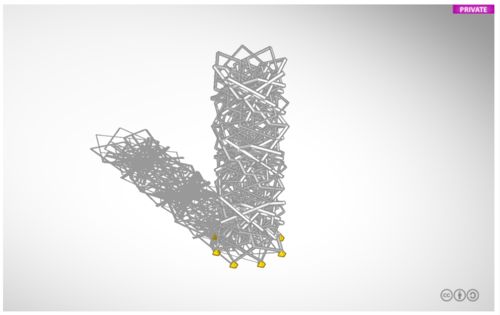
By drawing a form in illustrator and importing this to a 3D program I found a way to make something very weird and 'impossible' to build. The multimaker found a way to still print these 'glitches'. It figures out where it should print support. So my design was totally different then the outcome. This gave the work another dimension.
This last image was really too much. To thin lines and to heavy object on the top.
BONDING in HEERLEN
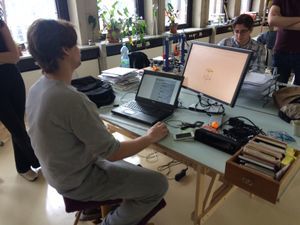
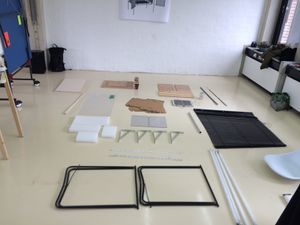
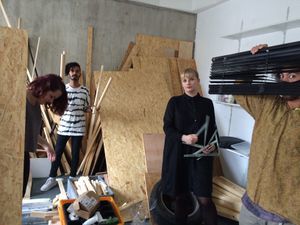
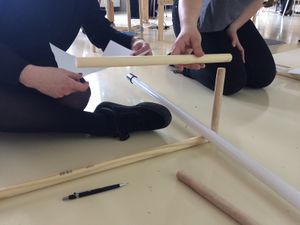
We did some bonding in a town called: Heerlen. That's a place very far away, but luckely I had a ride with two classmates. At the studio they were very into 3D printing. And since I'm focussing on that this quarter I was very pleased with the assignment. We needed to make a closet, but without using bolds. We needed to measure our objects, and make a 3D model of a construction.
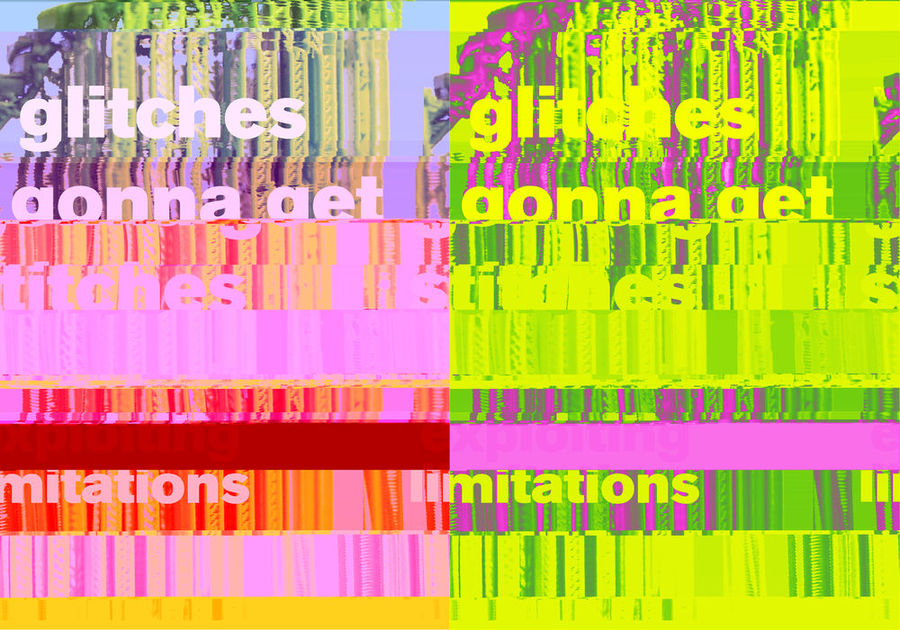
GLITCHES GONNA GET STITCHES
STAIRS OF DESPAIR
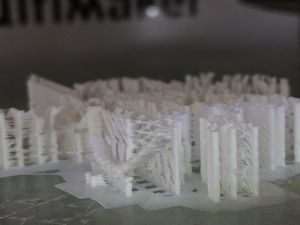
For the stairs of despair I focussed on making the most of the support, really mixing it into the design, and benefitting it. So I created a stairs, which takes 25% procent of the final work, and the printer added 75% of support material. I kind of glitched my own design by pulling pieces of the stairs aside and making the design itself not that good. But the printer itself added extra dimension because someparts where breaking and the start of the stairs was a complete fail. But in a good way. No the material speaks for itself. The stairs was ment as a glitch stairs. The material made it even more true.
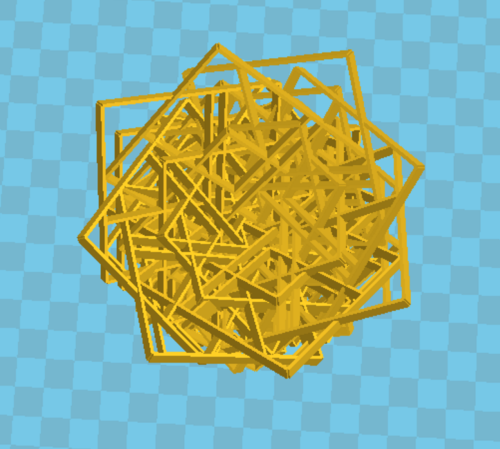
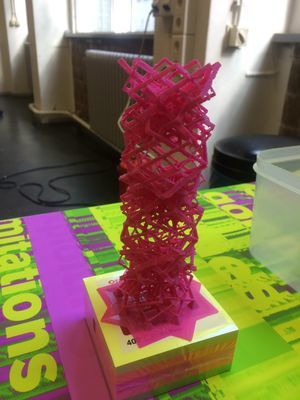
45DEGREES EVERYWHERE // 45DEGREES OF TOWER
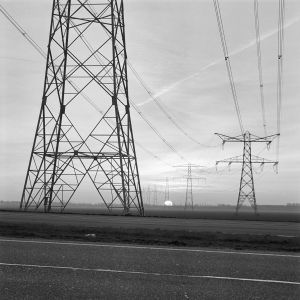
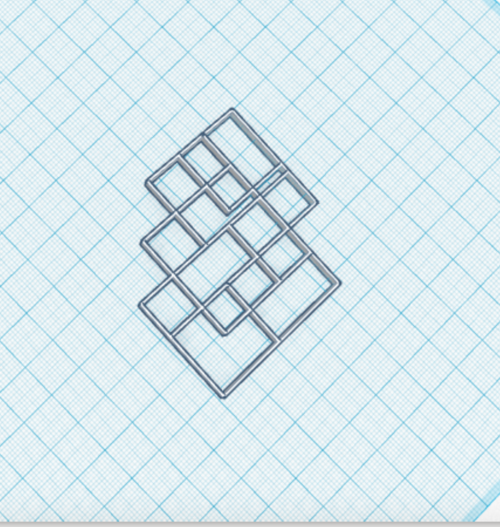
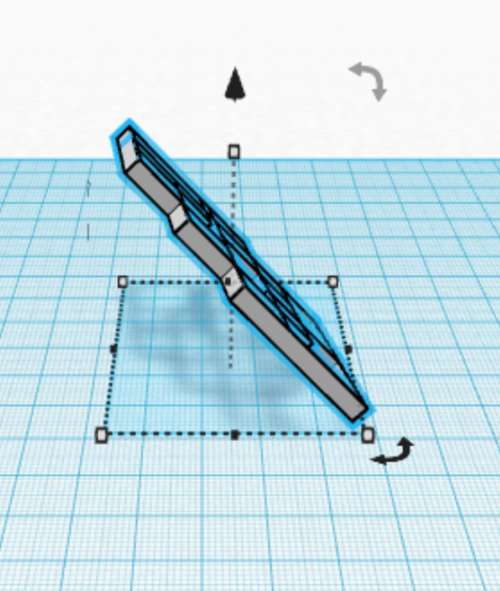
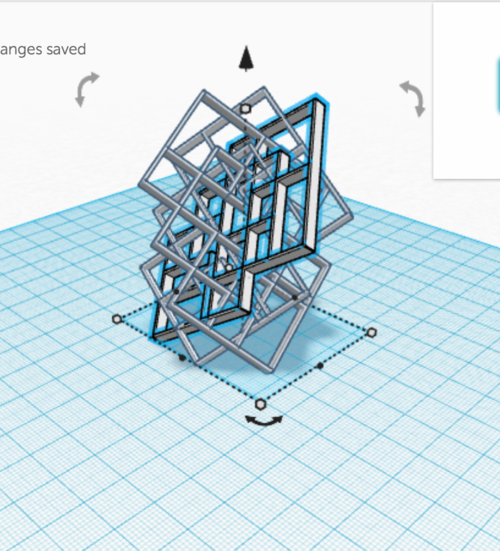
While learning the maximum of 45 degrees is really a thing with the printer, I focused on making something set by these 'rules'. So I made a design where every line is set by 45 degrees.
