Difference between revisions of "User:Diederick"
| Line 52: | Line 52: | ||
[[File:IMG 7688.JPG|500px|Caption]] | [[File:IMG 7688.JPG|500px|Caption]] | ||
[[File:IMG 7700.JPG|500px|Caption]] | [[File:IMG 7700.JPG|500px|Caption]] | ||
| + | |||
| + | |||
| + | =====The invention of craft===== | ||
| + | |||
| + | This text was mostly about the handmade or machine made discussion. Our judgement on a product is caused by our minds asking us: is it machine made of handmade? If it says handmade we desire it more. Then the question of the product is good or bad quality arises. | ||
| + | The second half of the 19th century was a big moment for the craft movement. People started to dislike the industrial products that where everywhere. Nowadays you still see this. People buying antique in a intratuin. We buy things that are machinemade, but have been damaged just enough to make it look like it's ages old. | ||
| + | |||
| + | We want to stand out, but end up having a house that look's the same as the neighbours. | ||
| + | |||
====K1nect scanning + 3D printing==== | ====K1nect scanning + 3D printing==== | ||
Revision as of 05:53, 21 April 2016
diederick.boeschoten@gmail.com
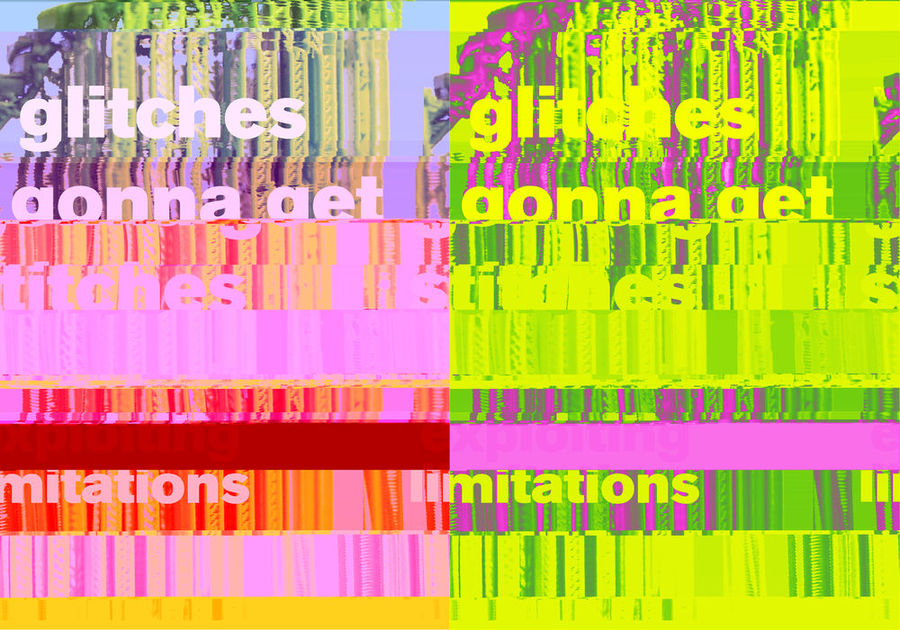
Do Glitches Know How To Get Itches?
STUDIO PRACTICE
Bonder.
I study graphic design.
My biggest motivation to get into digital craft, was because I'm starting to grow interest into hardware hacking, processing and more digital things. Besides that I really like to build things, research things and make things happen.
Contents
Start of a bonding journey
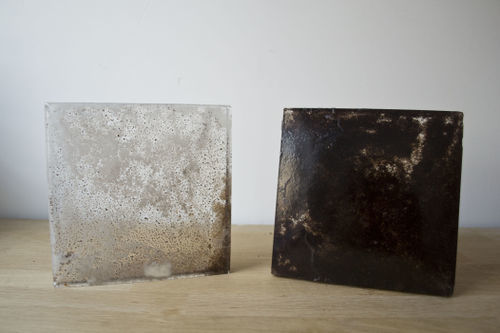
I started with researching manners to bind two materials. In this case by using epoxyharsh.
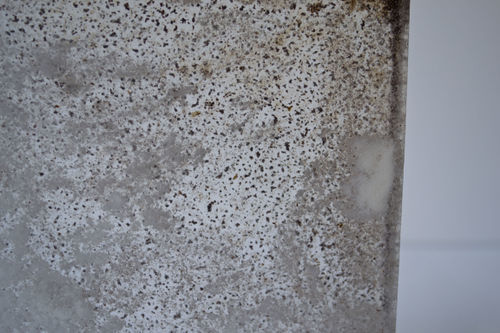
I filled these plates up with coffee- and milk powder. Mostly cause that was what I could find on such short notice. But it did make me wonder if
eatable things could make for an interesting image. The thing with the epoxy harsh is that it looks cool, but doesn't really do anything further.
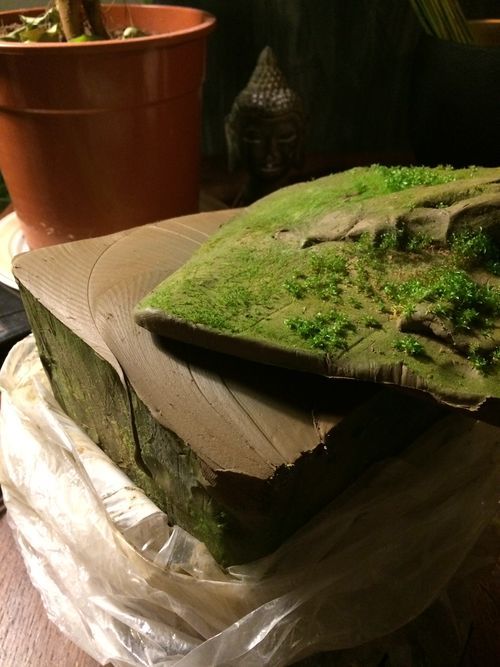
Unexpected bonding of my clay and some elements of nature.
The meaning of making: philosophies of craft
I really liked the discussions in class. Because we could involve and speak our minds on the subject. But it was also nice to listen and let John explain the text, because it wasn't always clear the first time reading. Some notes I found interesting:
People see art as superior, and instead to regard its stance as unnecessarily pretentious and exclusive, and therefore rather silly, in comparison to the more earthy, engaged spirit of craft.
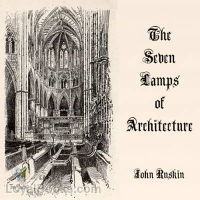
There are some major figures in the arts and craft movement: John Ruskin and William Morris.
How can you compare to madonna?
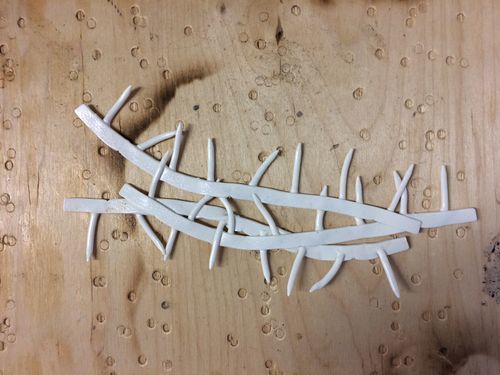
I tried to search for a way to combine 2 different materials, by using the same technique (in some way?).
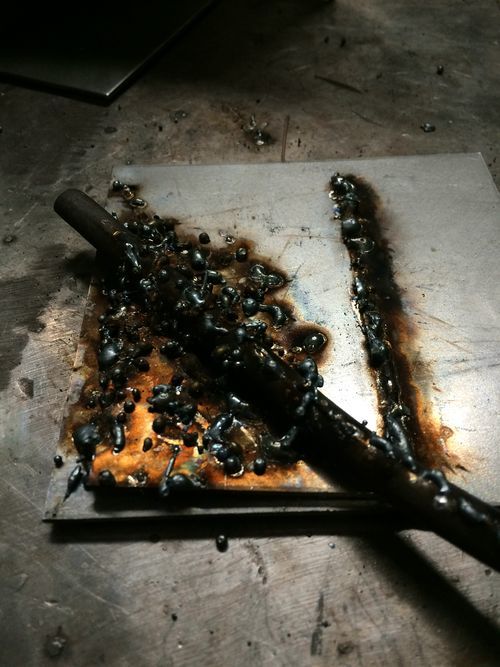
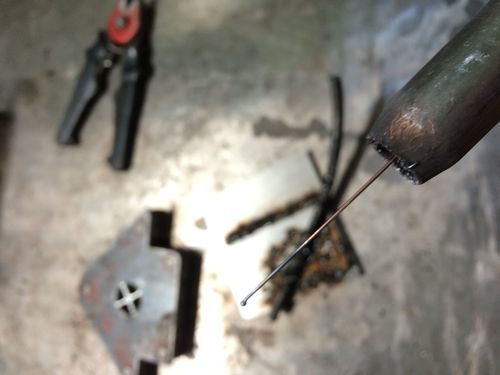
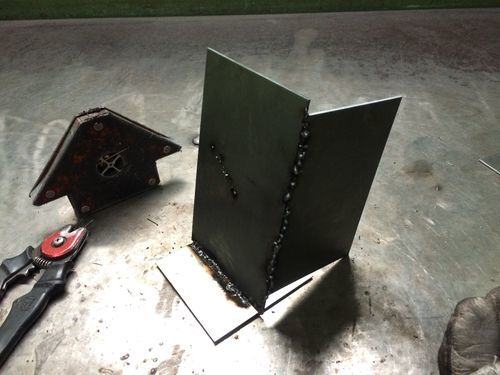
I did welding, which is combining two of the same materials by heating at one point. Material gets soft, and by adding another kind of the same material it will bind together. Welding isn't that hard, welding something that needs to look pretty is. So I decided to make it extremely ugly.
In the fabric station I used the 'Transferpers', this is like a big grill, and you put stuff underneath it and that heats up and will combine. Did not really worked as I would like, but glad I tried it anyways.
The invention of craft
This text was mostly about the handmade or machine made discussion. Our judgement on a product is caused by our minds asking us: is it machine made of handmade? If it says handmade we desire it more. Then the question of the product is good or bad quality arises. The second half of the 19th century was a big moment for the craft movement. People started to dislike the industrial products that where everywhere. Nowadays you still see this. People buying antique in a intratuin. We buy things that are machinemade, but have been damaged just enough to make it look like it's ages old.
We want to stand out, but end up having a house that look's the same as the neighbours.
K1nect scanning + 3D printing
An example of a new skill-try out something you have never done before and identify your position on a learning curve.
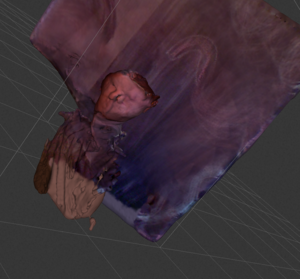
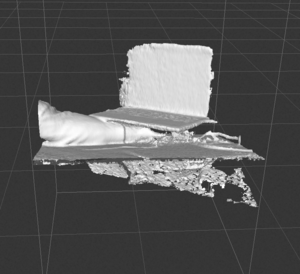
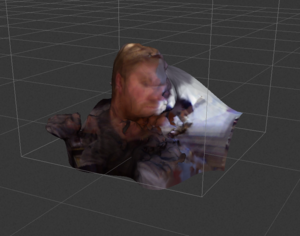
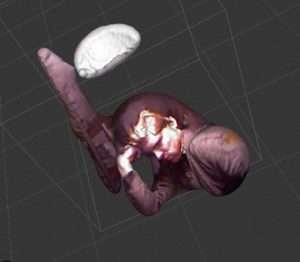
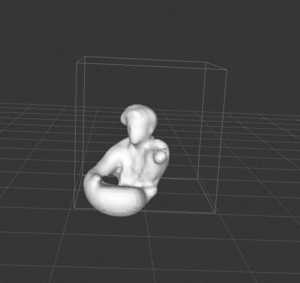
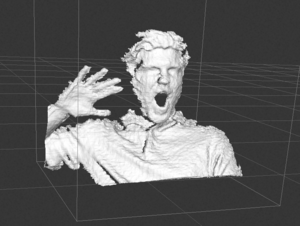
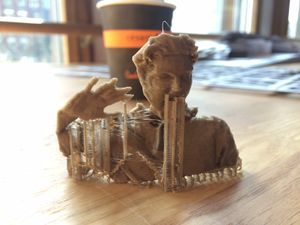
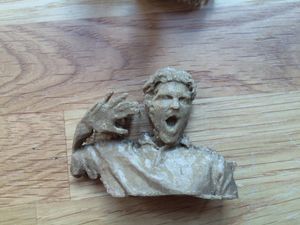
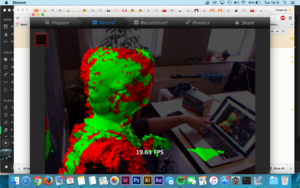
For my new skill I really wanted to direct my attention to Kinect scanning and 3D printing of that scan. First instance was by using 123D Catch, which made you take a lot of photos and combined that to a 3D scan. But very soon after that I started using the Kinect. This worked very good, but I was alone while trying this. So that's why I made half scans of myself, and let the 3D modeling programm create a form of the parts that weren't visible.
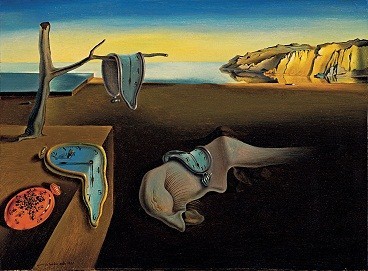
Sugarglass a la Salvador Dalí
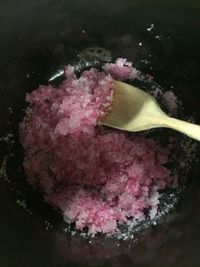
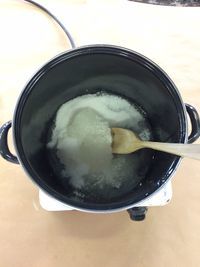
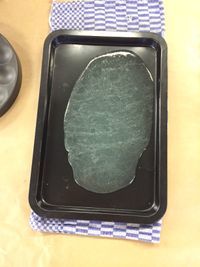
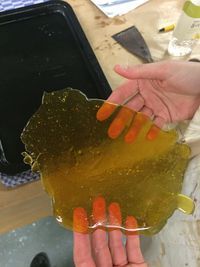
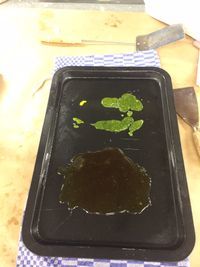
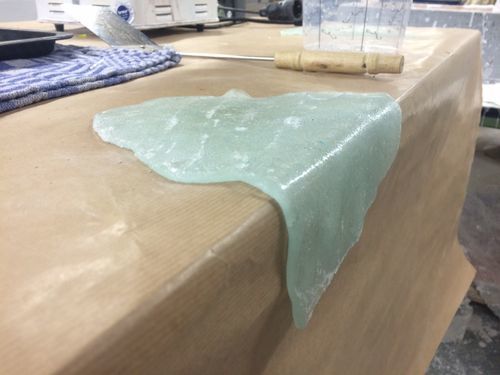
The proces of binding sugar with cornsyrup by heating it and then cooling it. I'm thinking about using this material for making cutlery. Because the material is super sweet.. In this way the cutlery itself is made of sweet, so by using it you could add sweetness to your meal.
Downfall of this material is that it's very sticky.. And melts by higher temperatures. So it could only be used in cold dishes like icecream.
By adding too much syrup corn I created something that didn't completely harden. So it stayed bendable. This was more interesting then the hard pieces of glass. Salvador Dali dreams in the making.
THE MAX is where I went
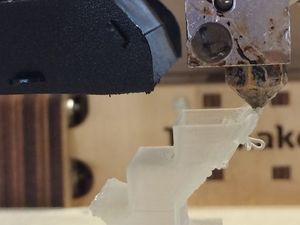
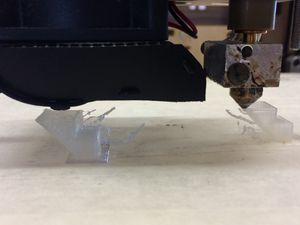
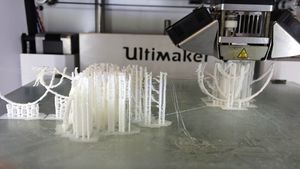
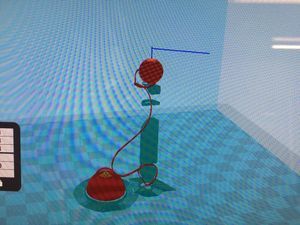
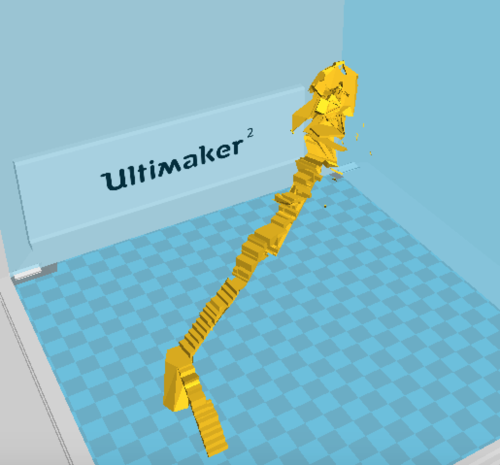
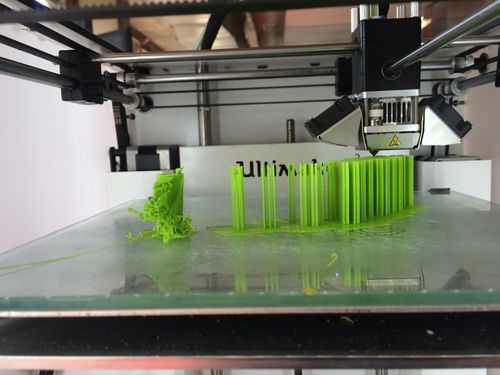
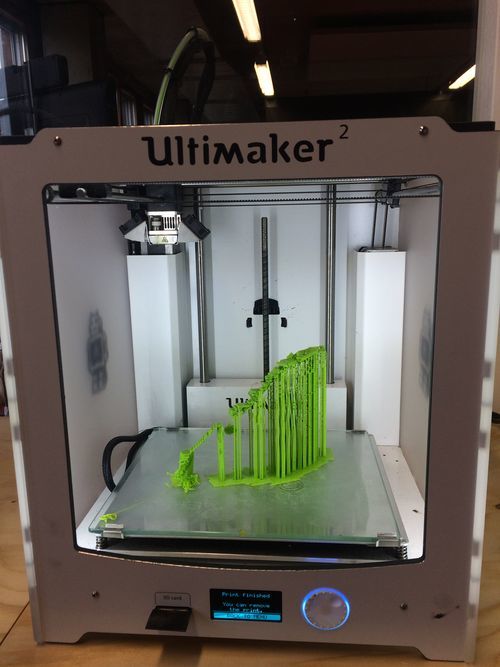
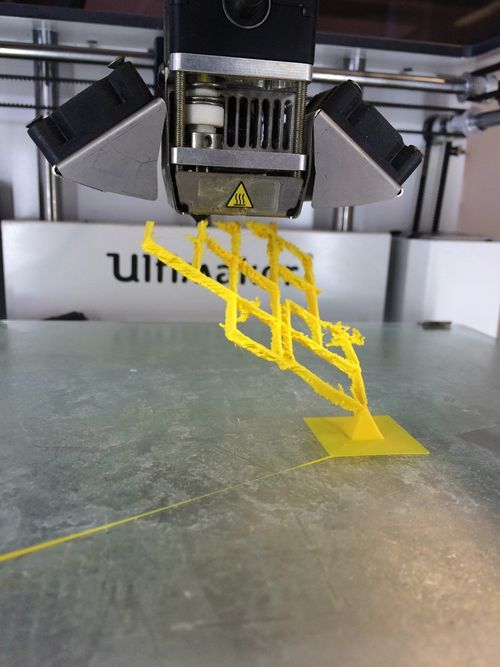
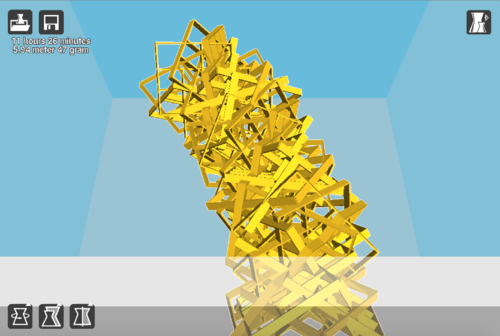
The maximum of a ultimaker2. I'm trying to get to the max of my limited 3D skills. I'm new to this, so I'm trying to get to two goals. I want to create something with a lot of support, and something without. I learned that 45 degrees is around the max of a printer. So I build a stairs to try this. This worked. But when I made one without brim (support aorund the foot) the stairs collapsed.
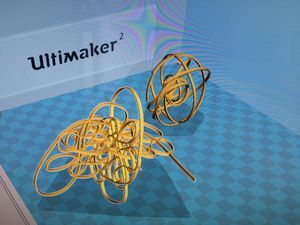
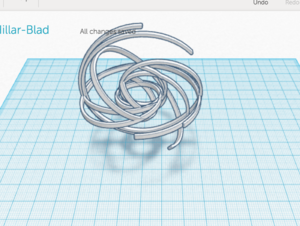
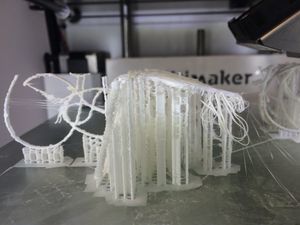
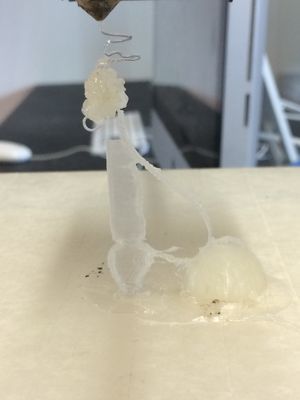
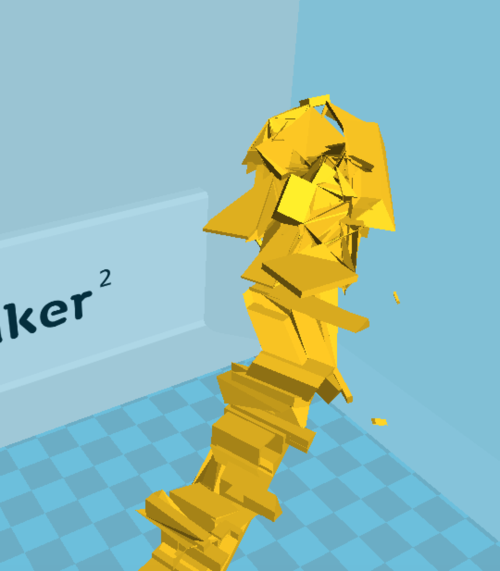
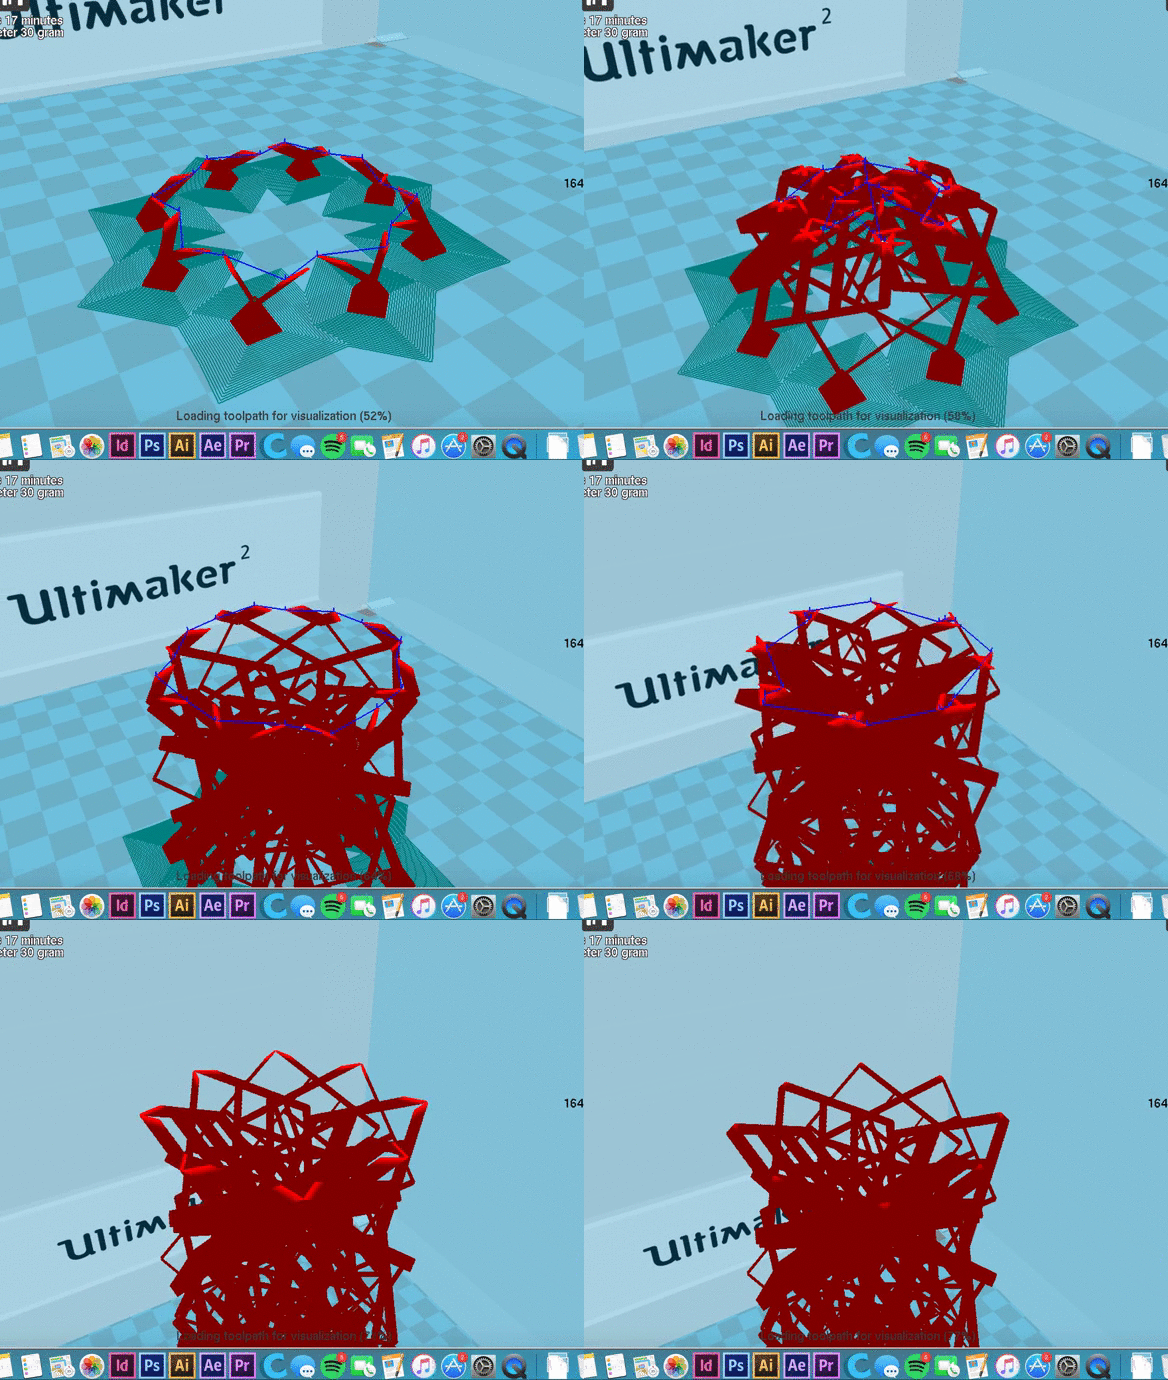
By drawing a form in illustrator and importing this to a 3D program I found a way to make something very weird and 'impossible' to build. The multimaker found a way to still print these 'glitches'. It figures out where it should print support. So my design was totally different then the outcome. This gave the work another dimension.
This last image was really too much. To thin lines and to heavy object on the top.
BONDING in HEERLEN
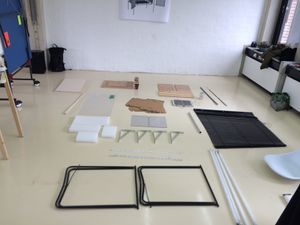
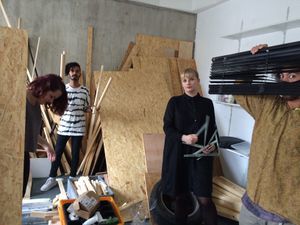
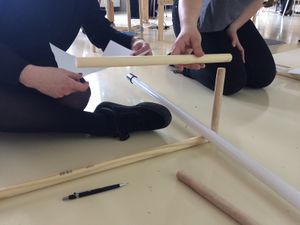
We did some bonding in a town called: Heerlen. That's a place very far away, but luckely I had a ride with two classmates. At the studio they were very into 3D printing. And since I'm focussing on that this quarter I was very pleased with the assignment. We needed to make a closet, but without using bolds. We needed to measure our objects, and make a 3D model of a construction.
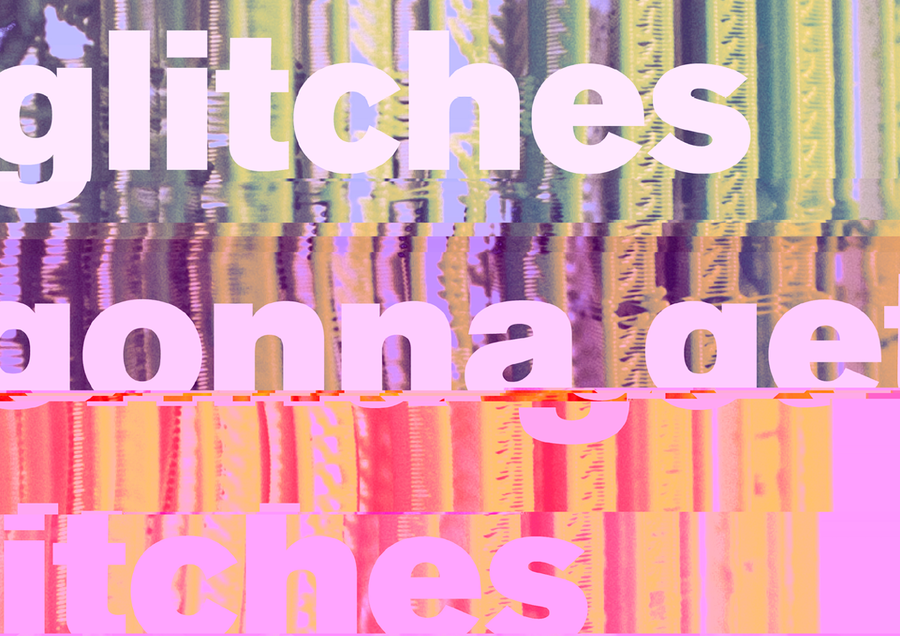
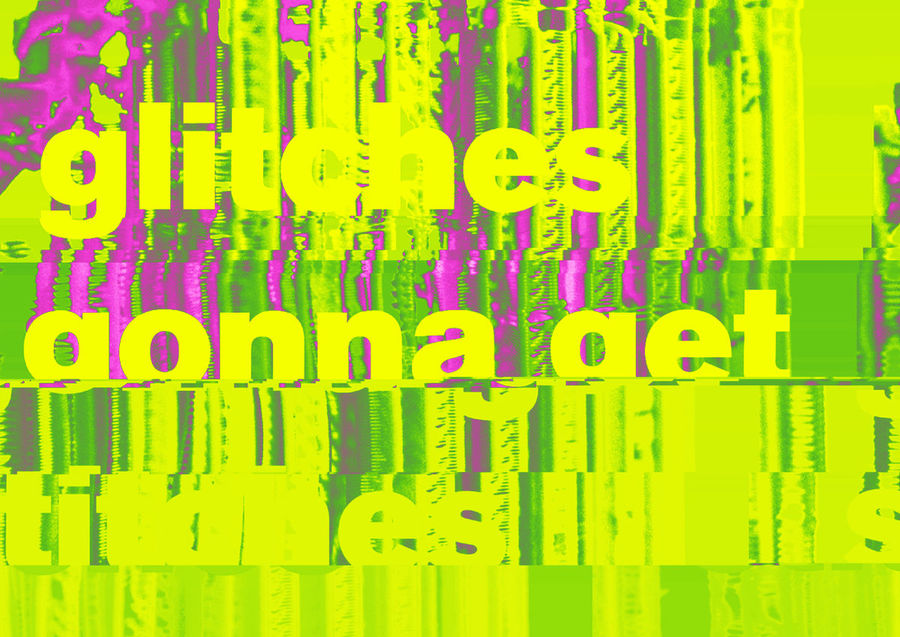
GLITCHES GONNA G3T TITCHES
Do glitches know how to take a small amount?
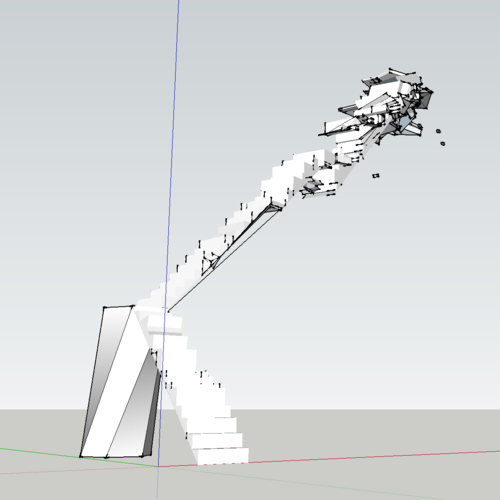
STAIRS OF DESPAIR
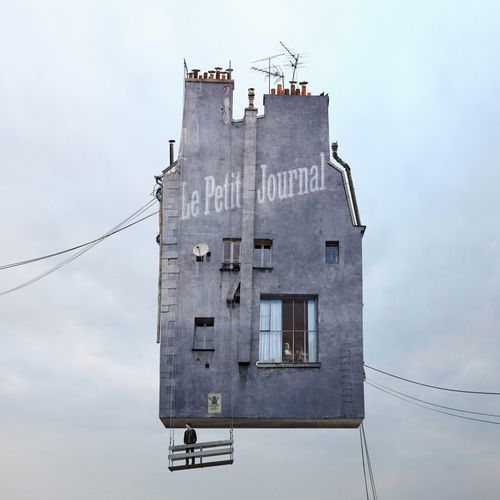
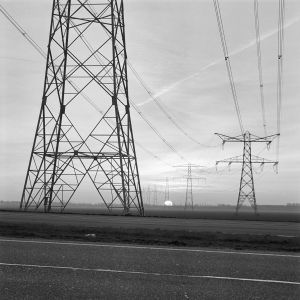
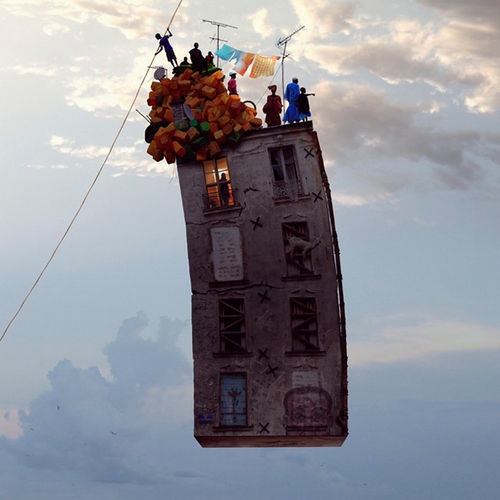
c LAURENT CHEHERE
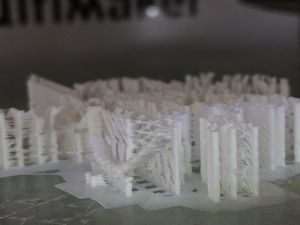
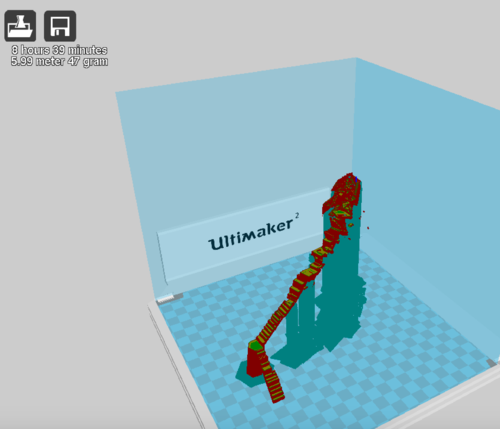
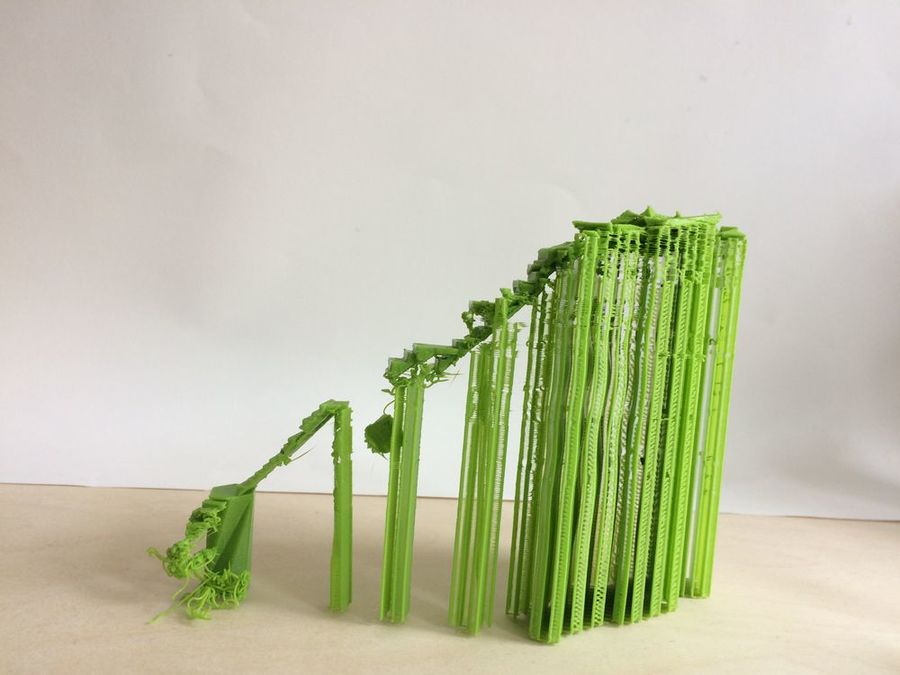
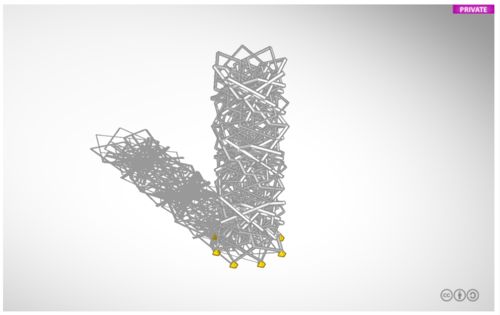
For the stairs of despair I focussed on making the most of the support, really mixing it into the design and benefitting from it. So I created a stairs, which takes 25% procent of the final work, and the printer added 75% of support material. I kind of glitched my own design by pulling pieces of the stairs aside and making the design itself not that good. But the printer itself added extra dimension because someparts where breaking and the start of the stairs was a complete fail. But in a good way. Now the material speaks for itself. The stairs was ment as a glitch stairs. The material made it even more true.
45DEGREES EVERYWHERE // 45DEGREES OF TOWER
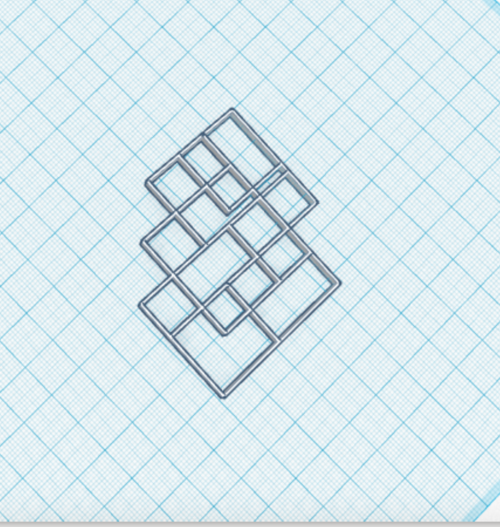
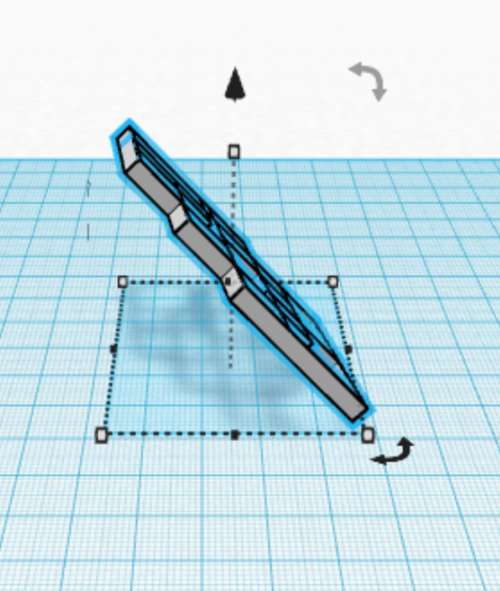
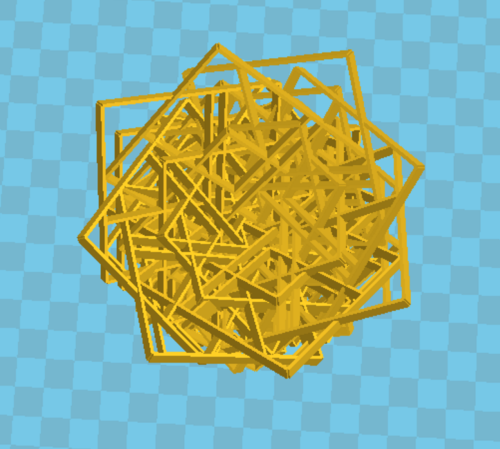
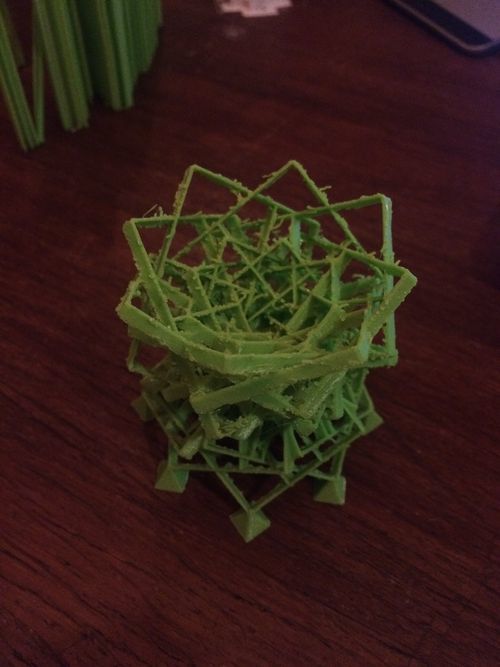
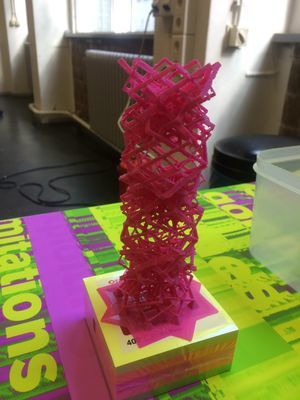
While learning the maximum of 45 degrees is really a thing with the printer, I focused on making something set by these 'rules'. So I made a design where every line is set by 45 degrees.
NOT45DEGREES
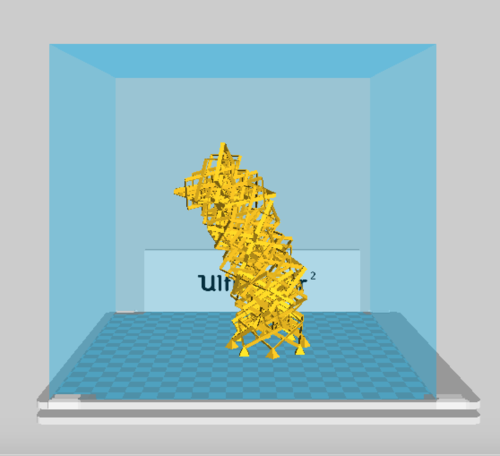
Dismissing my idea of everyline being 45 degrees and twisting the form until it is something unlikely. Inspired by a work of Laurent Chéhère, NOT the tower of Pisa.
Why I make / Make I why?
Exploiting limitations
Ik maak om dingen te leren. Ik doe om dingen te begrijpen. Ik ontwikkel om te ontdekken.
Omdat dit een autonome practice is ben ik eigenlijk meteen in het diepe gegooid. Ik moest met slechts beperkte limitatie een eigen opdracht vinden. Terwijl ik het als grafisch ontwerper gewend ben om in mijn major opdrachten te krijgen en daarbij het juiste concept te vinden.
Ik koos deze practice omdat ik geïnteresseerd ben in het onderzoeken van verschillende technieken om tot een ontwerp te komen. Maar de reden waarom ik maak, had ik zelf nog nooit bekeken.
In mijn vak ‘maak’ ik veel dingen, maar ben ik dan ook een maker vroeg ik mezelf af. Ik meen uiteindelijk van wel, vooral omdat ik ondanks een opdracht altijd meerdere wegen probeer te vinden, meerdere uitkomsten. Het vanuit mezelf benader, maar vooral ook naar de opdrachtgever kijk. Hoe dan ook stop je er iets van jezelf in. Daarnaast ontwikkel je jezelf in je vak.
Bonding
Ik was in de eerste instantie niet heel gelukkig met mijn indeling in de groep voor bonding and fusing. Dit kwam doordat ik alleen voor de hand liggende oplossingen kon bedenken om materialen te binden. Zoals klei en epoxyhars. Uiteindelijk vond ik door de lessen toch de inspiratie die ik zocht.
Werken zoals 3D printen pakten mijn aandacht, juist omdat het heel erg recht-toe-recht-aan leek. Je ontwerpt iets en dat komt eruit. Wat er voor zorgt dat er onwijs veel ‘onzin’ printjes komen. Ik wilde absoluut niet slechts een ontwerp uitprinten, het moest iets betekenen voor mijn onderzoek.
Ontwikkeling in het maken
3D printen vond ik vooral interessant omdat het een manier was die ik niet kende en vrij nieuw is (dit decennia). Het gaf mij duidelijk de kans om mezelf te ontwikkelen in dit kwartaal.
Het begon allemaal met het ontdekken van de mogelijkheden die de printer te bieden had. Hierbij gaven de opdrachten een extra functie. Ik had anders wellicht niet opzoek gegaan naar de maximum van de techniek en het extra gebruik van de support ontdekt. Het support kwam sowieso als een verassing. Doordat ik met de Kinect een 3D scan-selfie had gemaakt en deze via 3D wilde printen kwam ik erachter dat ik support nodig had om dat te bereiken. Door hier m’n interesse naartoe te verwerken kon ik veel testjes maken en tijd doorbrengen in de digital lab. Maar na deze testen kon ik daadwerkelijk beginnen met onderzoeken naar een manier om iets te ontwikkelen.
Voor mijn eindwerk heb ik mezelf op twee technieken in het 3D printen gericht, die vaak niet belangrijk zijn voor anderen omdat het bij hun om het ontwerp zelf gaat.
Ik wilde een interessant werk creëren waarbij support een grote rol in het ontwerp zelf speelt, dus toevoeging zonder dat ik het zelf ontwerp, maar dat het toch in het ontwerp past. Het was belangrijk dat ik wel begreep waar de support geplaatst wordt in mijn ontwerp.
De 45 graden van de trap was namelijk gewoon printbaar. Dit had ik al ontdekt. Maar doordat ik de traptrede zelf veranderd had, uitgetrokken, verdraaid en ge-glitched kwam ik zover dat de print te zwaar werd om in de lucht te printen en de trap een grote hoeveelheid aan support moest toevoegen (75% van het totale werk).
Zoals je merkt aan mijn tekst ben ik echt vooral bezig met het ontdekken, en toe eigenen van de technieken. De uitkomsten spreken mij het meest aan en dagen mij uit om iets te maken. Ik geloof dat een 3D print maken heel niet moeilijk is, maar daadwerkelijk rekening houden met de mogelijkheden die een printer bied en deze toe-eigenen is een ander ding.
45 graden.
In mijn andere eindwerk heb ik mijzelf toegespitst op het maken van een ontwerp dat juist totaal zonder support gemaakt wordt.
Dit onderzoek vond ik uiteindelijk het meest interessant, en hier heb ik de meeste tijd aan besteed.
Ik kreeg al eerder door van Emiel dat je een hoek van 45 graden zou kunnen printen, al zou dat niet het mooiste resultaat geven. Het handigst is om iets te printen terwijl het gewoon plat gelegd zou worden. Dit was zo, maar voor mijn onderzoek wilde ik juist dat ze geprint werden zoals ze kwamen te staan.
Ik had mezelf dus gelimiteerd tot het gebruiken van hoeken van enkel 45 graden in mijn ontwerp. Elke hoek moest 45 graden zijn, geen uitzonderingen. Mijn eerste proefjes en onderzoek naar de manier waarop support ontstaat kwamen doordat ik uit de hand een vorm had getekend in illustrator en die geïmporteerd naar Tinkercad.
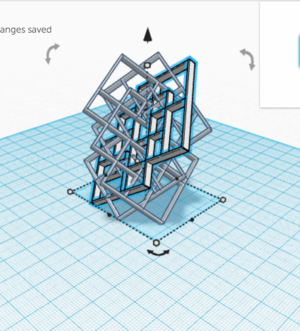
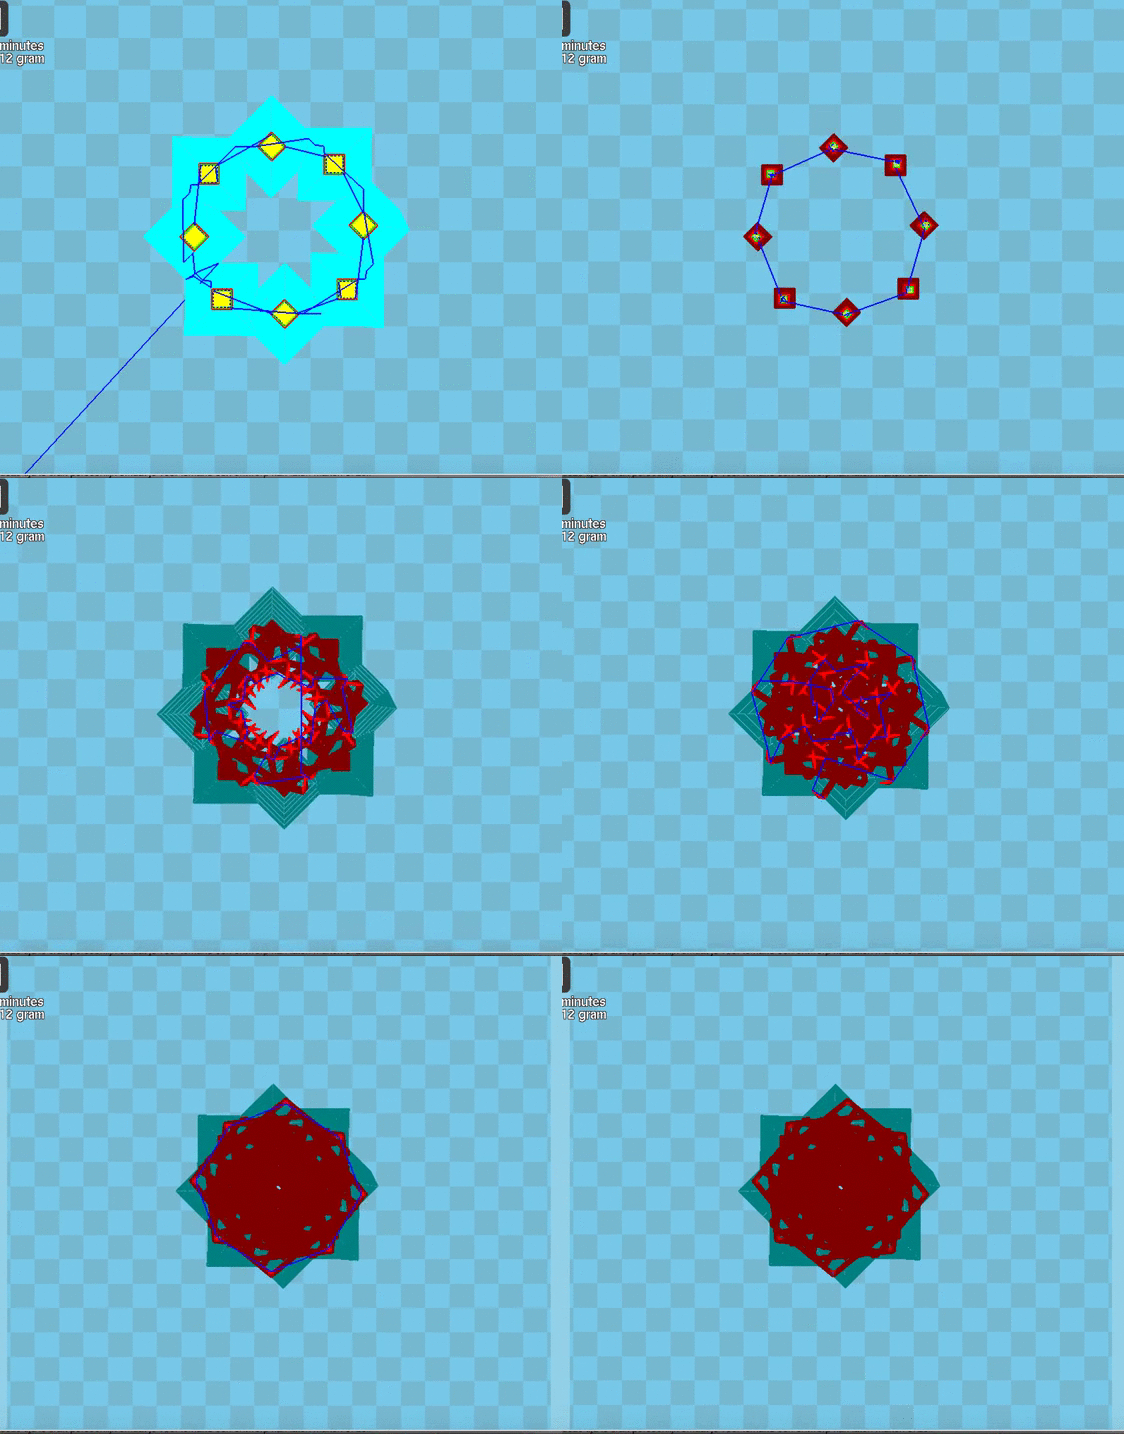
Dit was zonder verhaal erachter, maar wat nou als ik een ontwerp met hoeken van 45 graden ontwierp, en die inlaadde in Tinkercad? Dit ontwerp zette ik ook weer in een hoek van 45 graden en toen printte ik hem. Het was heel erg spannend, omdat het ontwerp geen ondersteuning had en dus mee bewoog met de printer. De uitkomst was geslaagd, maar niet erg netjes. Toen kon ik verder gaan met ontwerpen. Ik dupliceerde de laag en draaide deze weer 45 graden. Dit deed ik 8 keer totdat de vorm helemaal rond was.
Cura gaf aan dat het gewoon printbaar was, ondanks dat het er heel erg onstabiel uitzag, ik heb wat met de lijndikte gespeeld en de retraction van het materiaal. Ik was benieuwd of het ontwerp nu netter zou worden, omdat het steun had aan zichzelf. Het ontwerp was geslaagd, dus was het tijd voor mijn laatste stap in deze reeks van 45 graden. Een toren die 3 keer zo hoog was. Er viel ook genoeg te onderzoeken naar kleuren. Zo komt de printer met allerlei kleuren print-materiaal.
En zat er genoeg kleur bij dat het best elegant kon laten lijken, in tegenstelling tot de felle standaard 3D-kleuren. Maar toch koos ik voor de felle kleuren, juist om in mijn presentatie aan te tonen dat ik maak voor het onderzoek. Dit zijn ‘proefjes’ of uitkomsten van mijn onderzoek, het zijn geen kunstwerken. Het zijn geen sculpturen. Ook al kan het zo overkomen.
Work worth doing
Totdat ik op de WdKA begon, maakte ik vooral 2D dingen. Eigenlijk deed ik vooral wat mijn gegeven opdracht was, en daar ging niet veel diepgang in. Dat is wel veranderd sinds ik de werkplaatsen vorig jaar ontdekte. Overal iets van willen ontdekken, zorgt ervoor dat je wel moet maken. Dat begint met standaard dingen zoals een trapje in de houtwerkplaats, maar zodra je die techniek begrijpt krijg je de mogelijkheid om het naar je hand te zetten.
Daar begint voor mij de spanning. Toch voelde het voor deze practice, als standaard dat ik iets ging maken in plaats van alleen in de theorie te blijven hangen tijdens onderzoek. Deze practice heeft dan ook mijn ogen geopend tot andere kanten van het maken.
Ik heb nu vooral mijn onderzoek uitgelegd, maar dat komt omdat dat de reden is dat ik een maker ben. Ik kan er niet omheen. Het was allemaal nieuw voor mij, maar toch denk ik dat ik nu bewuster van mezelf te werk ga. In mijn toekomstige projecten, zal ik deze gedachtegang zeker vasthouden.
