Difference between revisions of "User:Floor/week4"
| (One intermediate revision by the same user not shown) | |||
| Line 26: | Line 26: | ||
I also did some analog photo printing in the darkroom. | I also did some analog photo printing in the darkroom. | ||
| + | |||
| + | [[File:Dc-foto-stroken.jpg | 400px]] [[File:Dc-foto3.jpg | 400px]] [[File:Dc-foto2.jpg | 400px]] | ||
| + | |||
| + | |||
| + | ==Notes== | ||
| + | |||
| + | [[File:Dc-notities2.jpg | 600px]] | ||
| + | |||
| + | |||
| + | |||
| + | ==link to next week== | ||
| + | |||
| + | [[User:Floor/week5 | WEEK 5]] | ||
Latest revision as of 09:54, 20 April 2016
woodblock vs lino
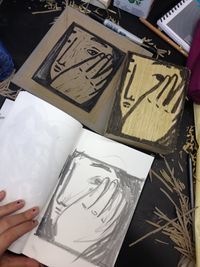
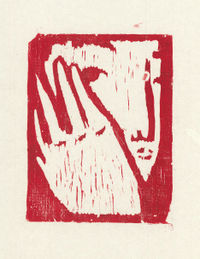
This week I want to compare two similar techniques: woodblock and lino.
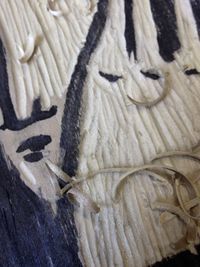
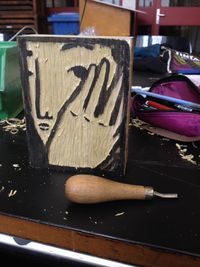
I started with the woodblock. Using some sort of (relatively) soft, tropical wood that I got from the wood workshop. Carving into woord went easier than I initially expected. What was most difficult was that you had to 'carve' in the same direction as the woodgrain (vertical in this case). So all the horizontal carving was pretty much impossible in my woodblock. Therefor I made a few little mistakes so the design is slightly different than intended.
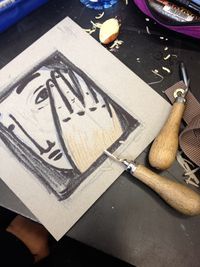
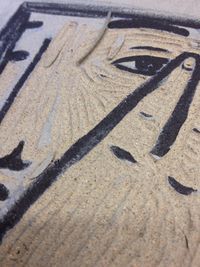
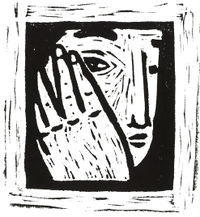
After the woodblock this was relatively easy. It was cool that you could play with the direction you were carving (as opposed to the woodblock). So you have control over the direction of the textural lines (that are so typical for lino prints) to let them accentuate your design.
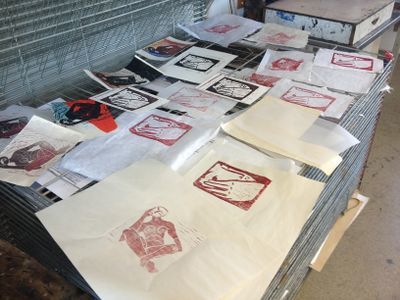
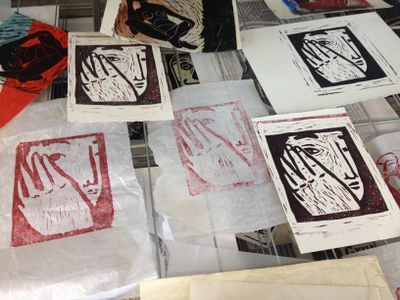
Kim showed me and Merle how to ink and print the woodblock and lino. We experimented with different types of paper and also compared an oil-based printing ink to a water-based one.
analog photo printing
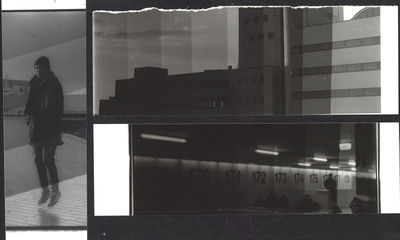
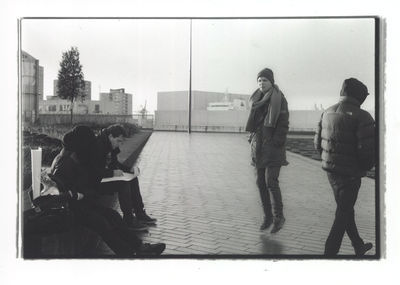
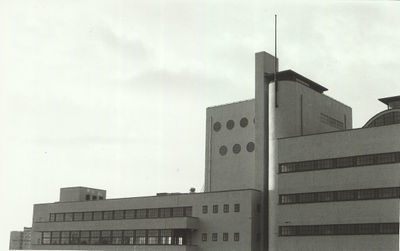
I also did some analog photo printing in the darkroom.
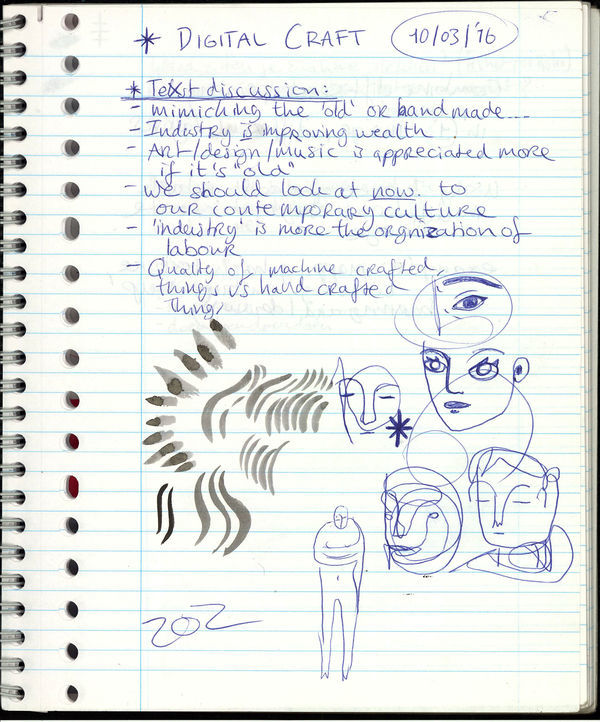
Notes
