Difference between revisions of "User:Jerryestie"
Jerryestie (talk | contribs) |
Jerryestie (talk | contribs) |
||
| (115 intermediate revisions by 2 users not shown) | |||
| Line 1: | Line 1: | ||
| − | + | =Main Information= | |
[[Category:Student Information]] | [[Category:Student Information]] | ||
Jerry Estié | Jerry Estié | ||
| Line 6: | Line 6: | ||
0902472@hr.nl | 0902472@hr.nl | ||
| − | |||
| − | |||
| − | |||
| − | |||
| − | |||
| − | |||
| − | |||
| − | |||
| − | |||
| − | |||
| − | |||
| − | |||
| − | |||
| − | |||
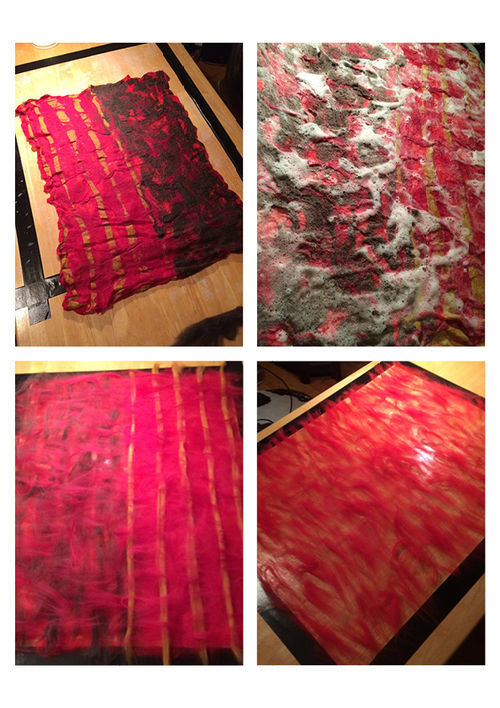
| + | ==Practice Q7: Making is Connecting == | ||
| + | For my second year project please look at [[User:Jerryestie/Making | Making is Connecting 2016]] | ||
| + | [[File:workjr7.jpg|500px|Caption]] | ||
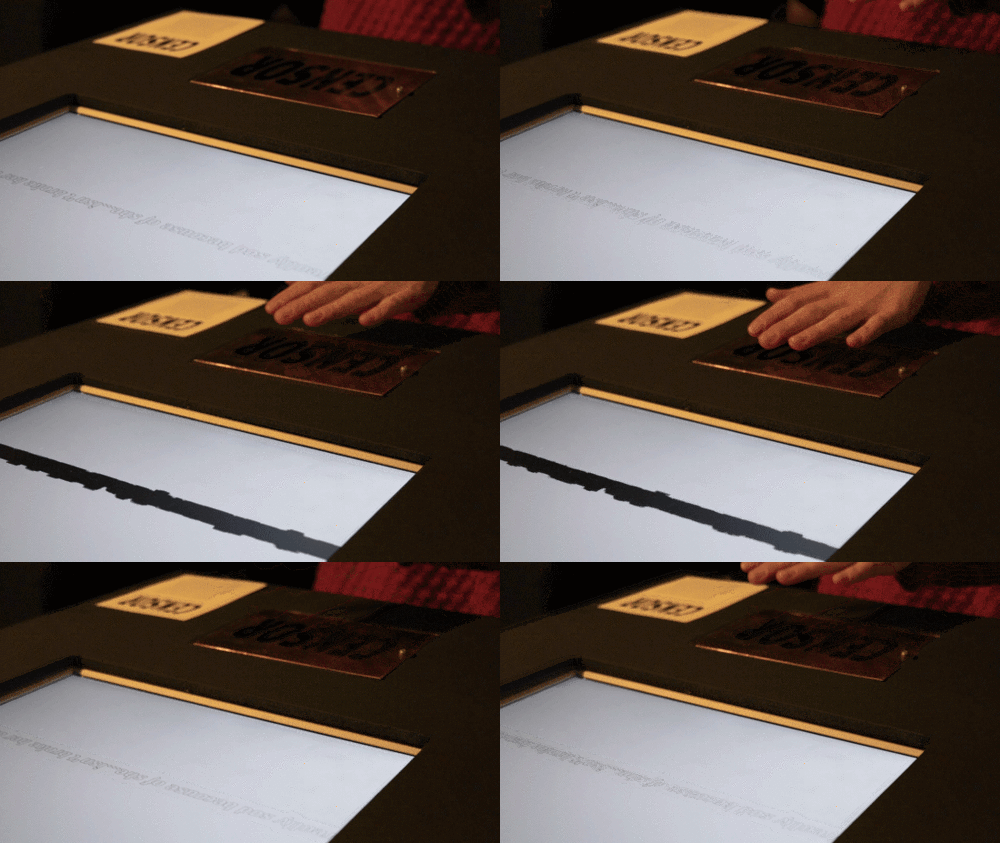
| + | ==Practice Q9 & Q10: Craft & Radiation == | ||
| + | For my third year project please look at [[User:Jerryestie/Practice | Craft and Radiation 2017]] | ||
| + | [[File:Gifcensor.gif|500px|Caption]] | ||
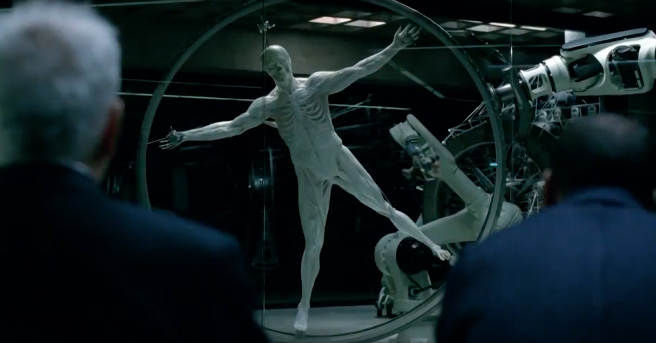
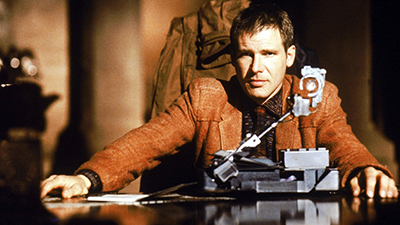
| + | =Minor: Human?= | ||
| + | [[File:Westworld-skele-fb-1.jpg]] | ||
| + | [[File:Bladerr.jpg]] | ||
| + | ==Week 1: Kick-Off== | ||
| + | ===Beginning=== | ||
| + | My group with Jochem and Naomi had the body parts of index finger, pink and the eye(s). We started out with topics that we found fitting before coming up with a more concrete subject. Things like Identity and security came up often and also folklore and myths involving hands and eyes. For instance: How in Japan would cut off their pinks as a way of apology, or how ISIS followers point up their index finger to the sky. | ||
| + | ===Initial Ideas=== | ||
| + | There were a few quick concepts we came up with before ending up with our hand-eye dis coordination box. | ||
| + | =====Pointing fingers===== | ||
| + | [[File:Wewantu.jpg]] | ||
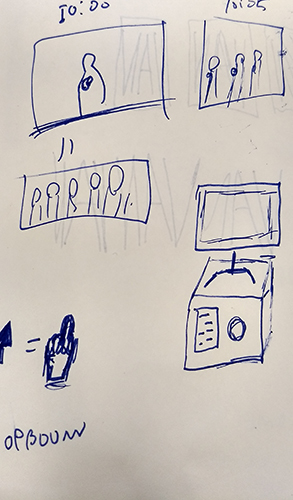
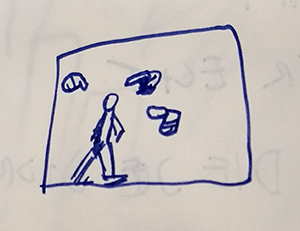
| + | When a finger points at you it creates this immediate connection. It can be a bit uncomfortable and we wanted to play with this feeling. One of the ideas was to walk into a room where fingers would follow you (through the use of a Kinect) and point at you. Another was a closed-off space where you would have to point into the camera before entering and then being confronted by the previous visitor pointing at you. There was a variation where it would connect the people pointing. | ||
| + | [[File:Sketchjer1.jpg]] | ||
| + | [[File:Sketchjer2.jpg]] | ||
| + | =====Games===== | ||
| + | There were several variations where we played with the idea of a 2-screen/2-user installation. This set-up would have two players use the installation against each other in several ways. The 'controller' would force the player to use only the pink and index in a rapid order to force a sort of carpal tunnel syndrome. The player who would use the controller the fastest would induce a flashing/annoying eye-strain creating image to the other player. Another variation to this was the cheat screen. The cheat screen would give one player, unbeknownst to the other player, a sort of cheat screen that could make things worse or better for both the player and its competition. | ||
| + | [[File:Screeeeeeeeb.png]] | ||
| + | ===Hand-Eye Discoordination=== | ||
| + | With some time pressure from Tim we ended on a final concept of putting the coordination between eyes and hand on trial. The question basically became "what would happen if you can't see what your hand is doing anymore." | ||
| + | =====Buttons===== | ||
| + | We decided to find several buttons and hide them from plain sight. By using these buttons you would get a visual feedback of what you were doing. We went to the piekfijn to try and fide specific buttons so that each one would be a different sensation. | ||
| + | =====Arduino Coding===== | ||
| + | I focused on coding the Arduino and getting an input from the buttons that are pressed. There had to be a way to have each button have an unique identifier so Processing would know which button was pressed, since all input came in as the same numbers. I did this by adding a line to the serialprint that adds a different letter per button. This way Processing was able to differentiate all the different inputs. | ||
| + | =====Exhibition===== | ||
| + | filler | ||
| + | soon im too lazy to export pics atm | ||
| + | =====Observations and Feedback===== | ||
| + | One of the things that was immediately clear during the exhibition is that people didn't get that they had to turn around and watch the screen. They would either just look at the box and play around and then turn around after moving something or pressing a button. We did not communicate this properly or force the user to stand in the way we intended. | ||
| + | In general most people didn't (immediately or at all) get what the project was about or what was going on. The interactivity helped spark people's interest but the concept wasn't easy to see or understand through our installation. | ||
| + | The buttons were also too hard to find, whether this was actually a good or bad thing I haven't made my mind up about yet. I feel like it's in a middle ground right now, it could either be a lot harder and become this sort of brutal installation or easier but then how do you add a challenge to the lack of eye coordination? | ||
| + | The visuals also had a disconnect with what you were doing, it didn't seem to be a whole product but rather two separate things. | ||
| + | ==Sensor== | ||
| + | For the sensor I want to use sound as an unlocking mechanism. Using a distinct sound or sounds made in a distinct order. | ||
| + | ===Research Links=== | ||
| + | [https://forum.processing.org/two/discussion/14502/create-tap-tempo-metronome Getting BPM] | ||
| − | + | ---- | |
| − | + | float bpm = 80; | |
| − | + | float minute = 60000; | |
| − | + | float interval = minute / bpm; | |
| − | + | int time; | |
| − | + | int beats = 0; | |
| − | + | ||
| − | + | ||
| − | + | void setup() { | |
| − | + | size(300, 300); | |
| − | + | fill(255, 0, 0); | |
| − | + | noStroke(); | |
| − | + | time = millis(); | |
| − | + | } | |
| − | + | ||
| − | + | void draw() { | |
| − | + | background(255); | |
| − | + | ||
| − | + | if (millis() - time > interval ) { | |
| − | + | ellipse(width/2, height/2, 50, 50); | |
| − | + | beats ++; | |
| − | + | time = millis(); | |
| − | + | } | |
| − | + | ||
| − | + | ||
| − | + | text(beats, 30, height - 25); | |
| − | + | } | |
| − | + | ---- | |
| − | |||
| − | |||
| − | |||
| − | |||
| − | |||
| − | |||
| − | |||
| − | |||
| − | |||
| − | |||
| − | |||
| − | |||
| − | |||
| − | |||
| − | |||
| − | |||
| − | |||
| − | |||
| − | |||
| − | |||
| − | |||
| − | |||
| − | |||
Latest revision as of 11:33, 4 September 2017
Contents
Main Information
Jerry Estié
0902472
0902472@hr.nl
Practice Q7: Making is Connecting
For my second year project please look at Making is Connecting 2016
Practice Q9 & Q10: Craft & Radiation
For my third year project please look at Craft and Radiation 2017
Minor: Human?
Week 1: Kick-Off
Beginning
My group with Jochem and Naomi had the body parts of index finger, pink and the eye(s). We started out with topics that we found fitting before coming up with a more concrete subject. Things like Identity and security came up often and also folklore and myths involving hands and eyes. For instance: How in Japan would cut off their pinks as a way of apology, or how ISIS followers point up their index finger to the sky.
Initial Ideas
There were a few quick concepts we came up with before ending up with our hand-eye dis coordination box.
Pointing fingers
When a finger points at you it creates this immediate connection. It can be a bit uncomfortable and we wanted to play with this feeling. One of the ideas was to walk into a room where fingers would follow you (through the use of a Kinect) and point at you. Another was a closed-off space where you would have to point into the camera before entering and then being confronted by the previous visitor pointing at you. There was a variation where it would connect the people pointing.
Games
There were several variations where we played with the idea of a 2-screen/2-user installation. This set-up would have two players use the installation against each other in several ways. The 'controller' would force the player to use only the pink and index in a rapid order to force a sort of carpal tunnel syndrome. The player who would use the controller the fastest would induce a flashing/annoying eye-strain creating image to the other player. Another variation to this was the cheat screen. The cheat screen would give one player, unbeknownst to the other player, a sort of cheat screen that could make things worse or better for both the player and its competition.
Hand-Eye Discoordination
With some time pressure from Tim we ended on a final concept of putting the coordination between eyes and hand on trial. The question basically became "what would happen if you can't see what your hand is doing anymore."
Buttons
We decided to find several buttons and hide them from plain sight. By using these buttons you would get a visual feedback of what you were doing. We went to the piekfijn to try and fide specific buttons so that each one would be a different sensation.
Arduino Coding
I focused on coding the Arduino and getting an input from the buttons that are pressed. There had to be a way to have each button have an unique identifier so Processing would know which button was pressed, since all input came in as the same numbers. I did this by adding a line to the serialprint that adds a different letter per button. This way Processing was able to differentiate all the different inputs.
Exhibition
filler soon im too lazy to export pics atm
Observations and Feedback
One of the things that was immediately clear during the exhibition is that people didn't get that they had to turn around and watch the screen. They would either just look at the box and play around and then turn around after moving something or pressing a button. We did not communicate this properly or force the user to stand in the way we intended.
In general most people didn't (immediately or at all) get what the project was about or what was going on. The interactivity helped spark people's interest but the concept wasn't easy to see or understand through our installation.
The buttons were also too hard to find, whether this was actually a good or bad thing I haven't made my mind up about yet. I feel like it's in a middle ground right now, it could either be a lot harder and become this sort of brutal installation or easier but then how do you add a challenge to the lack of eye coordination?
The visuals also had a disconnect with what you were doing, it didn't seem to be a whole product but rather two separate things.
Sensor
For the sensor I want to use sound as an unlocking mechanism. Using a distinct sound or sounds made in a distinct order.
Research Links
float bpm = 80; float minute = 60000; float interval = minute / bpm; int time; int beats = 0; void setup() { size(300, 300); fill(255, 0, 0); noStroke(); time = millis(); } void draw() { background(255); if (millis() - time > interval ) { ellipse(width/2, height/2, 50, 50); beats ++; time = millis(); } text(beats, 30, height - 25); }
