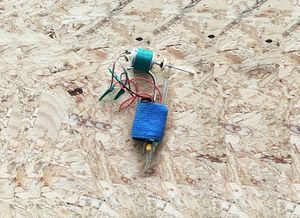
Difference between revisions of "User:Tiff"
| (2 intermediate revisions by the same user not shown) | |||
| Line 8: | Line 8: | ||
Tiffany Wederfoort | Tiffany Wederfoort | ||
| − | |||
| − | |||
<br> | <br> | ||
0857145 | 0857145 | ||
| Line 26: | Line 24: | ||
acting out electrical circuit of a battery connected to a lightbulb; 1 battery, 1 lightbulb and 2 electrons | acting out electrical circuit of a battery connected to a lightbulb; 1 battery, 1 lightbulb and 2 electrons | ||
| − | + | ||
| − | File:01tiff.jpg| | + | [[File:01tiff.jpg|300px]] |
| − | File:02tiff.jpeg| | + | [[File:02tiff.jpeg|300px]] |
| − | < | + | <br> |
| + | <br> | ||
| + | closed circuit - open circuit | ||
| + | |||
| Line 39: | Line 40: | ||
===Measuring volts, current and resistance=== | ===Measuring volts, current and resistance=== | ||
| − | + | [[File:b.jpg|200px|frameless]] | |
| − | + | [[File:c.jpg|200px|frameless]] | |
| − | + | [[File:e.jpg|200px|frameless]] | |
| − | + | [[File:a.jpg|200px|frameless]] | |
| − | + | <br> | |
| − | + | <br> | |
| − | + | LED - Resistance - Parallel circuit - Group of resistance | |
| − | |||
| − | |||
| − | |||
| − | |||
| − | |||
| − | |||
| − | |||
| − | |||
| − | |||
| − | |||
| − | |||
| − | |||
| − | |||
| − | |||
| − | |||
| − | |||
| − | |||
| − | |||
| − | |||
| − | |||
| − | |||
| − | |||
| − | |||
| − | |||
| − | |||
| − | |||
| − | |||
| − | |||
| − | |||
| Line 81: | Line 53: | ||
===Making a circuit=== | ===Making a circuit=== | ||
| − | + | Did not attend class. | |
| − | + | <br> | |
| − | + | <br> | |
| − | |||
| − | |||
| − | |||
| − | |||
| − | |||
| − | |||
| − | |||
| − | == | + | ==RE:Tool== |
Within the practice Digital Craft I'll be focussing on making a DIY tattoo gun, as this also connects with my ongoing project titled ''Vessel:pain=pleasure''. | Within the practice Digital Craft I'll be focussing on making a DIY tattoo gun, as this also connects with my ongoing project titled ''Vessel:pain=pleasure''. | ||
| − | This project | + | This project kick-started about six months ago, the first time I got a hold of a needle and some ink, since then I've been hand poking myself and others. |
Currently I'm looking for other ways in which I can apply DIY tattoos (in a safe and hygienic way). | Currently I'm looking for other ways in which I can apply DIY tattoos (in a safe and hygienic way). | ||
| − | [[File: | + | Presentation; |
| + | |||
| + | [[File:Retool01.jpg|300px]] | ||
| + | [[File:Retool02.jpg|300px]] | ||
| − | + | [[File:Retool03.jpg|300px]] | |
| − | * | + | |
| − | * | + | |
| + | Components; | ||
| + | * 6V DC motor | ||
| + | * 9V battery | ||
* spoon | * spoon | ||
* electrical tape | * electrical tape | ||
* button | * button | ||
| − | * | + | * press switch |
| − | * | + | * needle holder |
| − | * | + | * grip |
| + | * needle | ||
| + | |||
| + | |||
| + | The tattoo gun wasn't fully functional, because I was missing a small rubber part, that should be attached to the ring of the needle. These have to be ordered separately, I've tried to find alternate solutions, like rubber gum and an eraser, but this didn't work. | ||
| + | I'm excited with the outcome of the project and for now, I'll keep on going customizing and finalizing the tattoo gun. | ||
Latest revision as of 14:27, 7 September 2017
Contents
Intro
Discourse of autonomous practice Digital Craft ; "The Expanded Toolbox"
Tiffany Wederfoort
0857145
Assignments
Acting out electrons
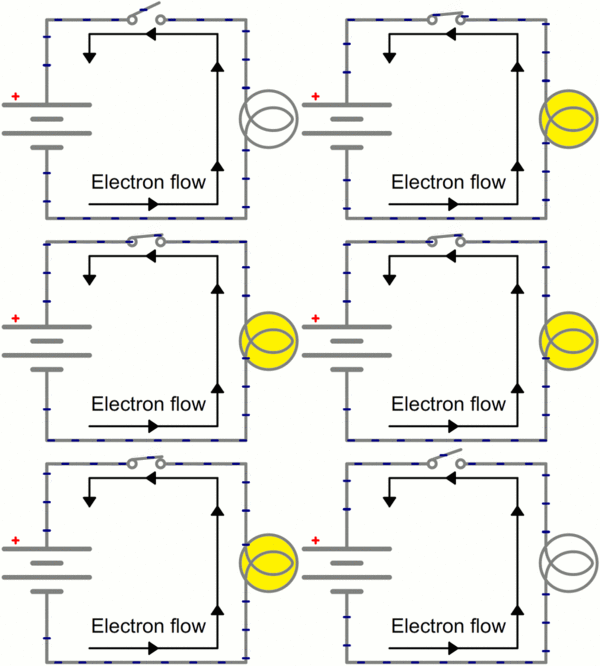
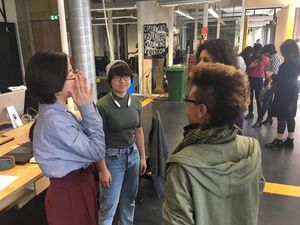
After reading the article https://learn.sparkfun.com/tutorials/what-is-electricity, we chose the following image;
acting out electrical circuit of a battery connected to a lightbulb; 1 battery, 1 lightbulb and 2 electrons
Measuring volts, current and resistance
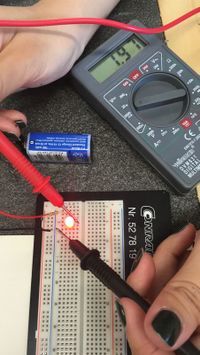
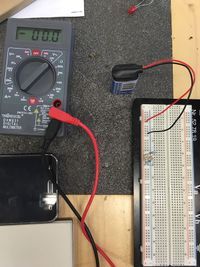
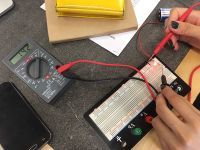
LED - Resistance - Parallel circuit - Group of resistance
Making a circuit
Did not attend class.
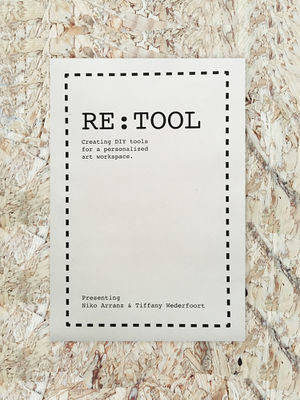
RE:Tool
Within the practice Digital Craft I'll be focussing on making a DIY tattoo gun, as this also connects with my ongoing project titled Vessel:pain=pleasure. This project kick-started about six months ago, the first time I got a hold of a needle and some ink, since then I've been hand poking myself and others. Currently I'm looking for other ways in which I can apply DIY tattoos (in a safe and hygienic way).
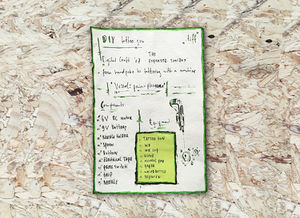
Presentation;
Components;
- 6V DC motor
- 9V battery
- spoon
- electrical tape
- button
- press switch
- needle holder
- grip
- needle
The tattoo gun wasn't fully functional, because I was missing a small rubber part, that should be attached to the ring of the needle. These have to be ordered separately, I've tried to find alternate solutions, like rubber gum and an eraser, but this didn't work.
I'm excited with the outcome of the project and for now, I'll keep on going customizing and finalizing the tattoo gun.
