Difference between revisions of "User:Urf"
| Line 28: | Line 28: | ||
I’ve been experimenting with different kind of materials such as a pentel brush and a posca marker. I tried to get different result with the same code. With the brush I tried to get different thicknesses in the line it made. Still this was very hard because I had to edit the code the program made for me. A lot of times the plotter just stopped because of an error. But after a reset it did its job well. | I’ve been experimenting with different kind of materials such as a pentel brush and a posca marker. I tried to get different result with the same code. With the brush I tried to get different thicknesses in the line it made. Still this was very hard because I had to edit the code the program made for me. A lot of times the plotter just stopped because of an error. But after a reset it did its job well. | ||
| − | Check out the video I made from the plotter doing its job. | + | Check out the video I made from the plotter doing its job. (still to come) |
I'm planning to use this machine more often in the future. You can do a lot of cool stuff with it! | I'm planning to use this machine more often in the future. You can do a lot of cool stuff with it! | ||
[[File:3dprintje.gif|200px|left]] | [[File:3dprintje.gif|200px|left]] | ||
Revision as of 10:11, 29 June 2017
Ervin Poot
0929997
0929997@hr.nl
Illustration
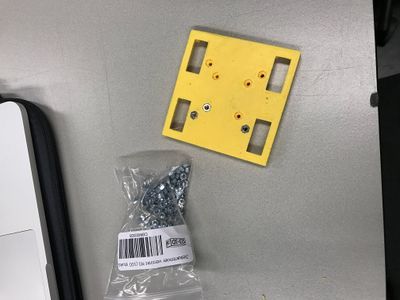
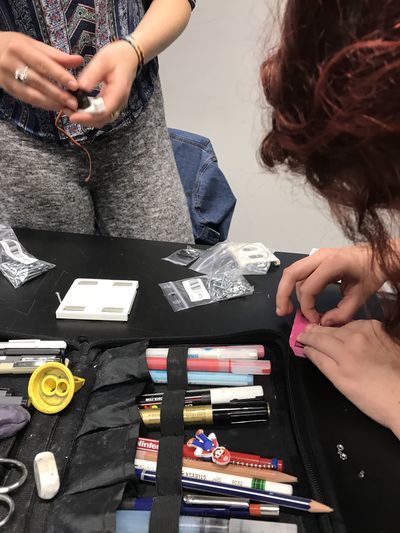
Welcome to my page where I document the progress we're making at the elective called Mimicking Machines. At this elective we're looking at different kind of printers and plotters. In the first lessons we made a plotter using 3d printed parts, electric motors, belts and a control panel called Arduino. Making the plotter I learned a lot about the mechanics and how the plotter works.
First I made a vector illustration in illustrator and imported the file into Inkscape to make a G-code of it. This G-code can be used in the software called Universal G-code sender. In this software you can control the plotter by clicking buttons, or sending the code to the Arduino. The Arduino knows where to draw because of the code.
I’ve been experimenting with different kind of materials such as a pentel brush and a posca marker. I tried to get different result with the same code. With the brush I tried to get different thicknesses in the line it made. Still this was very hard because I had to edit the code the program made for me. A lot of times the plotter just stopped because of an error. But after a reset it did its job well.
Check out the video I made from the plotter doing its job. (still to come)
I'm planning to use this machine more often in the future. You can do a lot of cool stuff with it!


