Difference between revisions of "User:R VDH"
| Line 82: | Line 82: | ||
= '''3rd Year Final Product''' = | = '''3rd Year Final Product''' = | ||
| − | My final product was | + | My final product for this practice was an analogue gramophone with an Instructable. The Instructable, written by me, is a tutorial which shows how to build your own analogue gramophone. I want to let people re-experience music/sound. <br> |
| + | <br> | ||
| + | The project has a connection with my major (teacher training). This device and the Instructable are great tools for a teacher to teach by demonstrating. But you can also let students discover it on their own. You give them the tools they need and let them try to use them. That’s also one of the main reasons why I’ve made an analogue version of it. I didn’t want it to be a “push-a-button-and-watch” machine. I want the viewer to be fully in control of the record player. He/she places the record on the gear, he/she turns the record, he/she holds the cone etc. I believe it will make the result more magical because you are the one that’s controlling the machine. <br> | ||
| + | <br> | ||
| + | This is the process of the analogue gramophone:<br> | ||
| + | <br> | ||
<br> | <br> | ||
Plan A: Gear testing<br> | Plan A: Gear testing<br> | ||
| + | First, I’ve wanted to make some kind of box with the record on top of it and a turning gear on the side. I looked back at the plastic grinder I’ve made before during this practice. I knew the hardest part about this design would be the gears. So, after some notes and a few sketches, I’ve made a few prototypes. And it was a disaster. It didn’t work. <br> | ||
| + | But, when I was waiting for the laser cutter, I’ve accidently came up with a better design for the gramophone.<br> | ||
| + | <br.> | ||
[[File:Aantekeningen-1.jpg]]<br> | [[File:Aantekeningen-1.jpg]]<br> | ||
<br> | <br> | ||
| Line 90: | Line 98: | ||
<br> | <br> | ||
[[File:Aantekeningen-3.jpg]]<br> | [[File:Aantekeningen-3.jpg]]<br> | ||
| − | |||
<br> | <br> | ||
[[File:Aantekeningen-4.jpg]]<br> | [[File:Aantekeningen-4.jpg]]<br> | ||
| Line 101: | Line 108: | ||
<br> | <br> | ||
[[File:Gear-lasercut-2.jpg]]<br> | [[File:Gear-lasercut-2.jpg]]<br> | ||
| − | |||
<br> | <br> | ||
<br> | <br> | ||
Plan B: Prototype small<br> | Plan B: Prototype small<br> | ||
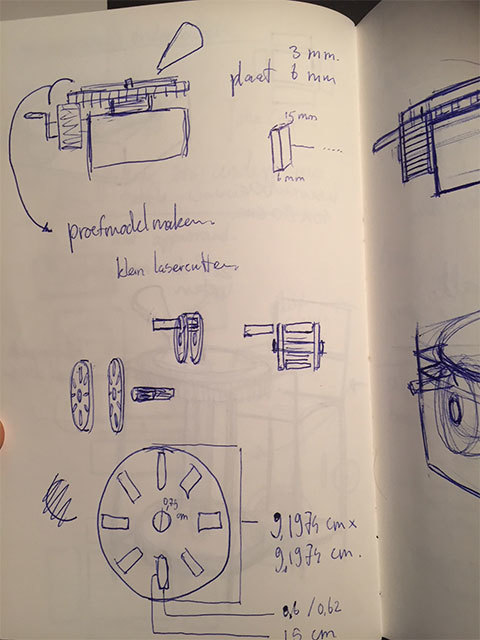
| − | + | So, this new idea was using just two gears. One gear where the record lays on top and another gear you need to turn by hand to make the record on the other gear turn. I’ve analysed the new design with a good friend of mine who has used the laser cutter quite often before. We came to the conclusion that I’ve had to avoid friction of the wood by placing a ring around the spindle and bolt. I’ve also had to make a little handle for one gear and I’ve had to measure the diameter of the spindle of a record player. With this in mind, I’ve build a small prototype. <br> | |
[[File:Aantekeningen-5.jpg]]<br> | [[File:Aantekeningen-5.jpg]]<br> | ||
<br> | <br> | ||
| Line 120: | Line 126: | ||
<br> | <br> | ||
Plan C: Prototype big<br> | Plan C: Prototype big<br> | ||
| − | + | The smaller version was a success, it even looked like a turntable for a DJ. My next step was to make the actual thing. I’ve done some preparations like cutting my own pieces of wood at the Wood Workshop and making a reservation at the laser cutter. I’ve created a new design in Illustrator for the laser cutter and I went for it. <br> | |
[[File:Blauwdruk-80x45-p1.jpg]]<br> | [[File:Blauwdruk-80x45-p1.jpg]]<br> | ||
<br> | <br> | ||
| Line 130: | Line 136: | ||
<br> | <br> | ||
[[File:Proces-3.jpg]]<br> | [[File:Proces-3.jpg]]<br> | ||
| − | + | One of the hardest bits of making the wooden gramophone was making the centre spindle. The diameter of a spindle on a record player is 0,71 cm. This meant I’ve had to use the technique woodturning to carve out the spindle by hand. It took some time but eventually, I’ve made a spindle on my first try. <br> | |
<br> | <br> | ||
[[File:Proces-4.jpg]]<br> | [[File:Proces-4.jpg]]<br> | ||
| Line 141: | Line 147: | ||
<br> | <br> | ||
[[File:Proces-8.jpg]]<br> | [[File:Proces-8.jpg]]<br> | ||
| − | |||
<br> | <br> | ||
[[File:Proces-9.jpg]]<br> | [[File:Proces-9.jpg]]<br> | ||
<br> | <br> | ||
[[File:Proces-10.jpg]]<br> | [[File:Proces-10.jpg]]<br> | ||
| − | + | Instead of using some rings to avoid friction, I’ve used two weights of an old fidget spinner. This turned out to be even more effective. Now it’s easy to turn the gear.<br> | |
<br> | <br> | ||
[[File:Proces-11.jpg]]<br> | [[File:Proces-11.jpg]]<br> | ||
Revision as of 13:17, 4 January 2019
Contents
Digital craft 3rd year practice
Rens van der Heijden
Fine Art and Teacher Training
0927125
Written Assignment
My name is Rens van der Heijden and I am a student from the Teacher Training (third year). Not only am I learning to become a teacher for art and design, I am also working with different kinds of tools and materials to produce artwork. Basically, all kind of tools and media because I want to extend my knowledge.
When I’m about to craft something, I usually focus and work too much. On one hand this is a good thing, because every time I’m giving it my all. I’m trying to make the best out of it. But on the other hand, working like this causes me to get frustrated. Because after some time working on a project, I get exhausted.
The best way to work for me is when I have to make/craft something and my components/tools/materials/software to make or craft are within reach.
Somehow making and crafting feel more natural to me than writing an assignment for instance.
I also sometimes work with very few tools (on purpose) and a problem-solving method. Working on projects with very few tools causes me to get stuck very quick. Because of this, I’m challenging myself to test the tools it’s limits. What is my problem and what can I do with the tools I have? What other functions do my tools have? By doing this, I need to come up with creative ways to produce artwork.
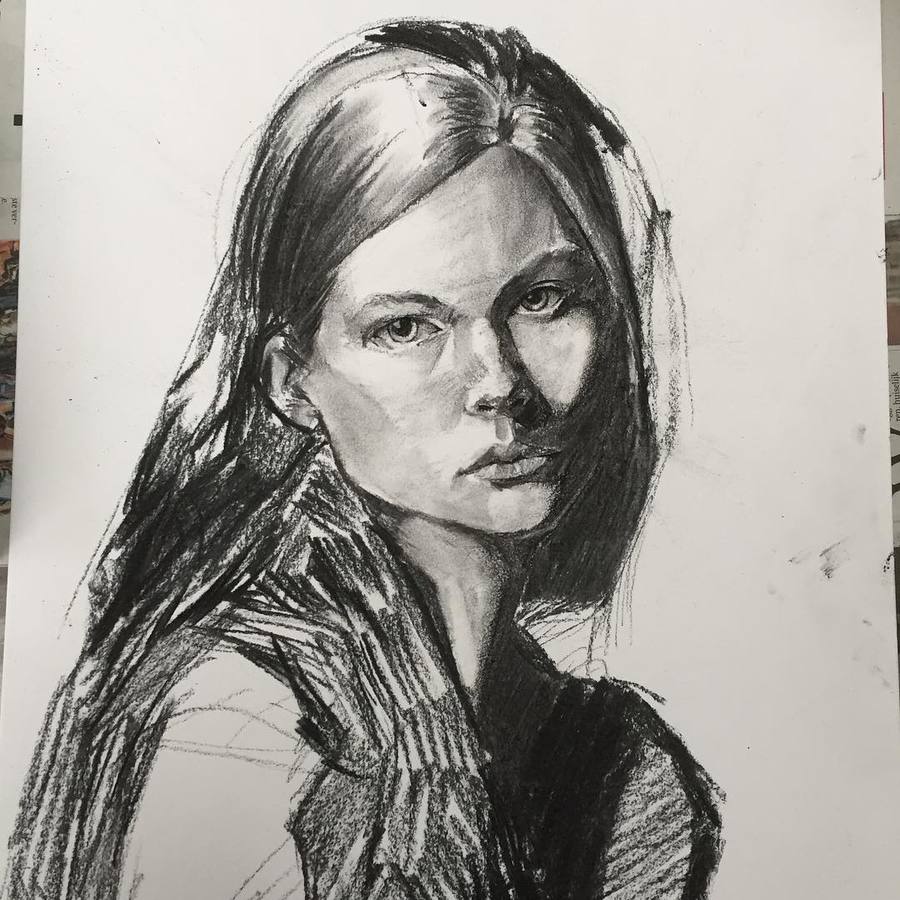
As I said before, I use different kind of tools and media to extend my knowledge. I think this is very important if I’m going to become a teacher of art and design. I think my main tool of my craft is drawing/painting with pen. Most of the time I drew with a pen in a little notebook and I used a drawing tablet and Adobe Photoshop to create paintings. But in the past years, I’ve also made some video documentations, photo series, a painted landscape able to visit with VR glasses, paintings made with sound/an instrument, 3D objects and interventions. And now you might wonder? Well right now, I’m going back to my roots, which is drawing on paper. But this time I’m going to use charcoal to draw portraits.
I was always drawing as a kid. If there was paper and a pencil, I would draw. This passion has been growing until my third year at Grafisch Lyceum Rotterdam (which was 4 years ago). Between then and now I didn’t feel like drawing anymore. I still don’t know why. The passion, this flame, was gone. It had been gone for 4 years until a few months ago. Somehow the passion to draw came back. Not as big as usual, but it is back. And that is the most important thing for me.
I choose this practice because of several reasons. This practice was more appealing to me compared to the other practices, where to me you’re almost forced to be some kind of activist.
I think Arduino and my record player where the most interesting things that have arisen during this Practice. Arduino really got my attention after the workshop, because I looked some stuff up about what you can make with Arduino. One of these things was making a real electric drum kit made of a plastic drum kit for a videogame.
The record player really surprised me because it let me experience sound in a different way. It really felt like magic. I somehow forgot that noises are actually vibrations.
I actually don’t have a big history with the gramophone/record player. When my father was my age, he used to work in a record store. He loves music so he collected a lot of records during that time. When I was a kid, I sometimes searched for those records and just looked at the covers because my father’s record player was broken. And with newer technology like cd’s, the record player was forgotten for a while. But a few years ago, my father decided to repair it so he could play his old records. Now I’ve bought some records myself and I am using it more often than him.
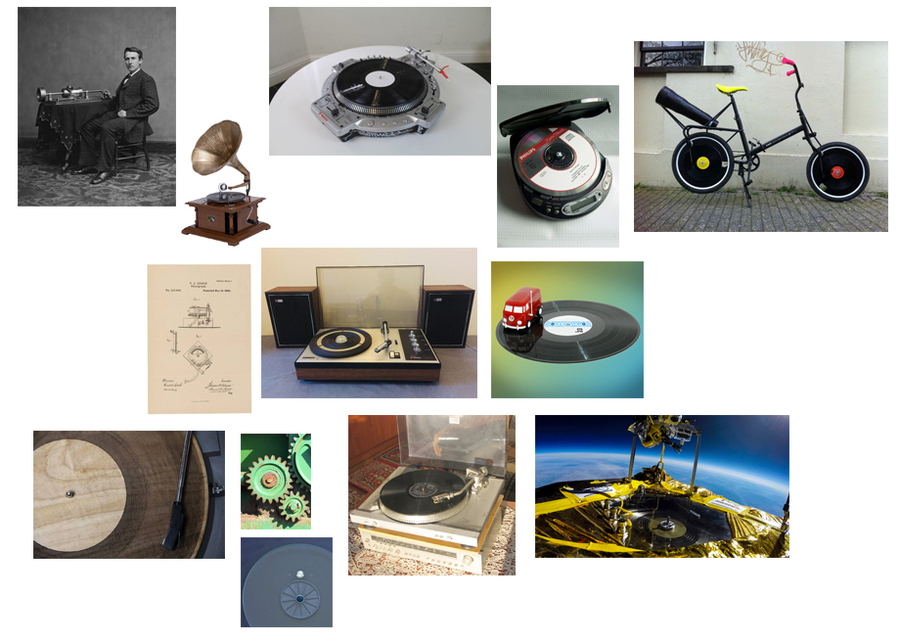
There is a specific person I rediscovered during this practice. I’m talking about Jack White. A musician, who’s also known as the Willy Wonka of music because he has crazy projects where he is pushing boundaries. For instance, he is the first person who played a vinyl record in space using a “space proof” turntable attached to a high-altitude balloon.
He has also a very interesting opinion about records and record players. To him buying a record and listening to it is the same as going to the cinema to watch a brand-new film. You can listen to music by telephone or computer, but the record is a physical thing you can touch, you can smell etc. And when you want to make a record of something on vinyl, you need to do it in one take. If you make a mistake, you can hear it on the record. This is very hard for musicians. But to Jack White this is the best part about music. The mistakes make the music real.
One thing I need to remember is the sentence on the building of Blaak: “I have to change to stay the same”. I think this is a very important lesson for every teacher who is standing in front of a class. Our world is changing and so is technology. That’s why I think it’s important to teach students about newer technologies instead of older ones. I think they might find older technology very boring because of its age. I also believe they might find it useless because the old technology is replaced with newer ones.
I also hope to learn during this Practice newer technologies for creative, activating and exciting lessons. Because I noticed during my internship that I find it difficult to create lessons for my class. It always becomes a traditional lesson. For instance, I’m standing in front of the class and I’m transferring information by talking instead of students trying to discover it by themselves out of curiosity.
I think lessons will be more interesting with technology if I demonstrate something. For instance, my record and the paper cone. Or the crazy and weird experiments you get at your science lessons. I also think that DIY kits are also great. You are learning by doing and making it by yourself. I think it would be even better if it is a puzzle. Because puzzles are fun to do, and when something is fun to do, it’s easier to remember.
Project 1: Cards
For this exercise, I’ve teamed up with 3 other students. Bart from the Teacher Training, Joep from Graphic Design and Mike from Autonomous. Together we’ve chose the following cards: “Clickbait or Listicles”, “Highlight a boring future that could result from” and “Use folded paper to create a physical model of this new thing”.
We went on the internet to Marktplaats and from there we used clickbaits to navigate through the internet. For instance, we saw a suspicious advert on Marktplaats. Once we clicked on this, we went to a different kind of web shop with ridiculous expensive products. From there we saw another advert which guided us to another site where we would find other adverts or articles which guided us to again another site etc.
We’ve made screenshots of our steps but unfortunately, we’ve lost a big part of it. However, we’ve made a short video with the remaining screenshots to show how annoying clickbaits are. During our presentation we showed this video and threw the printed screenshots to the audience, trying to let them ask themselves: Aren’t we already being guided by clickbaits through the internet? We should be careful when we encounter clickbaits.
Project 2: Cards
Shred, melt, print. That's what our machine would do. We were given the assignment to make the concept for a bio-machine. A machine which had something to do with bio, biological, biology, bio industry, whatever.
The concept we developed is a composed machine consisting of three actual machines. A "shredder", a "melter" and a 3d printer.
The shredder is meant for shredding plastic waste, that shredded waste will be melted to a new 3d printer filament, this filament can be used to print again. So in the end, you’ll have three small DIY kits to recycle plastic and to provide yourself new useful tools.
For now we mainly focused on the shredder and did some research to the possibilities that, gives, with the goal to print a shredder from wasted plastic which will create a loop again.
We’ve discovered that there are different types of plastic: PET, HDPE, PVC, LDPE, PP, PS, MIX. We’ve also found a schedule with the melting temperatures of these types. However, this shredder is originally designed for PET (polyethylene terephthalate).
We’ve made this wooden prototype specially to analyse its size. We’ve discovered that a part of the handle is too big. Because of this, we couldn’t rotate it, and the machine did not work.
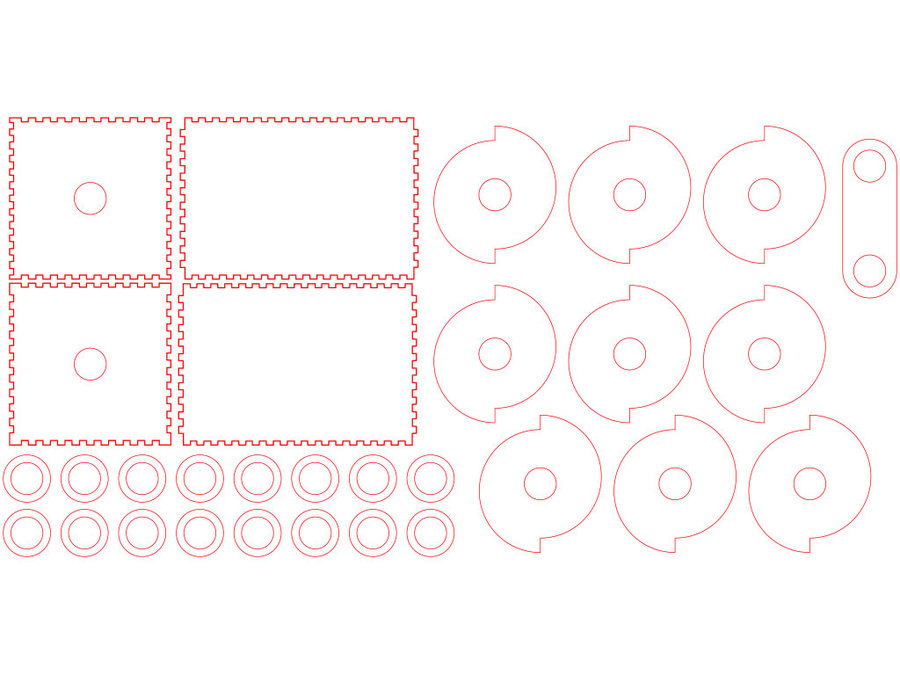
File we used for the Laser Cutter
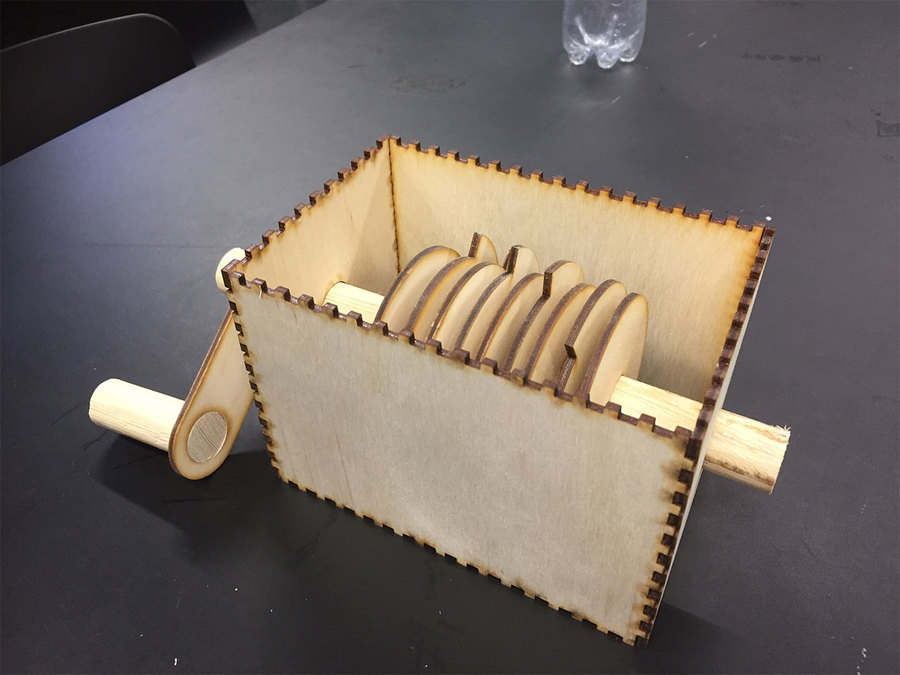 Prototype of the Shredder
Project 3: Black Box
After Project 2, I’ve worked alone on the upcoming projects. For the Black Box project, I choose the record and the record player. It was a device which was such a mystery for me. I didn’t understand how information (in this case music) could be carved in records. And how do those carvings transform into music when we use a record player?
Well in order to answer these questions better we need to take a closer look at the record:
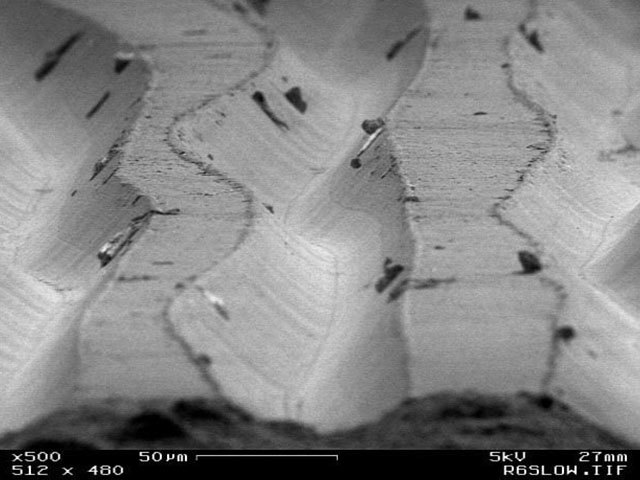
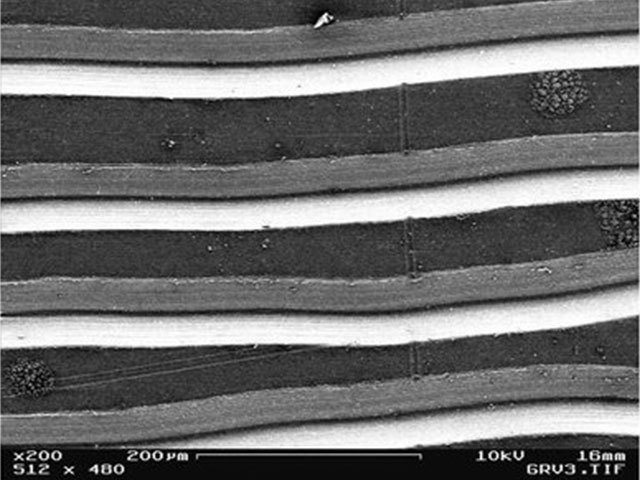
This is a close up of the carvings. When you put a record on the record player, the needle (which is attached to the arm) will sit in the carving. The needle makes contact with the sides of the carvings, which causes the needle to vibrate. These vibrations go through the arm to a magnet system. Then the vibrations go twice through an amplifier which amplifies the sound. Finally, the vibration comes out through the big speakers. And we hear these vibrations as music.
After discovering this, I wondered if I could make my own record player with cheap material. So, I’ve found this video (www.youtube.com/watch?v=6FX4E2GHkWY) where someone uses a paper cone, tape and a very small needle to “hear” the sound on the record. I’ve tried to do the same, expecting this wouldn’t work. But it did work and it makes sense. The vibrations go through the cone and it amplifies the sound. If you shout through the cone, your voice will be amplified. Basically, I’ve recreated the Phonograph but with paper and you’ve had to turn the record by hand.
Project 4: Mind mapping
3rd Year Final Product
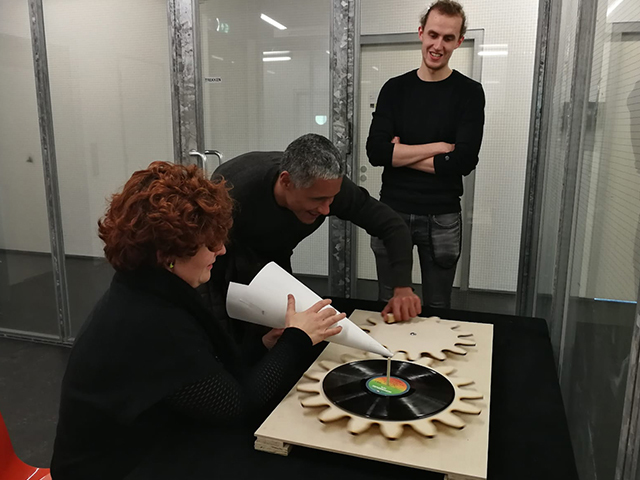
My final product for this practice was an analogue gramophone with an Instructable. The Instructable, written by me, is a tutorial which shows how to build your own analogue gramophone. I want to let people re-experience music/sound.
The project has a connection with my major (teacher training). This device and the Instructable are great tools for a teacher to teach by demonstrating. But you can also let students discover it on their own. You give them the tools they need and let them try to use them. That’s also one of the main reasons why I’ve made an analogue version of it. I didn’t want it to be a “push-a-button-and-watch” machine. I want the viewer to be fully in control of the record player. He/she places the record on the gear, he/she turns the record, he/she holds the cone etc. I believe it will make the result more magical because you are the one that’s controlling the machine.
This is the process of the analogue gramophone:
Plan A: Gear testing
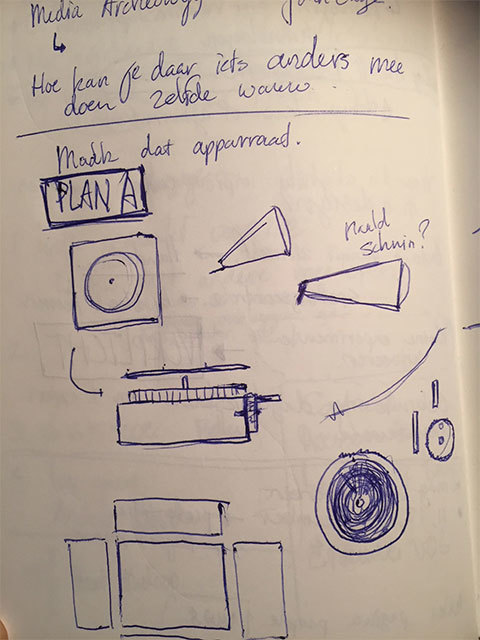
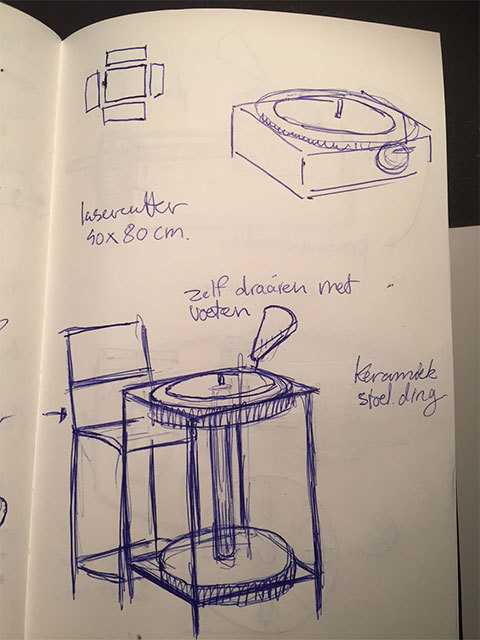
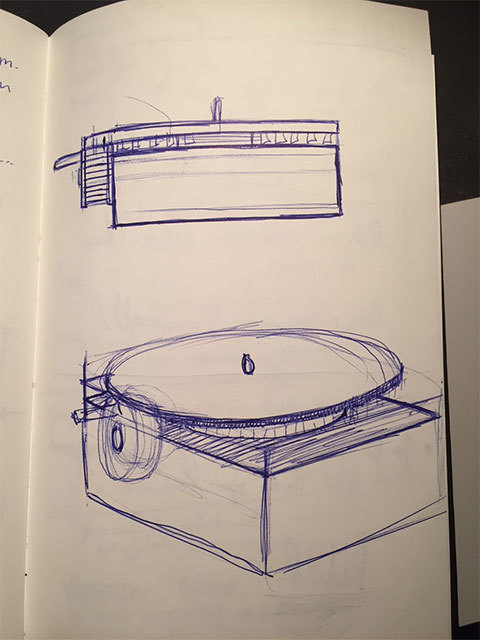
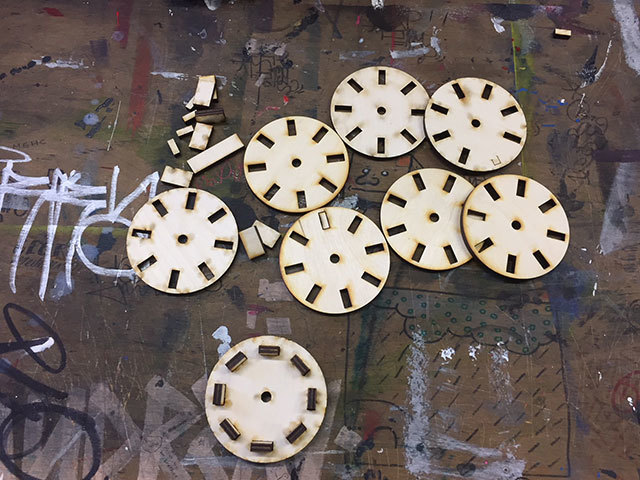
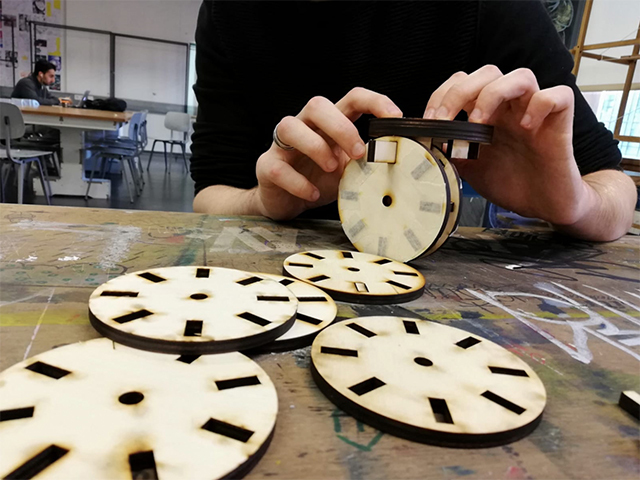
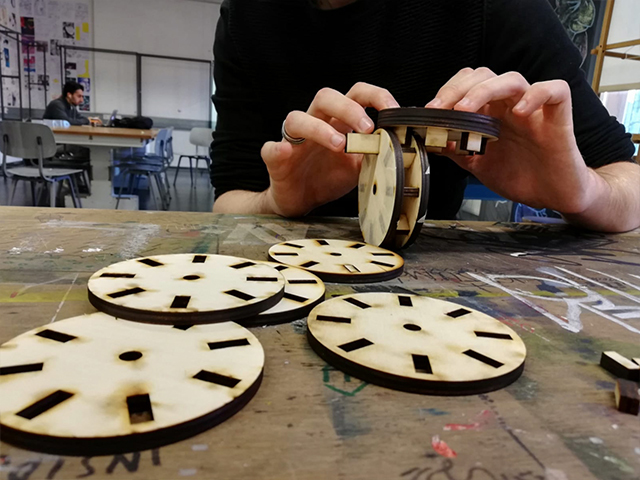
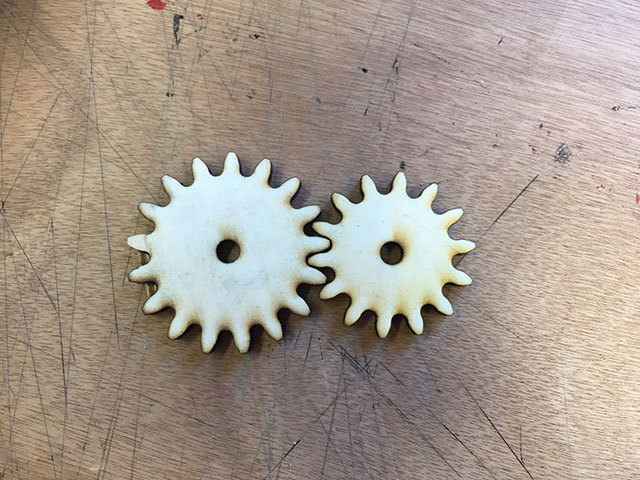
First, I’ve wanted to make some kind of box with the record on top of it and a turning gear on the side. I looked back at the plastic grinder I’ve made before during this practice. I knew the hardest part about this design would be the gears. So, after some notes and a few sketches, I’ve made a few prototypes. And it was a disaster. It didn’t work.
But, when I was waiting for the laser cutter, I’ve accidently came up with a better design for the gramophone.
<br.>
Plan B: Prototype small
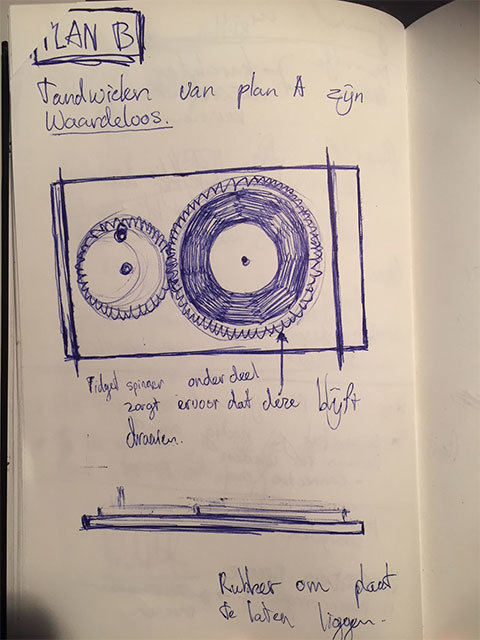
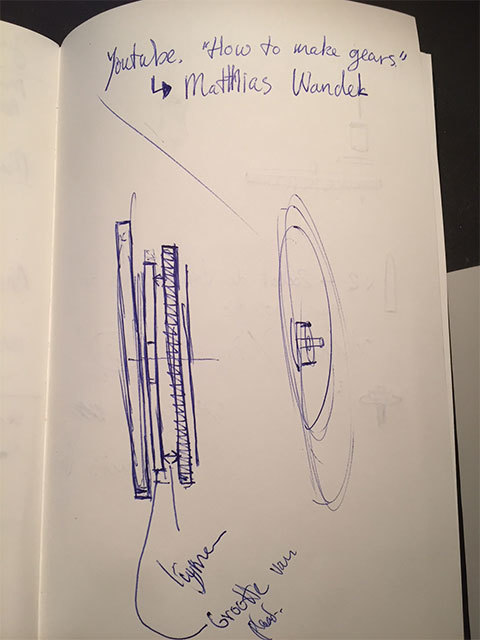
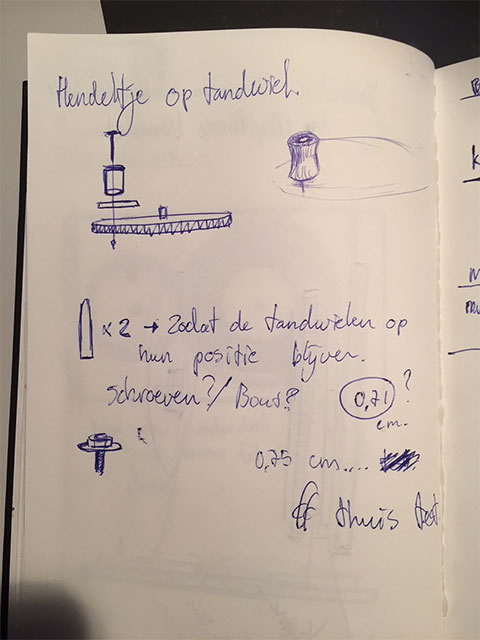
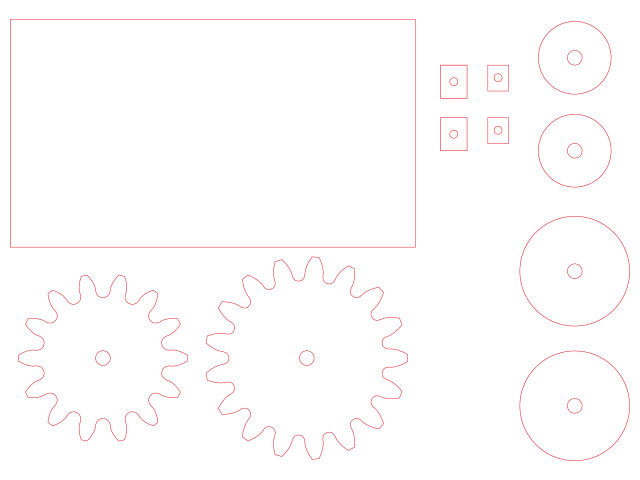
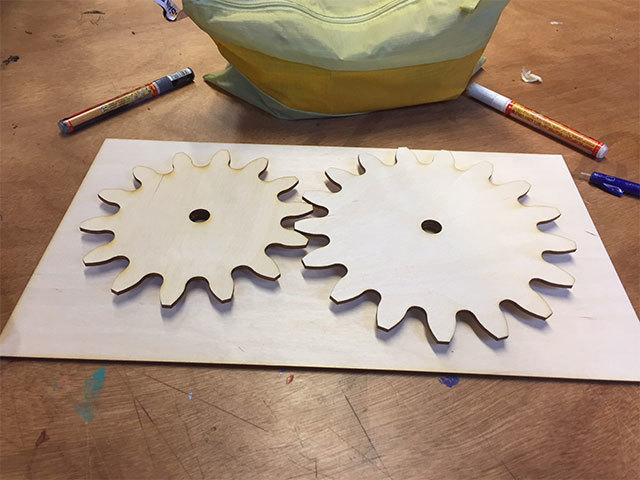
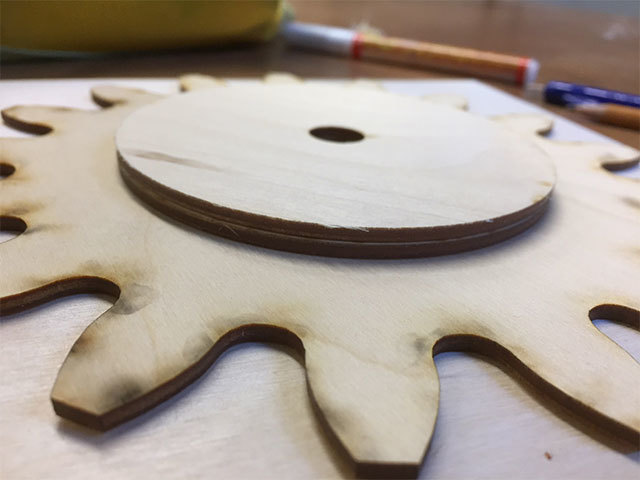
So, this new idea was using just two gears. One gear where the record lays on top and another gear you need to turn by hand to make the record on the other gear turn. I’ve analysed the new design with a good friend of mine who has used the laser cutter quite often before. We came to the conclusion that I’ve had to avoid friction of the wood by placing a ring around the spindle and bolt. I’ve also had to make a little handle for one gear and I’ve had to measure the diameter of the spindle of a record player. With this in mind, I’ve build a small prototype.
Plan C: Prototype big
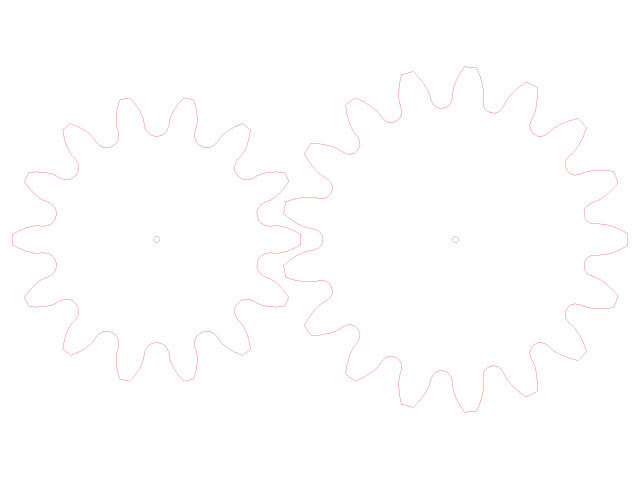
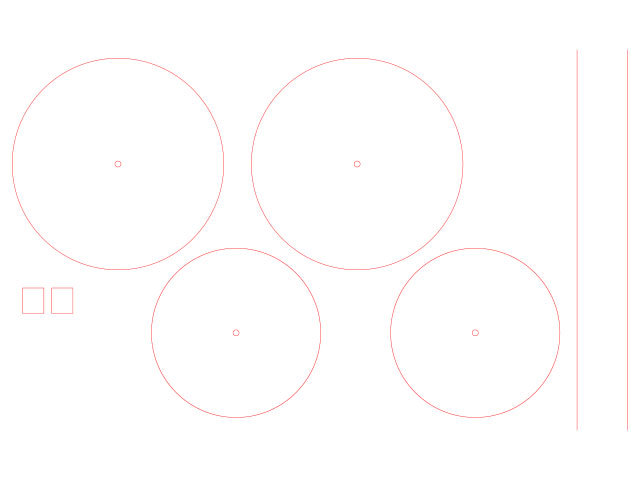
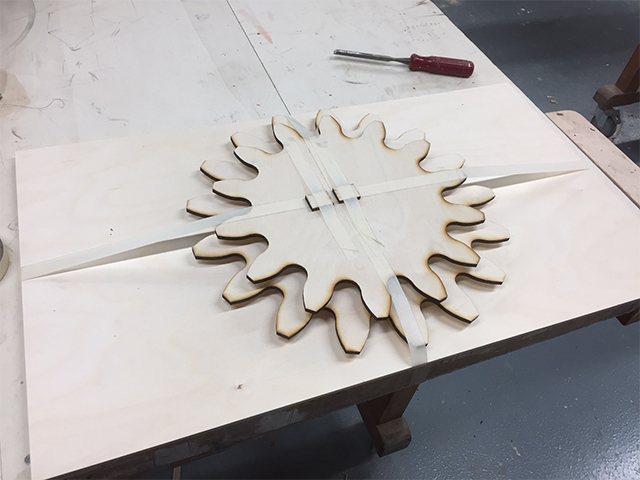
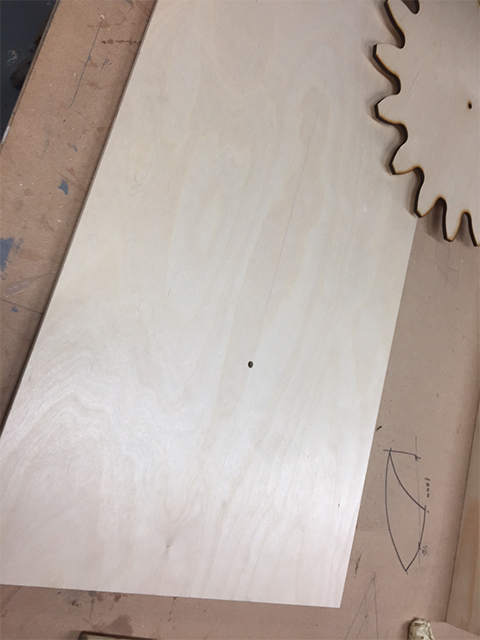
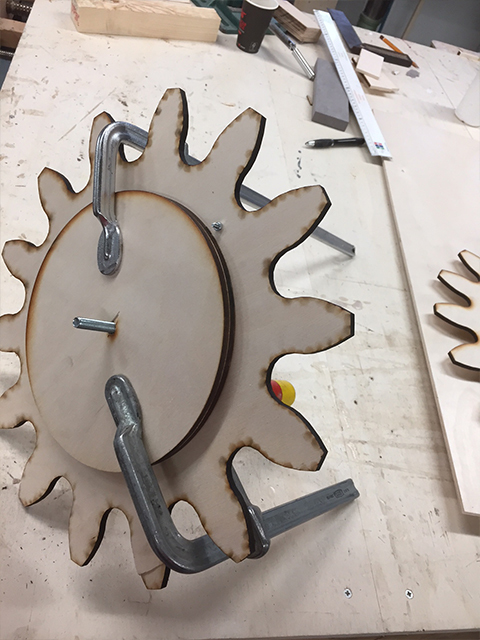
The smaller version was a success, it even looked like a turntable for a DJ. My next step was to make the actual thing. I’ve done some preparations like cutting my own pieces of wood at the Wood Workshop and making a reservation at the laser cutter. I’ve created a new design in Illustrator for the laser cutter and I went for it.
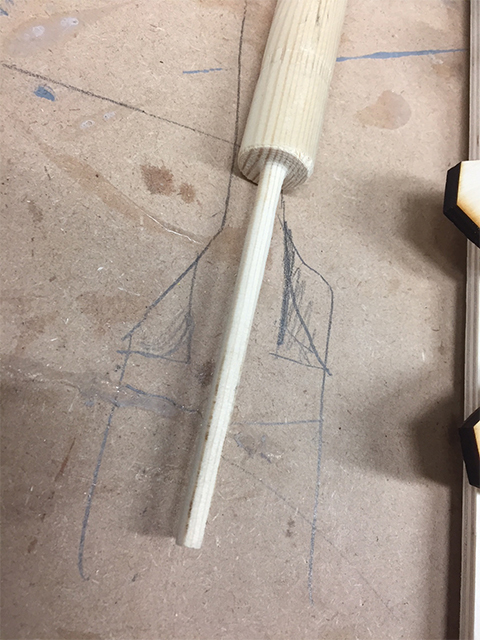
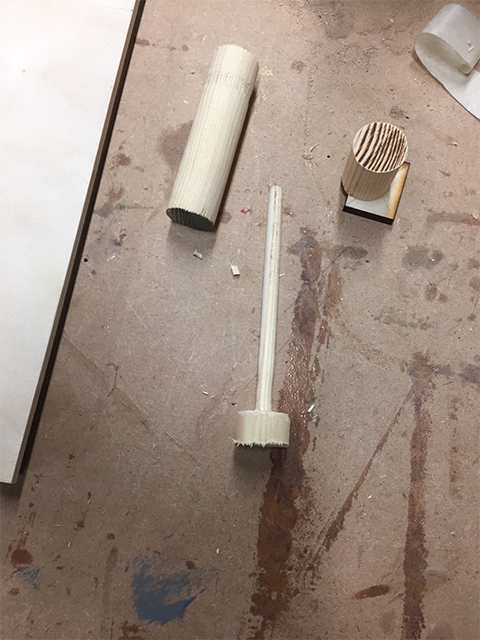
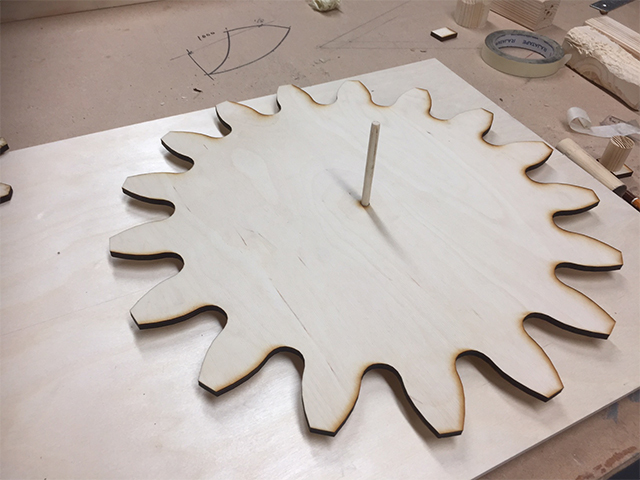
One of the hardest bits of making the wooden gramophone was making the centre spindle. The diameter of a spindle on a record player is 0,71 cm. This meant I’ve had to use the technique woodturning to carve out the spindle by hand. It took some time but eventually, I’ve made a spindle on my first try.
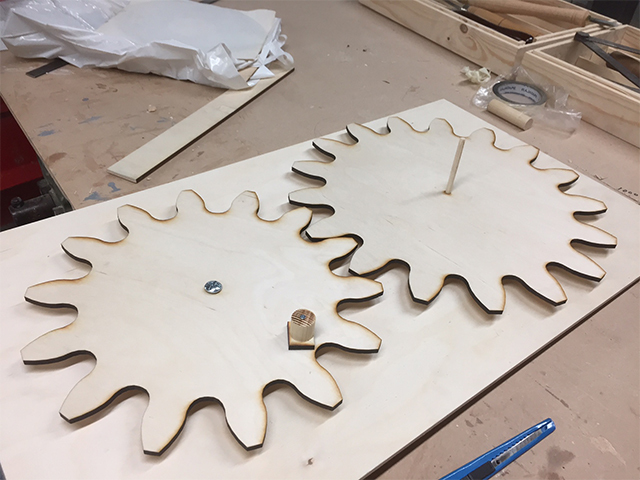
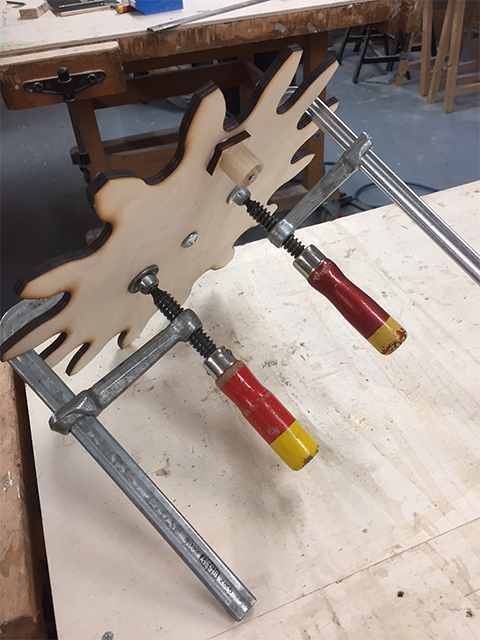
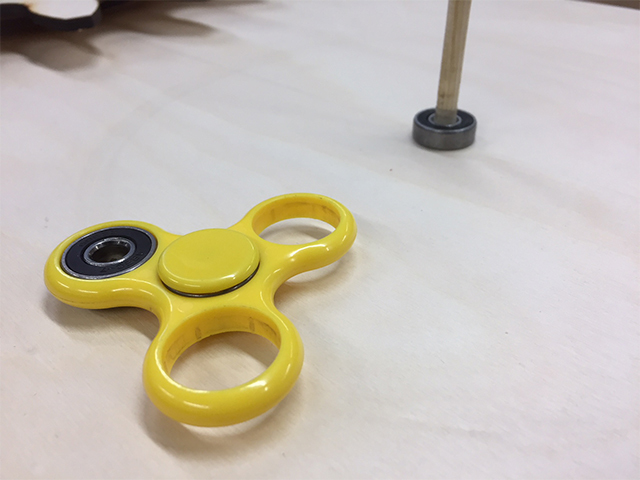
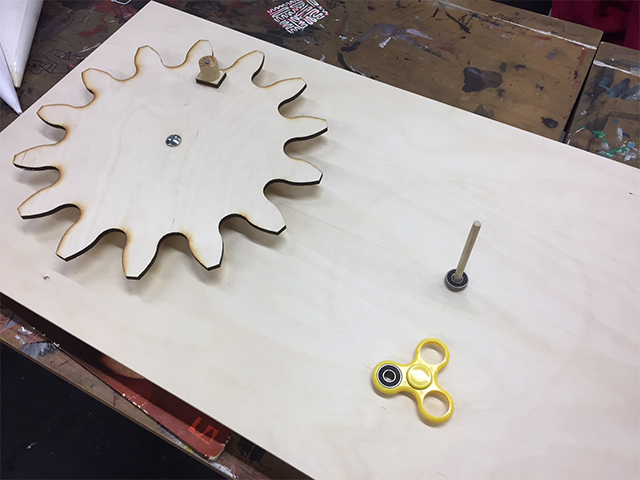
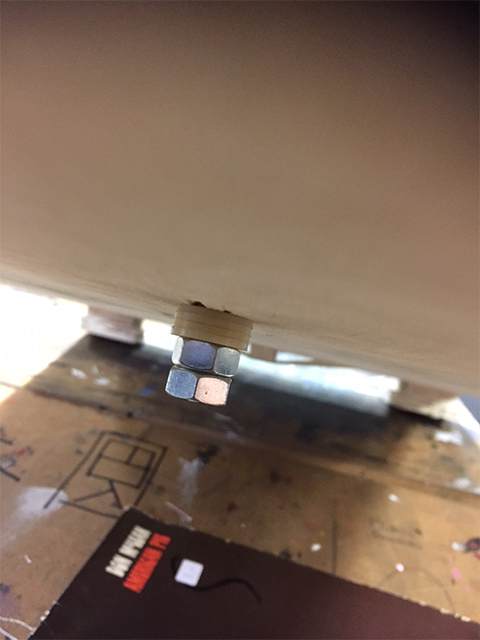
Instead of using some rings to avoid friction, I’ve used two weights of an old fidget spinner. This turned out to be even more effective. Now it’s easy to turn the gear.
Plan D: Cone
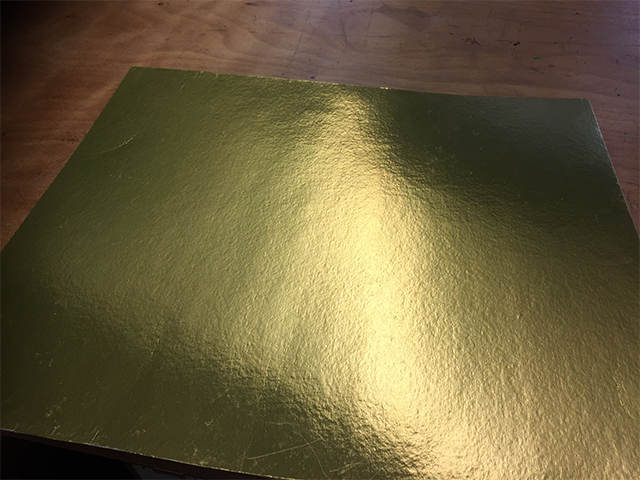
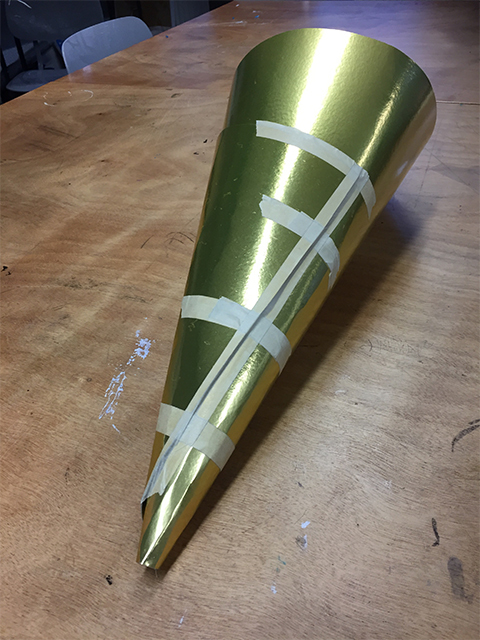
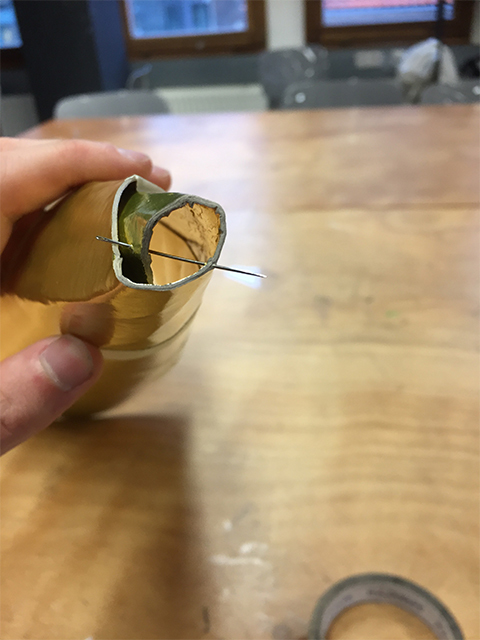
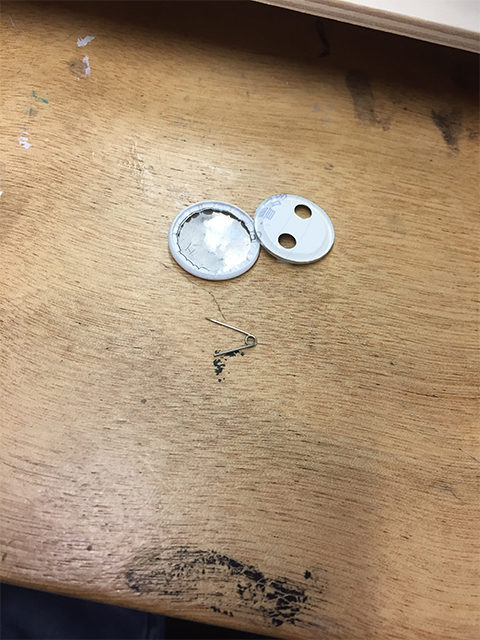
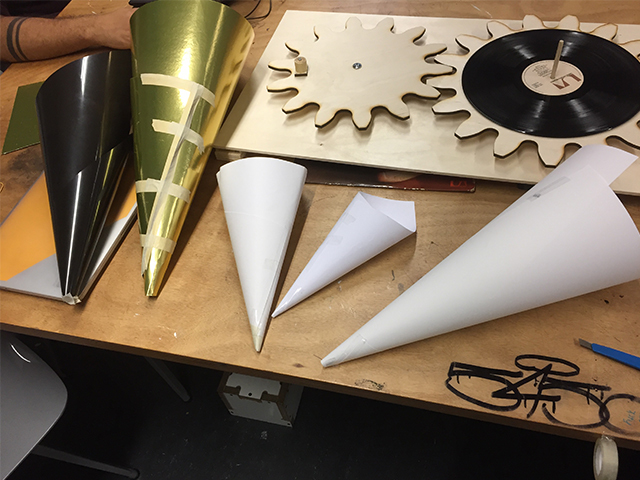
So for the cone I've used different kinds of material. Golden cardboard, thin black transparant paper and paper for drawing. I've also used the needle of a button and I've used the regular stitching needle. I've discovered that drawing paper with a thickness of 120 grams is perfect for the cone. It is a bit stronger than printing paper and it guides the vibrations very well. And it's loud. Really, really loud.
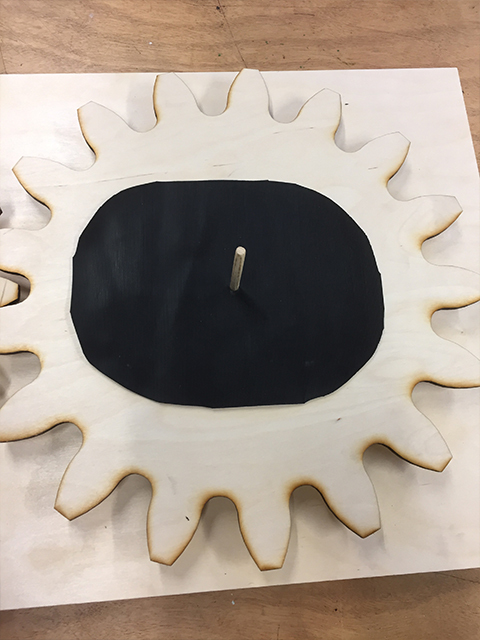
I've added some rubber so the record would slide around when you turn it.
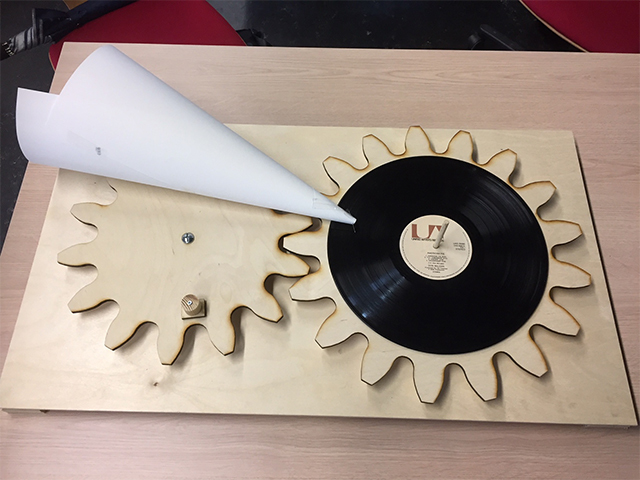
This is the final piece of my analogue gramophone. I've also made a Instructable (a little tutorial if you want to build your own gramophone). You can find it here: www.instructables.com/id/Analog-Gramophone-for-Teaching/
