Difference between revisions of "User:Nsilver"
| Line 175: | Line 175: | ||
[[File:Trianglebridge.JPG|200px|thumb|right|Triangle bridge halfway]] | [[File:Trianglebridge.JPG|200px|thumb|right|Triangle bridge halfway]] | ||
[[File:CIMG0356.JPG|200px|thumb|right|Triangle bridge]] | [[File:CIMG0356.JPG|200px|thumb|right|Triangle bridge]] | ||
| − | |||
| − | |||
| − | |||
| − | |||
| − | |||
| − | |||
<br> | <br> | ||
<br> | <br> | ||
Revision as of 18:32, 20 May 2015
murmurmurmur welcome
Contents
Links
Fusing and Bonding
Making by adding | First brainstorm additive processes
- 3D printing
- clay, paper mâché, soldering
- Blending, lasercutter, gluegun
- 3D printer
- Claying
- Melting
- Smelting
- Welding
- Soldering
- Paper mâché
- Brick laying/mortar
- Cooking
- (new) kintsugi
Initial projects and ideas
At first I was thinking too much about product and too little about material and experimentation below is what I wrote and made then:
Lampshade (metal/paper Mâché, a historical example?) Research Lampshade DIY instructions Paper Maché lamp This was the first hit on google images when typing 'Paper Maché lamp' It is pretty common and easy to make your own DIY 'Paper Maché lamp, I want this lamp to have something different and unique. some photos That's why I want to play with the light coming from the lamp and add in colours, or reflections and maybe motion to the lampshade. [1]
I threw this idea out because it had little to do with material experimentation.
Candle-wax sculpture
After receiving that feedback I wanted to just go and try. So I made this sculpture out of clay, wire, wood. It is fused by candle wax, I like the organic aesthetic it has. Jon did not seem to like it as much, I however could imagine a whole forrest made out of wire and candle wax, this could be used in an stop-motion film for example (thus also linking back to animation). This project has no continuation.
Tie-wraps structure
The tie-wrap construction is something that is strong yet very agile when it comes to moving and bending. It could be interesting to make an moving piece out of this. I can imagine a breathing statue if you will. This piece was inspired by this: Maria Blaisse's BREATHING SPHERE, which I saw in an exhibition in Enschede.
INSERT PICTURE
I lasercut a box that would could contain all the wiring for the aesthetic, which would also function as a pedestal for the tie-wrap structure to stand on.
I followed this instructables to make the motor spin how i wanted it to. I however did not use a battery but a voltage converter so I would also have control over the speed of the motor, which was quite essential seeing I was still unsure how this would work later on. http://www.instructables.com/id/How-to-control-a-DC-motor-to-run-in-both-direction/
Insert process pictures of wiring here.
Soldering is also part of fusing and bonding and I am enjoying electronics more and more. So this was a nice challenge, since I am still a noobie in this field.
The motor had this circular end to witch I could not attach a wire. I solved this by using what I learned from the 3D prints (below). I printed a part that would perfectly fit the end of the motor and have a little extension with a hole for the wire to wrap around.
INSERT MORE PICTURES
Spaghetti structure
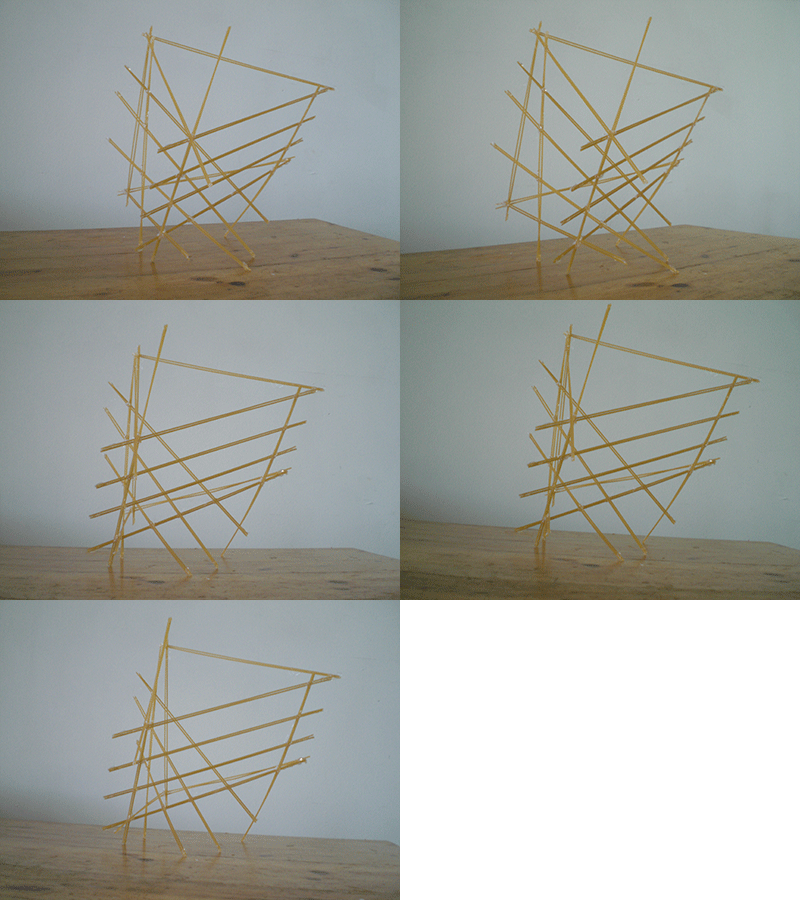
3D triangle made out of spaghetti and hot-glue. I enjoyed doing this because it give rather fast results. The spaghetti is pretty brittle and breaks even easier when hot. So it does require precision when glueing, which was something that was learned rather quick.
I continued with this and started making more structures. Moving away from primary shapes, like the triangle shown on the right. This one is still based on a triangular, just because that is strong. This was already more interesting to do because it was more freeing than the initial test.
INSERT MORE PICTURES
3D Printing in school
I have been wanting to explore the 3D printer for a while and this practise gave me a chance to do so.
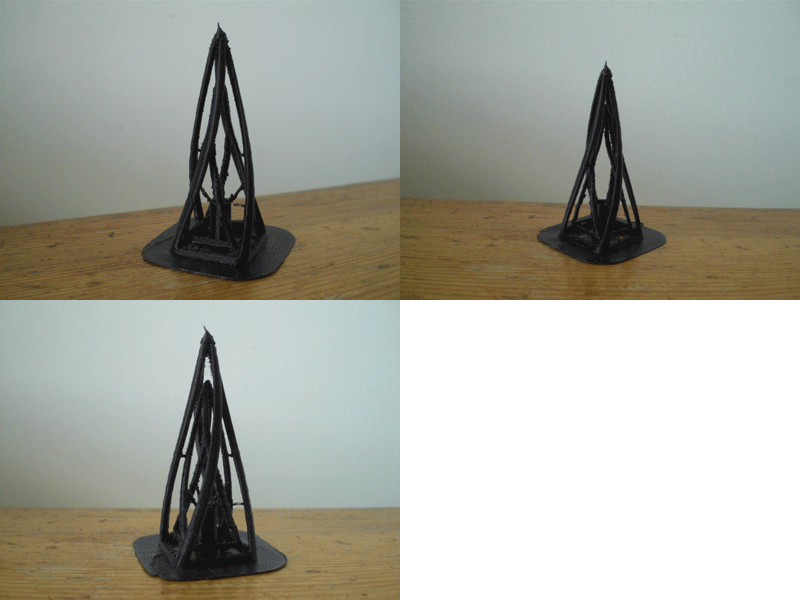
On the right is the first model I tried to print, which did not come out as successful that was partly due to the kind of impossible mesh I made in this initial model. Below that is my first successful print. The model of which is shown on the left. I tried to make a structure which had a solid base and went up from there. So it would be easier for the printer to understand. It worked which was pretty exciting for me. I also liked to make it geometrical because this is just something I tend to do. Create order and shape things accordingly. Even in the initial model there is order, more organic but still there is order. Plus this geometrical precision is hard to achieve by hand but easy to achieve in the computer. One of the advantages of 3D printing.
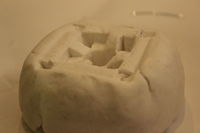
I then pressed my printed tower into clay to make a mold as seen on the right. I did not continue this because it was not interesting for me and the hotglue prints that came out of this mold where ugly and not worth it.
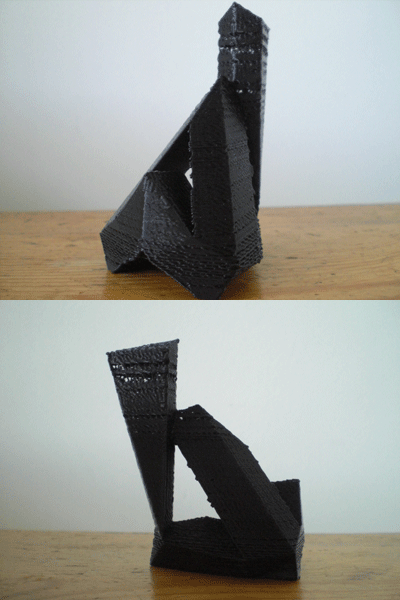
I then wanted to test the limits of the machine by printing a crane as suggested by Jon. To see how the printer would handle something that is not very predictable, contrasting with the tower. The overhang turned out quite nice and is something I could have explored further. This would be an example of a material pushed to the limit, but it can of course be pushed so much further. For the redo I had the chance to continue with the 3D printer and see what else I could create. Some examples below:
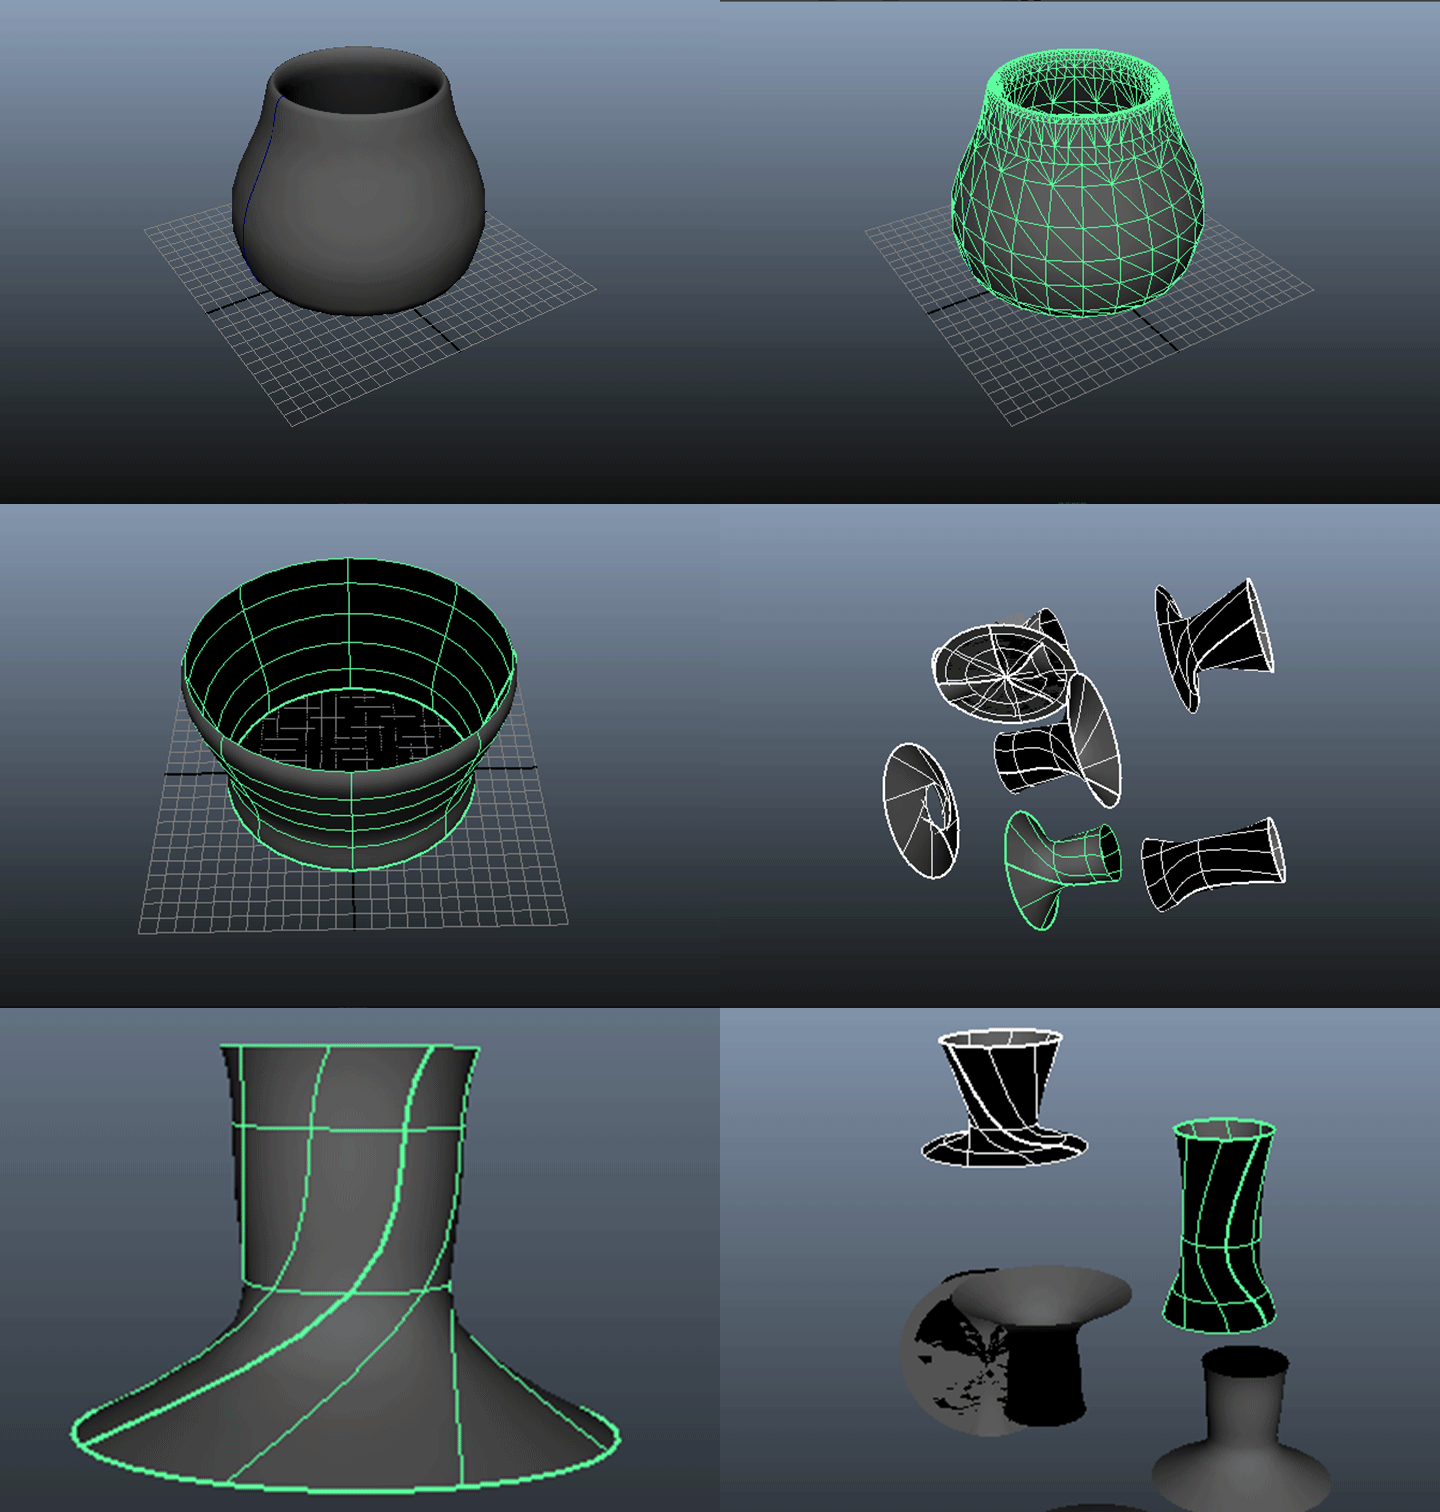
UPLOAD MAYA PICS
3D printing with overhang
Trying out pine shaped objects with the 3d printer seeing how it would handle more overhangs that overlap, this is a continuation from the crane. The first cone came out to perfect, it is just like a plastic pine cone.
The second try I made the overhanging pieces much longer so that it would be harder for the plastic to hold. I also made it smaller so it would be more likely to collapse. What came out is almost like a spiderweb. This is the desired effect, of course the actual result is still quite unpredictable. This happend because the printer did not handle the thinner upper parts so well and messed up creating the initially wanted structure to chaos relation. Where the bottom is like the tower print and the top is like my first print.
3D printing bridges and upside down
Trying to print a bridge inside of a triangle, the bridge was not very successful however the triangle still turned out ok in a structural sense. Then i printed it again with a little edit to the mesh and then the bridge did come out as desired. Yet the printer also added something that was neither in Cura or Maya, which is pretty interesting. I assume there was something wrong with the file that it took so long and in the end ghost printed some parts.
Trying to print the bridge upside down. The bridge itself actually came out better than the normal printed one. However, a lot of support was added to make this possible. The challenge here was too not lay the object flat as Cura usually does for you, instead print it out with the unlogical end downwards. It was just a test to see if it was possible. The answer is yes but not without a support structure.
In the first lesson at Unfold Claire told me it would be useful to try out some of my design at the school 3D printer, which is what I did. These are three trails for the workshop at Unfold.
Something I wanted to explore was salt ceramics, however when me and Colin went to the printing workshop Dries told us that he didn't want salt in his oven because it gave of poison fumes. We made it a shared example by all accepting an fixed diameter for the lower (10cm) and upper ring (7cm), so that the cups should be able to stack. Eventually Colin and me decided to print his structures smaller so they would fit inside of my bowls. We tried to experiment with mixing the clay with different materials. To see how it would react in the oven. We used:
- Wood - this was expected to burn away in the oven and leave holes. We did both wood dust and putting wood in-between while it was printing.
- Metal dust and chips (iron/copper) - this was expected to maybe give a green glow from the oxidation that happens.
- Glass powder - this was expected to give a glaze, it was a suggestion by Dries after I told him about the salt ceramics. This was the alternative.
| a video edited by Colin of our ceramic pots being printed at Unfold studio
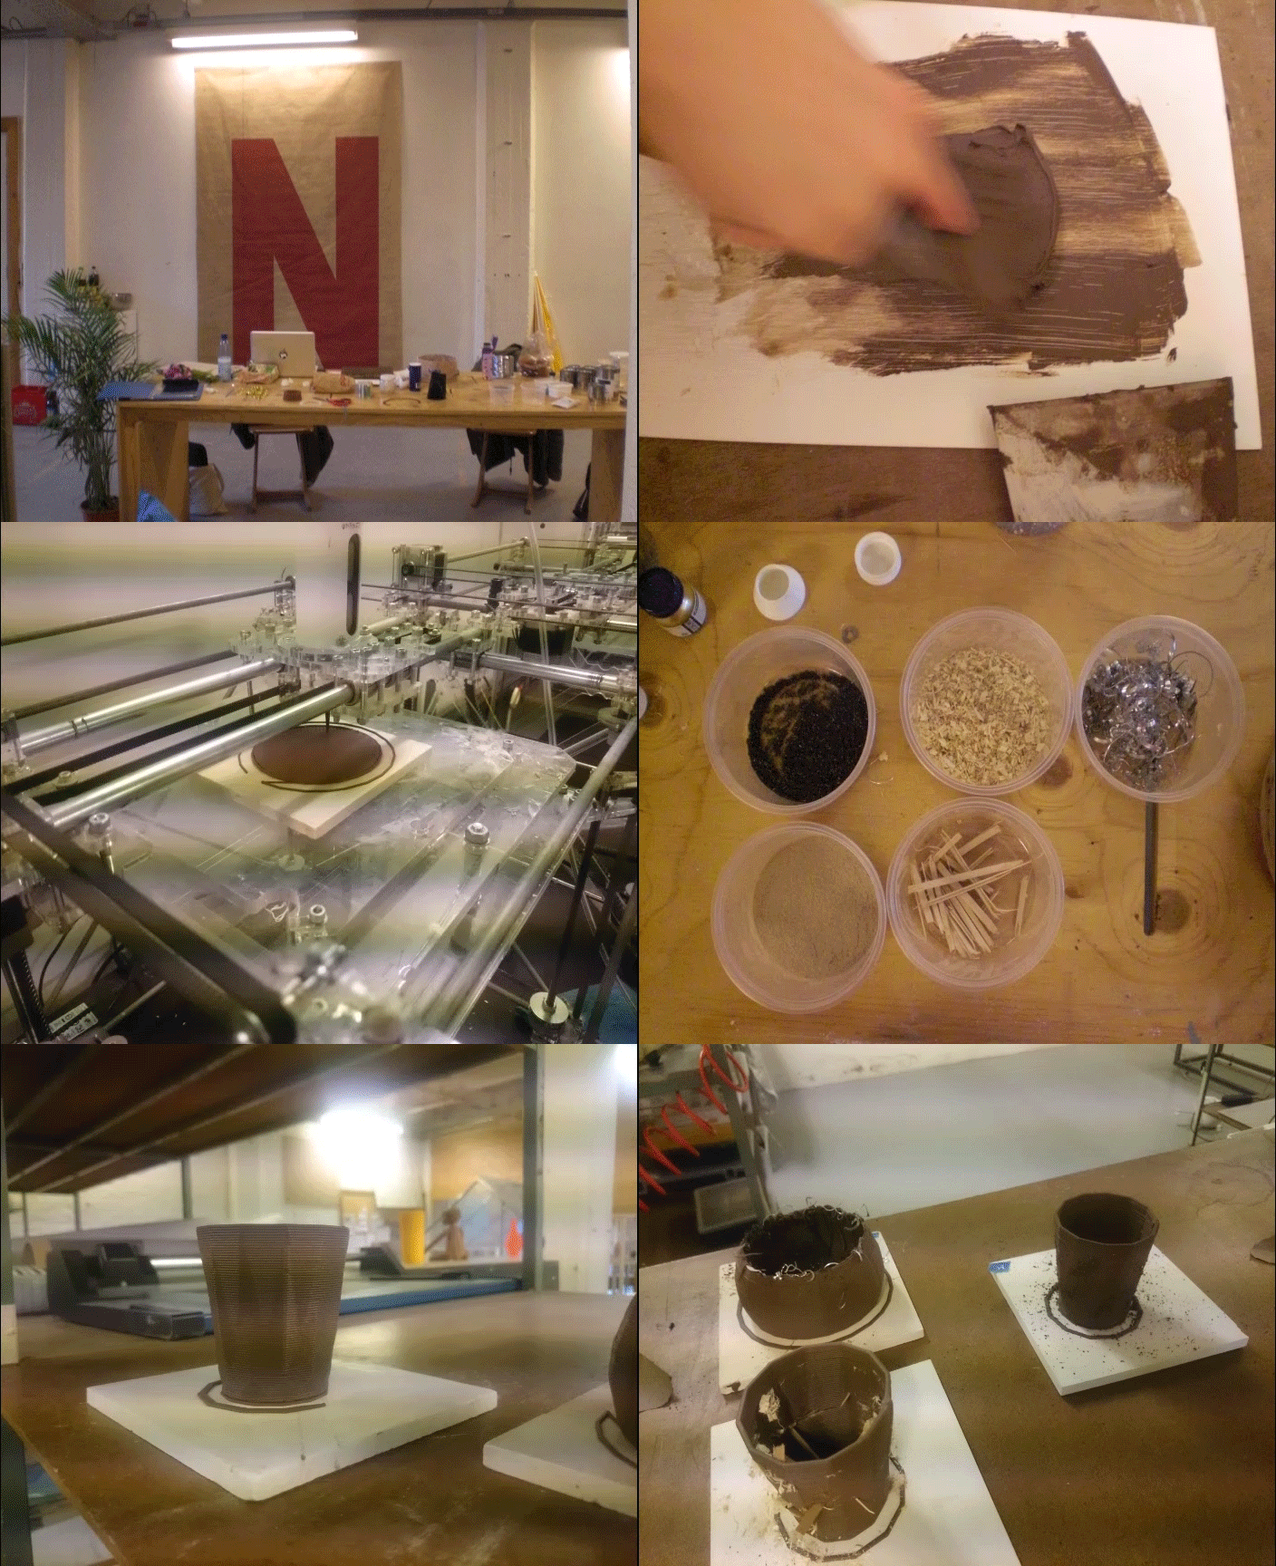
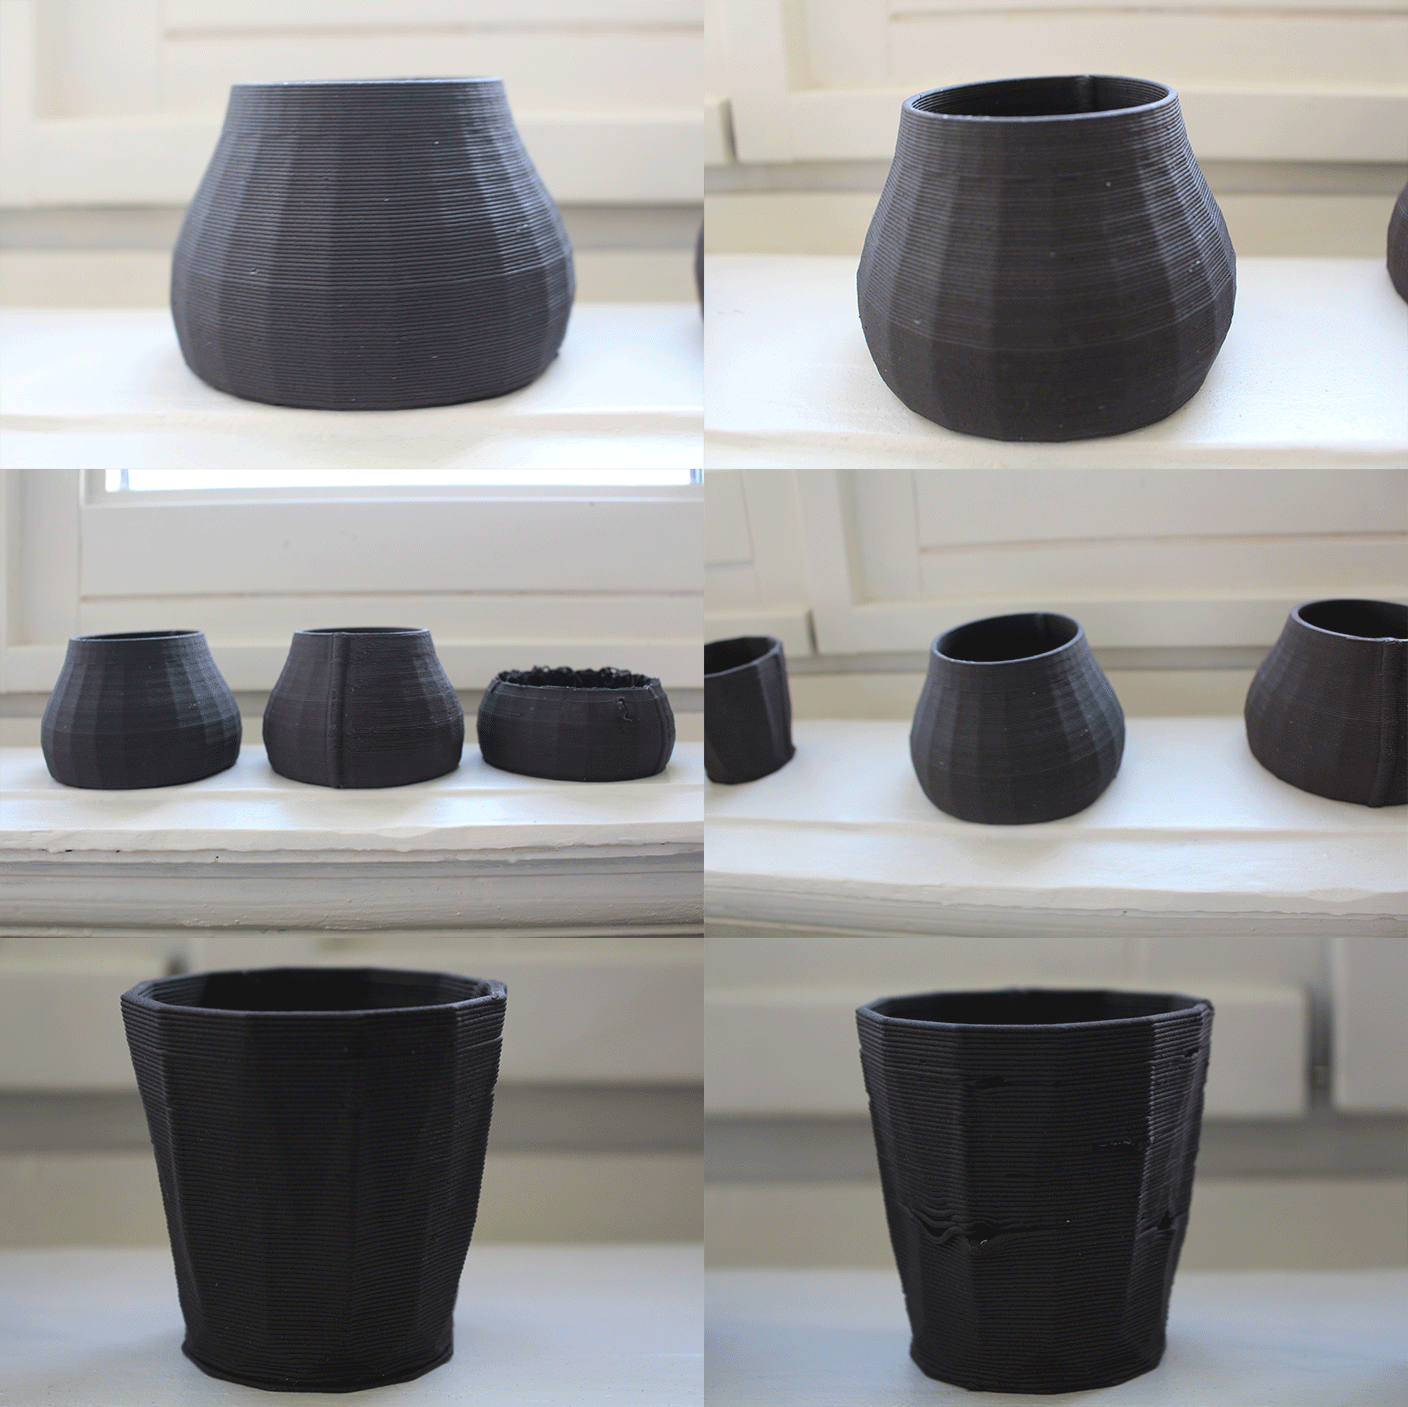
The wood left holes as was expected. This gives the structure some interesting bends as can be seen on the pictures.
The metal did not do much except solidify more and stick to the clay.
The glass turned the clay slightly darker but it is hardly noticable.
These results where a little disappointing and the most interesting turned out to be the wood, which I did not expect.
Ceramics station:
This is an example of a new skill
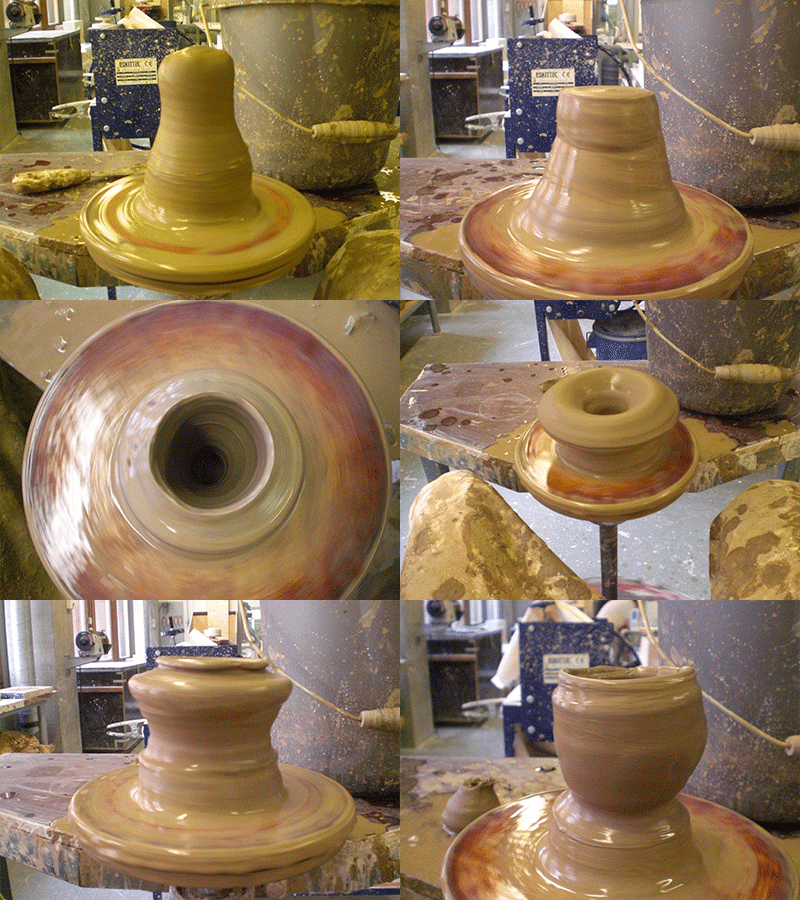
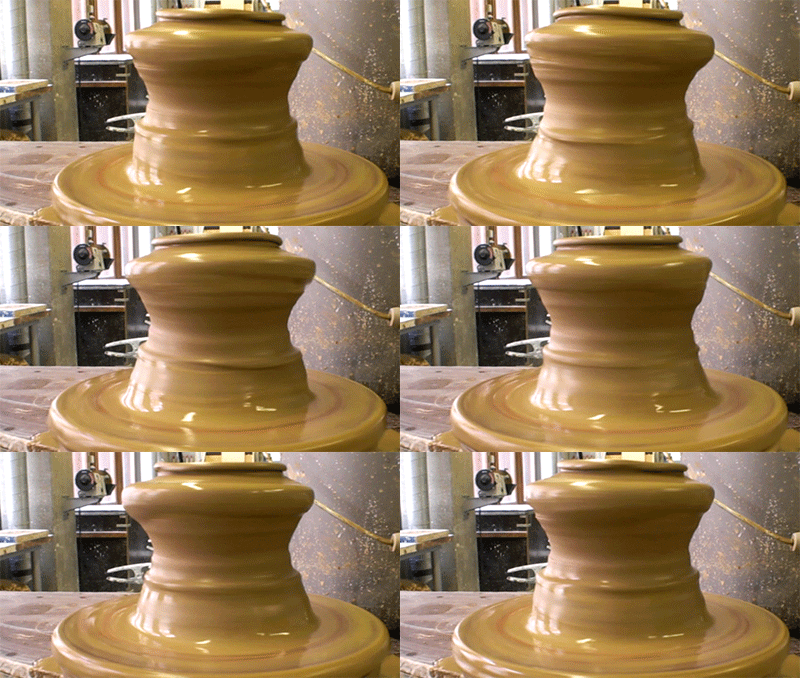
to do explain the difference between printing a pot and moddeling a pot on the turntable and describe the difference in experience and end result One clear difference I can already name is that with the printer you always get these layers, the hand-made pots are so much more smooth.
Deliverables/to do
- A historical example
pot turning
- A comparative example
pot turning vs. pot printing out of clay vs. pot printing out of plastic
Plastic vs. Clay, in clay you have many limitations you do not have in plastic. For example in plastic you van print over 45 degrees, which is not possible with clay since it will just tumble down. Also, plastic dries almost instantly and clay takes a week. However you can also use the ceramics you print in your oven and microwave. This would not be a very good idea with the plastic, seeing it would just melt. The ceramics also is more tactile and pleasing to the touch, this is of course a personal preference. The ceramics also seems to take less time to print since it prints thicker layers than the plastic. Plastic is then in turn not breakable and ceramics is. It really depends on what you are making, but for dishes pots and such the ceramics printer is my favourite. For designing things trails and integrate stuff the plastic will be a better candidate.
- An example of a new skill
3d printing, arduino and turning clay on the pottery wheel
- An example of a material pushed to the limit
3d print/tiewrap structure
- A shared example
Unfold
UPDATE STATEMENT
UPDATE TEXTS


