Difference between revisions of "User:Diederick"
| Line 151: | Line 151: | ||
[[File:Screen_Shot_2016-04-18_at_07.29.40.png|500px|Caption]] | [[File:Screen_Shot_2016-04-18_at_07.29.40.png|500px|Caption]] | ||
[[File:IMG_9109.JPG|500px|Caption]] | [[File:IMG_9109.JPG|500px|Caption]] | ||
| + | |||
| + | [[File:Groeiene.gif||Caption]] | ||
| Line 160: | Line 162: | ||
[[File:45_DEGREES_SO_DEEPs.jpg|300px|Caption]] | [[File:45_DEGREES_SO_DEEPs.jpg|300px|Caption]] | ||
| − | |||
=NOT45DEGREES= | =NOT45DEGREES= | ||
Revision as of 20:50, 20 April 2016
diederick.boeschoten@gmail.com
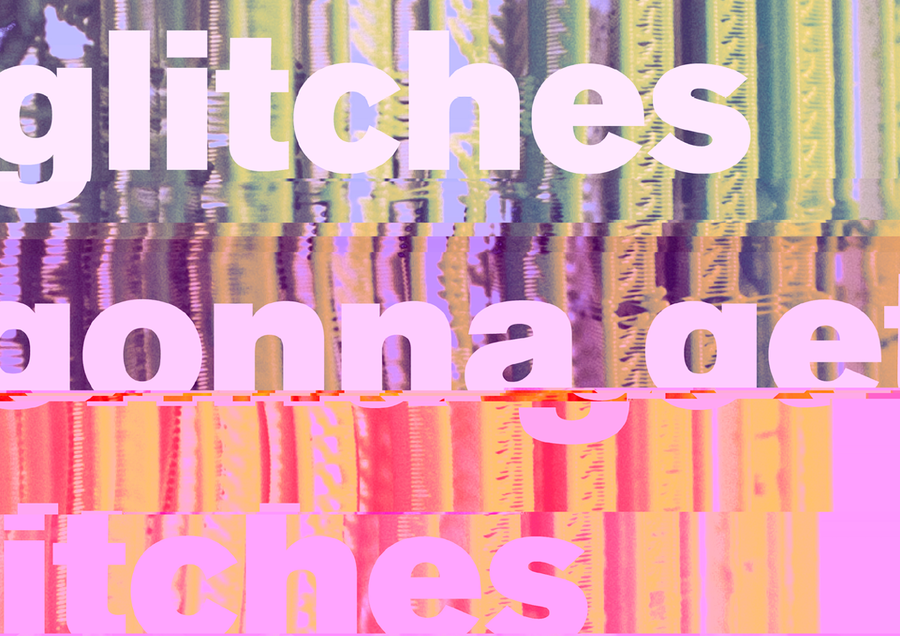
Do Glitches Know How To Get Itches?
STUDIO PRACTICE
Bonder.
I study graphic design.
My biggest motivation to get into digital craft, was because I'm starting to grow interest into hardware hacking, processing and more digital things. Besides that I really like to build things, research things and make things happen.
Contents
Start of a bonding journey
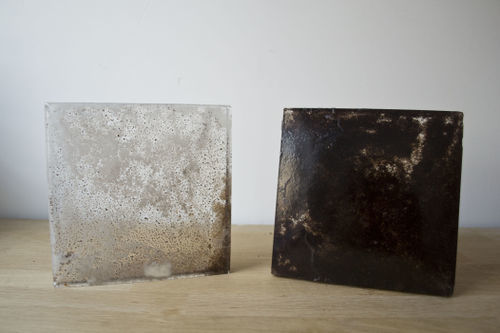
I started with researching manners to bind two materials. In this case by using epoxyharsh.
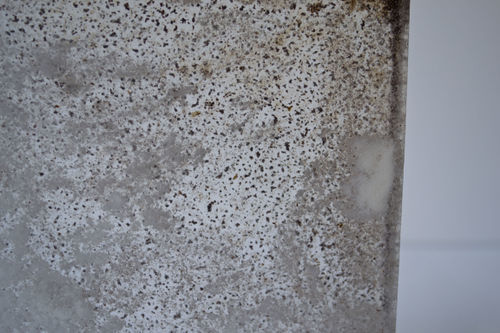
I filled these plates up with coffee- and milk powder. Mostly cause that was what I could find on such short notice. But it did make me wonder if
eatable things could make for an interesting image. The thing with the epoxy harsh is that it looks cool, but doesn't really do anything further.
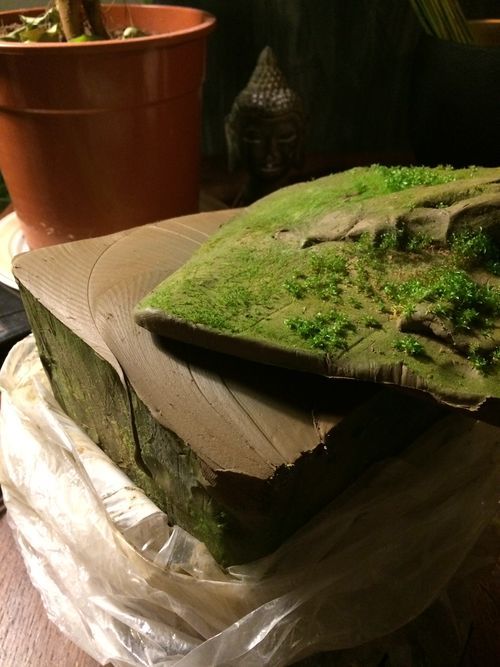
Unexpected bonding of my clay and some elements of nature.
How can you compare to madonna?
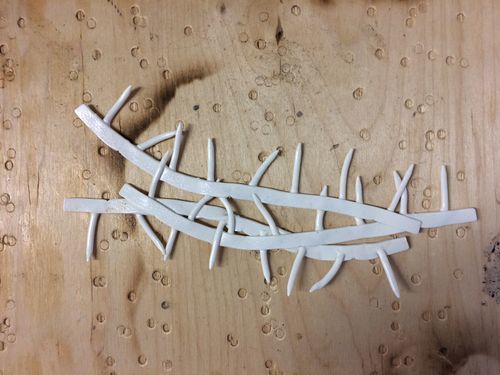
I tried to search for a way to combine 2 different materials, by using the same technique (in some way?).
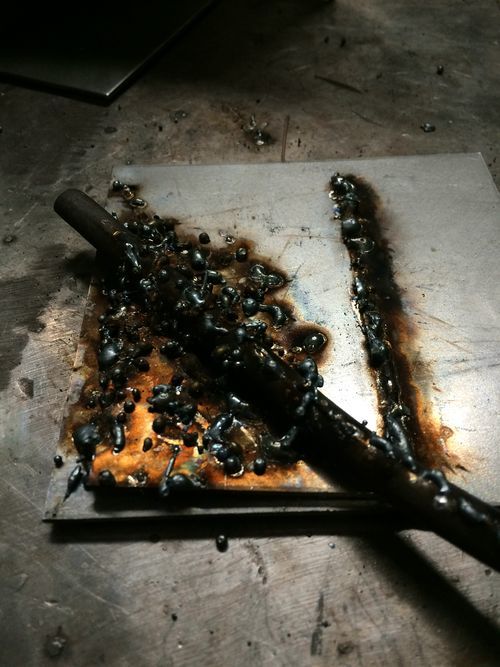
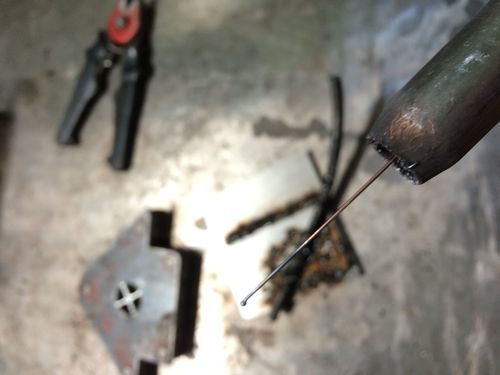
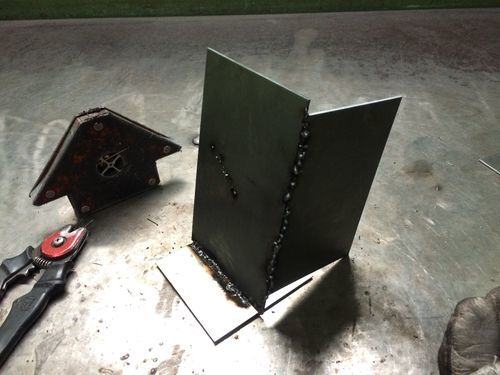
I did welding, which is combining two of the same materials by heating at one point. Material gets soft, and by adding another kind of the same material it will bind together. Welding isn't that hard, welding something that needs to look pretty is. So I decided to make it extremely ugly.
In the fabric station I used the 'Transferpers', this is like a big grill, and you put stuff underneath it and that heats up and will combine. Did not really worked as I would like, but glad I tried it anyways.
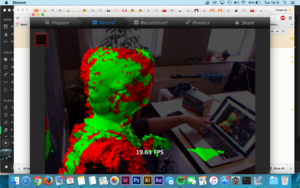
K1nect scanning + 3D printing
An example of a new skill-try out something you have never done before and identify your position on a learning curve.
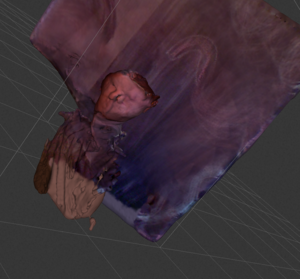
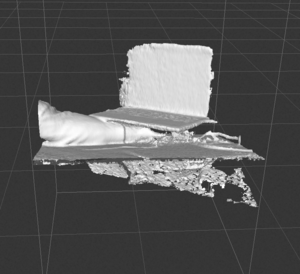
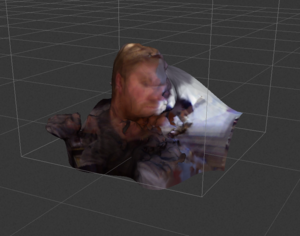
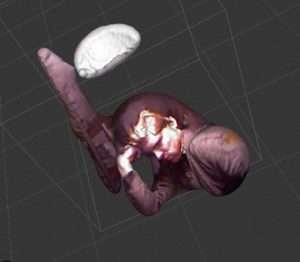
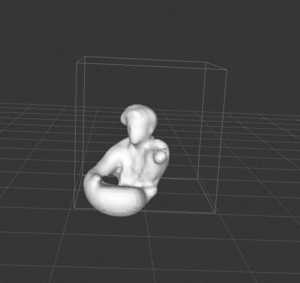
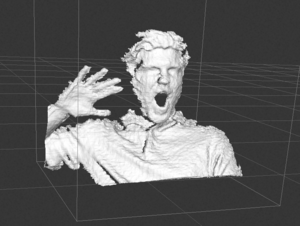
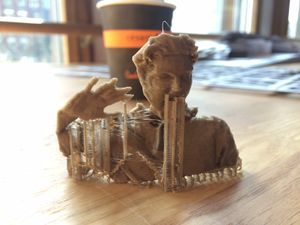
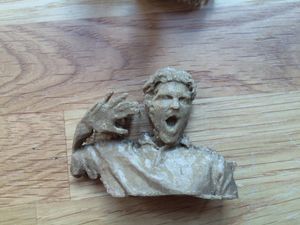
For my new skill I really wanted to direct my attention to Kinect scanning and 3D printing of that scan. First instance was by using 123D Catch, which made you take a lot of photos and combined that to a 3D scan. But very soon after that I started using the Kinect. This worked very good, but I was alone while trying this. So that's why I made half scans of myself, and let the 3D modeling programm create a form of the parts that weren't visible.
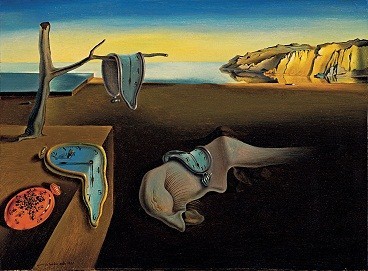
Sugarglass a la Salvador Dalí
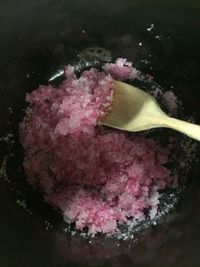
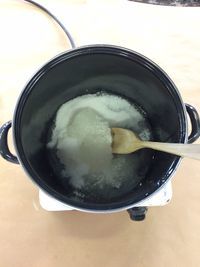
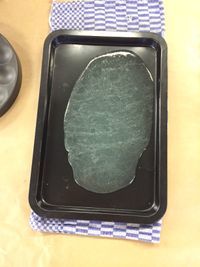
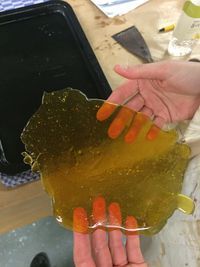
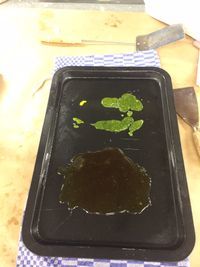
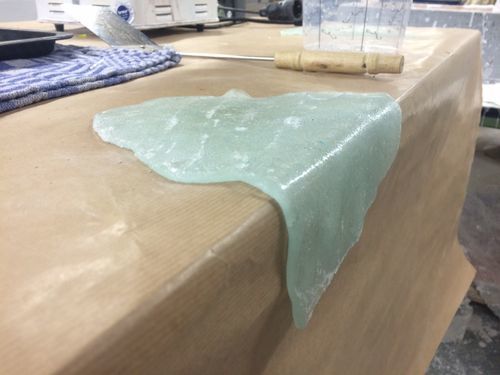
The proces of binding sugar with cornsyrup by heating it and then cooling it. I'm thinking about using this material for making cutlery. Because the material is super sweet.. In this way the cutlery itself is made of sweet, so by using it you could add sweetness to your meal.
Downfall of this material is that it's very sticky.. And melts by higher temperatures. So it could only be used in cold dishes like icecream.
By adding too much syrup corn I created something that didn't completely harden. So it stayed bendable. This was more interesting then the hard pieces of glass. Salvador Dali dreams in the making.
THE MAX is where I went
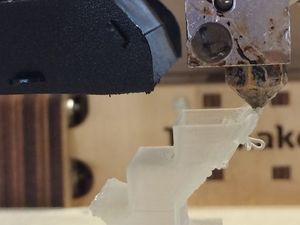
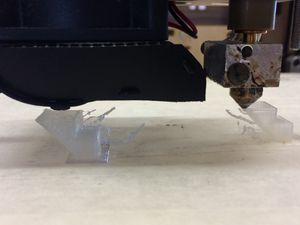
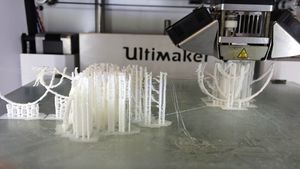
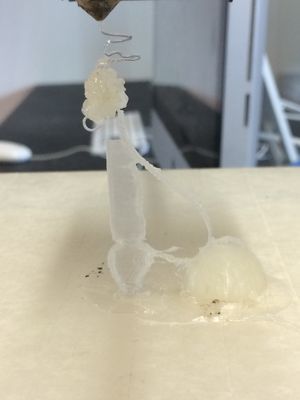
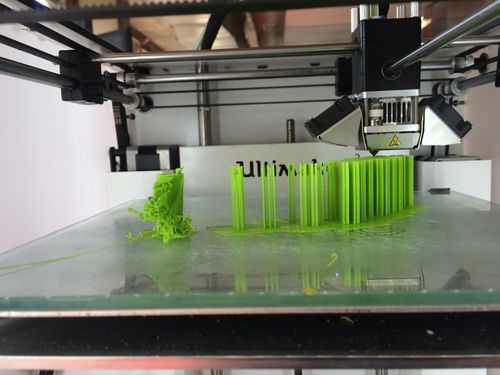
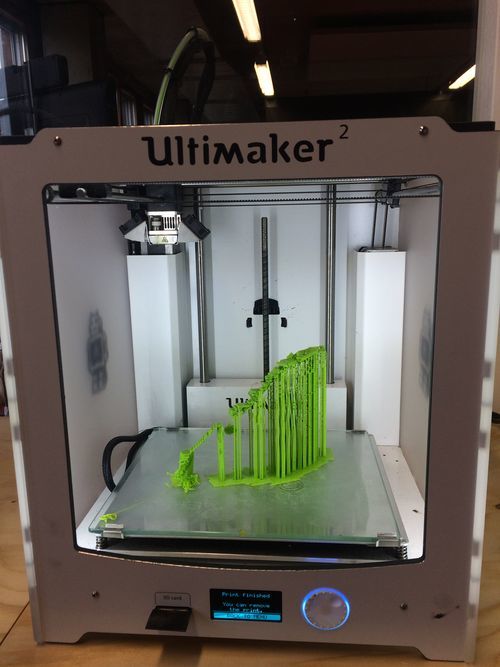
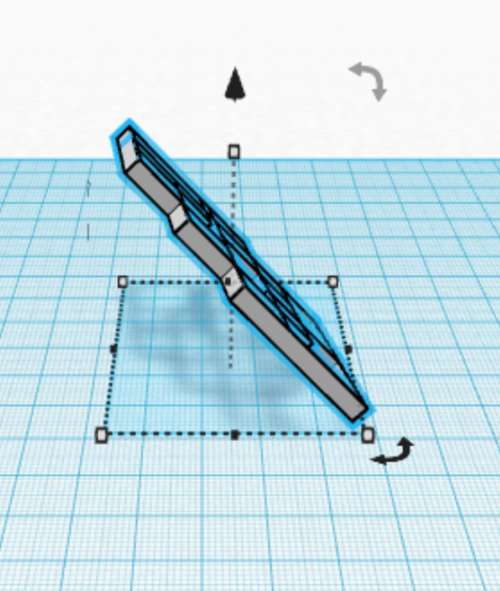
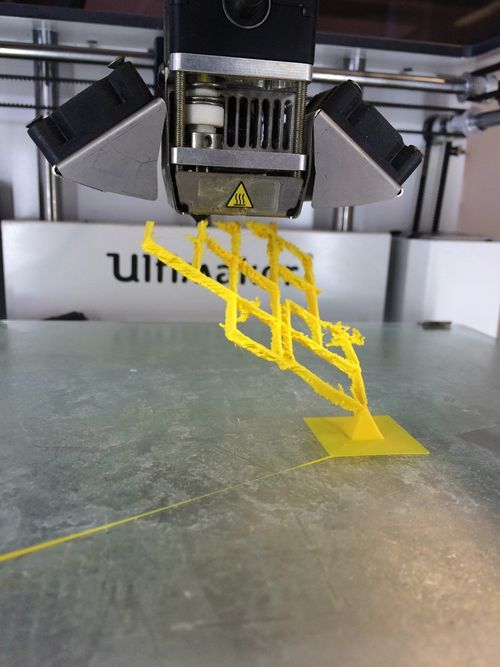
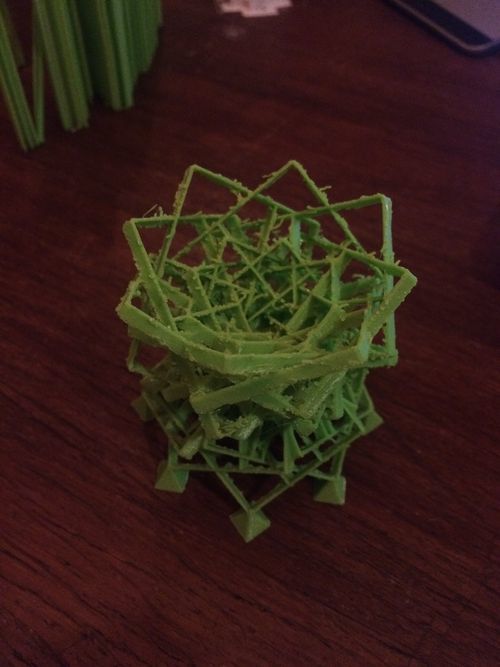
The maximum of a ultimaker2. I'm trying to get to the max of my limited 3D skills. I'm new to this, so I'm trying to get to two goals. I want to create something with a lot of support, and something without. I learned that 45 degrees is around the max of a printer. So I build a stairs to try this. This worked. But when I made one without brim (support aorund the foot) the stairs collapsed.
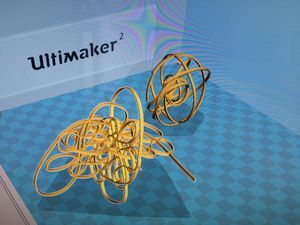
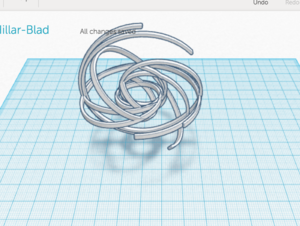
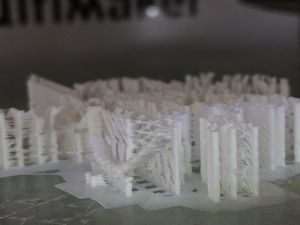
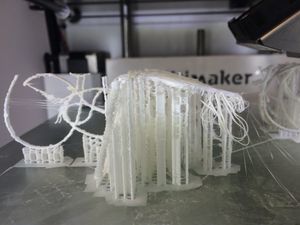
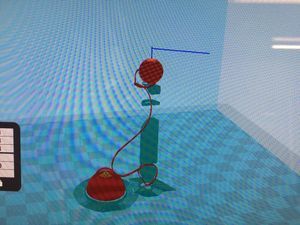
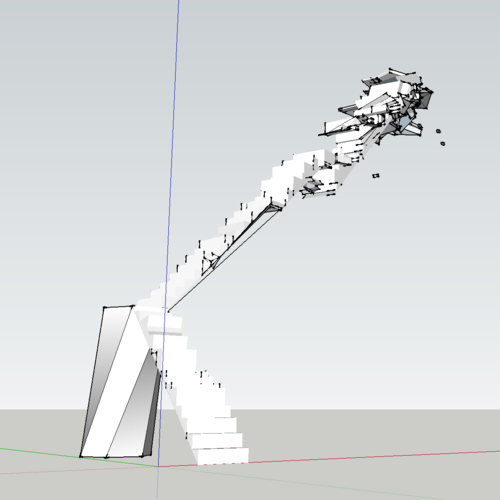
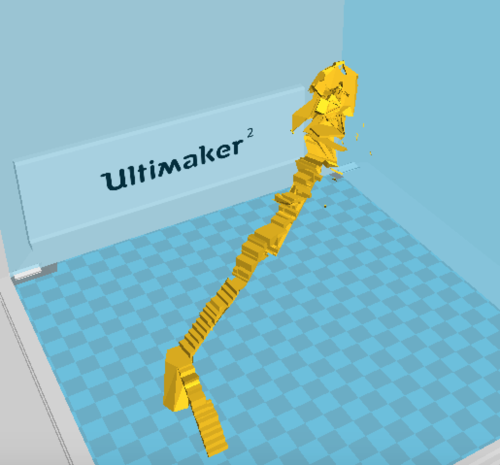
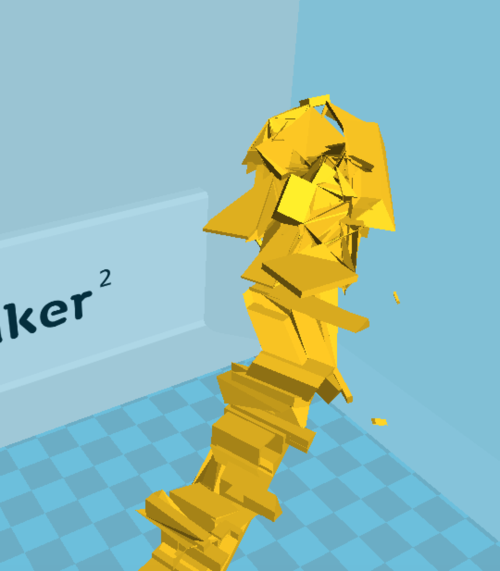
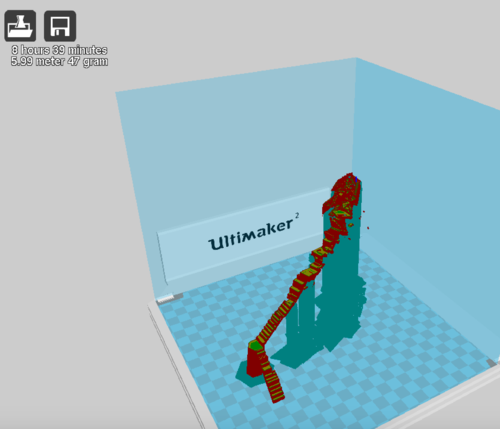
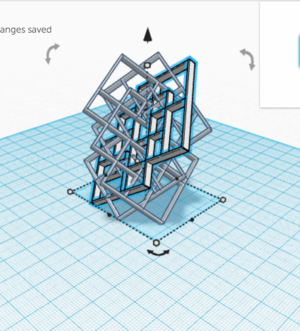
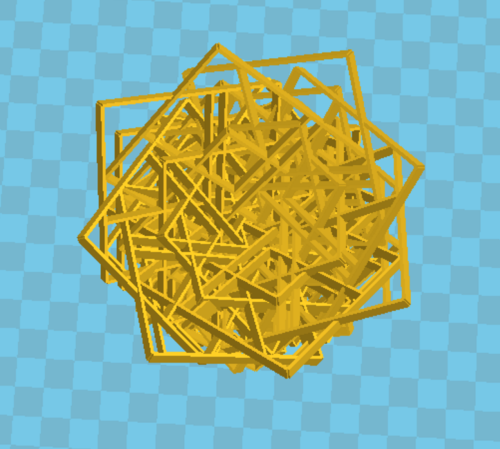
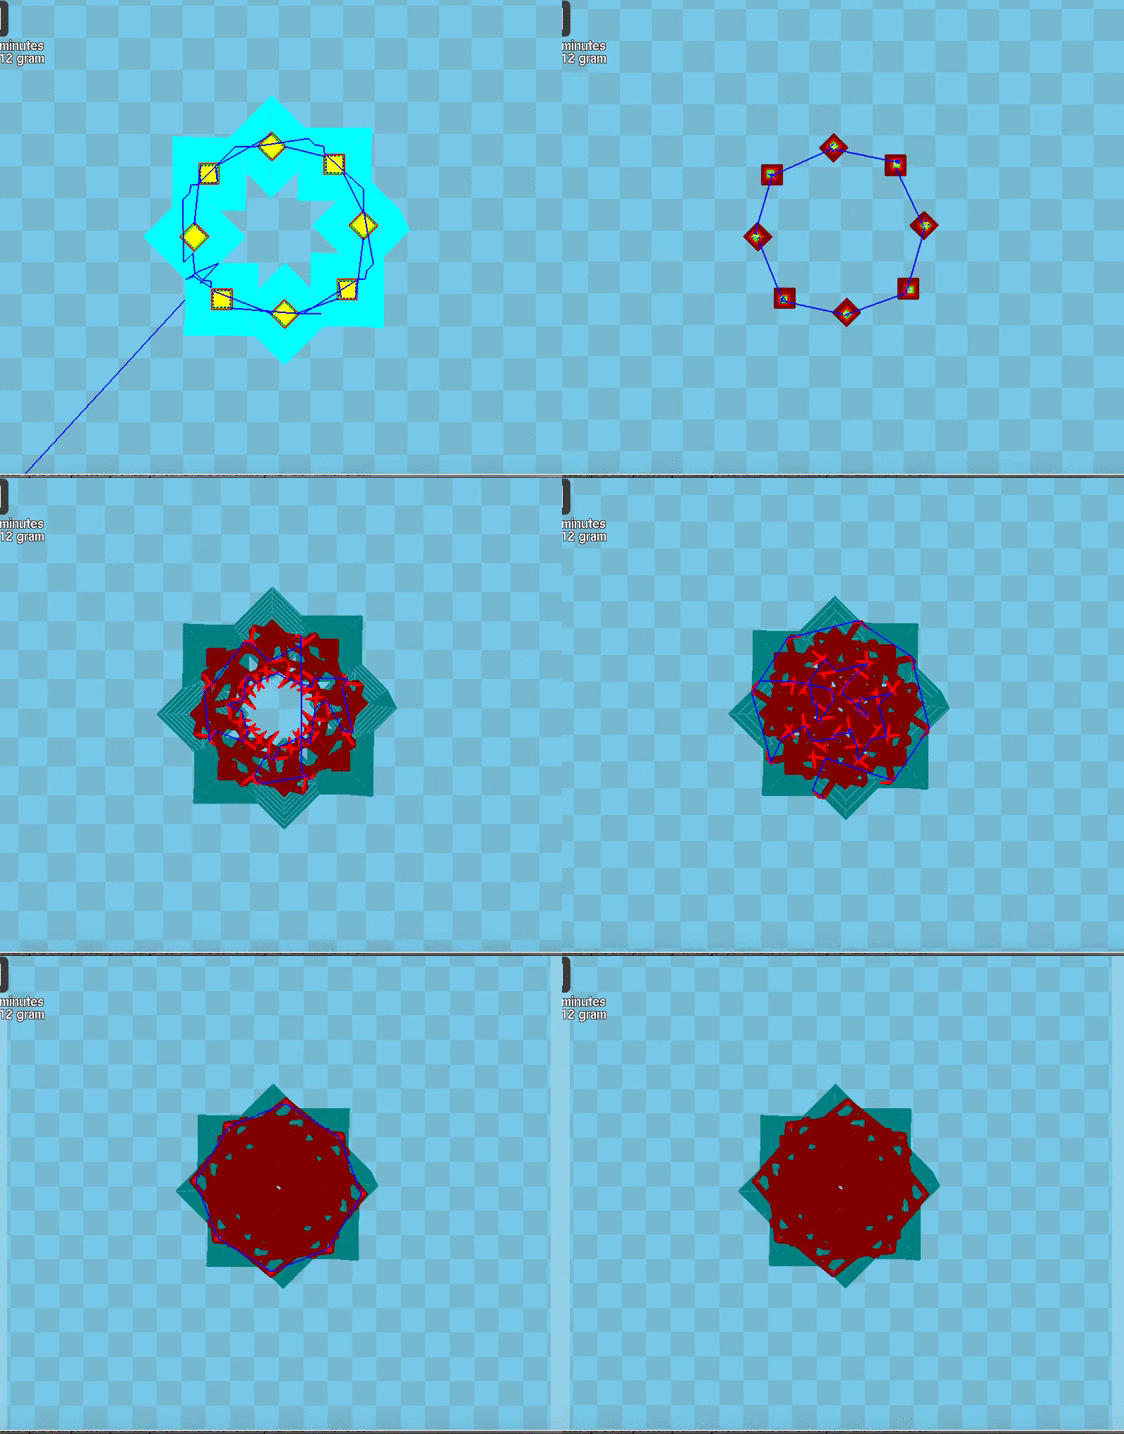
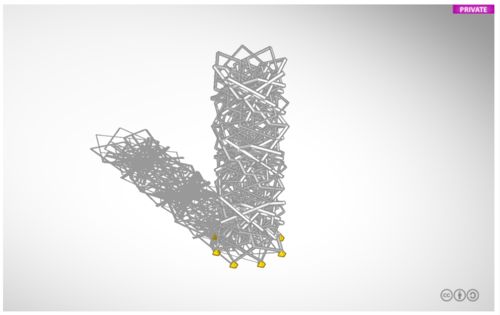
By drawing a form in illustrator and importing this to a 3D program I found a way to make something very weird and 'impossible' to build. The multimaker found a way to still print these 'glitches'. It figures out where it should print support. So my design was totally different then the outcome. This gave the work another dimension.
This last image was really too much. To thin lines and to heavy object on the top.
BONDING in HEERLEN
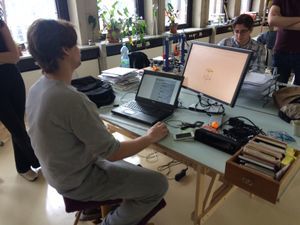
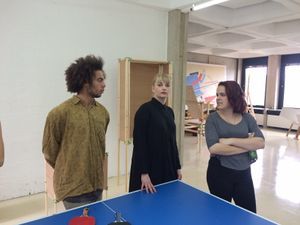
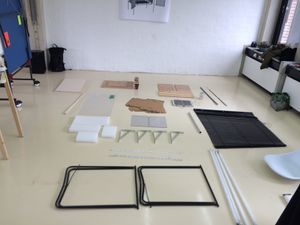
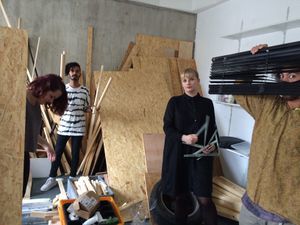
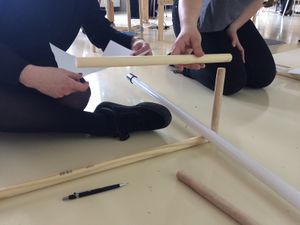
We did some bonding in a town called: Heerlen. That's a place very far away, but luckely I had a ride with two classmates. At the studio they were very into 3D printing. And since I'm focussing on that this quarter I was very pleased with the assignment. We needed to make a closet, but without using bolds. We needed to measure our objects, and make a 3D model of a construction.
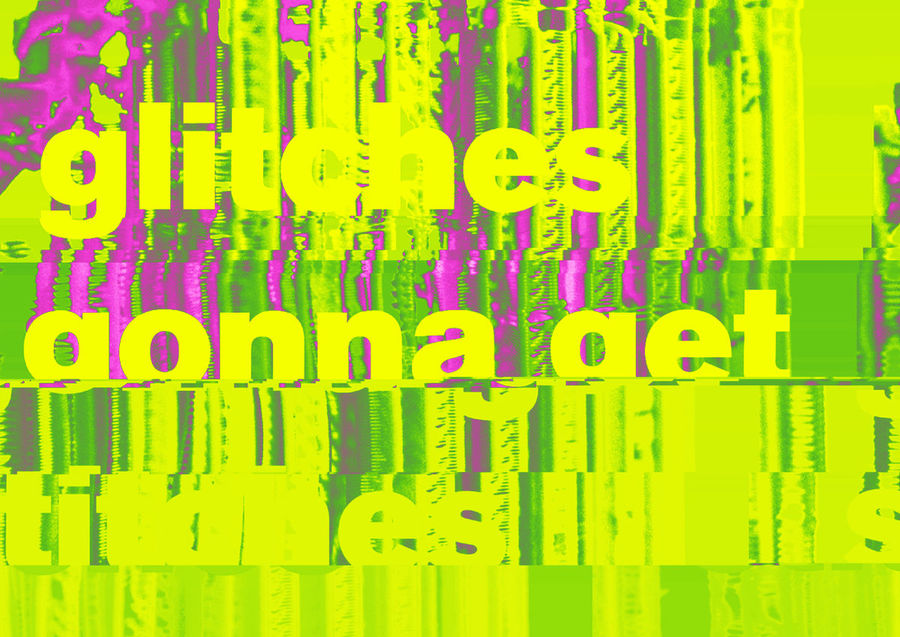
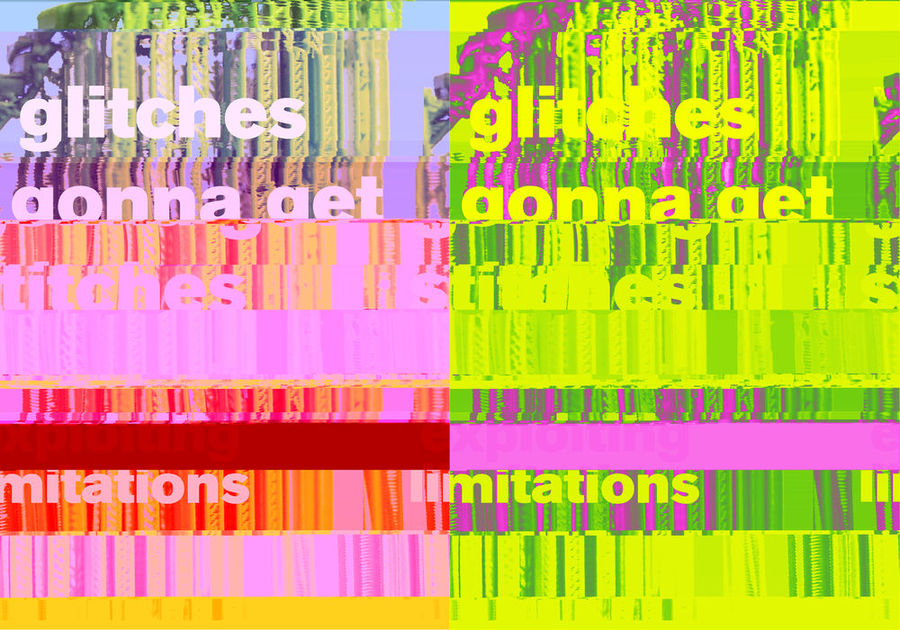
GLITCHES GONNA G3T TITCHES
Do glitches know how to take a small amount?
STAIRS OF DESPAIR
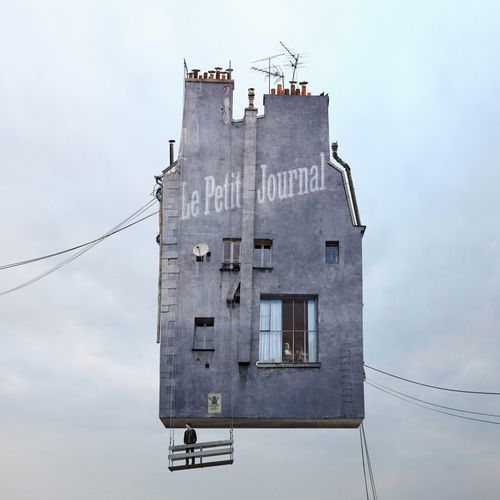
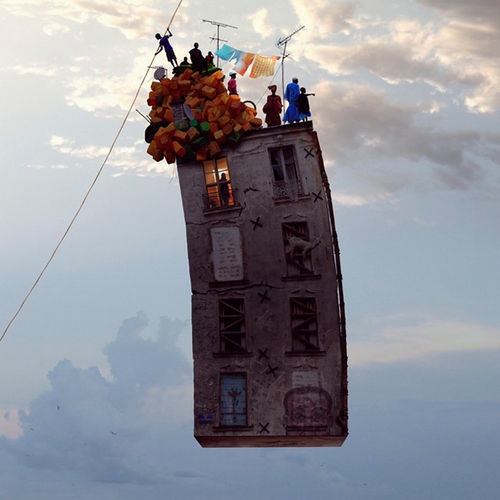
c LAURENT CHEHERE
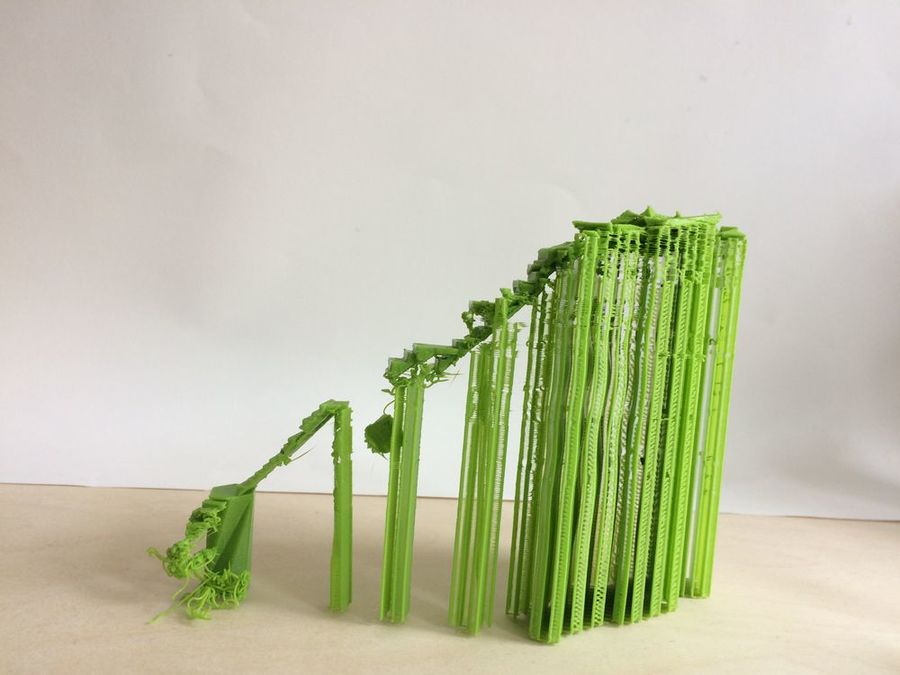
For the stairs of despair I focussed on making the most of the support, really mixing it into the design and benefitting from it. So I created a stairs, which takes 25% procent of the final work, and the printer added 75% of support material. I kind of glitched my own design by pulling pieces of the stairs aside and making the design itself not that good. But the printer itself added extra dimension because someparts where breaking and the start of the stairs was a complete fail. But in a good way. Now the material speaks for itself. The stairs was ment as a glitch stairs. The material made it even more true.
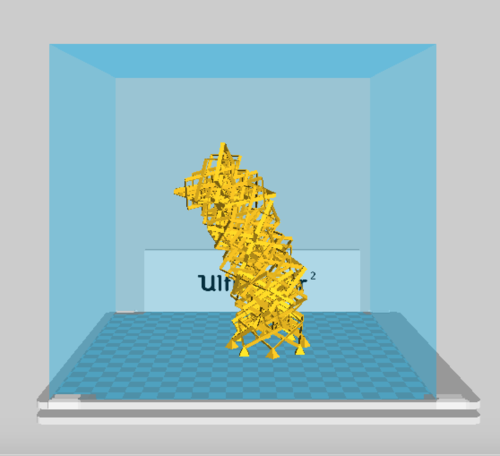
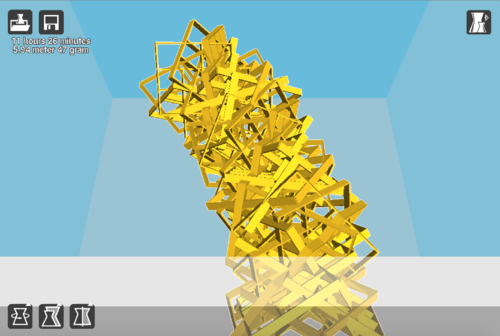
45DEGREES EVERYWHERE // 45DEGREES OF TOWER
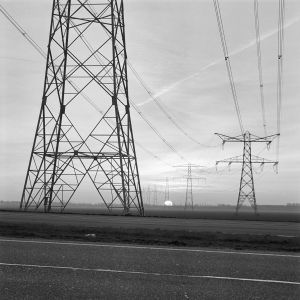
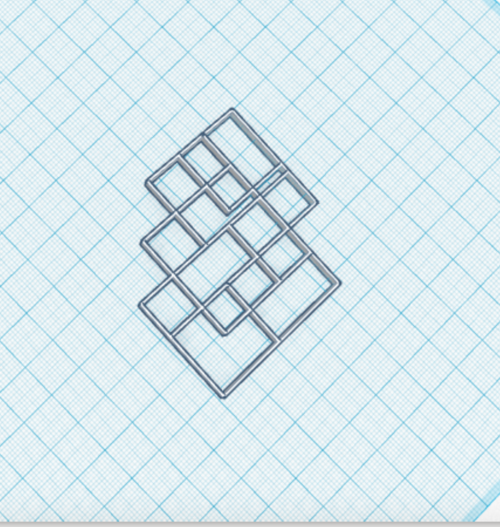
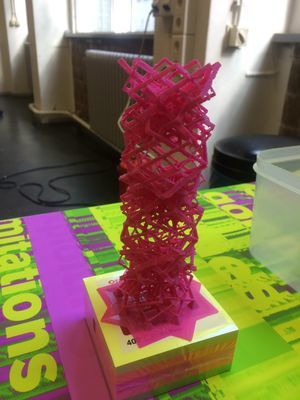
While learning the maximum of 45 degrees is really a thing with the printer, I focused on making something set by these 'rules'. So I made a design where every line is set by 45 degrees.
NOT45DEGREES
Dismissing my idea of everyline being 45 degrees and twisting the form until it is something unlikely. Inspired by a work of Laurent Chéhère, NOT the tower of Pisa.
