Difference between revisions of "User:Lisanne 't Hart"
| Line 211: | Line 211: | ||
[[File:Pattern1-min.jpg|350px|]] [[File:Pattern2-min.jpg|350px|]] [[File:Pattern3-min.jpg|350px|]] | [[File:Pattern1-min.jpg|350px|]] [[File:Pattern2-min.jpg|350px|]] [[File:Pattern3-min.jpg|350px|]] | ||
| + | |||
| + | |||
| + | |||
| + | |||
| + | End result: | ||
| + | |||
| + | Why I make: I make to clarify things. | ||
| + | |||
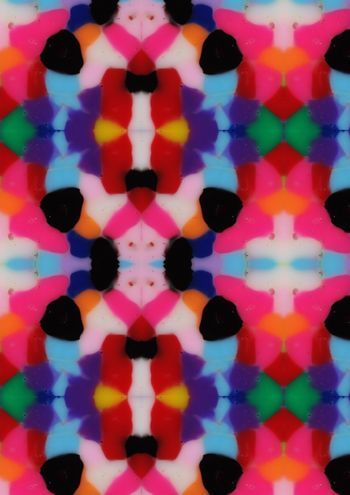
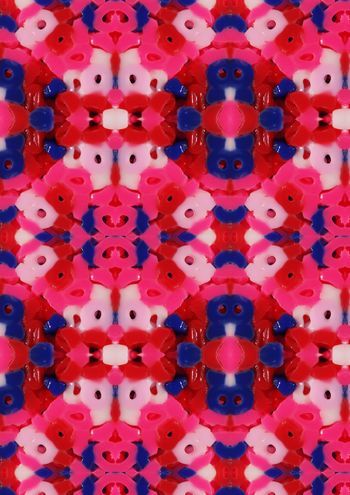
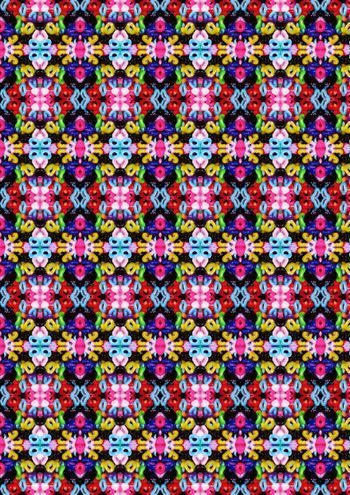
| + | The reason why I make is because I want to clarify things. Fusing was very confusing. By making those 5 examples I understood what fusing actually means. First I found it hard to explain in words what fusing is. With examples I can explain and understand it much better. I found out that there has to be a chemical reaction so the material can really stick together. The string beans shows this as the best. Everyone who played with this material knows that you have to melt those beans together. That is why I used this material for my end result. I made pictures of it and cut the parts out which I found interesting. | ||
| + | With the "New try out" example I found out that when you put lose images together and make one image out of it, you got a fusing digital example. And when you print it out it really sticks together. With the cut-out parts from the photographs I created those three patterns you see above. | ||
| + | |||
| + | |||
| + | Statement: If you're not in a state of play, you can't make anything. | ||
| + | |||
| + | My statement on making is also hidden in the three patterns. I have chosen the examples where I was in a state of play. I wasn't in a state of play with the shared example. I have to be in a good mood when I want to make. When I "played" with the string beans and when I made the patterns I could really say that I was in a state of play. When I just let my subconscious take over I create to most unexcited things. You can see all that in those three patterns. | ||
Revision as of 18:49, 2 April 2017
Lisanne ’t Hart
0912081@hr.nl
Major: Graphic Design
Practice: Autonomous - Digital Craft
Making is connecting 2017
What is craft?
In the class we discussed what craft is. We came to the conclusion that craft is about every humans ability to make. It comes from a passion were humans explore how to make stuff. Craft is about the proces. Art can be the outcome.
Text: The invention of craft - by Glenn Ademson"
The term 'craft' is a modern invention in the industrial revolution. (1750-1850) The practice existed already.
Fusing
Me and my group has to work with fusing. I looked up what we should do with fusing: “In fusing you will deepen your knowledge different additive fabrication and 3D printing technologies, their different materials and bonding processes, and search for the craft in an industry that marks itself as fast and cheap. So for the first four weeks I will deepen my knowledge and exploring possibilities within fusing.
I will show you 5 samples:
1. Historical example
2. Shared example
3. Comparative example
4. New try-out skill
5. Pushing the material to the limit.
The history of Fusing
To found out what the history of fusing is we first wanted to find out what it is. I discussed with my group what the beginning of fusing was. It become very con-fusing, because we found out that fusing is the beginning of life. To make it not so con-fusing we sticked to the craft part: What is fusing in craft? To make it not so con-fusing I will explain it with an example. Felting is a good example to discuss about what fusing is. Felt from wool is considered to be the oldest know textile. We can speak about 3000 years before christ. Felt is produced by matting, condensing and pressing fibers together. With wet felting you need hot water and soap. And with a movement you make sure that the fibers from the wool stick together. This proces makes it belong to fusing.
Conclusion on what fusing is: Adding things to things.
1. Historical example
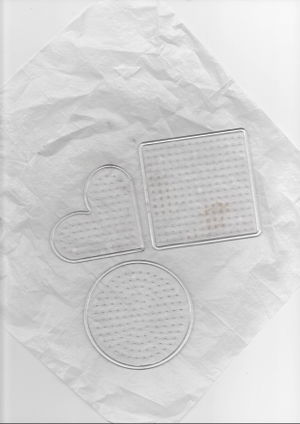
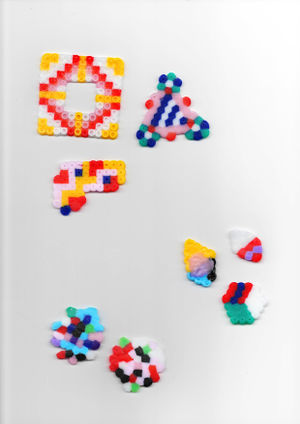
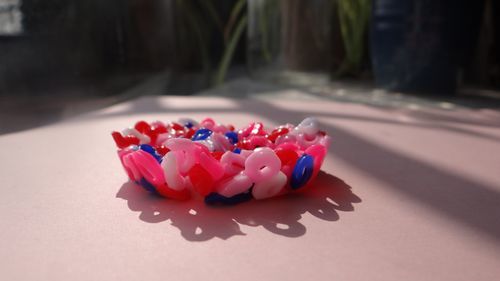
The first material that popped into my head when I heard fusing was “String beads” (Dutch: Strijkkralen). As a child I was always making something nice out of it. I decide it to buy it at a shop and try to make something out of it, now I am not a child anymore I could be interesting. I was experimenting to do it without using the pad and just fuse the string beans together with the iron. This was the result:
out came: My opinion is that when I made pattern designed by me that the material got more value.
I found out that I like to have control on the colours and also were I wanted to put it. But the most interesting things happen when you work out of control. That is why I just decided to work without the pad. It's a different way to use the material. I really want to get this material better. That is why I want to put this material to the limit and find out what is possible or what isn't.
2. Shared example
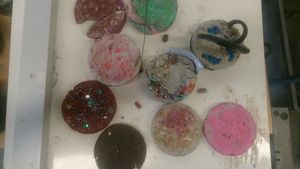
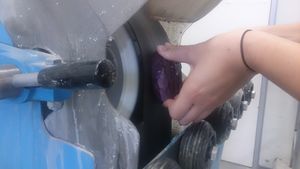
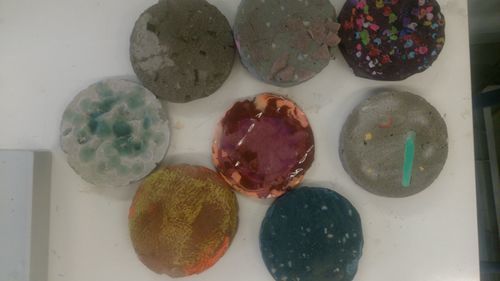
We worked in a group of 6 people. Out of the discussion about the history of fusing we came to the conclusion that fusing is adding things to things. And we all agree on that. For the shared example I thought it was a good idea to share our historical examples with each other and found out if there is something interesting in the examples which we all like. We all wanted to experiment with different materials and fuse them together and make tiles out of them. To begin this example we just had to started and created something so we can find out what will happen. Another day we collected a lot of materials like, nail polish, string beads, plastic, wooden blocks, paint, pencils and a material that look like a sponge. We wanted to melt them together but every material had his own melting temperature. So that seems impossible for now. Lucky we also had concrete. So we mixed the concrete with the materials in a molt that we made out of a plastic tubes. After this drying proces we wanted to polish them and see what the end result would be.
Out came: I saw this example as an experiment to explore which material I like to work with. I like the outcome of the string beans with the purple concrete and the nail polish mixed with glitters. There was also happening something interesting with the big contrast from de soft sponge with the hard concrete. Different texture but we could fuse it together.
3. Comparative Example
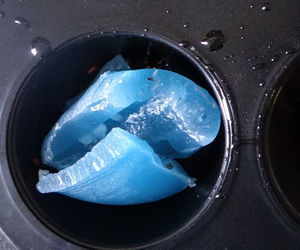
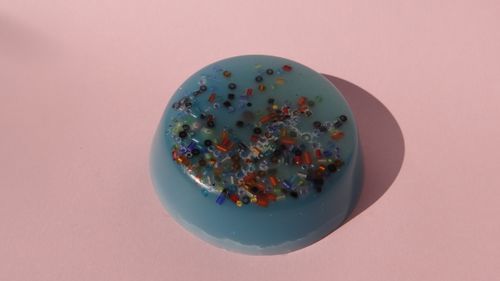
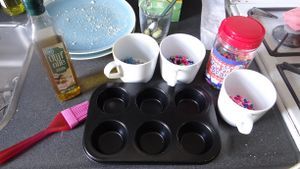
The day for the shared example I also brought old candles with me. We didn't used it to melt the things together because every material has his own temperature to melt. I still wanted to melt this candle with an other material. For this example I used: a cupcake form as a molt, pieced of the candle, coloured beads and the oven to melt them together. I put the oven on 200 degrees and let it there in for 10 minutes. To make sure that the candle doesn't stick to the cupcake form I put some oil on the edge of the molt. With the shared example we had struggles to put the concrete out of the plastic molt. Maybe it would have worked better if we also used oil.
Out came: When the candle with the beans came out of the oven the candle pieced were liquid. So it had to dry for a couple minutes. This was the end result of this example:
4. New try out skill
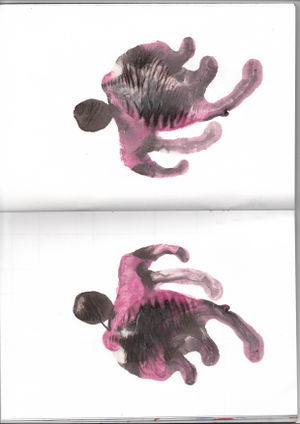
I really got stuck in my head what I could make. For this example I wanted to let go of my thoughts about what is possible and what is not. I just had to go on with my thoughts about fusing. Fusing is adding things to things. This was my starting point. With knowing this I could let my intuition take it over. I looked around my room and saw the nail polish again. I start to mix the colours together on a paper.
out come: this is fusing for me, because I fused colours together. I also noticed that the outcome is in 2D. I see the other examples more as 3D. 2D was new in fusing for me. I usually prefer 2D in Graphic Design. Somehow this form really interest me the most.
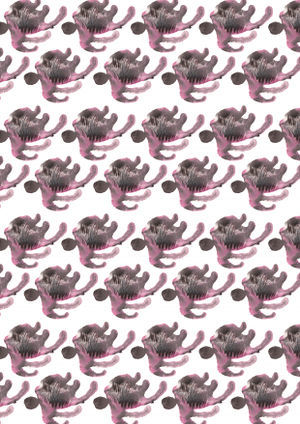
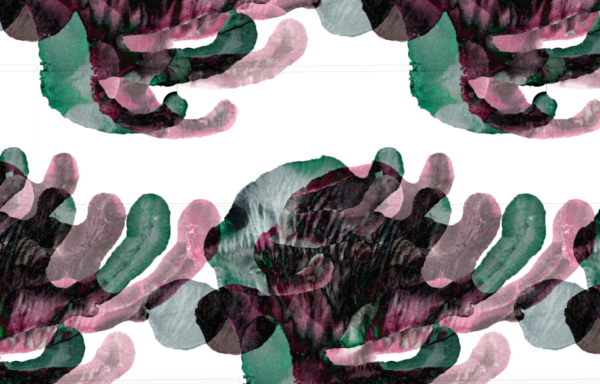
I see the example also as a sort pattern. So I try to do something with it in Adobe Photoshop:
out come: I made these patterns with Adobe Photoshop. While I was doing this I was thinking about what fusing is again: Adding things to things. With photoshop I add pictures to pictures. I can see this graphic design technique as a tool for fusing. They were images by itself but when you print it the images became one piece of art. I really liked this technique, because it was so unexpected what the out came could be. And I also like to have it a little under control on what I am doing. That is why I prefer to work with Adobe programs. Everything is possible to make with Adobe. I really like that idea. If I compare this with the group work, we found out that some things were impossible. I hate that idea, because everything must be possible!
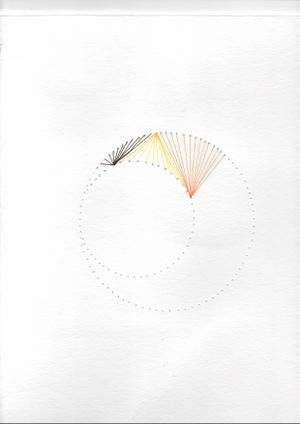
I still went further to look for something which I could fuse together. I saw some threads and a needle. This was the result:
out came: This is not fusing for me. I see this more as wrapping. Fusing is when the material really sticks together. I still see the threads and the paper as separated things.
5. Pushing your material to the limit.
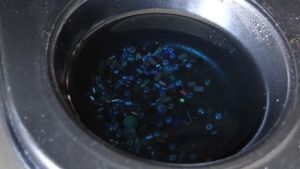
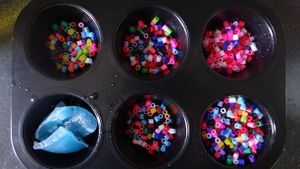
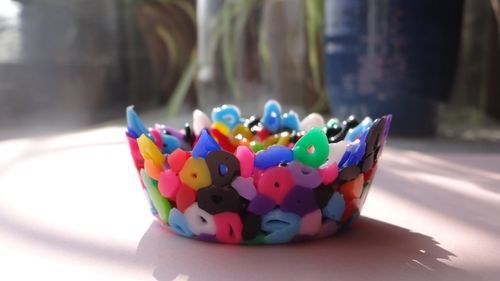
I wanted to put the String beans to the limit. Therefor I did not used an iron to fuse the coloured string beans together but I used an oven for this example. I used the cupcake form and put some oil to it so that it would not stick to it. In four cups I did a thin layer of string beans. One of them I decided which colours I wanted to fuse together. With the historical example I found out that I like to have control on the colours and also were I wanted to put it. I let this last thing go.
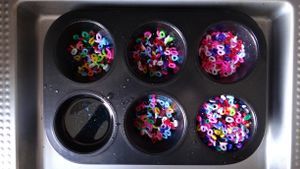
out came: The string beans in the full cup had to melt longer. Only the outside was melted together not the inside. So I put that example back in the oven and also raised the temperature to 200 degrees.
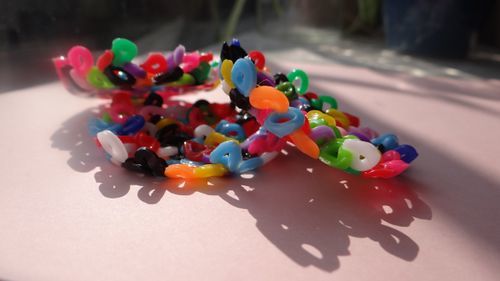
out came: I noticed that when you melt the string beans longer that the layer will get thinner and thinner.
One-sentence poster
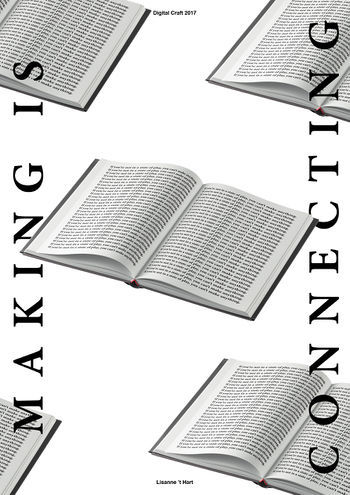
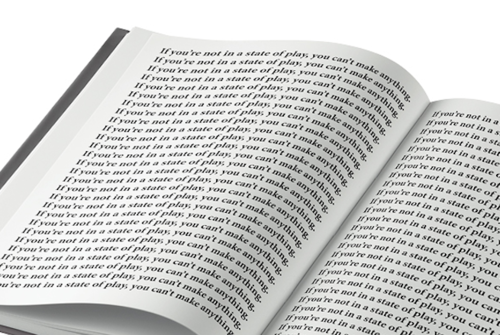
The poster shows my trap in making. I should not take making that serieus. The books referring that on how I started this practice. I want to learn out of books how I make, but you can only make when you actually doing it. You have to be in a state of play, otherwise you cannot make.
End work
End result:
Why I make: I make to clarify things.
The reason why I make is because I want to clarify things. Fusing was very confusing. By making those 5 examples I understood what fusing actually means. First I found it hard to explain in words what fusing is. With examples I can explain and understand it much better. I found out that there has to be a chemical reaction so the material can really stick together. The string beans shows this as the best. Everyone who played with this material knows that you have to melt those beans together. That is why I used this material for my end result. I made pictures of it and cut the parts out which I found interesting. With the "New try out" example I found out that when you put lose images together and make one image out of it, you got a fusing digital example. And when you print it out it really sticks together. With the cut-out parts from the photographs I created those three patterns you see above.
Statement: If you're not in a state of play, you can't make anything.
My statement on making is also hidden in the three patterns. I have chosen the examples where I was in a state of play. I wasn't in a state of play with the shared example. I have to be in a good mood when I want to make. When I "played" with the string beans and when I made the patterns I could really say that I was in a state of play. When I just let my subconscious take over I create to most unexcited things. You can see all that in those three patterns.
Why I make
