User:Manoukvdk/Proces
Contents
Digital Craft Statement
From the beginning I “made” I’m very aware of my materials. I’m that kind of person where seeing and touching comes together. When I made I usually starts with how does it look and how does it feel. Unfortunately it’s a fascination I always want to control by my own and as a result It’s hard for me to make things by coincidence. It’s always kind of “controlled” and that’s really who I am.
For this course I was looking for a way to control my work and also leave it up to coincidence, it needed to be a project that comes together by controlled work from me and work that was touched by a other form of nature. This form of nature could be as an example the process that comes from oxidation or the way fire can be unpredictable. I cannot control these things.
The second thing that came up was the literal combination of Digital Craft. How became things suddenly Digital Craft and can I make a combination of the oldschool original craftworks with the new technologies these days. A project where the purity and purpose of craftwork are melted with traditions and innovations from these time. But overall Craftwork for me shows a lifetime of learning, making and changing and having the ability to combine traditional knowledge with modern thinking in order to make something beautiful.
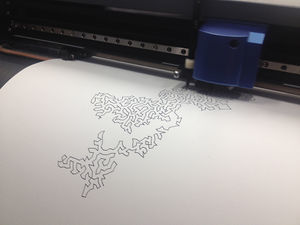
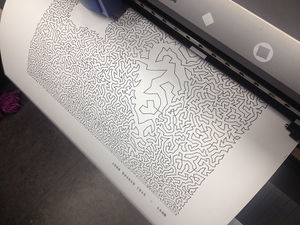
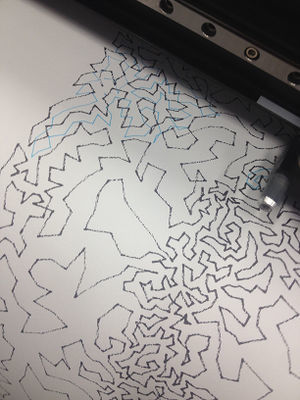
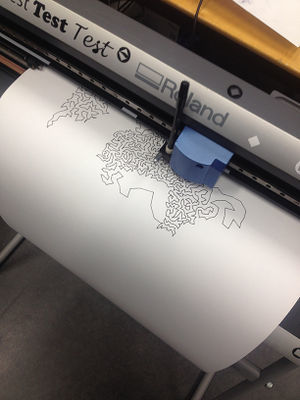
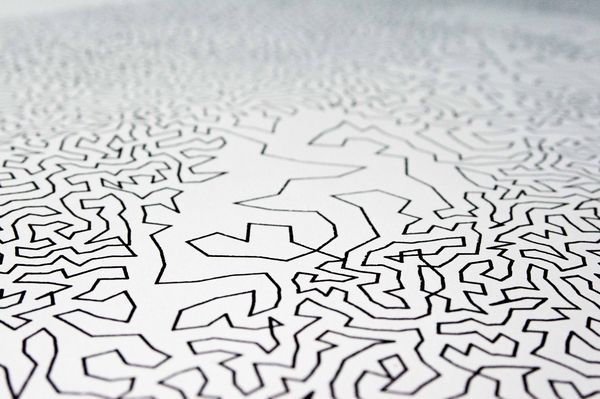
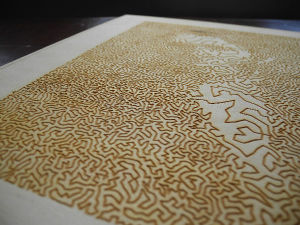
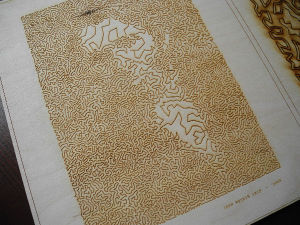
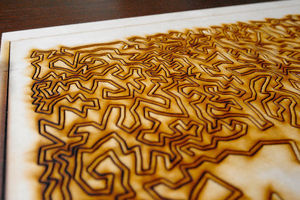
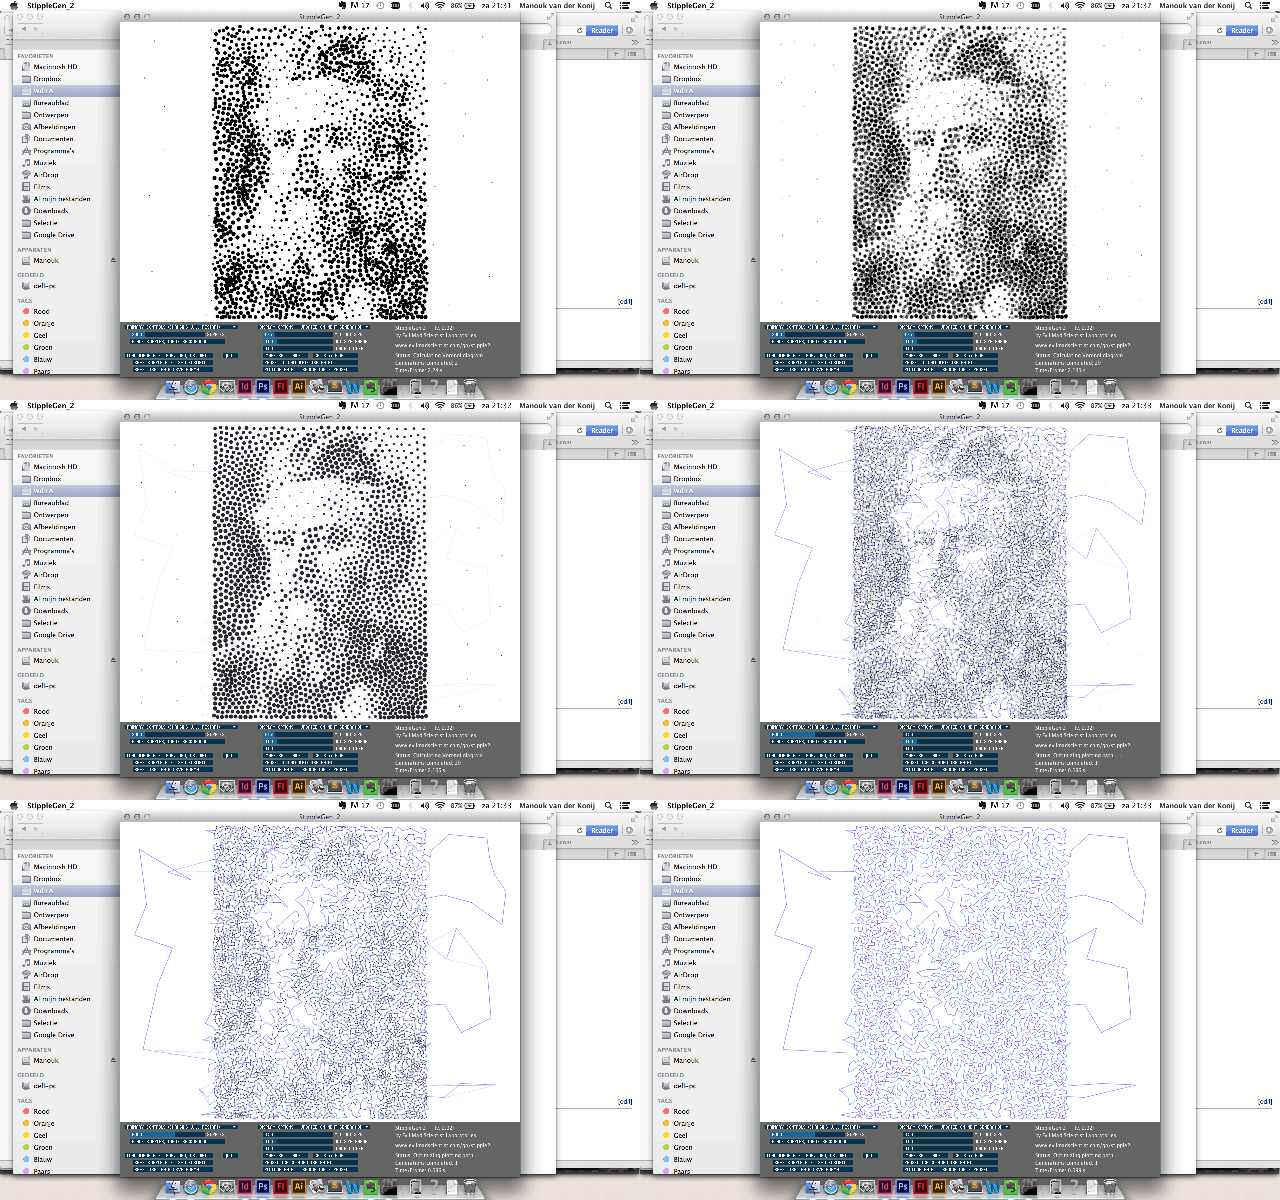
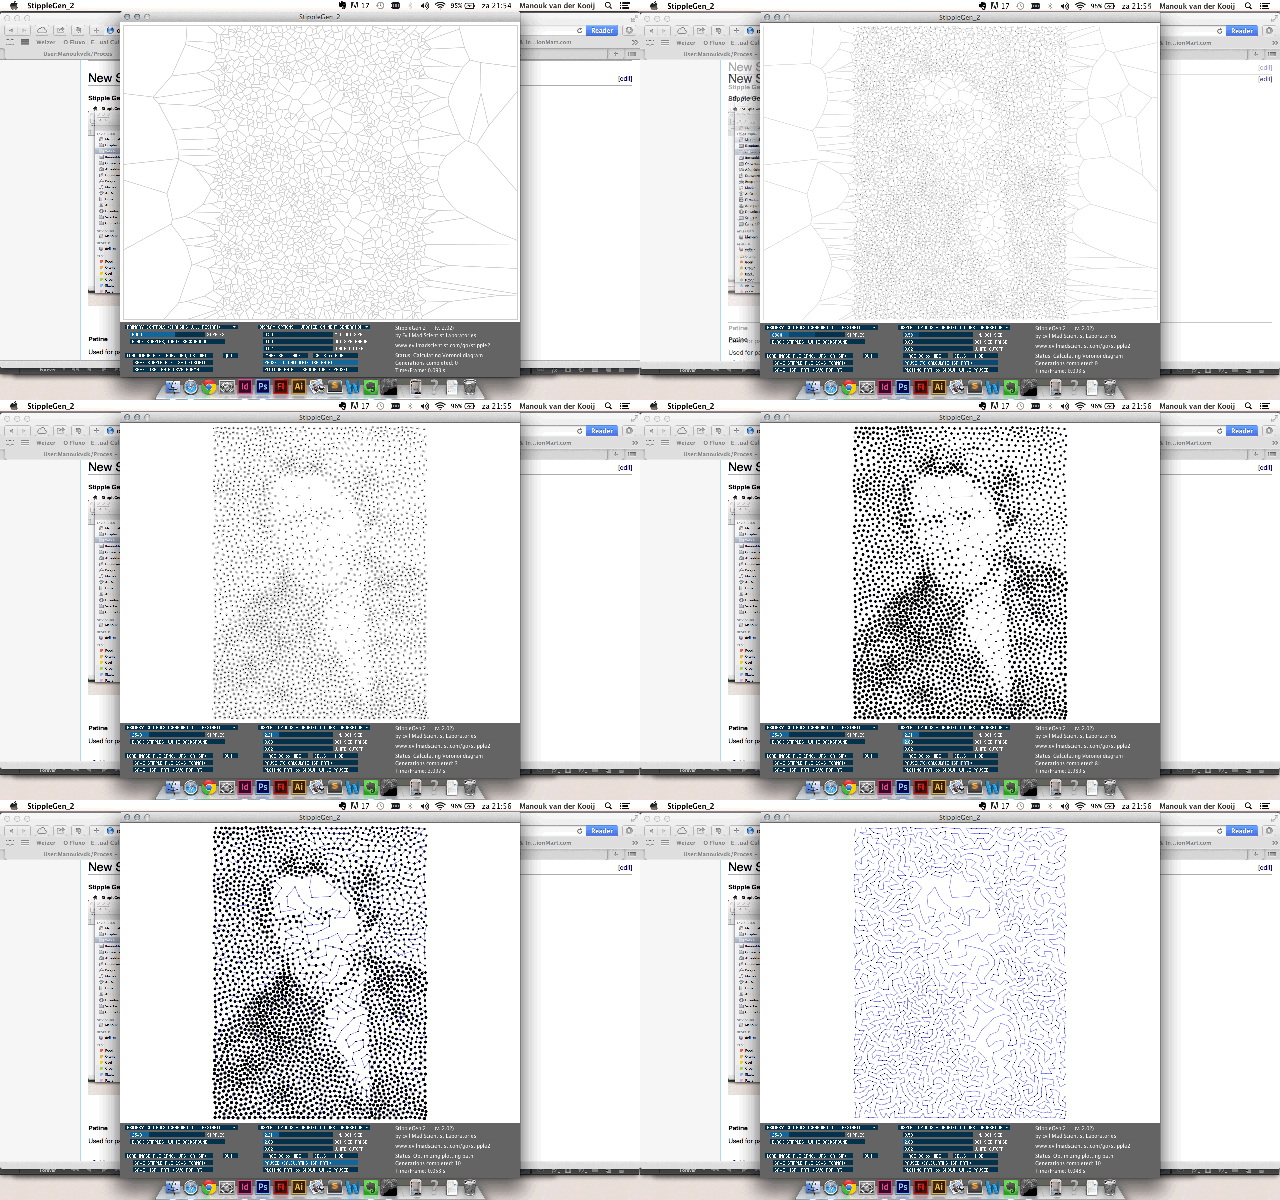
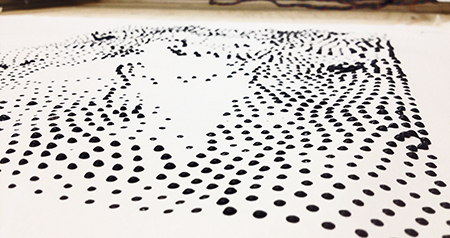
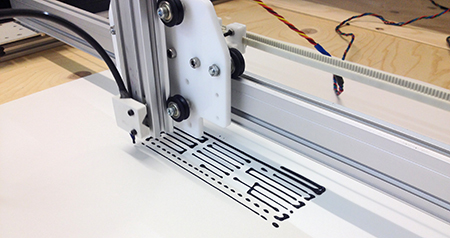
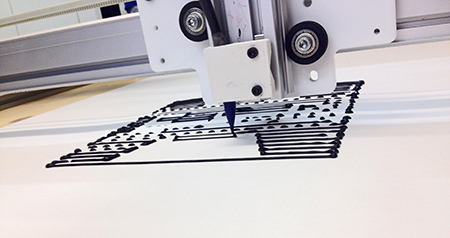
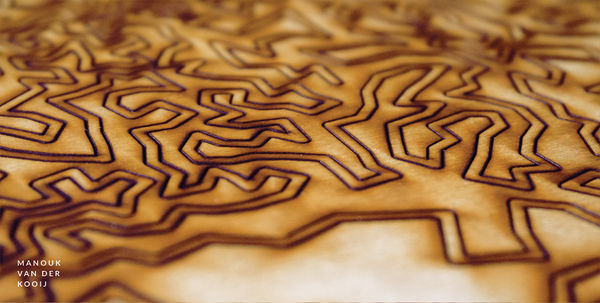
At the start I was searching for a way to combine my visions for this project. I found out Stipple Gen a program that can generate stipple diagrams and “TSP path” art from images. It’s a great (and free) tool for turning a photo into CNC-ready artwork, for use on the Eggbot or in other contexts. The beauty in this processing program is I can upload a picture and the processing turns it into a other image. The program decides how to render this image so I can’t control it. For the base I used the portraits of the founders of Arts & Craft Ruskin and Morris to make a serial of portraits on all the different craftworks.
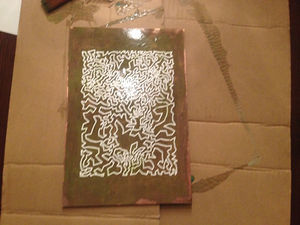
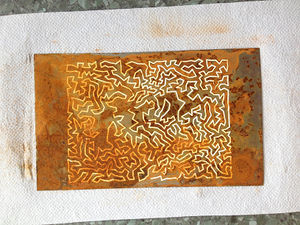
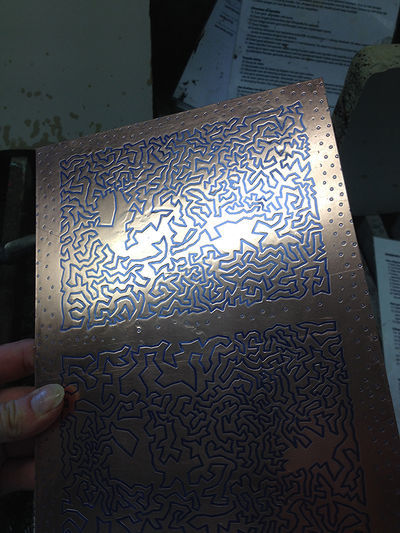
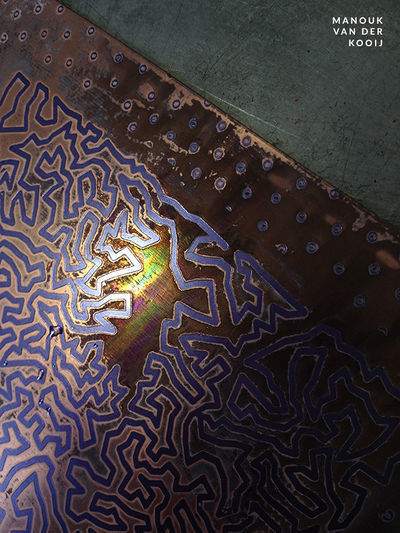
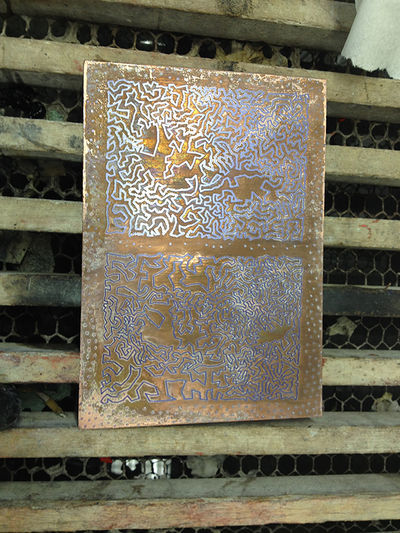
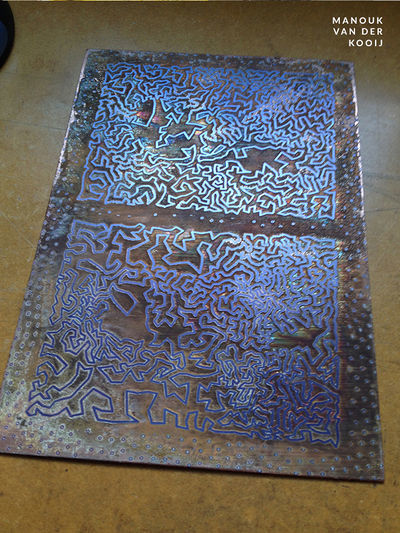
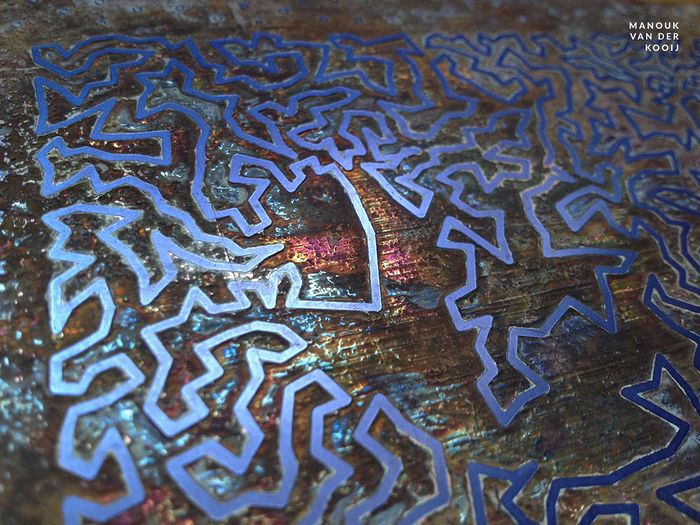
Soon I found out that my focus and interests were more about the abstract structures of the portraits and for me it was not about the pictures anymore. The abstract outcomes in combination with the different techniques made me very happy and satisfied about the way I have worked. By every step I made I loosed a bid of controlling the materials. For example my last work “pushing Historical Example to limits” was not just searching for limits of the technique but also looking for my own limits, it took me more than 7 hours to got this end result. It was learning to let go all the controls and just see what happens. I only decided what kind of image was displayed on the copper plate but had no idea what would happen after that.
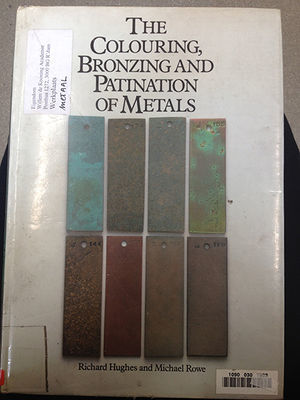
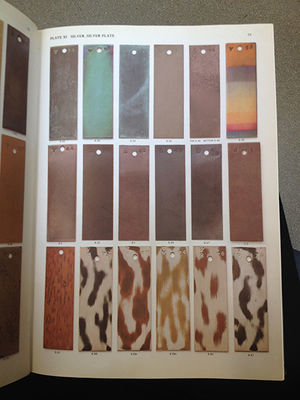
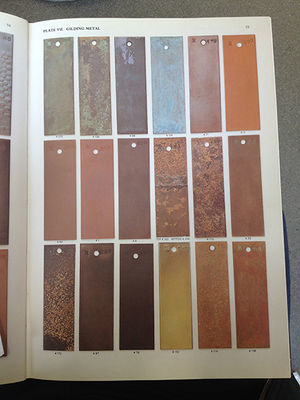
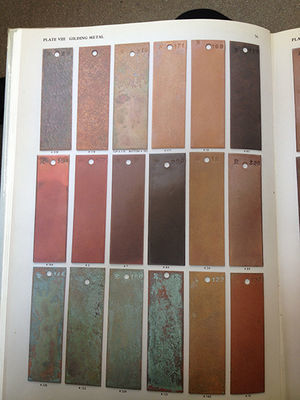
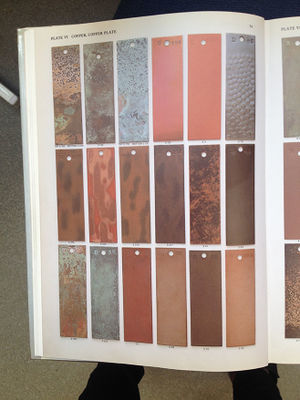
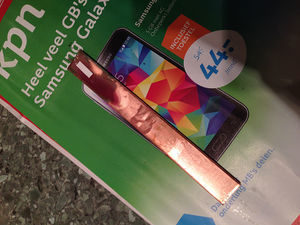
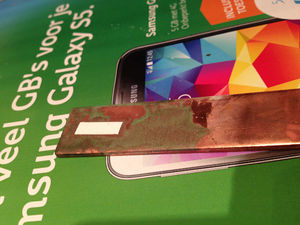
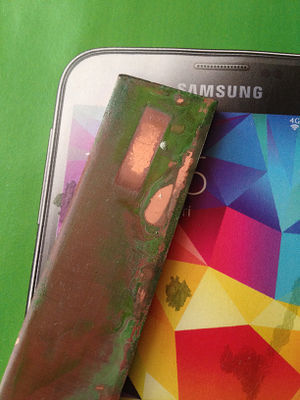
For the further process I used my fasciation for the effects on natural and non-natural materials. Combine two materials that normally don’t come together. During this project, I started to experiment with the reactions on metals (oxidation , corrosion etc). I tried patination certain color reactions on different metals and combine this with original techniques.
My statement
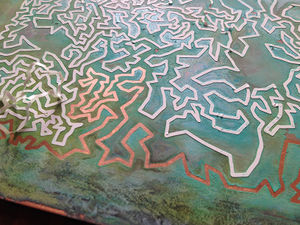
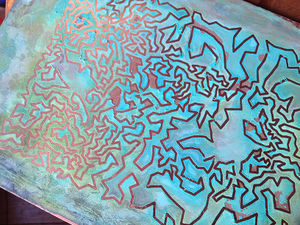
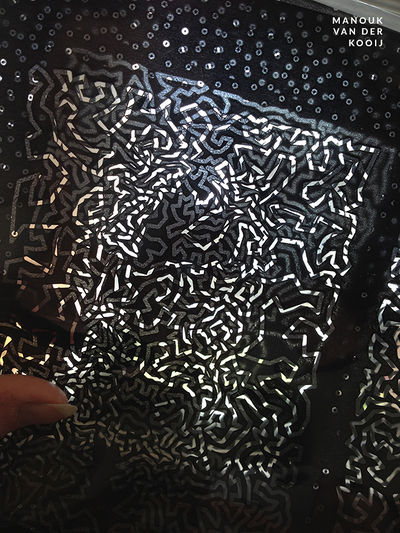
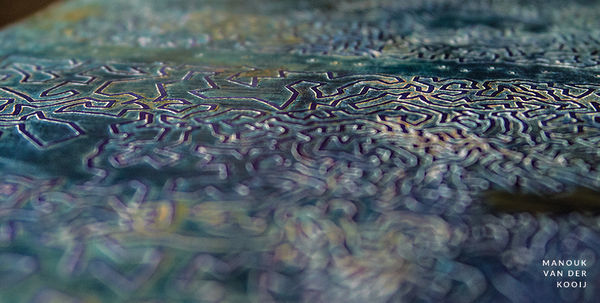
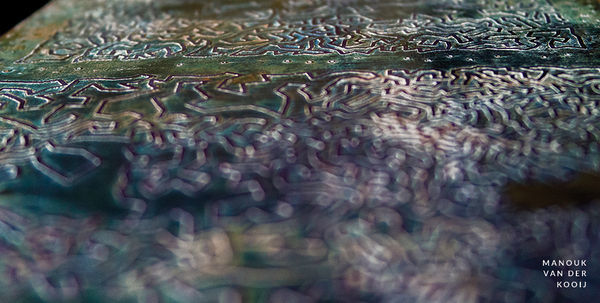
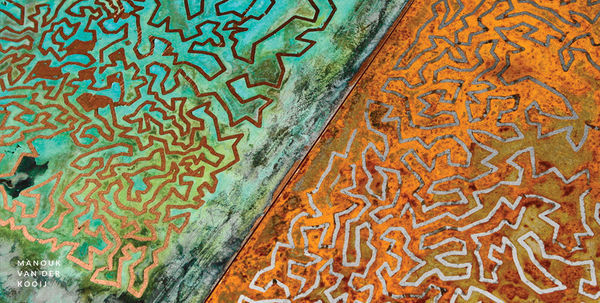
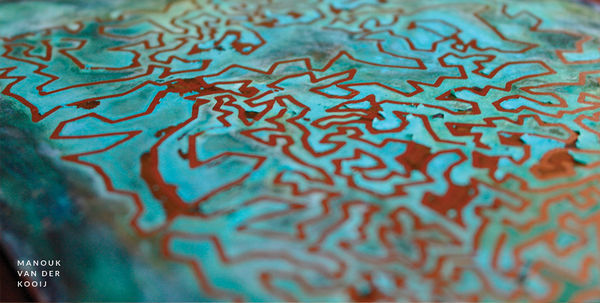
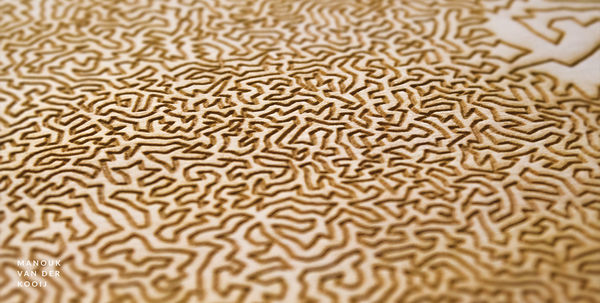
After a while I started to make a collection of structural landscapes, each technique in combination with the materials are beautiful and fascinating characteristic objects. My love for making comes out the beauty of materials, the inspiration you get from those little pieces comes together. And the wide reach you got with one single material. Making for me is feeling, seeing and connecting the right materials together, creating a beauty of it own.
Gebruikte machines & materialen
- snijplotter
-
blalalanalnalbbablaba
Inspiration
Metaal & Hitte [Kleuren bij verhitten]
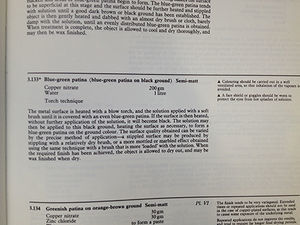
Recepten oxideren van metalen
Research Stipple Gen
Used Materials
To do List
- Koper behandelen met licht emulsie daarna dit in zuur leggen waardoor restante delen verwijderen.
- Afdrukken op metalen maken doormiddel van zuren (zoals ontwikkelen foto's etc)
- Eigen mini plotter maken
- Electroplating
- Kan ik portretten maken uit bleek?
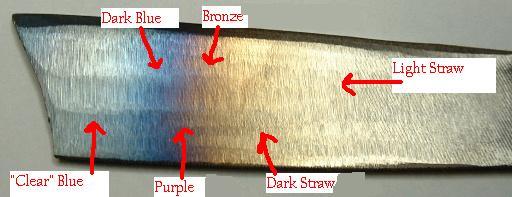
- Bluing (steel) [Link]
First Steps
Comparative Example
OLD VERSER NEW
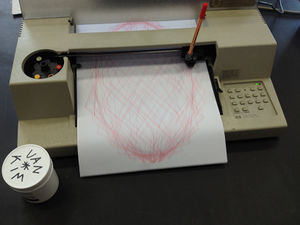
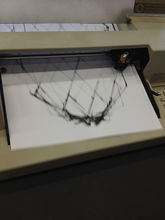
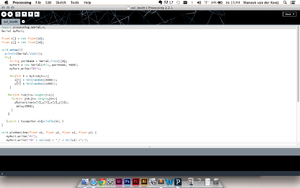
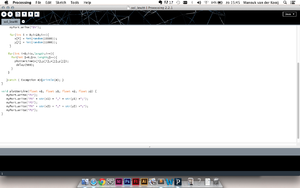
The first machine I used was a printing device from the 80's. This printer only print with a processing code you need to write by yourself. At this time the machine was made, it was not capable to convert messages from a computer to a document to be printed.
New plotter
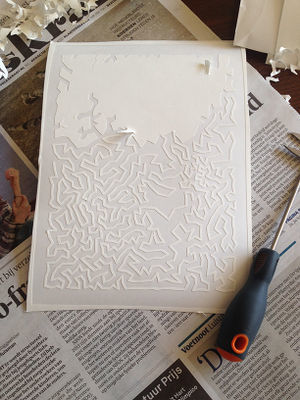
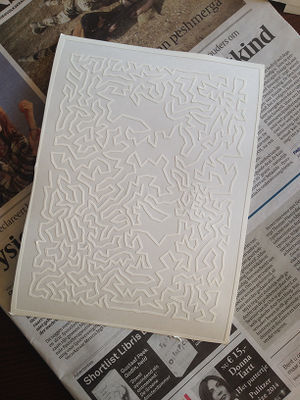
Carving & Cutting
New Skill 1.0
Stipple Gen
New Skill 2.0
Patine
Used for patinate metals
- S-39
- Hydrogen Peroxide
- Bleach
- Drain cleaner
Collective Example
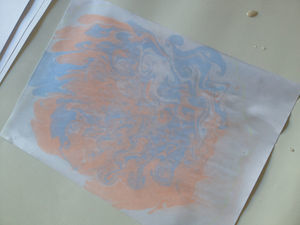
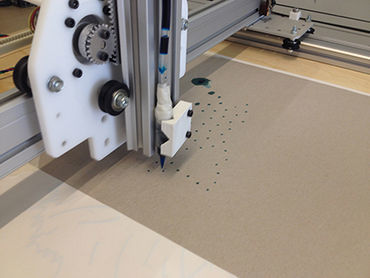
Indianen Blob Printing
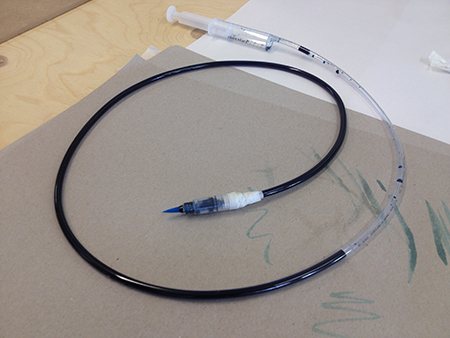
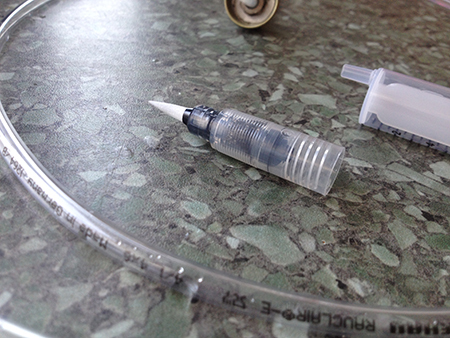
HANDMADE PRINTINGTOOL
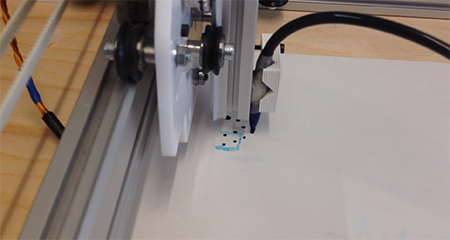
- Aquarel Waterbrush
- Plastic tube/hose
- Hypodermic syringe
- Blue ink
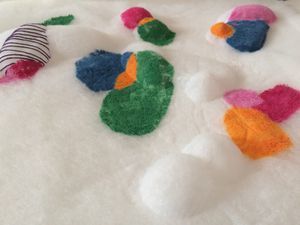
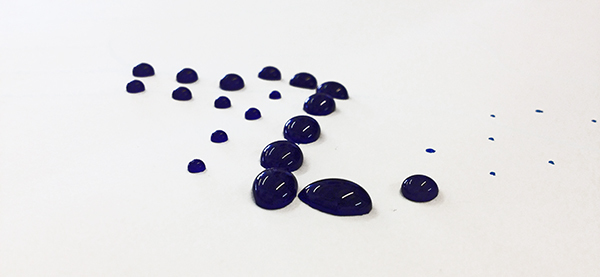
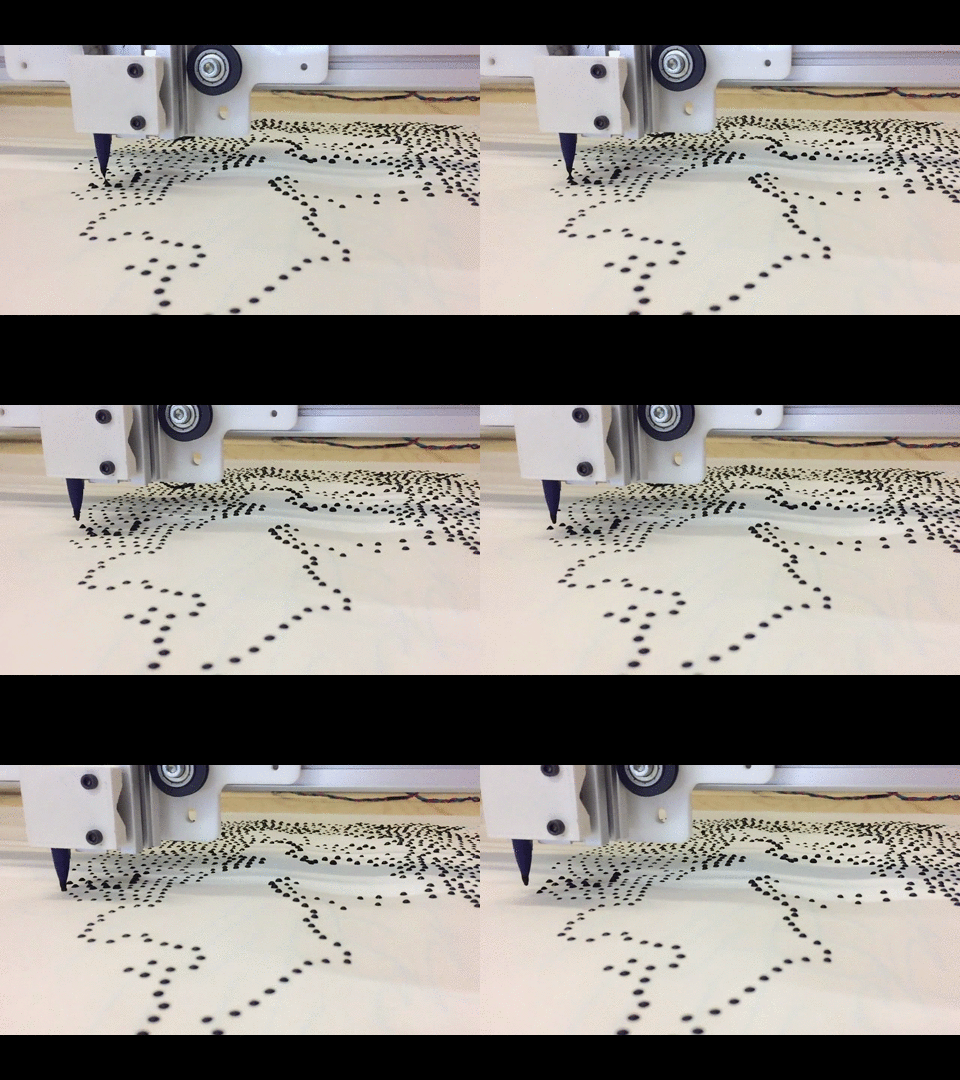
After the pressure in the hose was to high we spontaneous created some thick inkblobs, we all thaugh this was very awesome but one problem.
The blobs would disappear when it dries so we had to think about a solution to keep the blobs in it's original state.
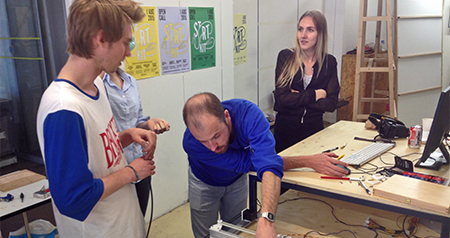
Tim came up with black acrylics but after that Roos and me fucked up the Aquarel waterbrush (ofcourse this was only made for water products).
We created a new printinghead out off a fillable pencil thingy.
BEKIJK VIDEO [Indianen Blob Printing Video]
Pushing Limits & Historical Example
Pushing the oldway into a new technique
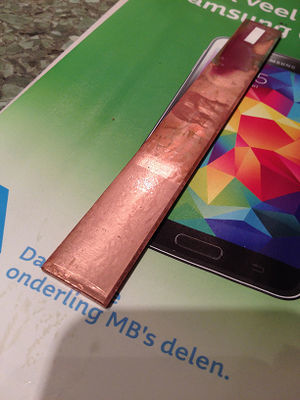
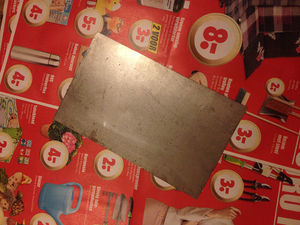
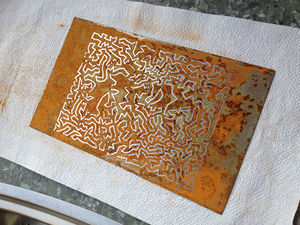
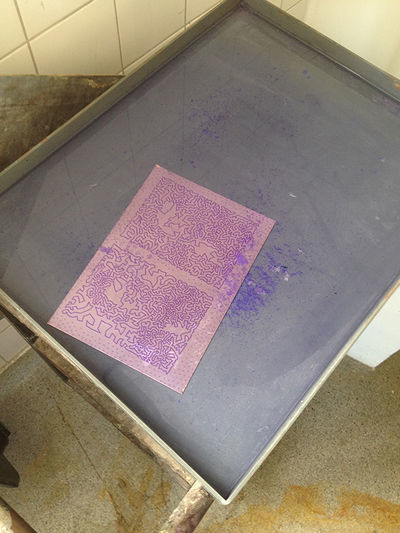
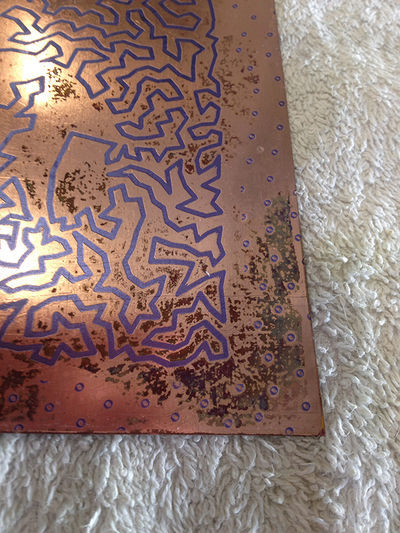
After experimenting with oxidize metals i wanted to push the etch technique to it's borders.
Using chemicals to affect a material is the main topic of my experimenting phase blablabla.
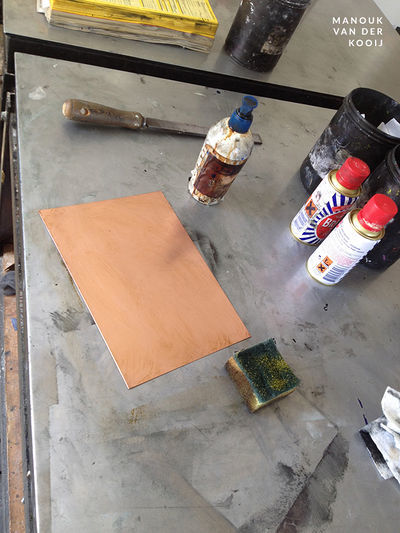
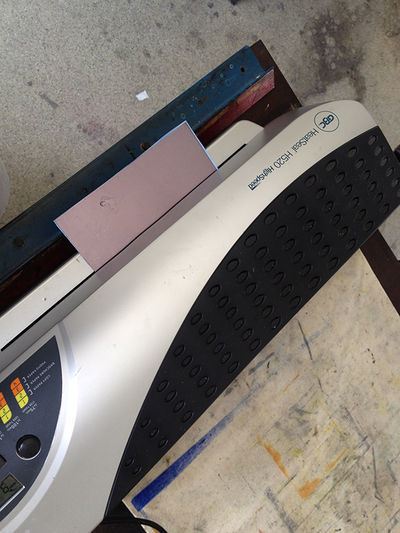
USED MATERIALS FOR THIS EXPERIMENT
- Copper
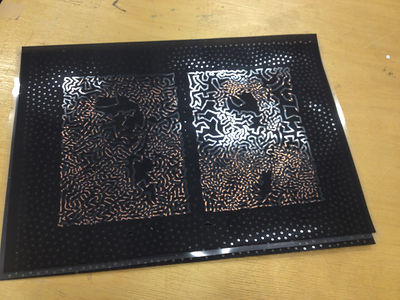
- Tranfer Sheets
- Photosensitive material
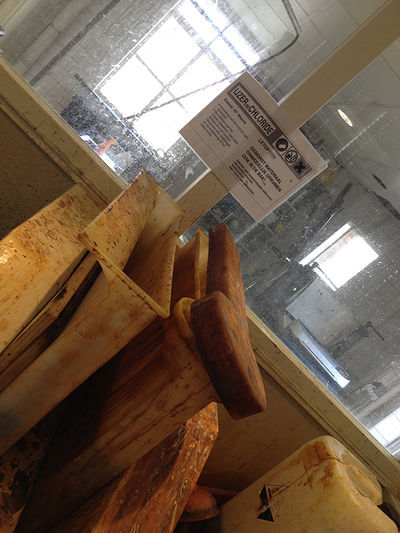
- Ferric Chloride
- Brass Polisch
- Soda Solution
2 x uv light of 3 min
3 x Brass Polish
10 x soda bath about 15 min each time
4 x Ferric Chloride Bath about 1 hour each time
Structural Landscapes
Serial of landscape structures as a outcome from..
