User:0902492
Contents
Joëlle's Wiki
As a 3rd year graphic design student with a pretty 'commercial' style and mindset in terms of my own design practice, I picked Digital Craft to broaden my horizon. I've done some open aanbod and electives in the Interaction Station before and really liked the technical part of it.
So this quarter it was time to challenge myself some more. I had a few goals in mind:
- experiment with different techniques
- make something physical
- work on coding (Python)
Workshops
I quickly discovered that the workshops were actually a great way to check the first item of my list: experimenting. It isn't just for experimenting with different techniques, but also materials. Like with any experiment the workshops are a trial and error type of thing. Sometimes things are quite easy to pull of but more often they're not. But that makes the satisfaction of getting something to work only bigger.
Wireless LED
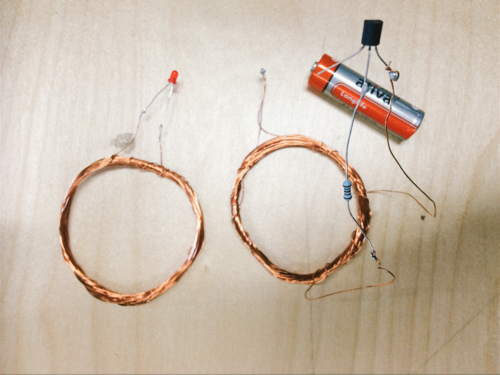
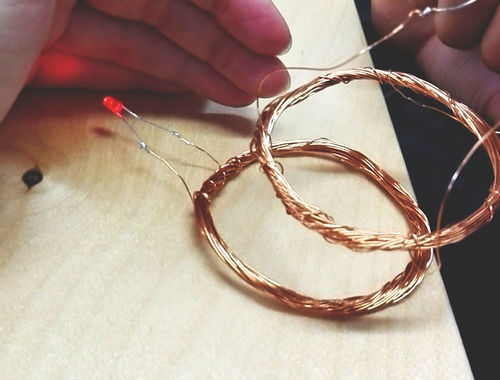
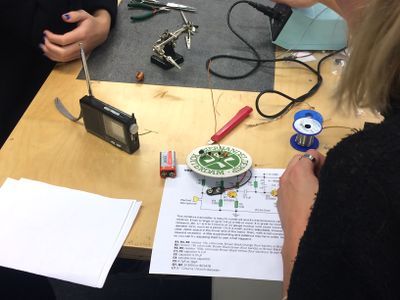
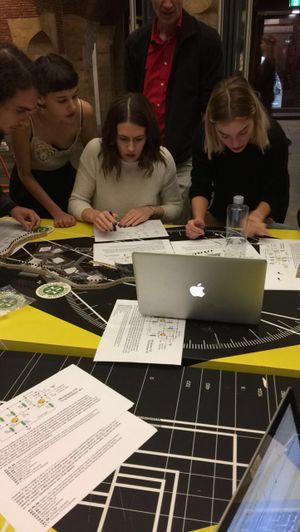
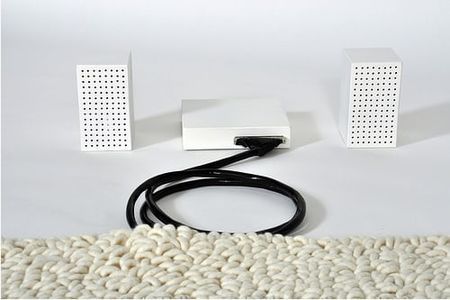
This workshop we worked with pretty basic materials as you can tell from the picture. Nevertheless we had some struggles making it work. I worked on it together with Jeroen and Sanne and after double-checking everything and adjusting some things we got it to work.
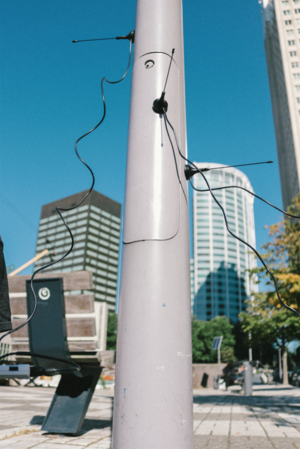
SDR dongle + Gqrx
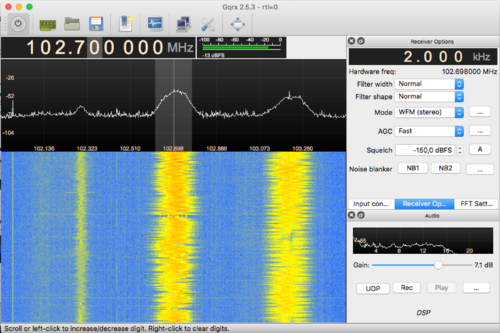
Played around with this small device one for quite some time. Setting up the dongle wasn't the hardest part, just plug and play. But finding the right settings with the Gqrx program was a bit more difficult. I first of tried a bunch of things myself, it made me more familiar with the interface and how it worked but I couldn't get a clear signal yet. After some research on Google I managed to listen to the radio (something I don't really do much anymore ever since Spotify).
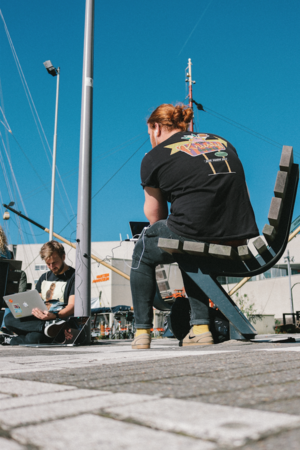
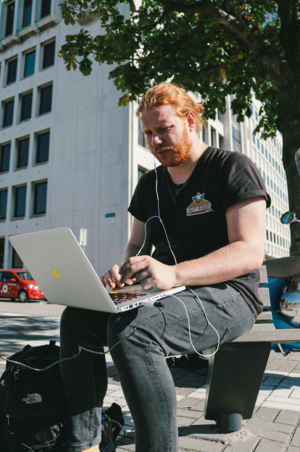
When I went outside together with Jerry and Mattijn things became more exciting (again also more difficult). This time we were trying to find some 'private' channels. After quite some time I was suddenly tuned in to what seemed like two truckers talking to each other. I recorded a part of the conversation. Listening to the two making some small talk and gossiping about work was actually pretty entertaining.
Imaginary Radio
For the Imaginary Radio we had to come up with something for the 1800's. We had the idea of placing an installation people could enter in Amsterdam. Inside the installation would be a small projector which would play a recording of Paris on loop. Meanwhile there would be playing live audio imitation the sounds of the video. This way we created some sort of the first '(not-so-)live stream' for that time. People could really experience both visually as well as audibly what it would be like in a foreign city hundreds of kilometers away.
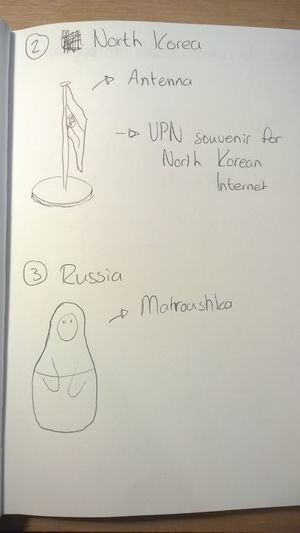
We had to further work on a concept of a different team. Their concept was that a souvenir you took home with you from a different country would be able to unlock certain memories of the place you took it from. We decided to take a matryoshka doll and implement it with a NFC chip. Unfortunately we didn't had one at that point in time, so we decided to use a QR-code instead. It needed to be a bit secretive so we placed a small QR-code on the bottom of the very last matryoshka doll. If you scanned the QR-code you would be taken to Kproxy, a website that offers a free anonymous web proxy service. Through that site you would be taken to a, in this case, Russian security camera in public space which is linked to the place you supposedly bought your matryoshka doll souvenir.
 WdKA meets MICA
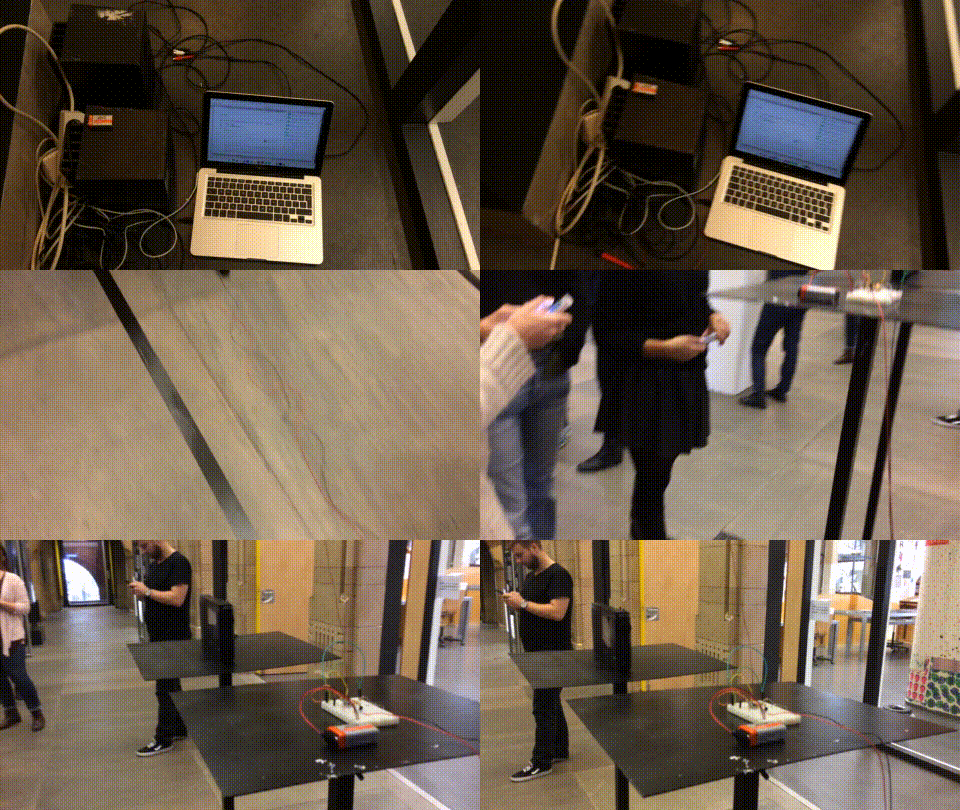
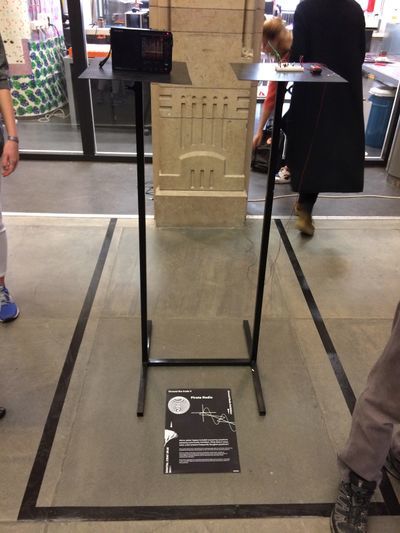
Pirate Radio. That was our assignment. Did any of us ever build a FM transmitter before? No. Did we knew how it worked? No. Was the site containing information on how to do it in English? Hell no. So it was basically just trying things out, looking at images online and getting some help from the Interaction Station.
We had one half of the team focussing on the technical part and building the FM transmitter. The other half of the team focussed on the conceptual side. But we were also talking to other groups and discussing what they were doing and how it would work out if we, let's say, combined certain elements or ideas. As real pirates do we 'stole' something from another team. The Intergalactic team was focussing on sending the most frequent asked questions on Google to outer space. We decided to take their questions and let chatbot ELIZA answer those questions.
Micro radio stations have a long history of connecting people within communities, often serving as platforms for talk shows where people can call in to a host with their personal questions. With the creation of the Internet and the consolidation of information, people are increasingly turning to online search engines to answer their most personal questions. These platforms provide individuals with the feeling that they have been heard, without human interaction. Pirate Radio aggregates the most frequently asked Google search questions, responding to them using the Rogerian Method (a psychotherapy technique that answers questions with questions).
Micro radios’ legacy included answering questions posed by community members. What does it mean when a bot answers frequently Googled questions? I must say that the overall experience was great and it was cool to see two groups of complete strangers from different countries work so hard together with a limited time frame and make some cool projects.
Personal research
This part of my wiki is basically a collection of interesting things I found online, research, sketches and ideas.
Oscilloscope art
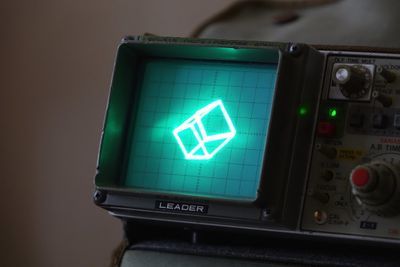
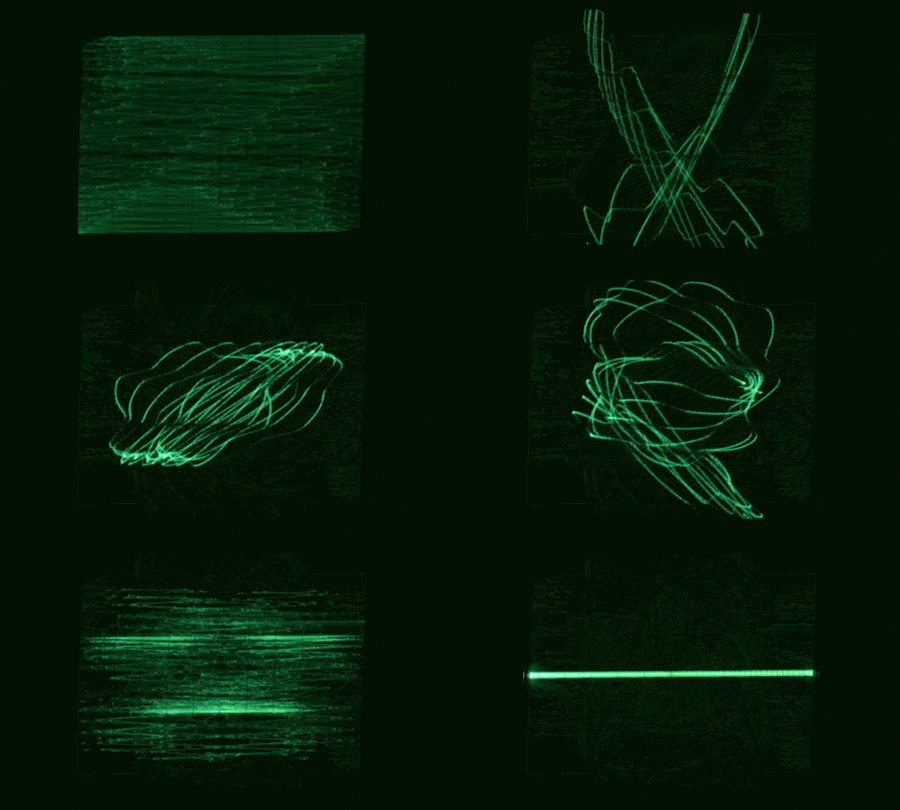
An oscilloscope, previously called an oscillograph, and informally known as a scope, CRO (for cathode-ray oscilloscope), or DSO (for the more modern digital storage oscilloscope), is a type of electronic test instrument that allows observation of constantly varying signal voltages, usually as a two-dimensional plot of one or more signals as a function of time. Other signals (such as sound or vibration) can be converted to voltages and displayed. If you create waveforms (sounds) using a computer and feed these to the oscilloscope you can actually create some pretty nice graphics out of it as seen in the images below and here.
Theremin
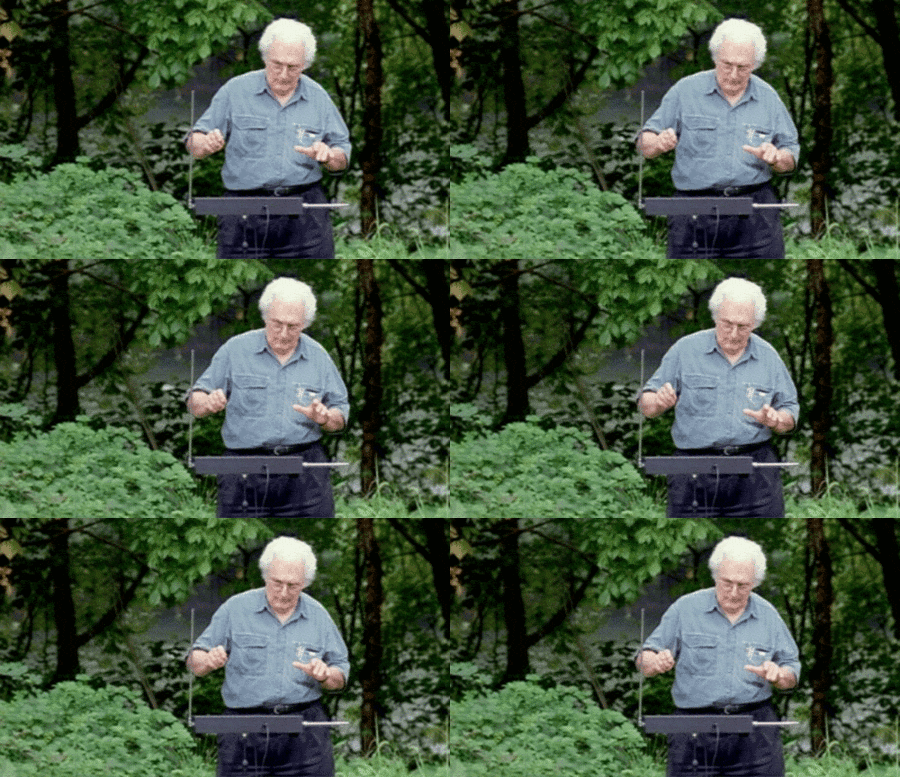
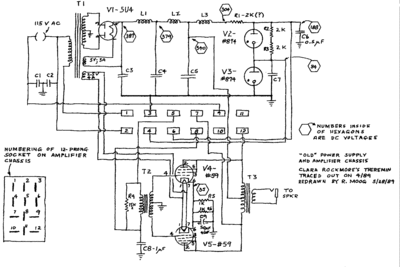
During our concept brainstorming for the FM transmitter we made together with the MICA students, someone mentioned the theremin. The theremin (originally known as the ætherphone/etherphone, thereminophone or termenvox/thereminvox) is an early electronic musical instrument controlled without physical contact by the thereminist (performer). It is named after the Westernized name of its Russian inventor, Léon Theremin (Термéн), who patented the device in 1928. The instrument popped up in their mind when they were thinking of a way to interfere with a signal to distort it and create new sounds of that distortion.
Human Antenna
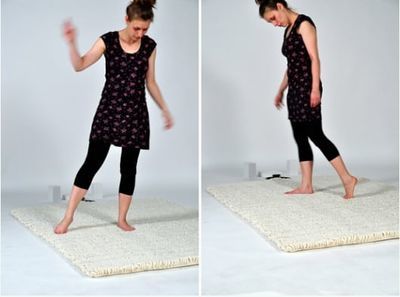
After that someone else mentioned the Human Antenna made as a Design Academy Eindhoven graduation project by Florian Kräutli in 2009. Instead of interfering with the waves that the antenna will pick up you actually become the antenna yourself. This way you can decide what and how the signal will get picked up.
My Radio (Q10)
This part of my wiki is dedicated to the bigger individual project. Because of time I wasn't able to make it into a final product just yet so I definitely want to continue with it in the next quarter (Q10). The concept of this project will be explained below.
Concept
 I love Spotify, but I'm frustrated by their playlists that are based on emotions and moods. They are too static to me. Music is the one thing that is
 supposed to capture your emotions in a way nothing else can. Another great way to express your emotions is through colors, so I decided to
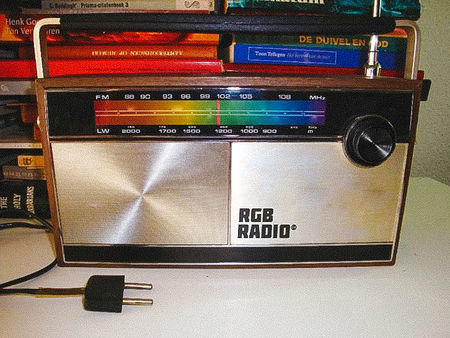
 create a RGB-radio. It combines the tactility of an old school radio with digitally listening to music in a simple and intuitive way.
So a quick recap. These were the most important elements to my concept:
- communication
- emotions
- interactive
- personal
- fluent
Research
Of course colors are related to certain emotions and feelings, and it's not as subjective as you might think at first. The general model of color psychology relies on six basic principles:
- Color can carry a specific meaning.
- Color meaning is either based in learned meaning or biologically innate meaning.
- The perception of a color causes evaluation automatically by the person perceiving.
- The evaluation process forces color-motivated behavior.
- Color usually exerts its influence automatically.
- Color meaning and effect has to do with context as well.
There are already a lot of research papers, websites and documents on the internet that will tell you which emotions are most often associated with certain colors. Of course they all differ slightly, so after doing some extensive research myself I found the red thread through all of the colors and emotions. I created an overview with the data I gathered, which you can find below.
| Color | Meaning |
|---|---|
| Red | Love, passion |
| Orange | Playful, energetic, fun |
| Yellow | Happy, friendly |
| Green | Nature, stable, peace |
| Blue | Serene, trustworthy, calm |
| Purple | Luxurious, mysterious, romantic |
| Pink | Sweet, cute, romantic |
| Grey | Depression, lack of energy |
Version 1
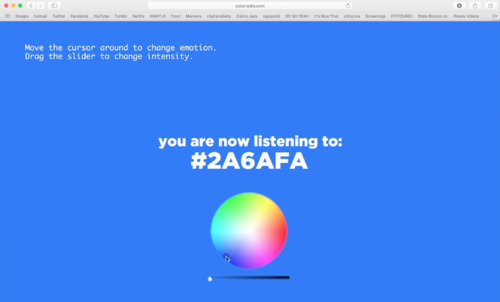
In the first sketch version of the RGB-radio I took on a fully digital and online approach. The user was supposed to drag the cursor around in the color wheel. With the slider on the bottom you could change the saturation of the picked color. The songs used in the first version where a personal selection from different playlists I have on Spotify. Those original playlists are based on different emotions. Down below you can find a table that gives you an overview of the songs I picked for the first version sketch of the RGB-radio.
| Color | Song | |
|---|---|---|
| Red | Boys II Men - End Of The Road | Al Green - Let’s Stay Together |
| Orange | Coldplay - Life In Technicolor ii | Will Smith - Miami |
| Yellow | Club Kuru - Tonight | Young Franco, Blair de Milo - Don’t You Want Me |
| Green | Jett Rebel - Green | MGMT - Electric Feel |
| Blue | Coldplay - Midnight | Ludovico Einaudi - Divenire |
| Purple | Jamie xx, Romy - Loud Places | Drake - Weston Road Flows |
| Pink | Beyoncé - Crazy In Love | Kelis - Trick Me |
| Grey | Kodaline - All I want | Bon Iver - The Wolves (Act I and II) |
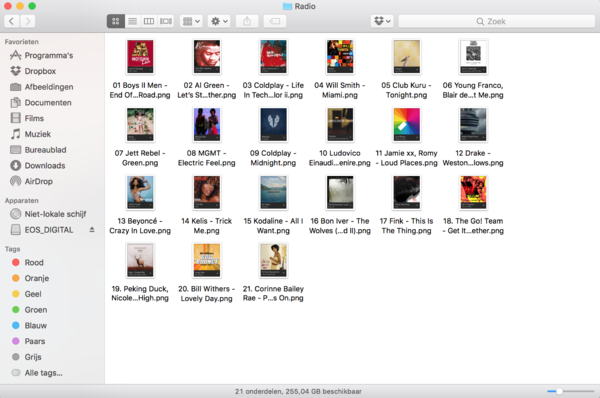
Color psychology is also widely used in marketing and branding. Many marketers see color as an important part of marketing because color can be used to influence consumers' emotions and perceptions of goods and services. Companies also use color when deciding on brand logos. These logos seem to attract more customers when the color of the brand logo matches the personality of the goods or services, such as the color pink being heavily used on Victoria's Secret branding. A good example of this is the following screenshot I took of the songs I used (see table above) in this first version. Quite often the colors I connected to the songs match the album art.
Version 2 (WIP)
The version I'm working on right now (and wish to continue working on in Q10) is still work in progress. It is supposed get rid of the online realm and become a physical object, but still has a digital and coded back end. Below you can read a little bit more in depth how I want to achieve this.
Explanation
 The physical RGB-radio will feature a knob which controls a slider. With the slider you can select the color that matches your emotion, the python
 code will then match your picked color (value) to a certain playlist that matches it. The code will know which value you picked because the knob
 of the radio will be linked to an Arduino servo knob.
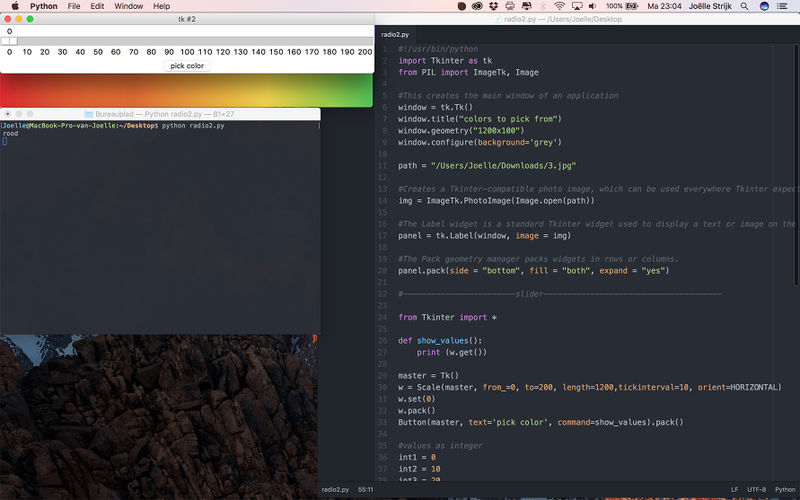
I've left my first version behind and started from scratch again. I'm coding in Python language here. I tried to match the digital to the physical idea as much as I could so that it would be easy to control and work with both of them. You can see the similarities clearly below.
Like I mentioned before I'm coding in Python. It isn't quite working yet like how it's supposed to be because there are a few issues I haven't been able to solve yet. But I'm 100% sure that I will figure those, together with help from the Interaction Station, out in the upcoming quarter. Below I copy pasted the whole Python code I have right now so you can get a better idea of what's going on technically. If anyone has tips or remarks: please let me know!!
 #!/usr/bin/python
 import Tkinter as tk
 from PIL import ImageTk, Image
 #This creates the main window of an application
 window = tk.Tk()
 window.title("colors to pick from")
 window.geometry("1200x100")
 window.configure(background='grey')
 path = "/Users/Joelle/Downloads/3.jpg"
 #Creates a Tkinter-compatible photo image, which can be used everywhere Tkinter expects an image object.
 img = ImageTk.PhotoImage(Image.open(path))
 #The Label widget is a standard Tkinter widget used to display a text or image on the screen.
   panel = tk.Label(window, image = img)
 #The Pack geometry manager packs widgets in rows or columns.
   panel.pack(side = "bottom", fill = "both", expand = "yes")
 #------------------------slider--------------------------------------
 from Tkinter import *
 def show_values():
     print (w.get())
 master = Tk()
 w = Scale(master, from_=0, to=200, length=1200,tickinterval=10, orient=HORIZONTAL)
 w.set(0)
 w.pack()
 Button(master, text='pick color', command=show_values).pack()
 #values as integer
 int1 = 0
 int2 = 10
 int3 = 20
 int4 = 30
 int5 = 40
 int6 = 50
 int7 = 60
 int8 = 70
 int9 = 80
 int10 = 90
 int11 = 100
 int12 = 110
 int13 = 120
 int14 = 130
 int15 = 140
 int16 = 150
 int17 = 160
 int18 = 170
 int19 = 180
 int20 = 190
 int21 = 200
 if (w.get() == int1):
    print "rood"
 else:
    pass

 #Start the GUI
 window.mainloop()
