User:LV/PRACTICE RESEARCH
Contents
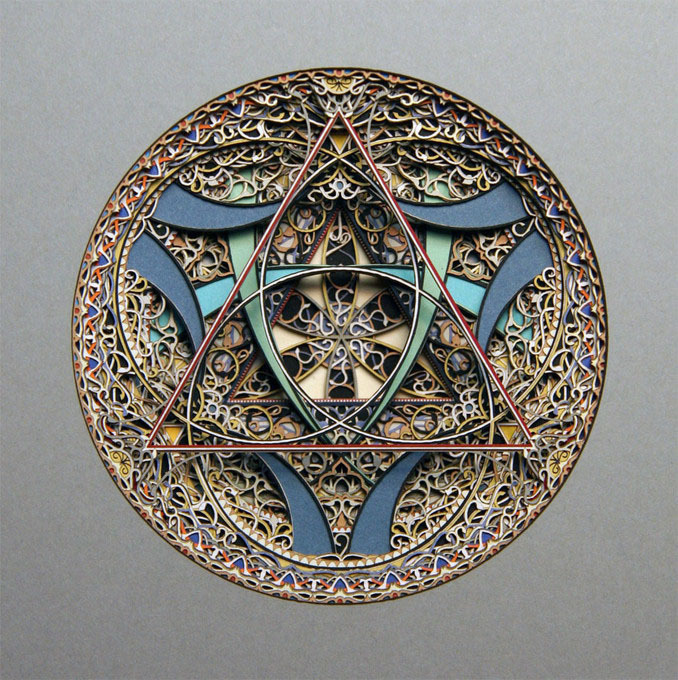
CARVING EXAMPLES
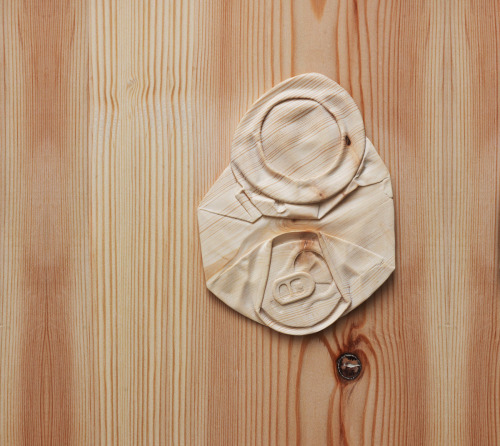 Caroline Slotte
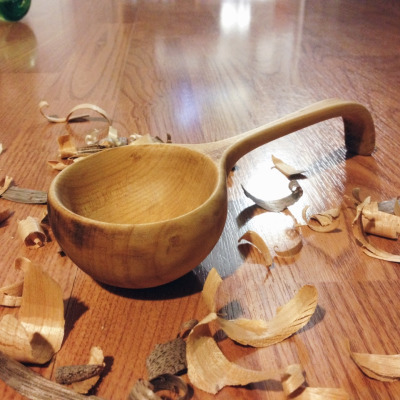 Jackalopedesign
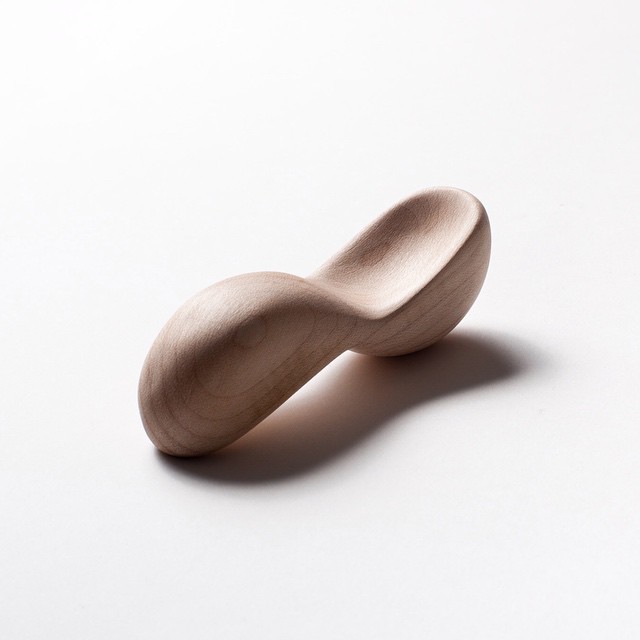
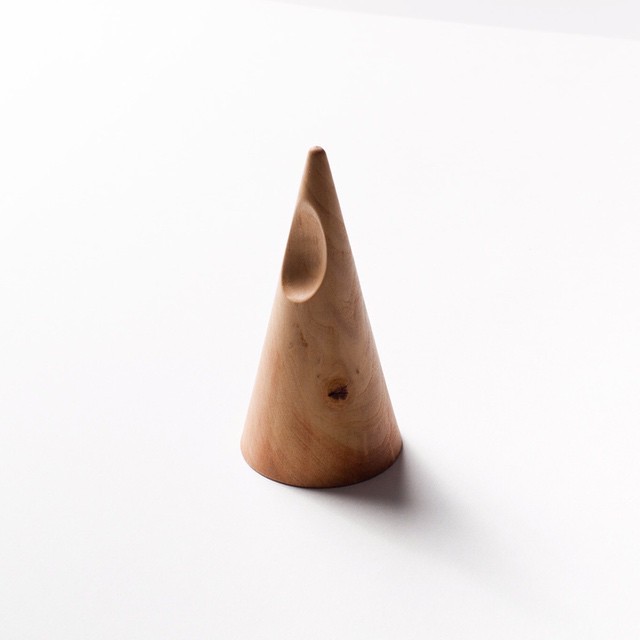
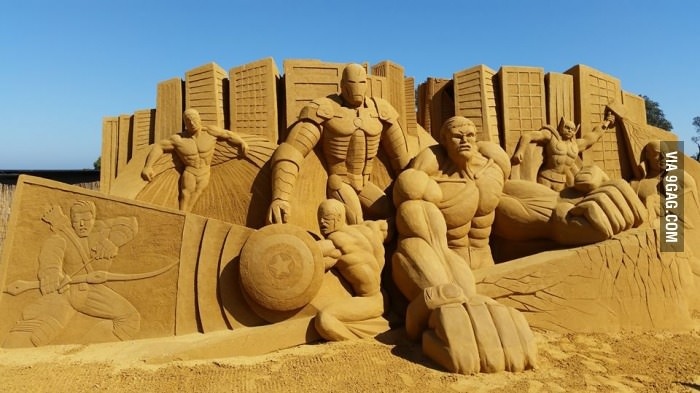
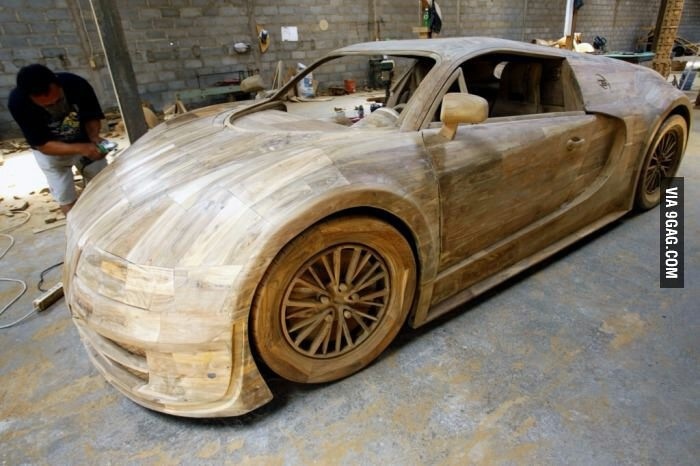
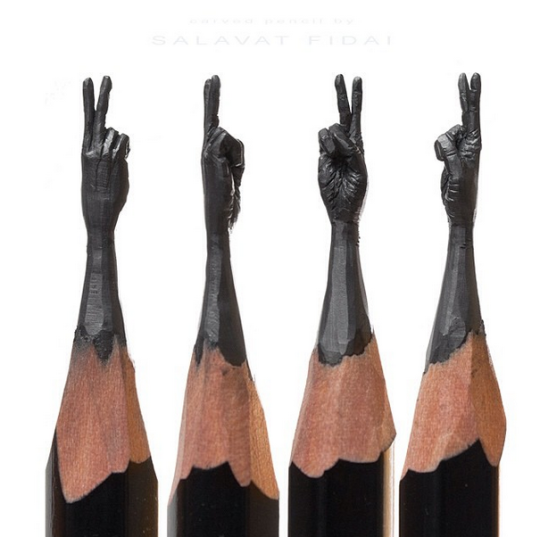 Salavat Fidai
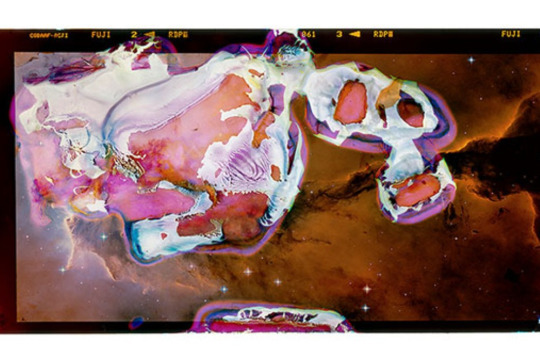 Marcus deSieno
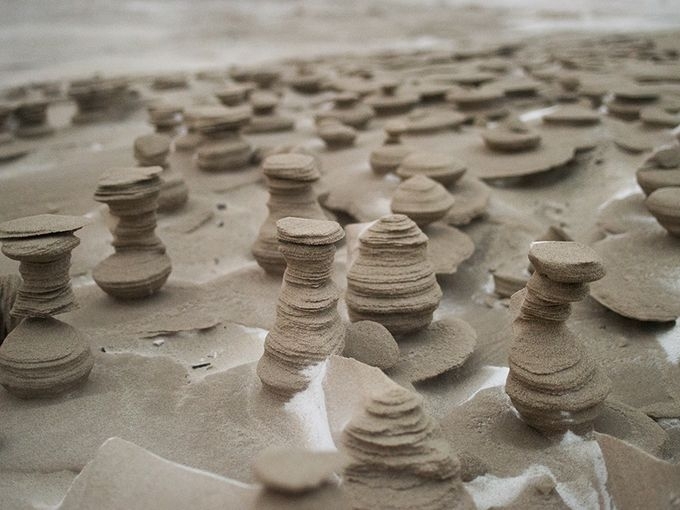
 Alvin Lucier
RAINBOWS
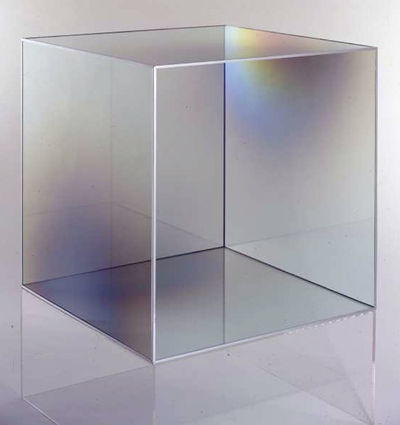
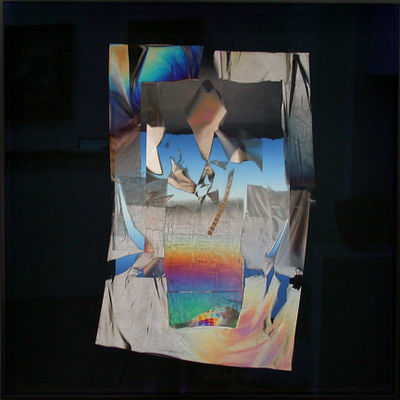
Also inspired by Larry Bell (one of my favorite artist at the time), I started a research about creating rainbows on metals.
Looks like this is also a thing that i'm highly interested in because i can't stop thinking about it, and i need to figure this out. <br
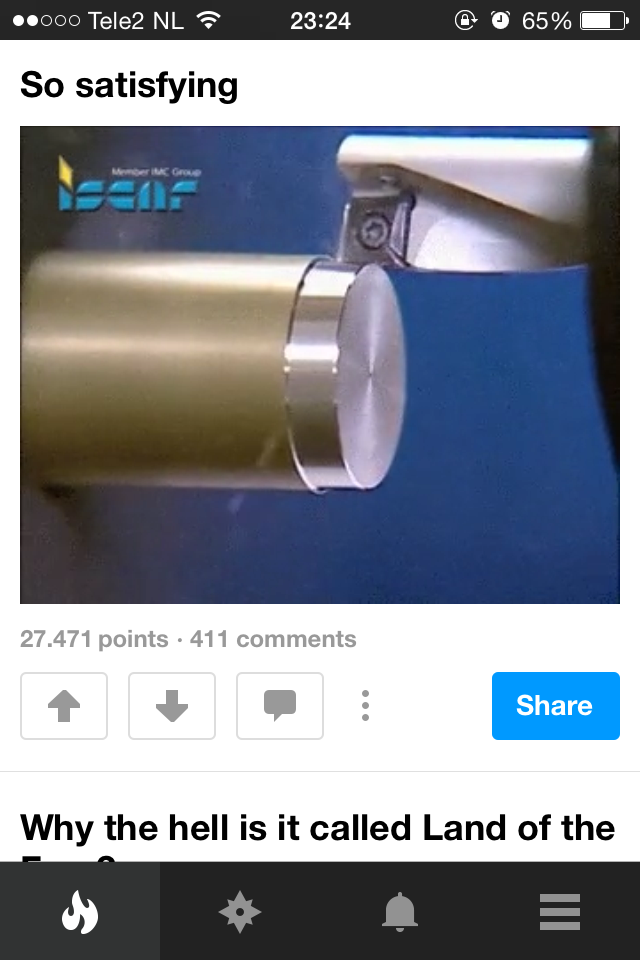
https://youtu.be/xBPFP2IkIYM
Most metals can be colored with heat oxidation, so i though hmm that is easy.
To the gas torch we go! I brought a random bunch of metal/steel objects and started heating them up.
Seems this oxidation is not so easy to steer.
Besides that i got some awesome colors, but the problem is that the colors apear when you take the gas torch away from the metal.
When the colors start to appear you can't stop them anymore.
And the bigger problem is that you can swipe the colors of with your finger, so now i have to varnish them.
And the idea was to take this ordinary objects and make them more beautiful and than still be able to use them. FOTO GASBRANDER METALEN
A metal that can't be colored with heat is titanium, this needs an electrolytic anodizing process.
You can color the upper layer of titanium by putting the metal in a mixture of water and a sodium and connecting it with electricity.
The color you get depends on the amount of voltage.
At the moment i am waiting for my 9v battery's and for the shops to open so i can get some scrap-titanium.
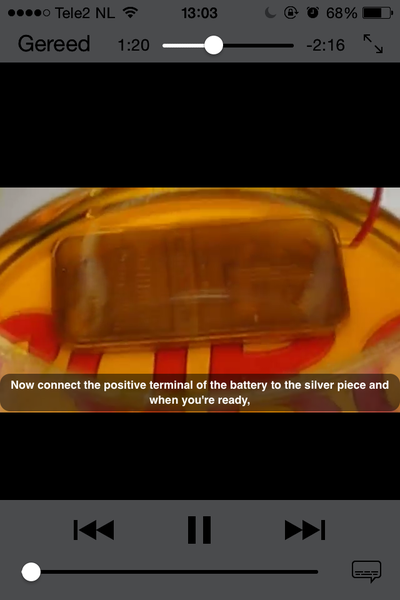
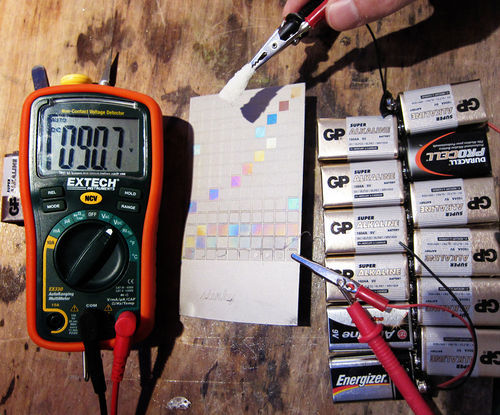
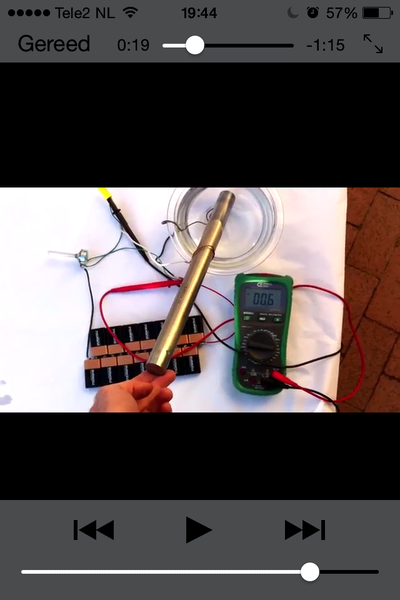
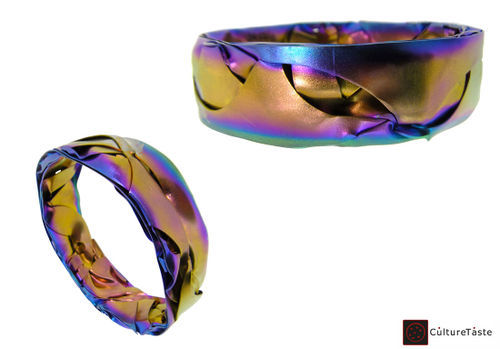

titanium: batterijen, water, sodiumhydroxide/soda/zuiversingszout/cola https://youtu.be/3PO0LpdoGvo
zilver: extra nodig zwavel: https://youtu.be/VrA7Jyw1uOs
http://www.hinmeijer.nl/product/118887/zwavel_99_.aspx
http://www.hinmeijer.nl/product/66825/natriumhydroxide_.aspx
http://www.kh-metals.nl/producten/speciale-metalen/titanium
http://www.ijzerhandelvandenberg.com/Bruikbaar-IJzer/
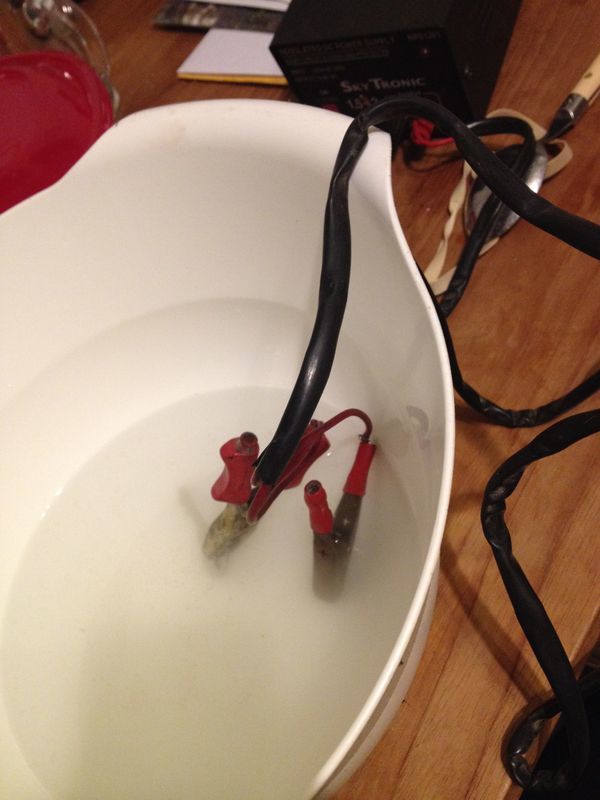
Yesterday i tried to do this with one 9v battery and some old crocodile clams (because i was too impatient) on a doorkey (don't even know if this is titanium for sure), but this failed.
The old clams got a bit cleaner though.
1. HISTORICAL EXAMPLE
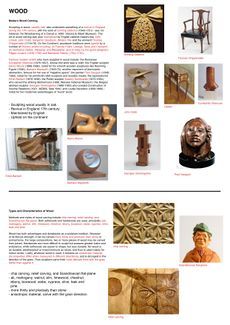
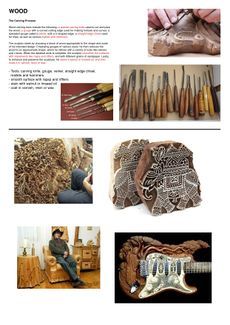
For the historical example I chose woodcarving, because this is something I tried at a young age and I wanted to see how it would go now.
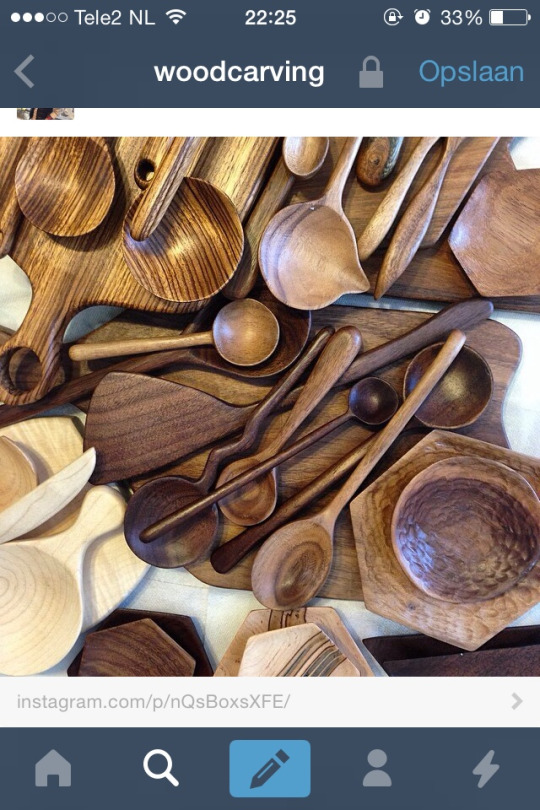
I found these beautiful woodcarvings on Tumblr and was instantly hooked, the simplicity and the smoothness oboy.
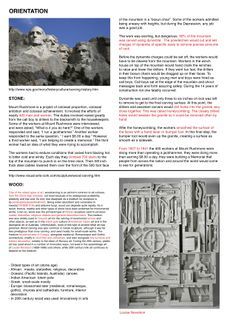
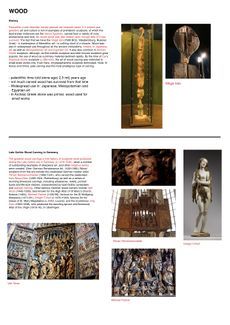
Here is some research I did:
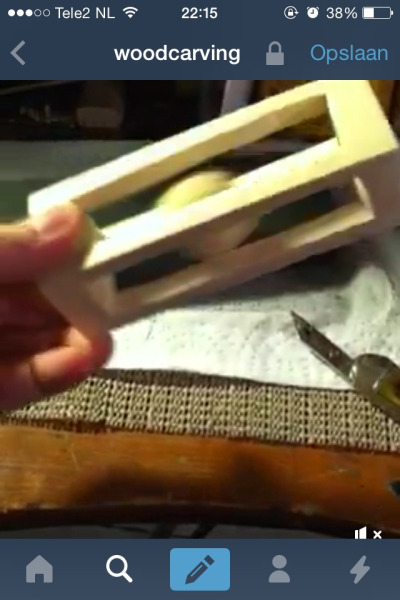
Here are the carvings I experimented with:
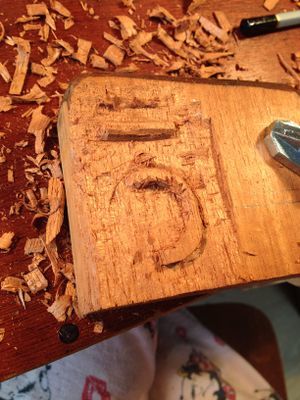
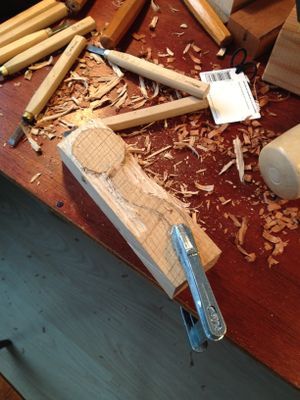
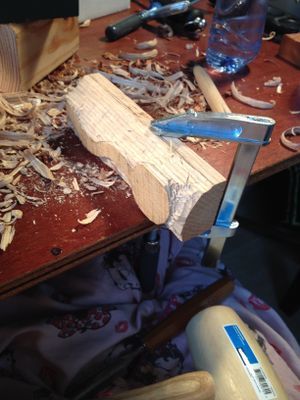
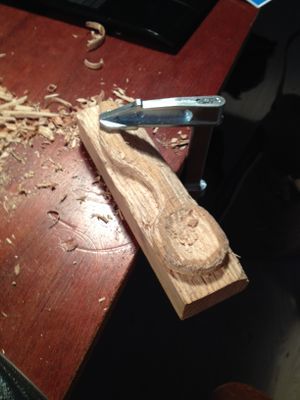
Got some tools from my mother and bought a hammer and clamps.
This was not as easy as I though it would be.
After a whole day carving my body was bruised and pained.
But the thing was I kept on going, although it did not go according to what I had in mind.
I am an impatient person and want things to be finished asap so this took to long in my eyes.
It was addictive.
MUST MAKE THIS WORK.
It was frustrating.
I am a perfectionist.
It gives satisfaction to get a little bit further every carve.
It was a thinkfree zone.
I got obsessed, woodcarving is everywhere around us and now I notice everything.
COMPARITIVE EXAMPLE
NEW SKILL
Since woodcarving by hand is such a pain in the ass I decided to work with the wood turning table.
This gives me the joy of woodcarving but doesn't wear my body out. Things are slightly different now:
It is addictive.
I AM MAKING THIS WORK.
It is slightly frustrating sometimes.
I am a perfectionist, I can use that in my power to create the fluent lines.
But also can put it aside when a chunk of wood breaks of, or if I carve to much.
It gives ALOT satisfaction, it makes me feel proud of what I've made.
It is a thinkfree zone, I can let myself let lost with the wood and let it lead me to a new form.
I get in a focus-zone.
I still am obsessed, woodcarving is everywhere around me and now I notice everything.
There is so much beauty in the wood and the prints in it.
I was to late for an open aanbod, but luckily the teacher was so sweet to give us a brief instruction.
Beforehand we had to read the instructions:
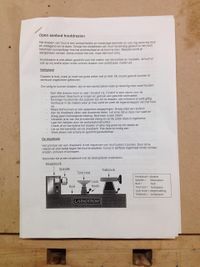
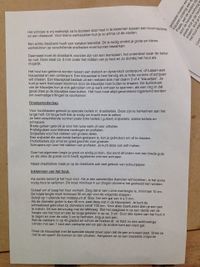
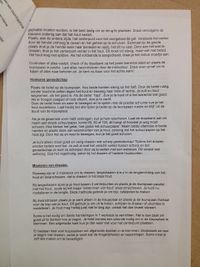
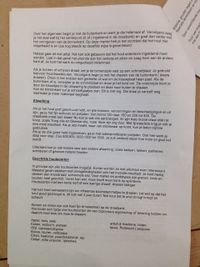

1. Get a piece of wood (fine wood, dried wood, or fresh wood for extreme thin carving)
2. Cut it in a square form, if the diameter is under 45mm you don't have to make a pin. 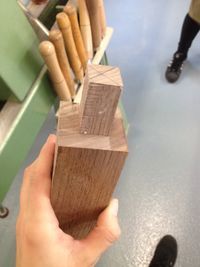 3. If your diameter is above, make a pin.
4. If your diameter is above, flatten the corners.
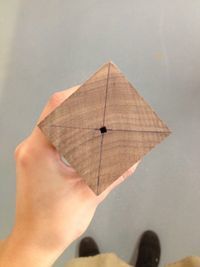 5. On the other side, mark down a centerpoint and stick something(priem) in it.
6. Put your wood in the machine and tighten carefully.
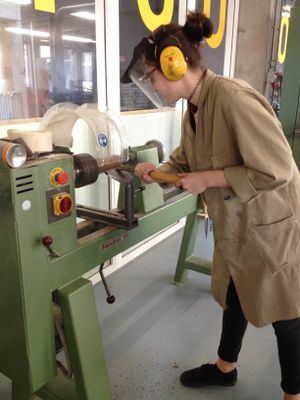 7. Start with the big round carving thing to make the wood fully round.
8. Continue with the smaller carvers for details.
9. When satisfied with form, start polishing, start with 120 or so, and around 600 put some oil on your wood and continue till 1200 or so.
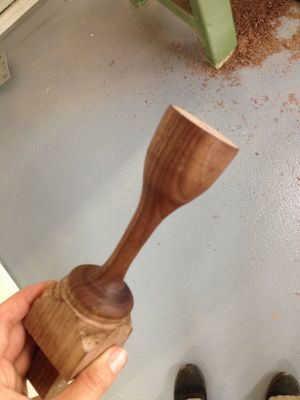
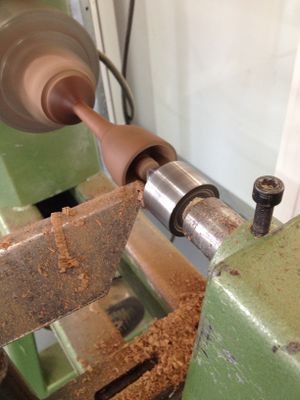
10. oyeah: when you want to hollow something, don't turn your wood to thin. what you see down here is 'officially' wrong.
12. Cut of the rest wood.
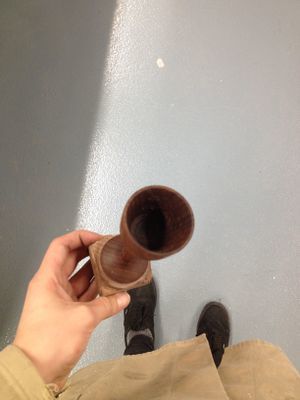
13. TADAAA.
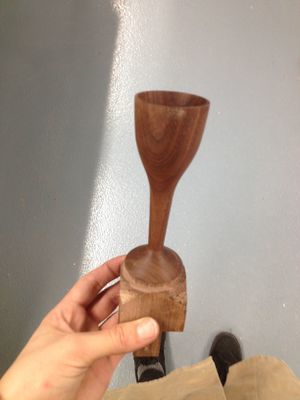
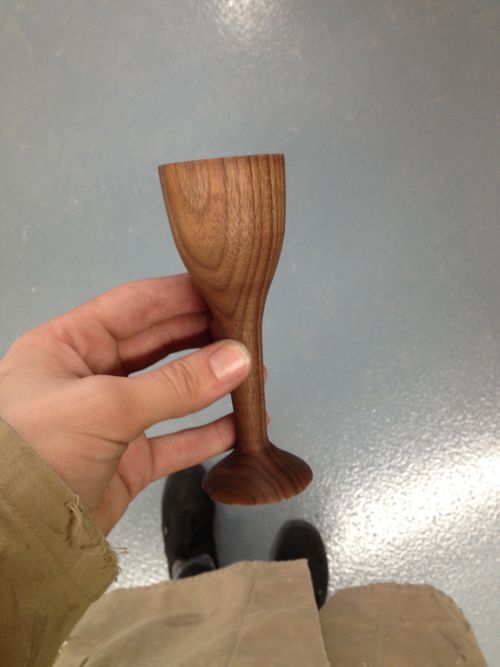
PUSHED TO THE LIMIT
nog te doen: hout kapotdraaien.
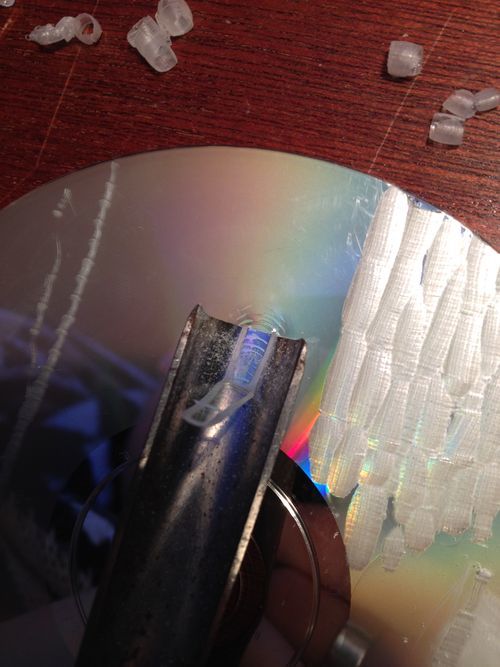
Inspired by my own comparative cube and the fascinating prints that emerged there i started searching for intersting and ordinary objects for me to assault.
Walking through Scrap i found a box of CD's and got reminded of the beautiful rainbows on there.
I decided to experiment with the same technique i used on the cube on this CD, and the outcome is amazing.
You can still see the rainbow in a certain light-angle and the places where I slipped show a interesting second layer of the CD.
The parts where i slipped or broken of a piece of CD can be seen as a push for the limit, but they don't neccesarily bring the object down.
SHARED EXAMPLE
piepschuim
