User:ThomTrouwborst
Contents
Thom Trouwborst
Unravel The Code
Stealing from the museum
Fantastic Forgeries
Chosen object:
Information:
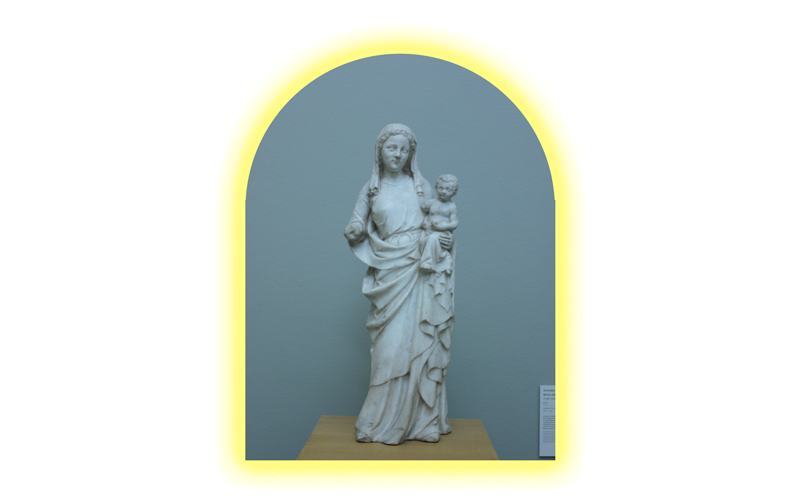
Maker: Anoniem
Titel: Maria met kind
Periode: 1350 - 1400
Materiaal: Marmer
Tekst Boijmans:
NL
Dit beeld van Madonna en kind is een karakteristiek voorbeeld van de elegante stijl, die zin in de late viertiende eeuw in Parijs en omgeving ontwikkelde en al snel in heel Europa werd nagevolgd. De dromerige uitdrukking van Maria en haar sierlijke houding zijn karakteristiek voor de zogenaamde internationale gotiek; de vaardig weergegeven draperie doet niet onder voor het beste werk uit de vroege renaissance.
EN
The sculpture of the Virgin and Child is a typical example of the elegant style that evolved in and around Paris in the late 14th century and was seen being imitated throughout Europe. The Virgin’s dreamy expression and graceful pose are characteristic of what is called International Gothic. The skillfully rendered drapery is a match for the best work of the early Renaissance.
Why
There are three main reasons why i choose this marble statue. The first reason is that i wanted to work in 3d. I, As a graphic designer you tend to work mostly in 2 dimension. So with this minor i hope to create project with more than 2 dimensions. The second reason is my fascination for religieus imagery and symbolism. For instance, the virgin which is presented in many many different ways throughout the history but through certain coder you can always tell it’s the Virgin Mary. Back then certain symbols always communicated the same things. Next to the symbolism i’m also very interested in the esthetic of religious imagery. Every time period has it’s own style and i want to use this project to really dive in to this huge topic because i never had the change to do this. The third reason is that a wanted to choose a work which is or was very iconic. Icons are used and reproduced in different contexts which makes it interesting for me. The icon of the virgin is weaved in several religions and cultures. In hese religions and cultures she is pictured differently and that makes it very interesting.
First Research
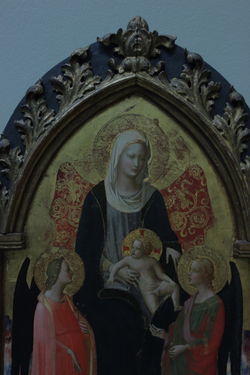
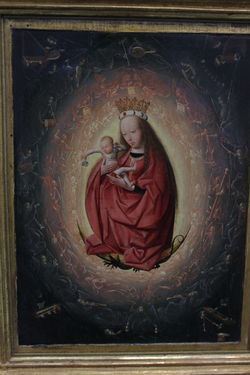
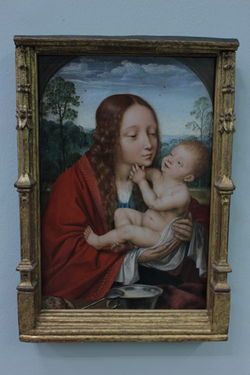
Different images of Virgin Mary's inside the Boijmans:
1st Year: ca 1420 (IT) 2nd Year: ca ...?(?) 3rd Year: ca 1490 -1495 (NL) 4th Year: ca 1520 (BE)
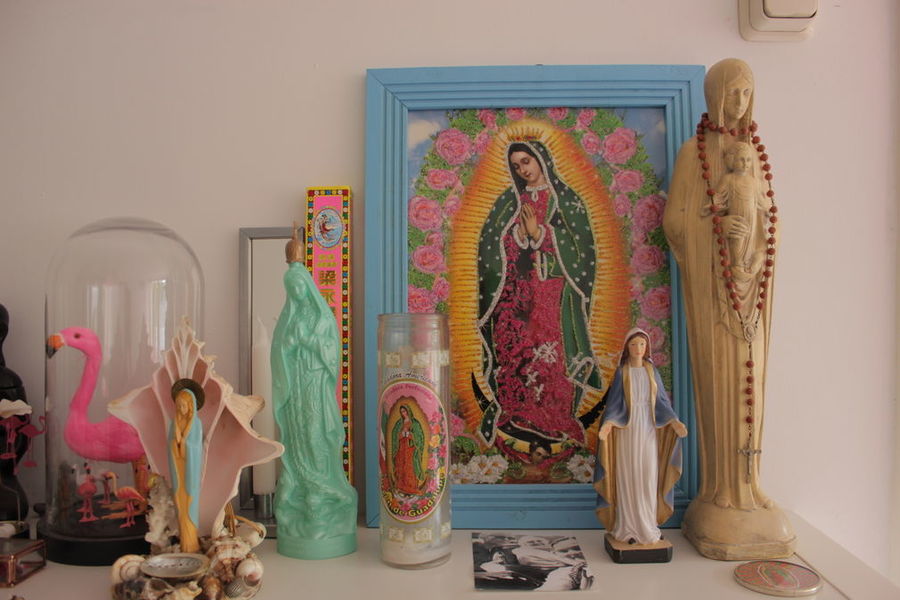
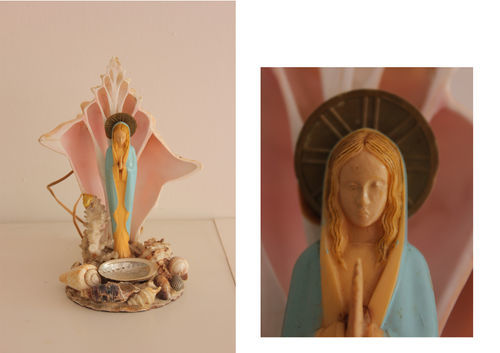
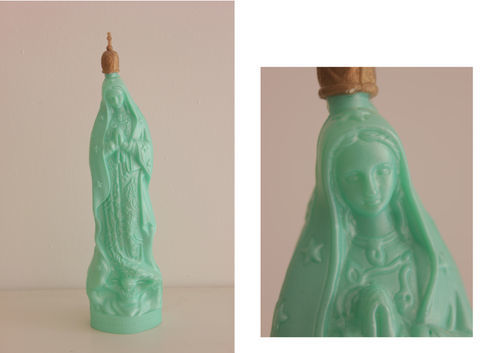
The scene above is a scene from my house. Both me and my girlfriend like the esthetic of a Virgin Mary so we collected several different ladies. Some of the imagery is Latin American, where the Virgin Mary is called "Nuestra Señora de Guadalupe". She is the patron of Mexico (and since 1945 of the entire continent; Latin America) The entire story
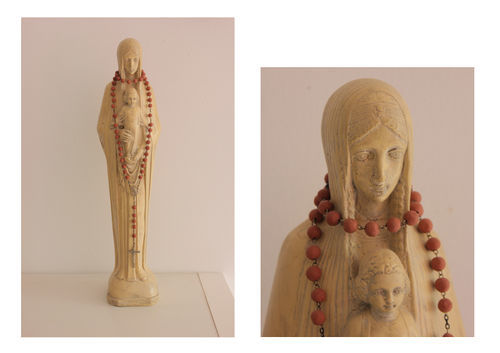
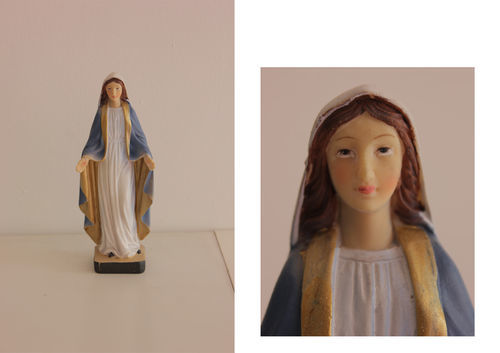
I photographed the different Virgins individually. As you can see, they al look very different but in the end you figure out it's a Virgin Mary without knowing the context.
RELFECTION 28-10: With this story i was going into the right direction but i didn't knew it yet. The thing with the image of mary is that it doesn't really matters how it looks, the store stays the same. So actually the image doesn't hold a lot of value in itself. We give it value by respecting it's maker but the image of Mary isn't valuable, it's completely exchangeable.
First steps
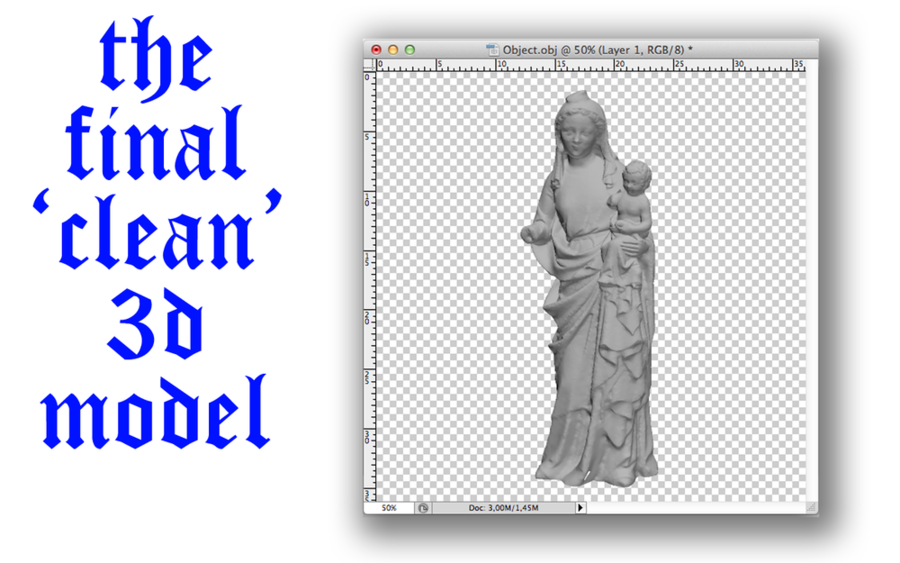
So the first thing that had to be done was making a 3d scan of the object itself. I wanted to do this in de exact same way as we did in the kick off. So i went back to the Boijmans en photographed the hell out of the statue!
LOOK @ THESE CRAZY GIFS
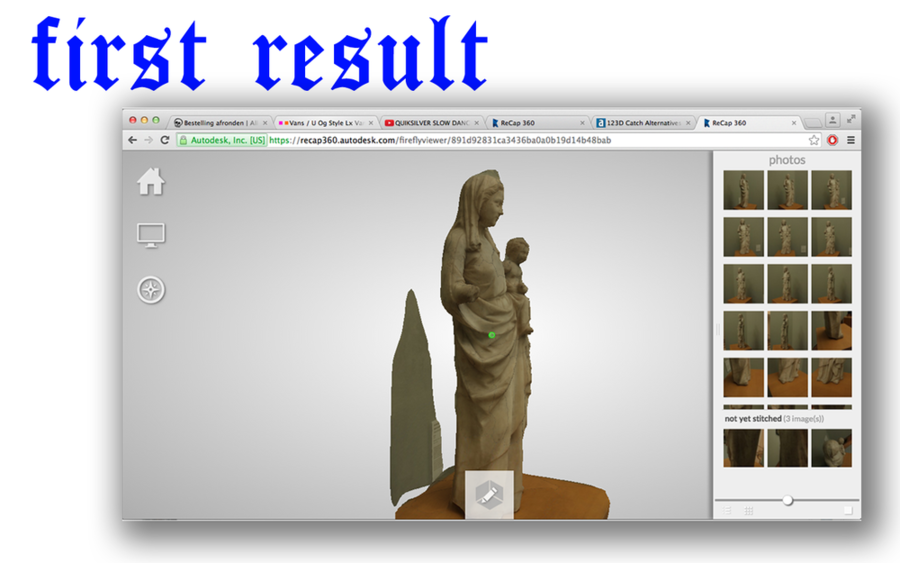
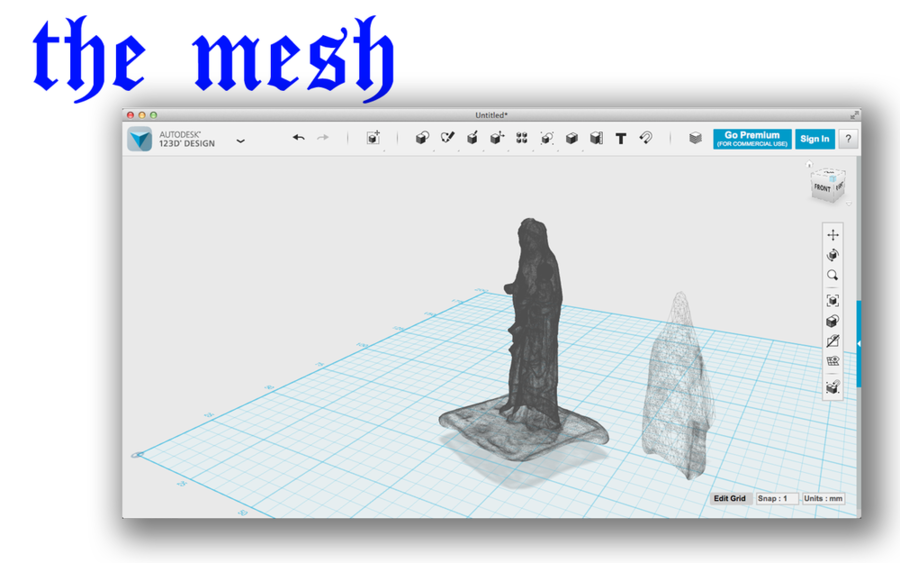
So the gifs give a glimpse in the pictures i took. Then i wanted to use 123DCatch to make the 3d scan complete. However, it didn't work on a mac..... Soooo after a few hours a found the tool RECAP360 which does exactly the same BUT you can upload more photo's, which was even beter. Recap 360 makes a pointcloud of a lthe pictures you taken of the object, just like 123dcatch.
These were the steps that followed
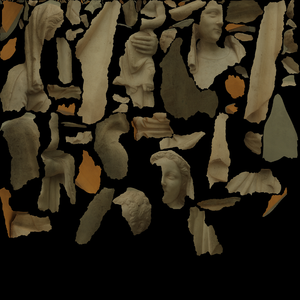
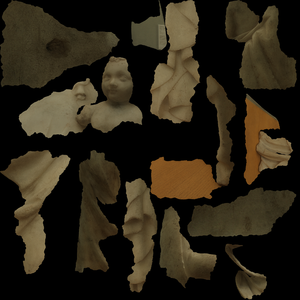
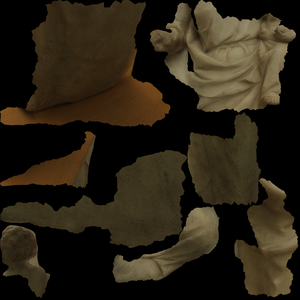
TEXTURE MAPS
First Prints
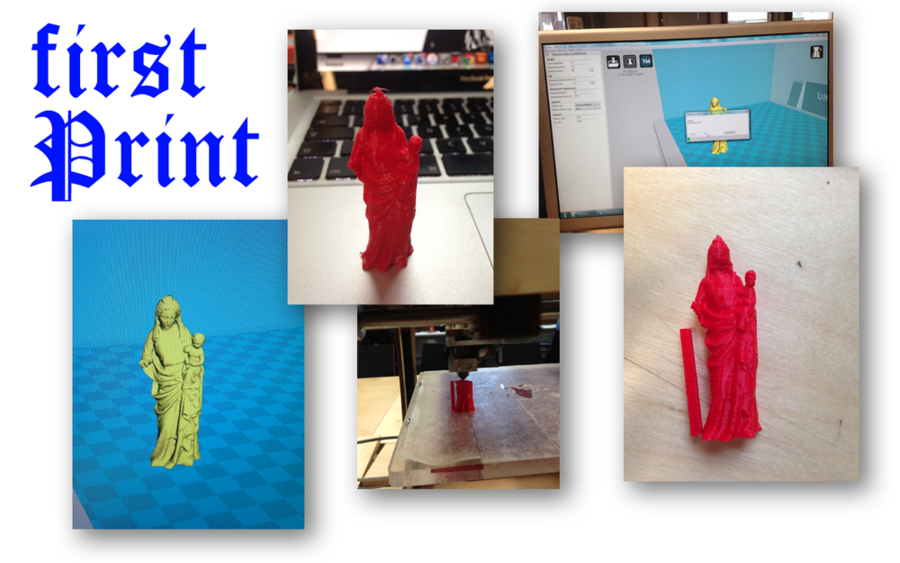
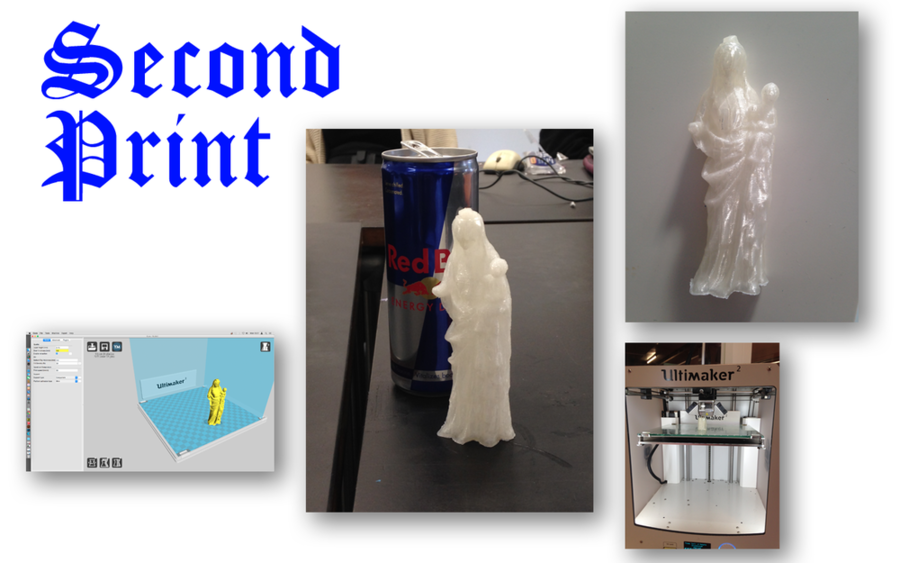
The most easy way to replicate this statue was 3d printing it. So that is what i did! At this stage i figured out i wanted to dive into making moulds. I thought this would give me the freedom to produce bootleg mary's in different materials. The 3d print would be used as negative. The first print was way to small so i figured i needed a bigger print to experiment more with molds.
Making Molds
So with the thought of making Mary of a different material, i dived into the world of making molds. Very quickly i found out the most materials are very expensive when you are making molds. Next to that, most materials used to make molds are highly toxic so doing this at home wasn't an option. I've watched a lot of tutorials on the webz and wanted to try a few techniques. 1 of those techniques was making a silicone mold. The only thing you needed for this was 100% silicone and dishwashing soap. WORLDS EASIEST SILICONE MOLD
YEAH I MELTED CHOCOLATE TO TRY OUT THE MOLD LMAO
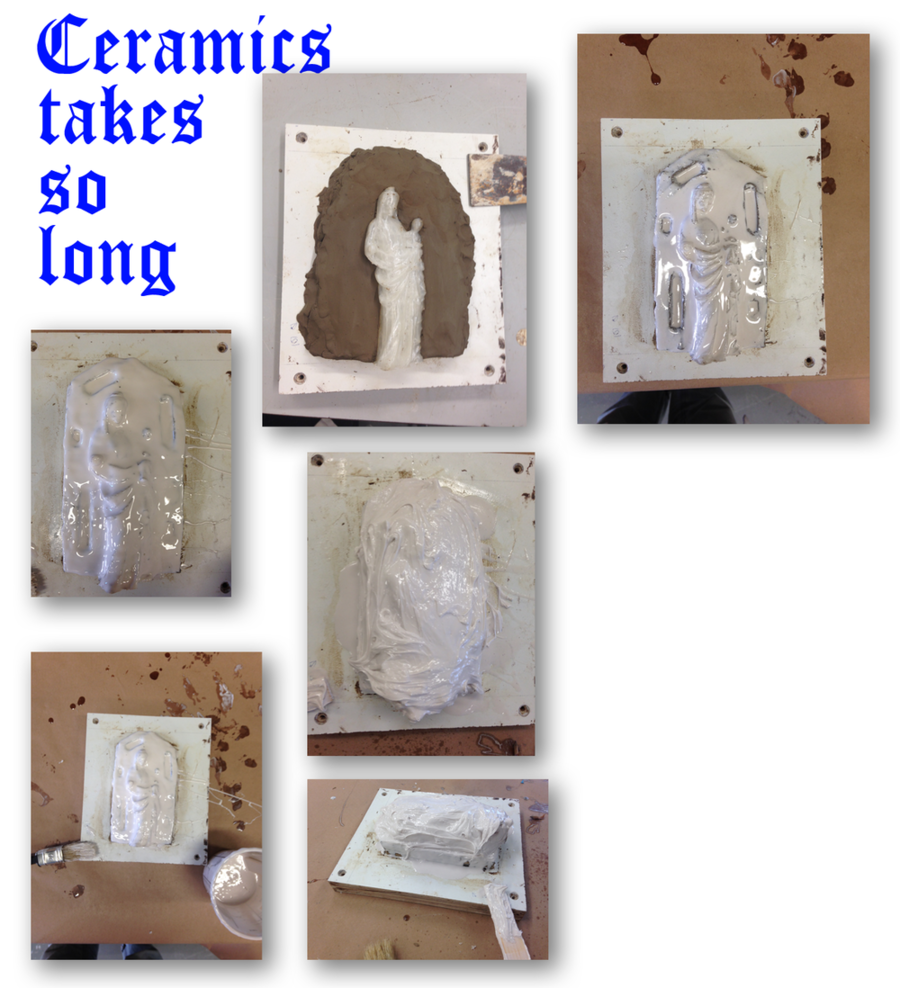
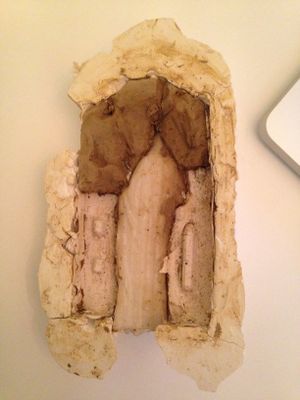
This type of mold making is quite satisfying, it's really easy and also very accurate. The down side that it is harder to make a 2 piece mold out of this... OH yeah, it reeeeaaaalllyyy smells :( The next most logical step for me was to go to Ceramics and ask/learn how to really make a mold. So i did, i knew i could use the vacuum sealer but the guy from the workplace said this wasn't the best way so he talked me into making a mold of fluid rubber. I started with this instantly. But i never could image it would take ages to do this.....
After finding out this would take ages i also started to stumble on another problem. This problem is called SCALE. Al the things i've been trying out for the past week were based on a very small scale model. But it wasn't really an option to just 3d print a model of 90cm, this would be very boring and not very interesting. At first i was kind of stressing out because i could not think of any ways to do something about this. Then eventually Tim asked; "Can't you just do it in a lower resolution?" and then thing took of in a different direction.
LOW-RES
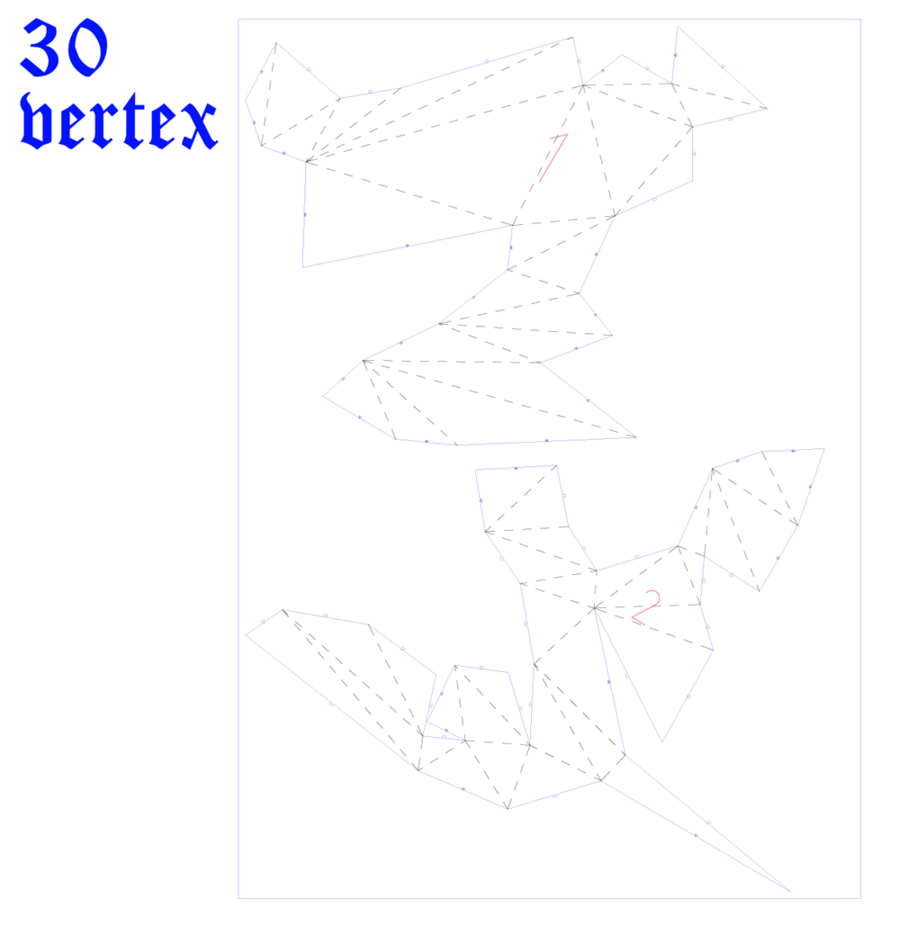
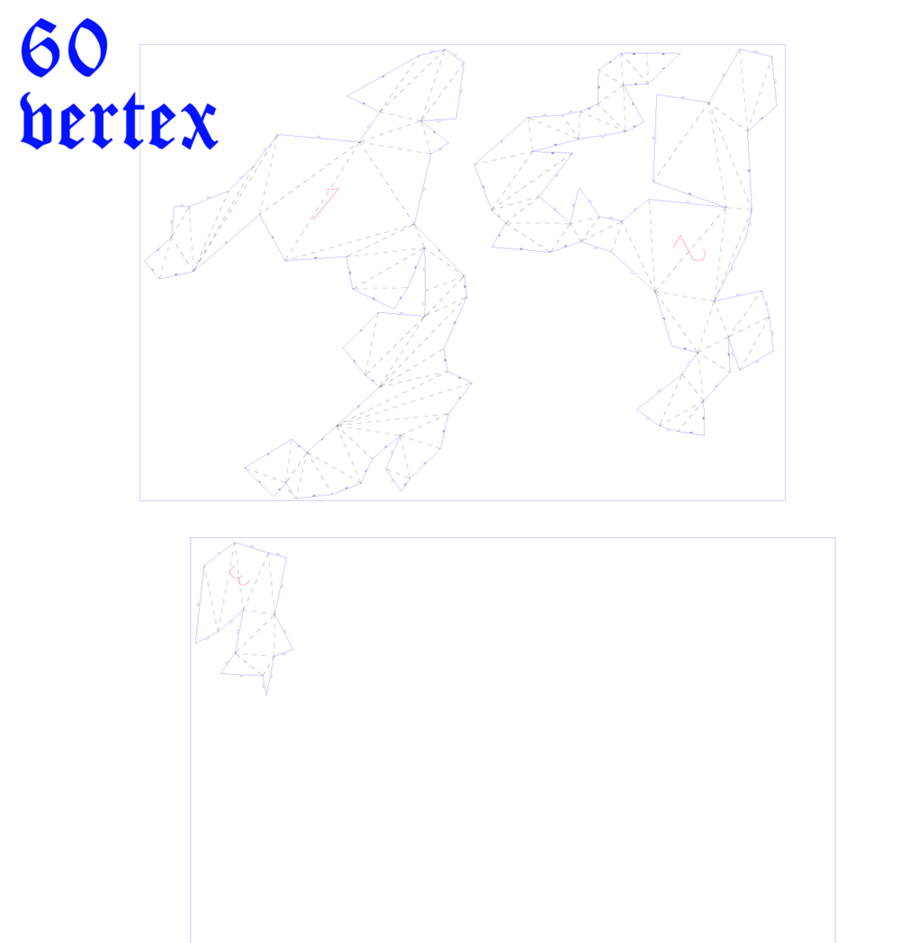
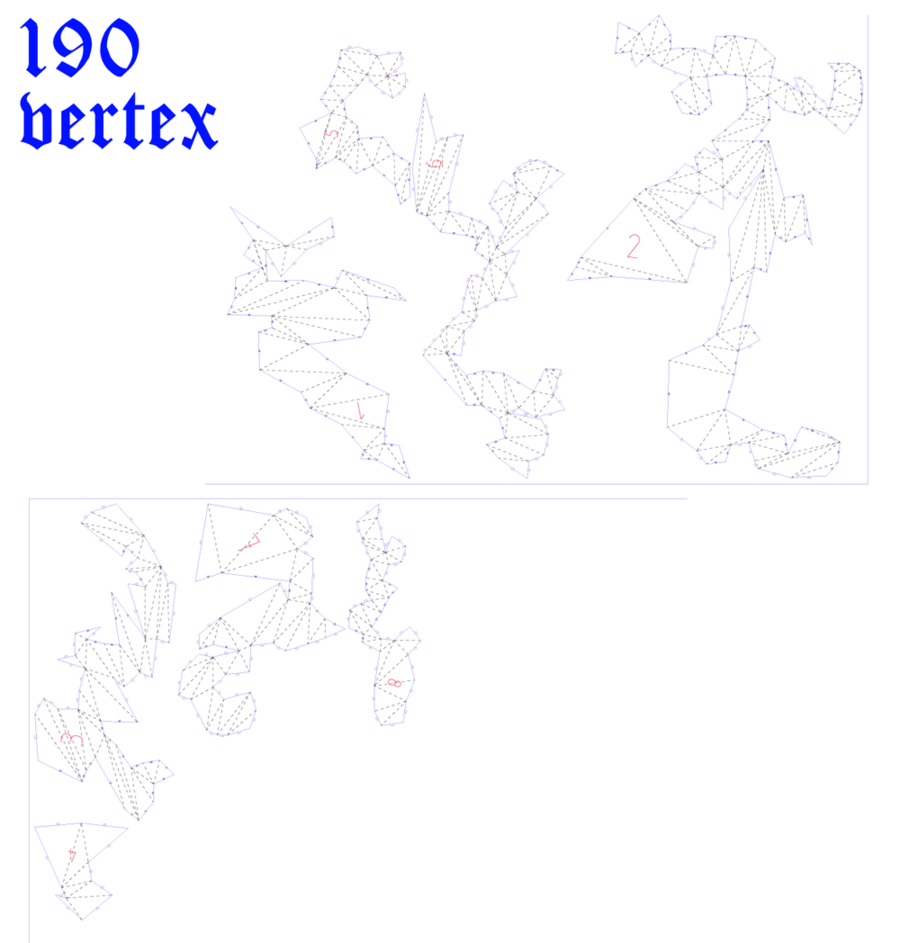
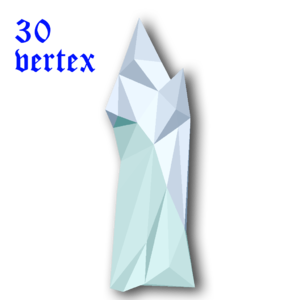
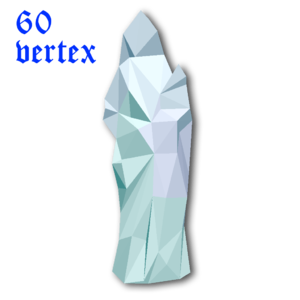
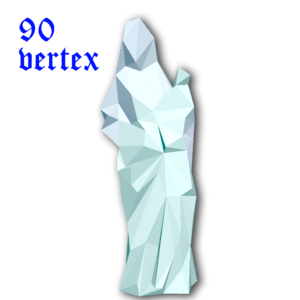
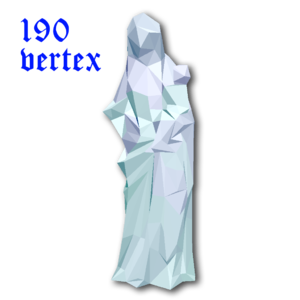
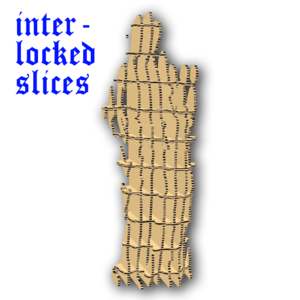
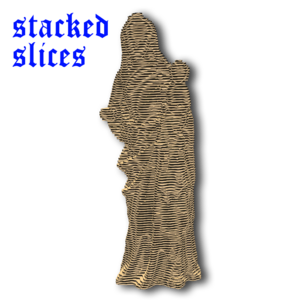
So the longer i thought of scaling up and turning the resolution down the more excited i got. In my research proces i came across a programs called 123DMAKE] which was perfect for the next step. This program can turn your mesh into a low res 3d modelkit. You can choose to slice your model or you can choose the fold your model. I choose to fold it. With this option, your 3d model wil be converted to polygonal shapes which are easy to fold. You can also can play with the resolution by changing the vertex count. I figured that i wanted to make more then 1 models so i prepared 3 different vertex counts and printed them out on A1 paper.
With 123DMake you can also generate other low res shapes. The program is made for a diy approach which is great for met because i'm very much is DIY-er myself. I think it is imported to really do thing to learn more about them.
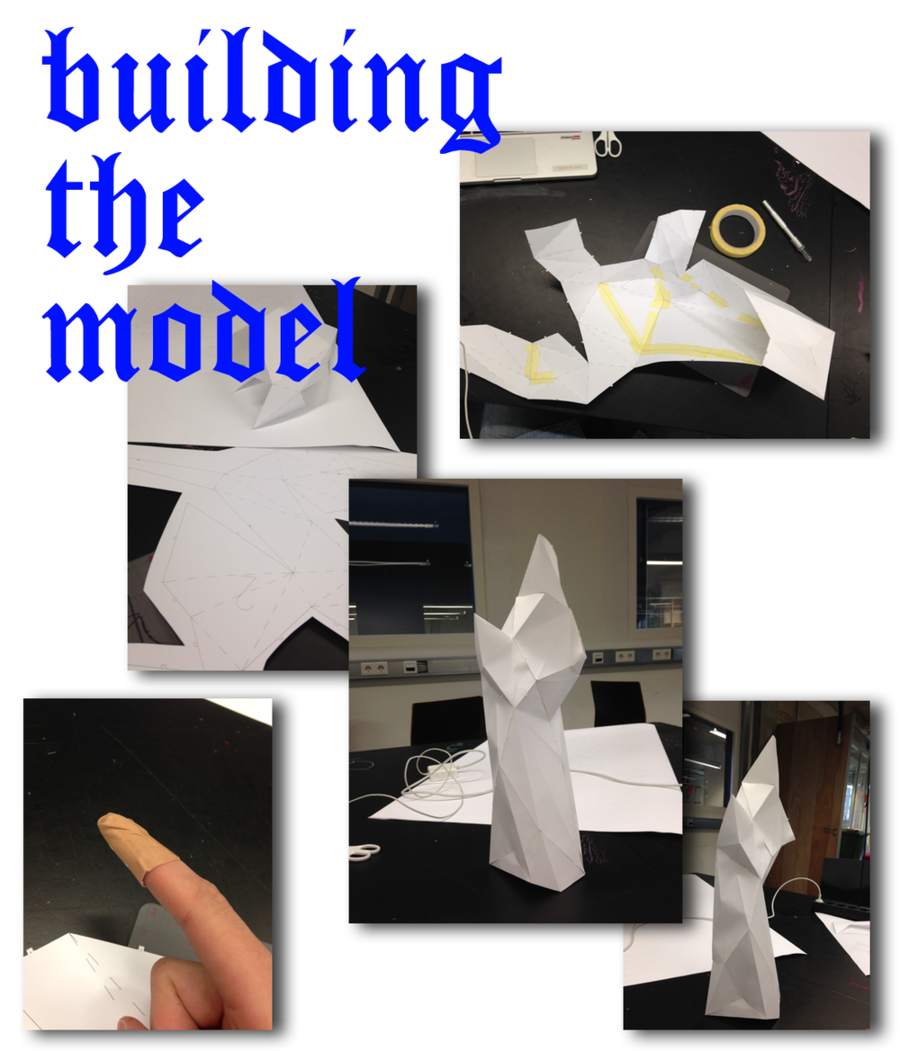
Once i printed the models i started with the model with the lowest vertex count.
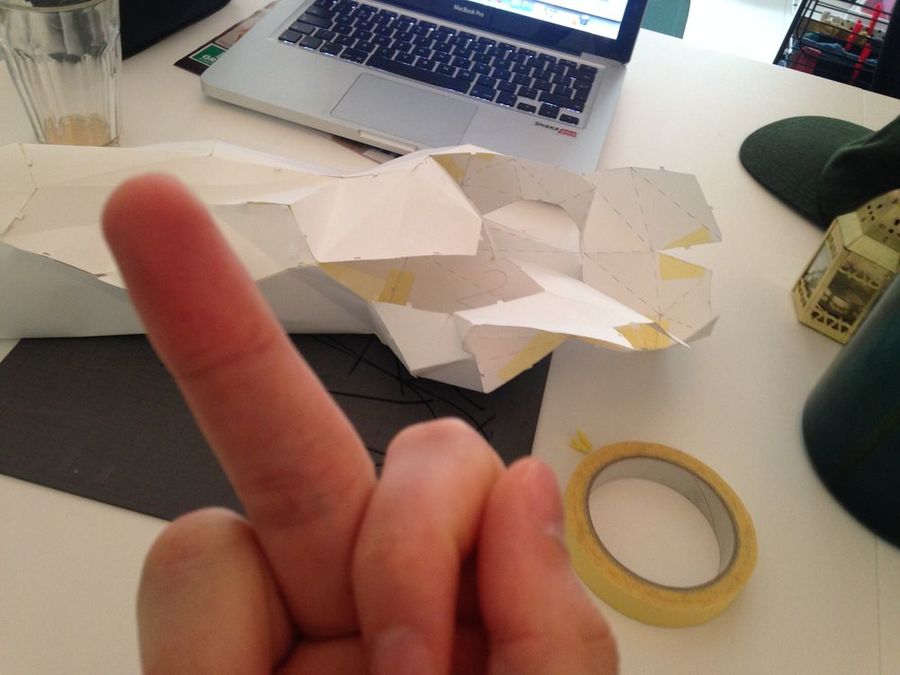
What is did not expect was that is would take a lot of time to build these things and this was just the easiest(!?) In the end i wanted to be very precise so i took my time when i was cutting the prints. With the folding a felt that sometimes the paper wasn't strong enough... With this in mind a started with the second model with 60 vertex count. I worked the same way as the last one but with more detail it also gets harder to see where the piece fits in the puzzel. I lost about 3 days with the second model, i was very determined to finish it but i couldn't figure it out. Which was very frustrating!
Moving on
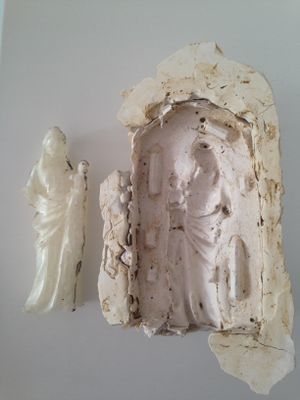
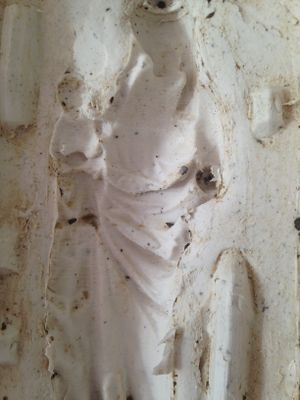
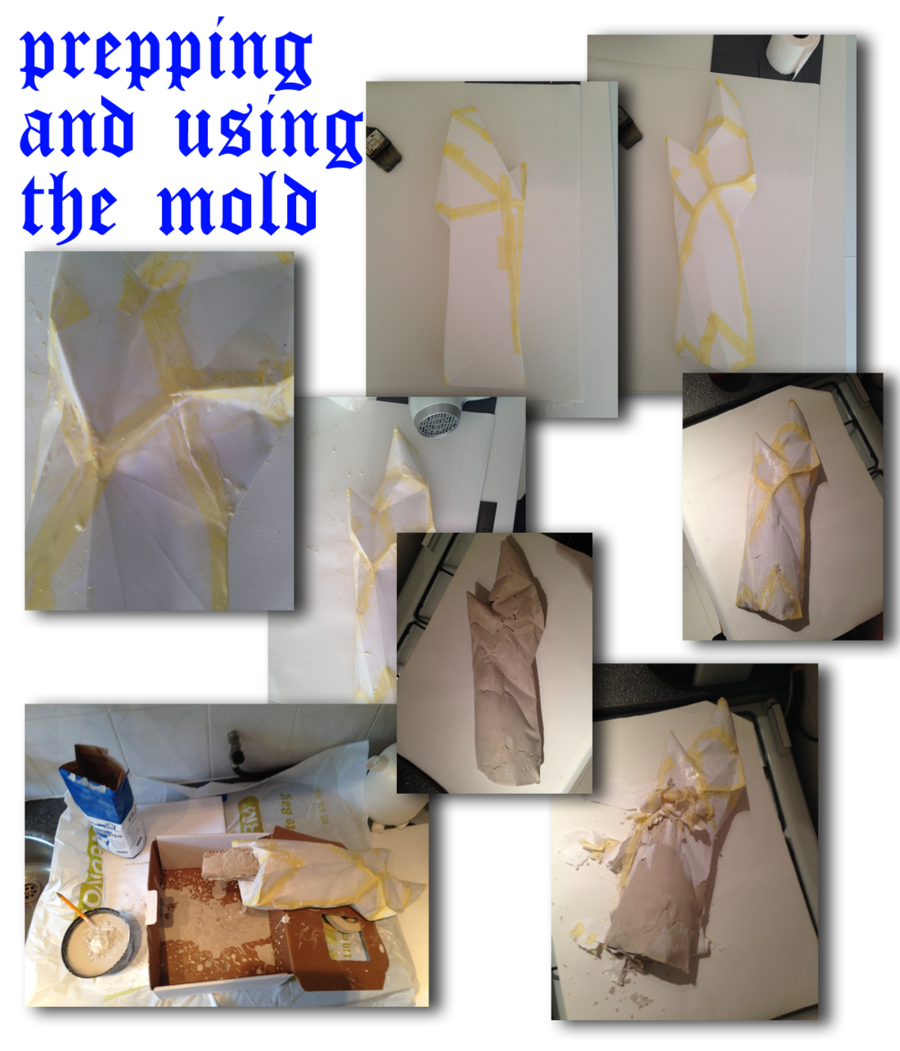
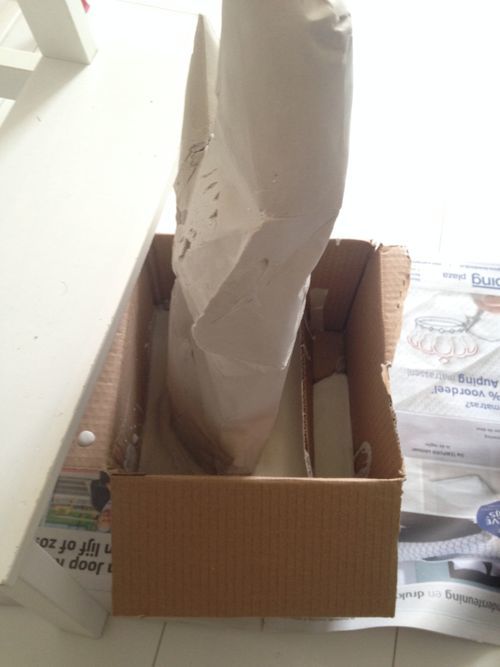
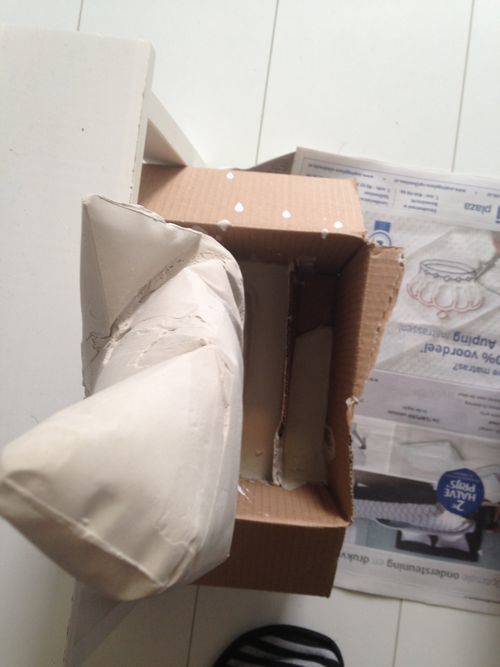
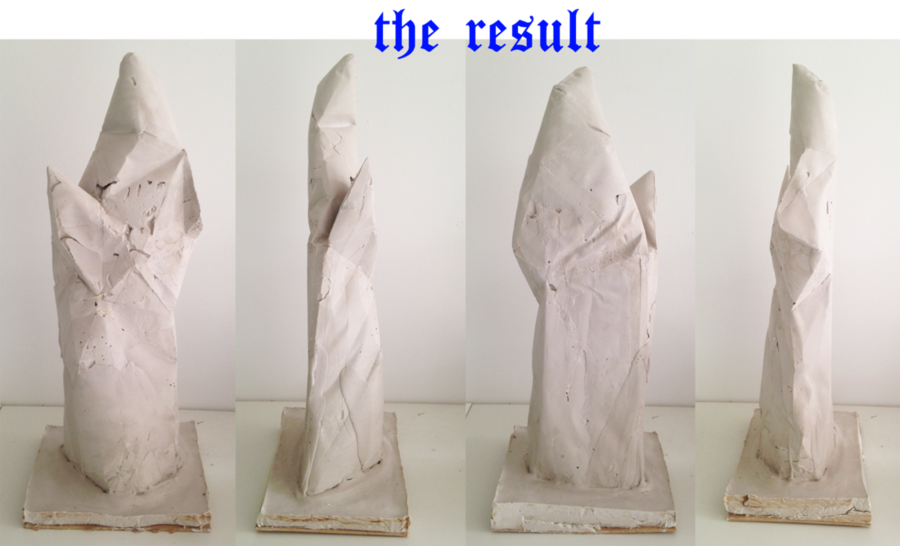
Along with the frustration on nog completing the second model also came time pressure. I've been building and trying stuf out for week but haven't thought of the transformation yet... I've made several thing that could work as a replica. The thing that was missing was a story. I went back to my research and thought of thing that could be told with the things i made. In order to tell this story if found that i needed to try te use the paper model as a mold. In the end this was the thing is was interested and this was the initial plan but i kind of forgot about it. So someone gave me a tip that is could use Plextol to make paper waterproof. I also purchase some latex early on in the proces which i haven't used yet. So i took the model with the 30 vertex count, which is a very interesting shape by the way. I taped al the seams of the model en then applies about 3 layers of Plextol on the model. This made the model indeed waterproof but it didn't made it more steady unfortunately. To really be sure i also applied the latex on the seams and soft spots. When everything was dry i started making plaster, which was also my first time. I figured i could just pour it in layer for layer. So in the end everything went quite wel. The paper was strong enough to hold 3kg of plaster so i was quite happy. When everything dried up it started to take of the mold, which didn't had to be used again so i could just tear it of. On some spots the paper and tape got stuck on the plaster but this wasn't hard to take of. The result is pretty cool, i couldn't actually imagine that it would look like this, what is a good thing in my opinion. I probably didn't completely mixed the plaster in the right way but i think the imperfections on the model are super nice. When it's standing up, you immediately get the feeling it is something holy or sacred. Which is also a good thing because i was afraid this wouldn't be the case. The only thing i'd had to do was figure out how it could stand up.
The Final low-res model
So after i completed al the steps above. I had this crazy plaster model of a low-res madonna. In able to present it proper i needed tot add a plinth so the model was able to stand up.
The Story
So as i introduced earlier, i needed to get my thoughts straight and figure out which story i wanten to tell with the object. I was thinking realy really hard of what story i should tell. The best that i came up with during the vacation was that the statue be a symbol for the dehumanization of society. But after the last talk with Tim if feel kind of stupid because that just isn't true. Society is getting harder sometime but not les humane. Still i stink that the statue is completely dehumanized. However this isn't the interesting part. I feel like there are 2 main things that are interesting to tell a story about in combination with the work. The first one is the fact that
