User:TimDemper/Fantastic forgeries
Contents
Fantastic forgeries
first idea
I want to make statues with damaged limbs and bodies.
They will be in a hyper realistic style so that every material will look like what it originally represented.
Skin will look like actual skin, cloth like cloth, and the damaged parts like blood and guts.
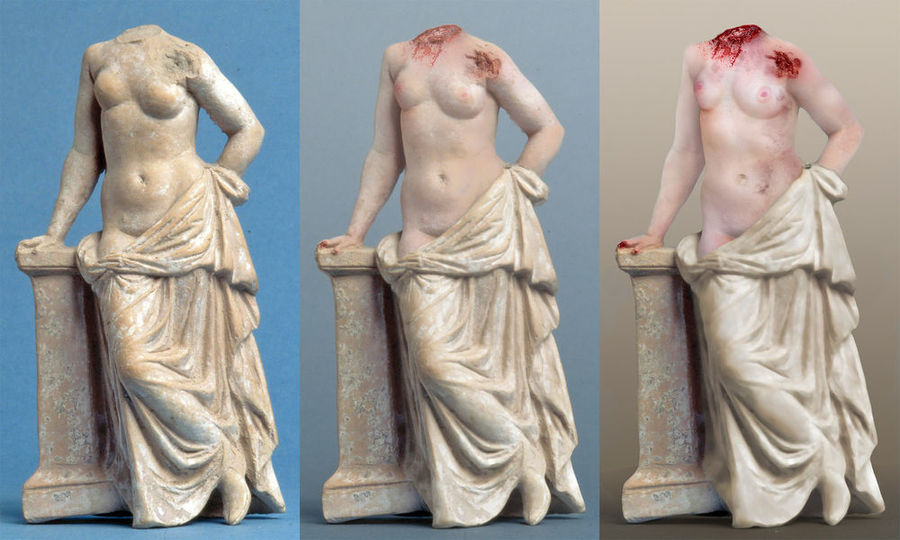
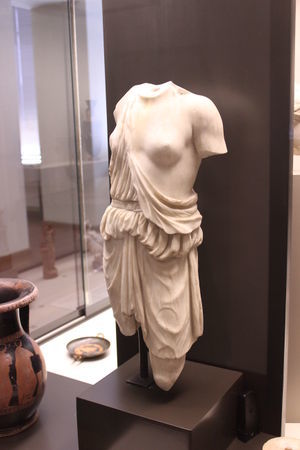
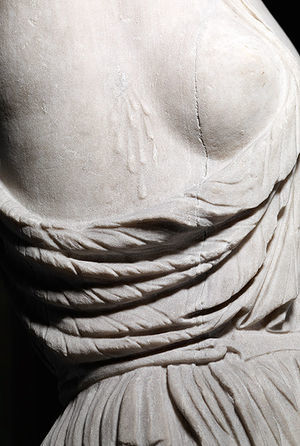
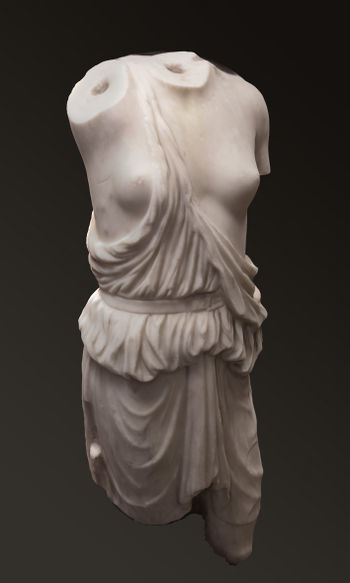
I have chosen a statue of a headless Aphrodite from the Allard Pierson Museum for now, but I’m not sure if I will use this particular statue in my final work.
As long as it is a statue with missing limbs I can work with it.
I want to work with Greek or Roman statues because I admire the craftsmanship that goes in to it.
They are mostly very detailed and precisely sculpted. It will be interesting to copy the sculptures because I may find out more about the techniques they used.
I want to work with damaged sculptures because I like obscure or dark artwork. And it interesting to imaganine how the sculptures would look if the broken pieces where actual wounds.
The statue I have now does create an interesting contrast because Aphrodite is the goddess of love and you see blood and gore.
I photoshopped the texture of a real woman and blood in the image of the statue:
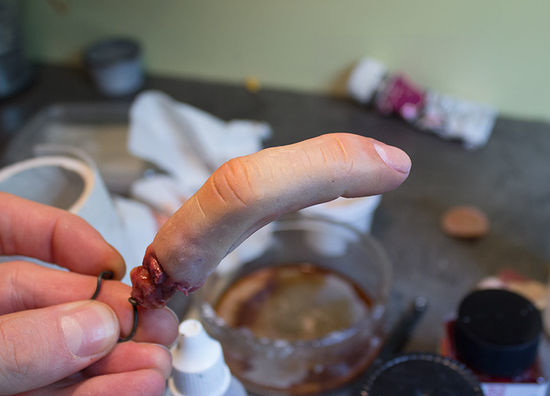
I also made a little material test:
Object
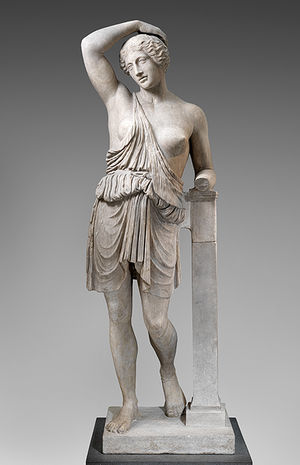
This is the statue I will use for the final work:
It's a marble statue of a wounded greek amazone. I chose it because it has a lot of chopped off limbs, exactly what I needed for my first idea. I also just liked the esthatical beauty and craftmanship of the statue. I didn't know quite what to do with the fact it was a female warior.
Discription:
Dit is de enige half-levensgrote kopie in marmer van één van de drie beroemde beelden van gewonde Amazones waarover Plinius schrijft (Naturalis Historia 34, 53). Er was omstreeks 440 v. Chr. een wedstrijd uitgeschreven om een beeld van een Amazone te maken voor de tempel van Artemis in Ephesos (aan de kust van het huidige Turkije). Drie beroemde beeldhouwers deden mee: Polykleitos, Pheidias en Kresilas. Van de originele bronzwen beelden is niets bewaard gebleven. Er bestaan wel veel levensgrote Romeinse kopieen in marmer. De Amsterdamse Amazone russte oorspronkelijk met haar linker arm op een pilaar en hield haar rechter arm omhoog met de hand op het hoofd. Een wond met bloeddruppels is zichtbaar onder de rechter oksel. Het zou hier kunnen gaan om een kopie van Polykleitos' beeld.
Pentelisch marmer, 125-150 na Chr. (inv. 491).
Picture of what the statue looked like when less damaged:
The wound on the statue:
source: http://www.metmuseum.org/toah/works-of-art/32.11.4
Scanning/printing
I first made a 3d scan of the statue. I tried 123d catch and agisoft photoscan. 123d catch gave a cleaner output in the end. But it was nice to also use agisoft photoscan so I could understand more of the technique behind 3d scanning with photos. In 123d catch you could only upload the photos and wait and in 123d catch you could change more parameters in the process.
A rendering of the 3d scanned object:
Then I thought about techniques to realize the 3d scan. First I thought about just 3d printing it. But It would take about 20 hours to print for a size of 18cm. I couldn’t get the object much larger and I want the object to be about 30cm or more. So I could print it in 2 parts but It would take even more time to print.
I decided to not 3d print it. I also don’t like the look of 3d printed object (plastic with ugly layers). I wanted to create the object by combining 3d printing with sculpting. I can sculpt very detailed objects, but I have problems getting all the proportions and the shape right. I could sculpt all the details (even the ones not captured by the 3d scan, by looking at the pictures or the real object). And use a 3d fabricating technique to make the global shape and proportions.
Test objects
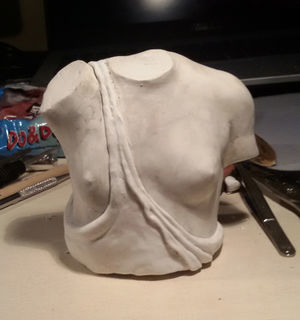
First I made a test object by sculpting it from a 3d model. I made measurement tools to get the shape of the top/bottom, left/right and front/back right. I choose to sculpt a female torso, because it is less detailed than the whole statue, but still has shapes that are difficult to make right without a good reference.
Then I sculpted the rest the rest of the statue by looking at the 3d model.
Final shape
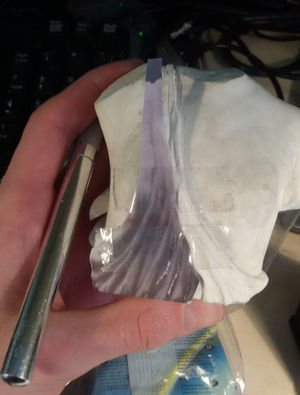
Translucent overlay for the skin
Final model
The 3d measuring tools worked okay, but i would be easier and more precise to have measurings from more angles or have a different technique. It became somewhat of a very sexual doll in the end. Kind of a modern version of the destroyed Aphrodite i wanted too use in the first place.
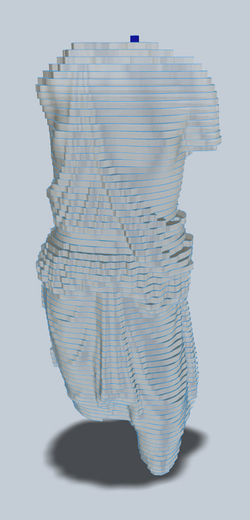
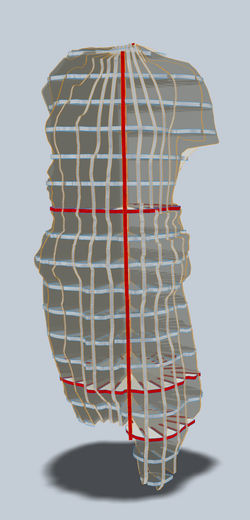
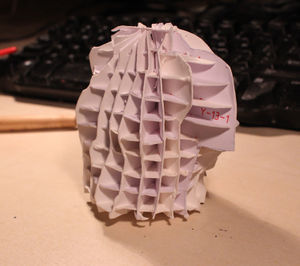
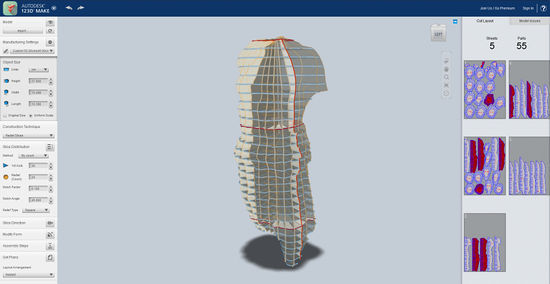
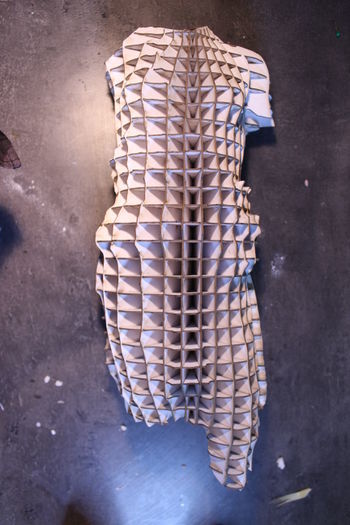
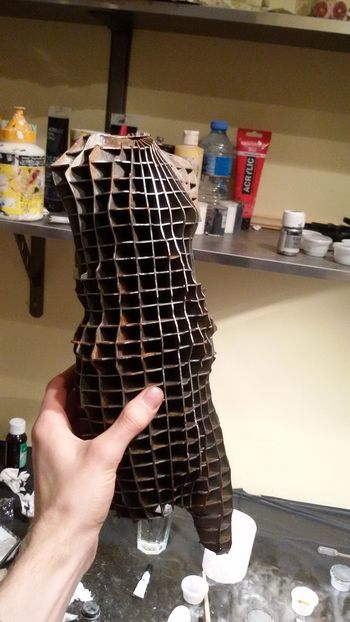
I wanted to somehow fabricate the object in 3d and than clay with a thin layer over the object to get all the details right. I found 123d make, a program which let you fabricate objects from various flat materials, like cardboard or wood. You can choose from different techniques. The layered slices and radial slices where the most usefull techniques.
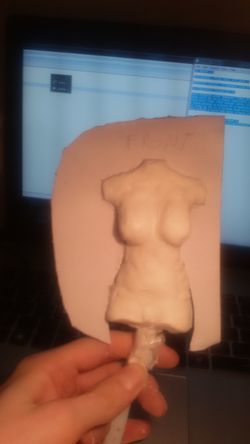
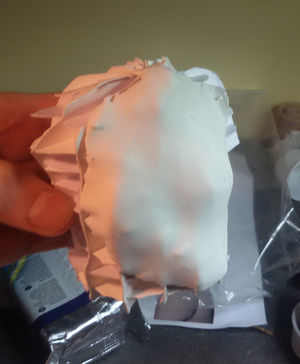
I think the radial slices technique is more usefull, because it will keep al the smooth curves better. I made a little test of half of the object and will clay over it to see if it works well.
The copy
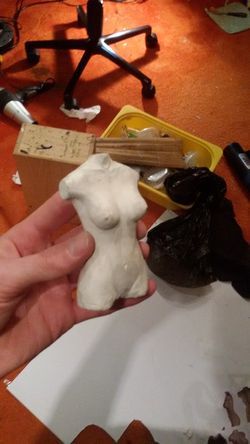
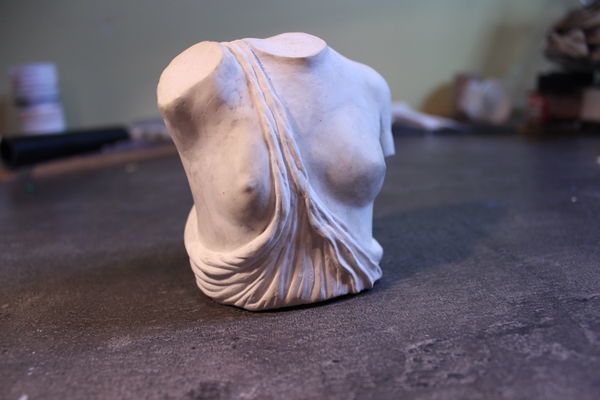
Initially just wanted it to be a little test and sculpt the final copy larger. The test looked good in the end and i wanted to focus on the interpretation. So the little test became the copy. The idea is that i make the inner structure with 123d catch so i have a good base to sculpt on (because the global shape is the most difficult for me) and sculpt in the details.
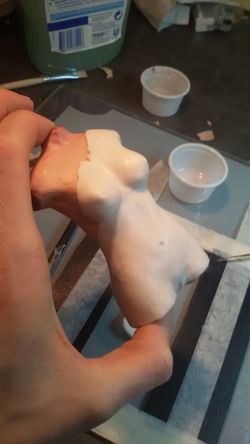
I first cut out and assembled the parts from 123d catch. Then i put an even thickness layer of clay over the structure.
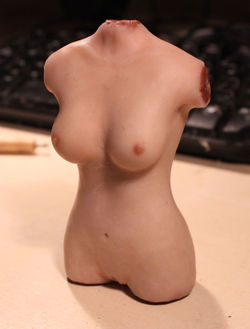
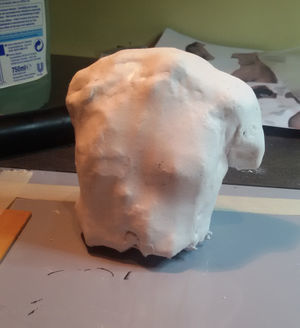
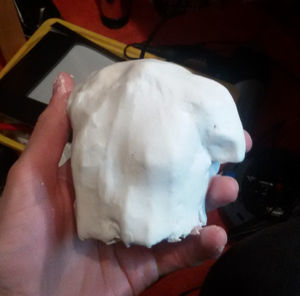
After the layer had dried i added clay where needed, and sculpted out the details with small files and knives. some parts i printed out and traced on the sculpture.
The final result.
The interpretation
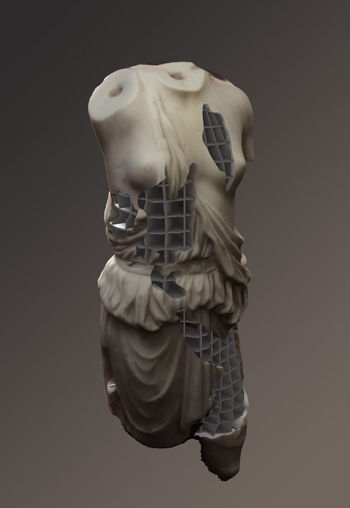
1st layer: metal structure
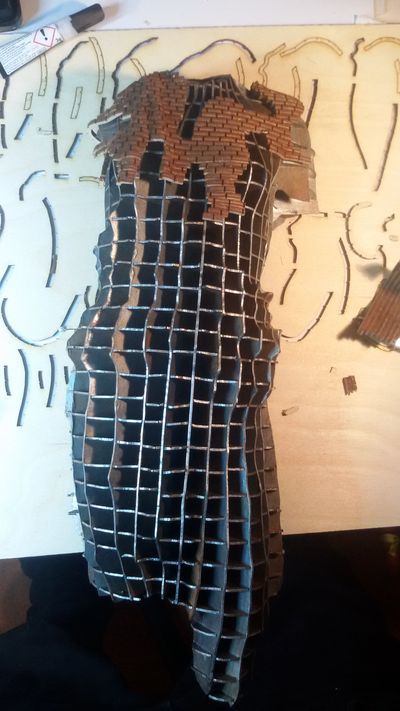
First i used 123d catch to create the structure. 123d catch was a simple and easy solution for this and it worked out great. I lasercutted the parts and assembled them. First i wanted to use this structure and used the same technique as the little copy to sculpt a larger copy of the sculpture with great precision. But the structure looked interesting enough to be a artwork itself, so i thought of a way to preserve the structure. i thought it looked like some kind of light and strong aluminium material they use in airplanes, or like a structure of a building. since i didn't wanted to throw my artwork from the roof i decided the structure of a building was a better idea. This was also relevant if you look at the history of the sculpture. The Greek and Romans where great at building complex and technical impressive architecture. This would be a scale model of a modern variant of complex and technical impressive architecture.
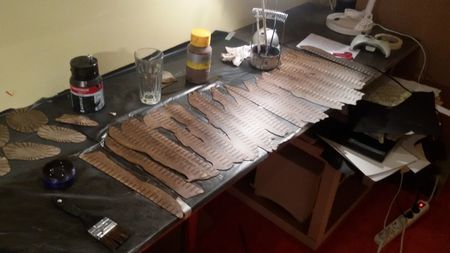
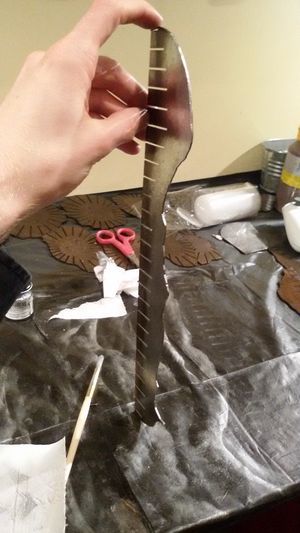
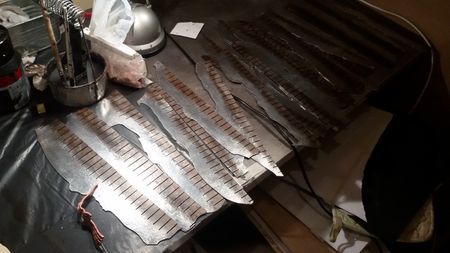
The lasercutting and assembly where easy, then i needed to paint about 5 layers of different paint to create the metal effect. A real pain with 55 parts, but the result looked good. I first painted on a dark paint, then high gloss varnish, then rub-able magnesium metal paint. then another layer of varnish, and finally a few layers of rust with pigments.
3d sketches
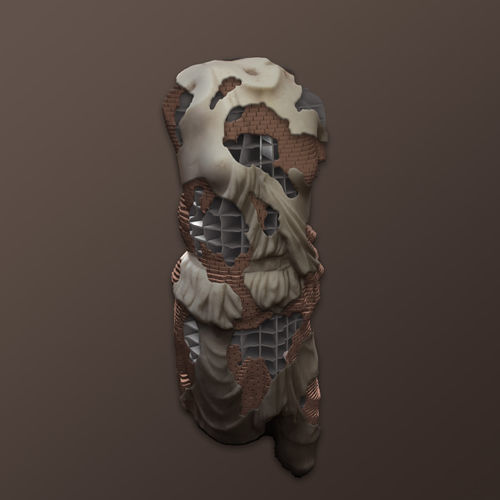
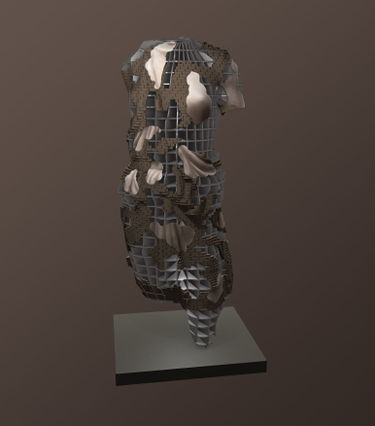
These are 3d sketches i made for the statue. I used blender to render the model from 123d catch grasshopper. Then i used photoshop to make the marble overlay.
I may be adding a pre war rendering but i don't have any time left.
2nd layer: bricks
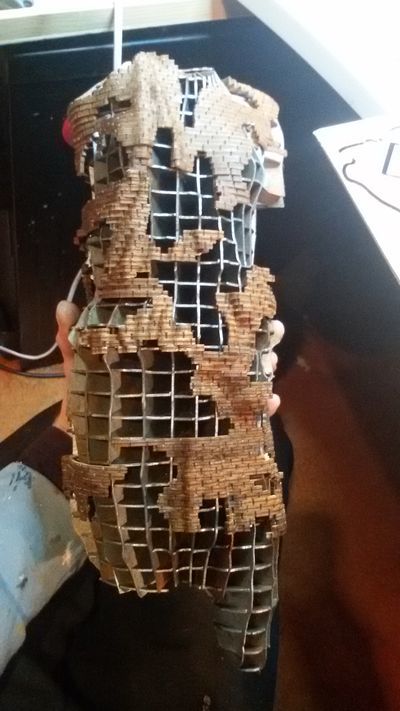
Then i thought of a way to preserve the inner structure, while still creating a building out of it. i thought about a transparent layer so you could still see the structure, but this was not so interesting and i couldn't find a way to make it digitally. Then i came up with the idea of a destroyed building. I like obscure things so it could be some kind of post apocalyptic/post war statue. Destruction makes also historically sense, because the original sculpture is a sculpture of a damaged amazone(wounded), and the sculpture is damaged. Also amazon's where female warriors, so it made sense to make a post war statue of it. Then i looked at how buildings or statues are made and found out that there where a lot of different ways. But they mostly had a metal structure. Because there where so many different ways i just used what seemed logical and interesting for me. The three layers will be: Metal structure, Bricks, Marble (actually some kind of malleable cement/clay that looks like marble because else the inner structure would be useless, and this kind of huge sculpture is almost impossible to sculpt from real marble).
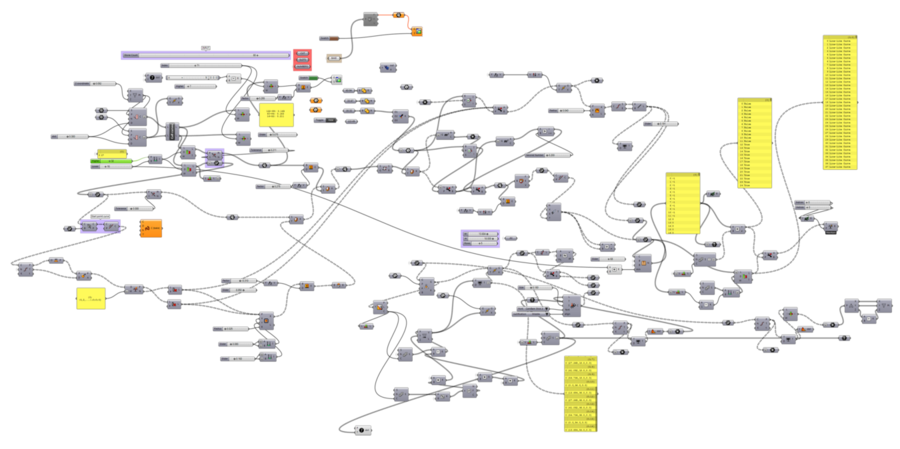
First i didn't wanted to use grasshopper for the inner structure because it was to complicated for the time we get for this assignment. and of course because there was an easier option, 123d catch. But i gave it a try for the second layer to make the bricks in grasshopper and laser cut them layer by layer. It was indeed not easy, especially because the help files and information where limited. And there where some strange bugs and things you had to do on a different way then what seemed logical to make it right. But luckily i could already program, so it was doable, it is basically programming but then connecting lines instead of typing.
summary of what the script does:
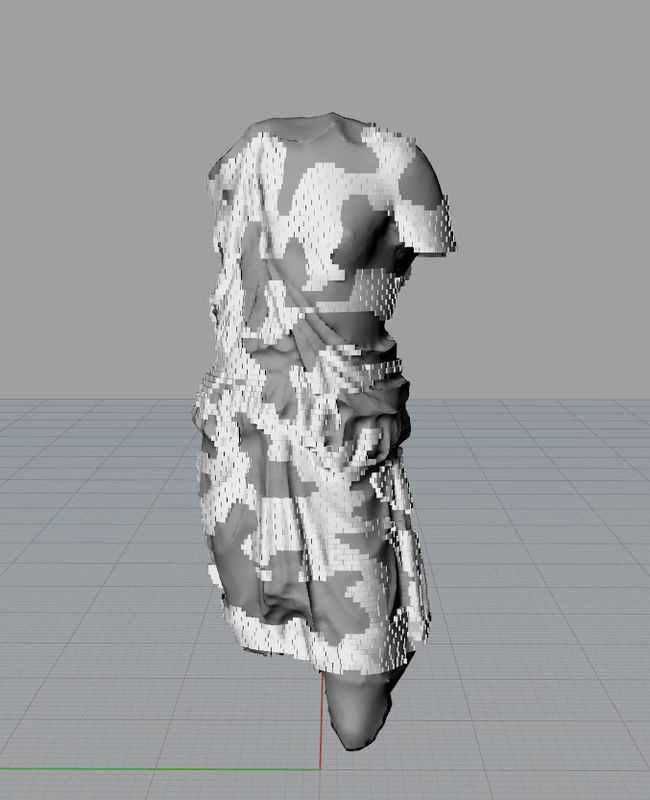
First it makes layers of stacked curves from the 3d model.
Then it cuts out small rounded rectangles for the grooves of the stones.
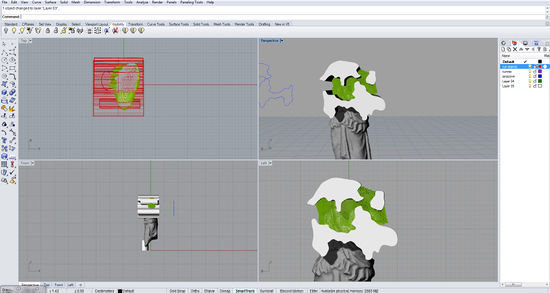
Then it the holes are cut out with cutting objects.
Then the layers are converted to surfaces and extruded(for baking)
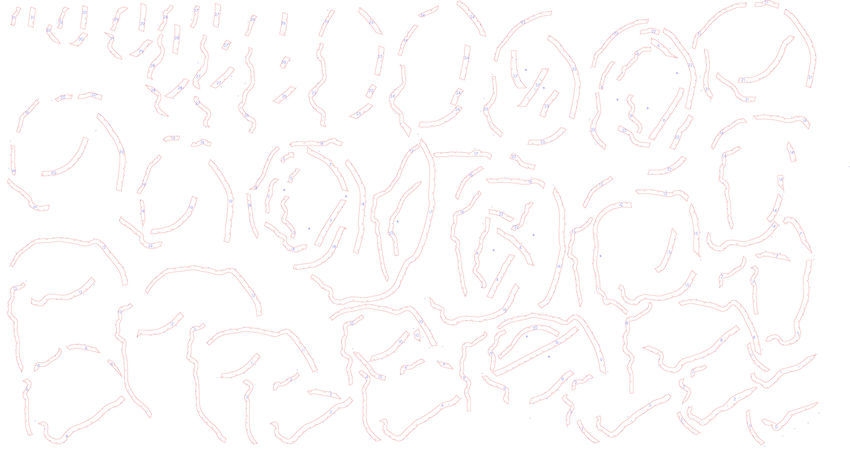
or the curves little lines of the grooves of the upper layer are added, so the positioning will be right when assembled, and the numbers of the layers are added. (for laser cutting)
The script: (click for full resolution)
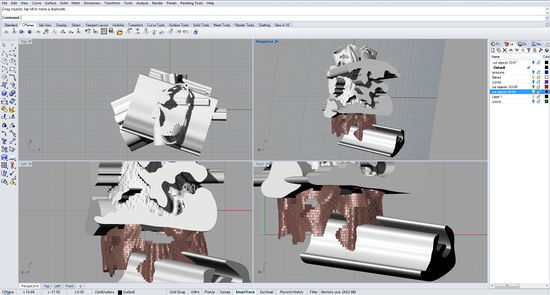
The cut objects for the holes are just extruded curves.
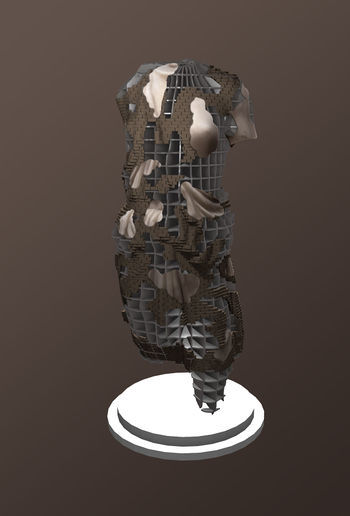
The final 3d model:
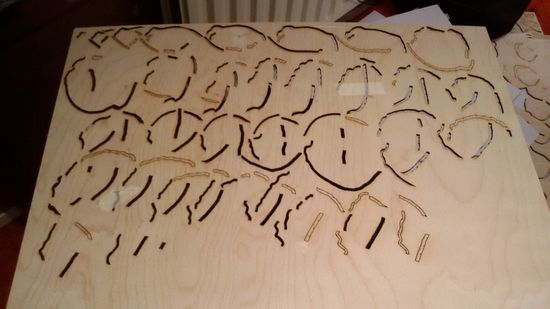
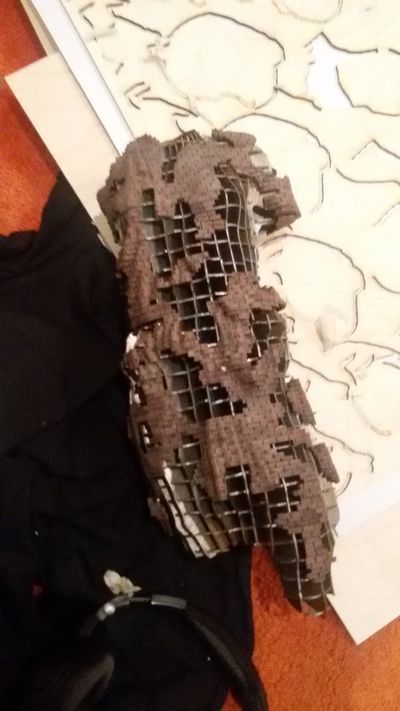
The file for laser cutting (edited a bit in illustrator so i would use less wood). And the cuttout from the lasercutter (Already used, but it's the only picture i have)
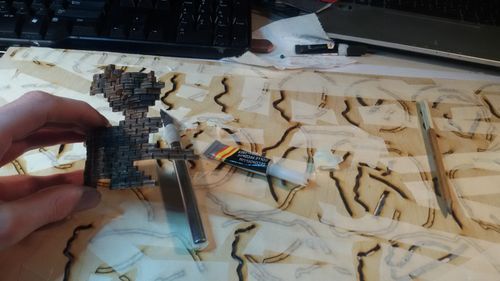
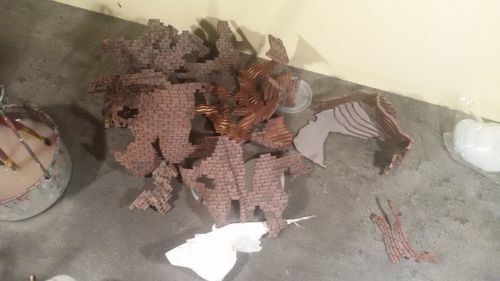
Then i glued them layer by layer, this was a pain because it just where way to many layers, and the super glue damps where bad. I luckily had an old cpu cooler fan lying around, so i put it on 12v so the damps where blown out of the window. Some parts where glued with hot glue so i could dissemble and paint it.
Painted pieces and painted final result:
3rd layer: Marble
The last layer is just clay, sculpted so it looks like it was once a marble statue. i maybe could have 3d printed them, but i wanted them to look like marble, not some kind of shitty plastic. This was also much easier. i forgot to take process pictures so here is the final result:
Technically not very interesting, but it looked nice as finishing layer.
Marble plateau
Because it had only one leg, and 0 arms and 0 heads to hold itself in balance i needed to make some kind of plateau to attach it on. A round plateau would the most obvious because it is a shape used a lot in ancient architecture. A square just looked shit, and another fancy shape, like a droplet or an oval looked to modern for the statue. I first looked how all the shapes where in blender and created a few layers of circles. More than 2 looked to much like a staircase, so 2 was ideal.
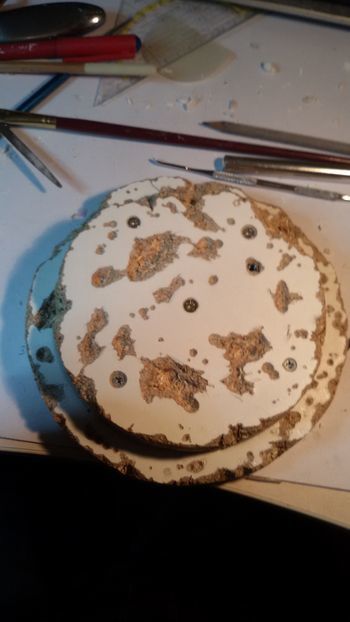
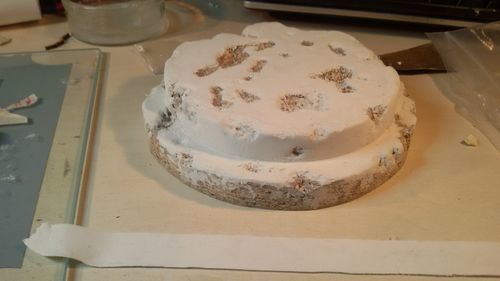
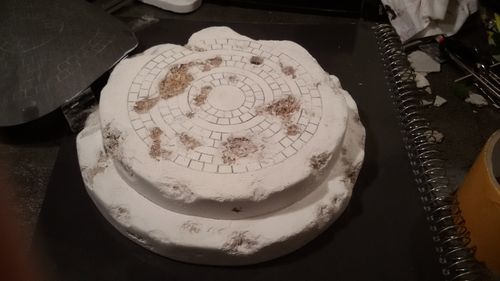
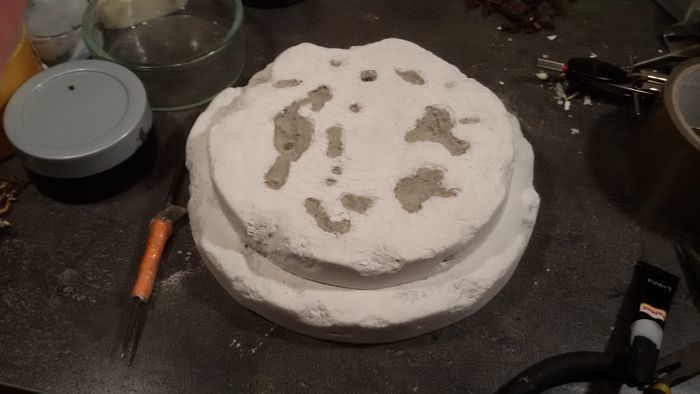
I sew out the shapes and made holes in the plates. Then i put on a layer of clay to make it look like marble.
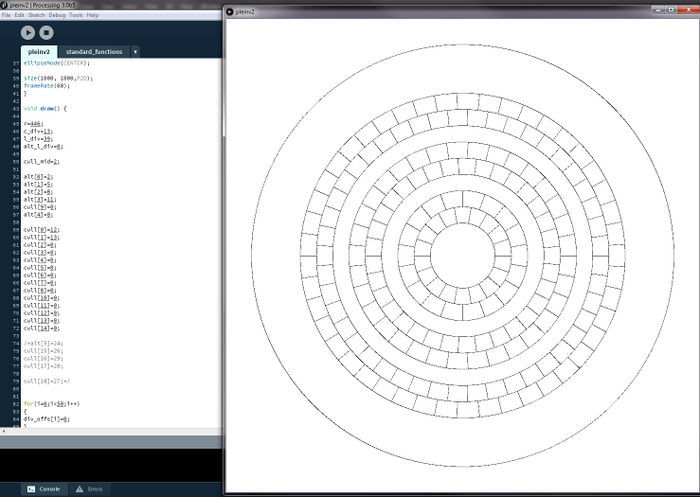
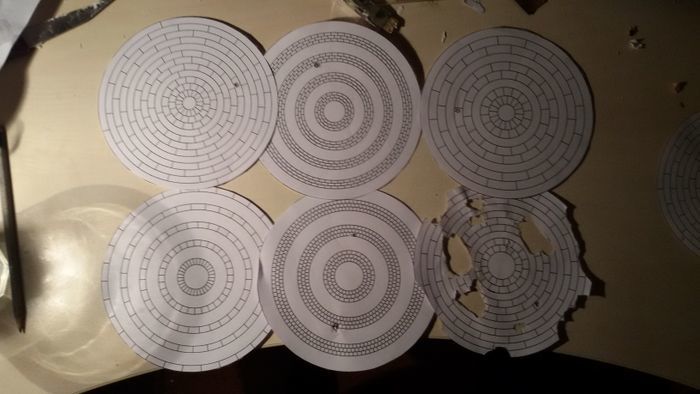
Then i thought, just a huge marble block would be boring, so i wanted to have some decoration on the plateau. A little script was the easiest way create the stones, because i didn't know what kind of stones would look best on the plateau. I first wrote it in gamemaker, but couldn't find a way to properly save the vector lines. Processing had an addon to export vectors to a pdf. I first wanted to lasercut it, so it had to be vector lines. i never really worked with processing, but the language was almost the same as gml (gamemaker language). Processing had some advantages and disadvantages. gml is easier to write in, because you don't have to assign every variable, and some other things that where simpler. Processing has better performance and could export as pdf, another nice feature was the tweak mode in Processing, this way you didn't needed to script a slider for every variable. Not a really fancy code, and it had also no comments, but i didn't had much time left and it works.
The code:
The script in action:
I made a few alternatives and printed them out so i could lay them on the plateau to see what looked best.
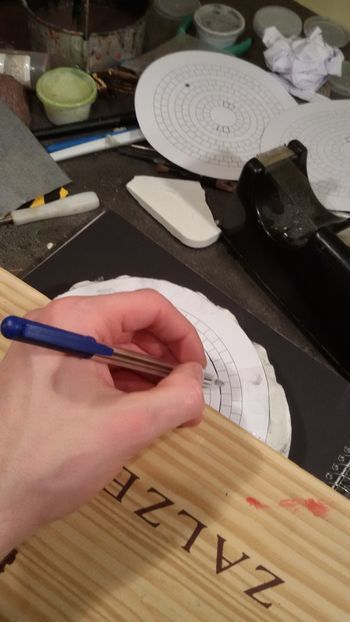
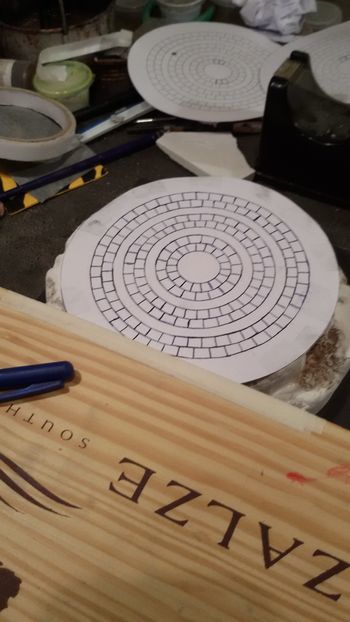
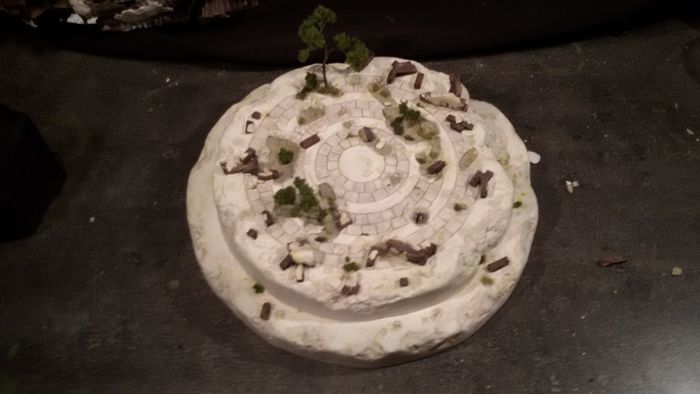
some where to complex or chaotic but in the end i chose a simpler version. i didn't had enough time left to make tests with the lasercutter. Lasercutting clay with holes is a bit troublesome, but could probably be done if i had enough time to make tests. The air dry clay burns well so that isn't a problem. I used a simpler method instead. I just printed the shapes out and traced them with carbon paper.
Then i engraved the the grooves with a sharp file. This was a literal pain to do, because i had to press the tool the whole time and my thumb hurted like hell. But the result was nice. You don't see much of it, but it will be visible again when painted.
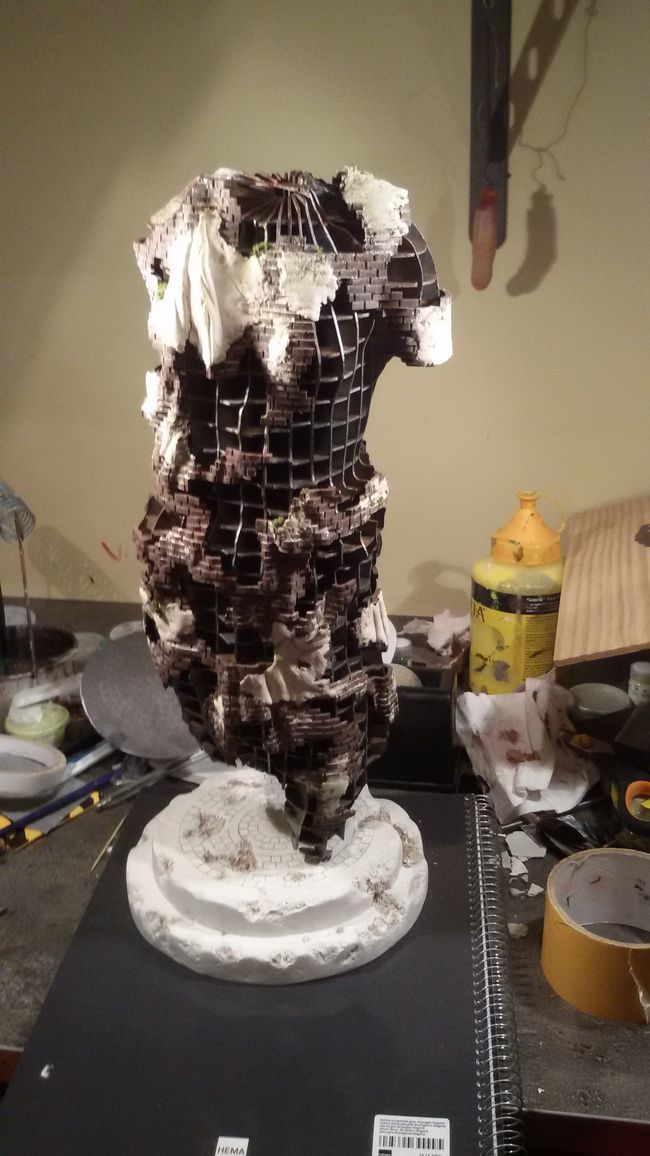
This is the final result, including some trees, vegetation and rubble.
The statue has a metal pin with screwthread in it so it can be screwed on and off the plateau.
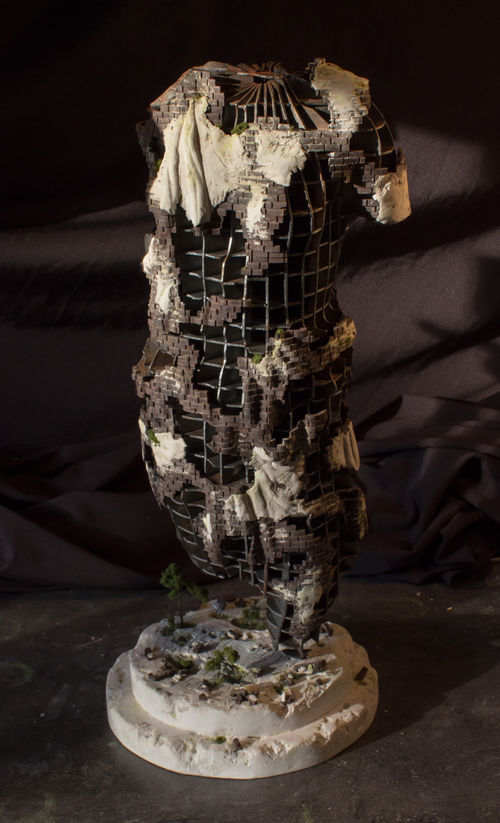
Final result
The end result is ruin of a statue that has been damaged by means of war. Humans have always been good at building great things, and building great thing to destroy them with. This is a statue made with modern technology and destroyed with modern technology. It is a statue of a once great warrior who has been wounded, sculpted, destroyed, build and destroyed once again, but is still standing.
Some facts on the statue:
(I didn't build it with a specific scale in mind but is is somewhere between 1:75 to 1:100)
Scale≈1:85
Height≈31.4 m
Brick height≈25.5cm
Brick width≈60cm
Plateau height≈1.70m
Time in ruins: at least 25 years looking at the corrosion and vegetation.
Destroyed by: explosives, nothing too extreme like nuclear blasts because the metal is still standing.
Reason of destruction: probably not a good enough reason to destroy it.
Reflection
I used a lot of different techniques and media to get to the end result. Some of the (traditional) techniques i already knew a lot about. But it was a bit different to use them in combination with digital techniques. i sculpted clay for example over a digital fabricated frame, and made a plateau of clay and made the stones with a digital print. I think both digital and traditional techniques has advantages and disadvantages. Digital techniques where great for building some particular (repetitive) structures. like the metal plates and the layers of stones. The metal plates would be a pain to make by hand and would never look so nice. The bricks are also very hard to make if you had to sew out every layer. There are of course other techniques to make bricks, just make them from clay for example. But it wouldn't give such a tight look. And the rhino script was probably more work than just sculpting all the stones. But i have the script now and could use it on any other 3d model so that's an advantage. However i usually make objects from scratch so i don't have a 3d model. For me it's a lot easier to just sculpt things than make it first in a 3d program, especially because i usually make a lot of organic or natural shapes. Fine structures like broken off rocks, small trees and fine organic surfaces don't have an good digital alternative. The 3d printers at school only create the shape of objects. 3d printing in color is possible, but is expensive. And there is a lot that could, and probably will be improved in the future. And of course there are other qualities of objects 3d printers can't make. Variable gloss, translucency, very fine structures, variable flexibility etc. Some shapes are on the other hand very hard or even impossible to make without a 3d printer. It is best for me to not only use 3d fabrication techniques, but mix them with traditional techniques.
Things i learned:
how to mix digital techniques with traditional techniques.
use 123d make
use 123d catch
use rhino
use grasshopper
learned more about lasercutting
use processing
