User:JeroenRijnart
Jeroen Rijnart | 0873511@hr.nl | Graphic Design
Making is connecting
This wiki is a work in progress
Contents
Why I am a maker:
I make because I like to visualize my imagination, I like to make something tangible. When I imagine something I try to imagine how it will work, what something will look like, but when I try to execute an idea I run into problems. For these problems I will find solutions. And while every solution brings me closer to realizing my ideas, they also mold my ideas, evolve them. Every problem solved is something learned, and with every solution I gain more insight on how something works and gives me the knowledge to expand my ideas.
Knowing what's technologically possible is important but relatively easy, I just have to educate myself about techniques and technology. But learning how to execute a technique properly or how to work with certain technology gives me the freedom to realize my ideas myself. Because the bigger my 'vocabulary', the better I can express myself and share my ideas and imaginings.
Creation should be shared, reaching other minds indirectly through it. I believe it to be human nature to feel the urge to exchange ideas, critique's and fascinations through more than just words. Sharing, so that others may build upon them. It's beautiful knowing that something that sprung from my imagination can find a place in someone else's, as other peoples work have found their place in mine. Building upon what's there, or breaking away from it.
I like overstimulating images, visuals and sounds, and I like to overstimulate other peoples senses. It makes me know I'm here.
Historical example: Etching
The technique
Etching is traditionally the process of using strong acid or mordant to cut into the unprotected parts of a metal surface to create a design in intaglio (incised) in the metal.[1] In modern manufacturing, other chemicals may be used on other types of material. As a method of printmaking, it is, along with engraving, the most important technique for old master prints, and remains in wide use today. In a number of modern variants such as microfabrication etching and photochemical milling it is a crucial technique in much modern technology, including circuit boards.
What I did
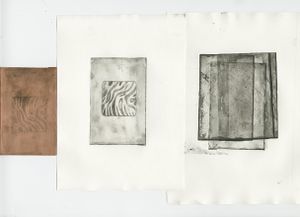
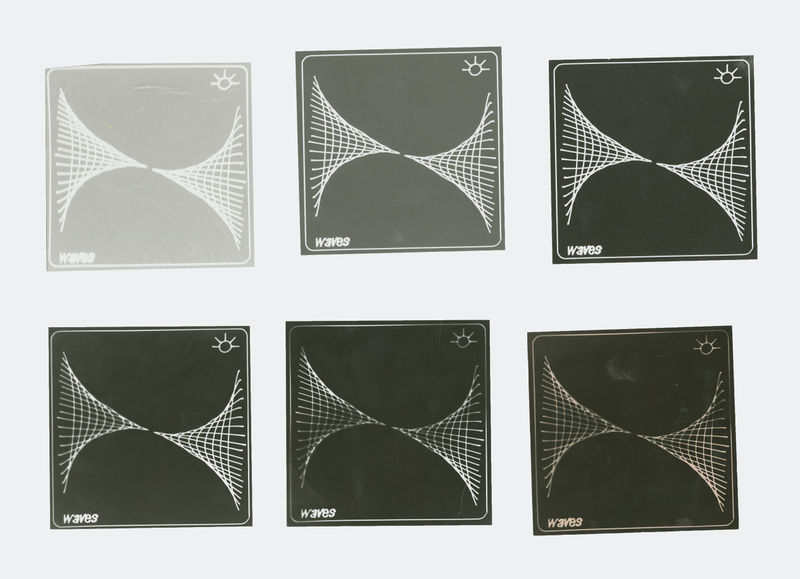
It turns out I'm not really good at drawing in copper. Although I like the textures you get from this printing technique, so I printed the backside of my plate a couple of times over.
Comparative example: Riso v Xerox
The techniques
Risograph is a high-speed digital printing system manufactured by the Riso Kagaku Corporation and was designed mainly for high-volume photocopying and printing. It was released in Japan in August 1986. Increasingly, Risograph machines have been commonly referred to as a RISO Printer-Duplicator, due to their common usage as a network printer as well as a stand-alone duplicator. When printing or copying multiple quantities (generally more than 20) of the same origin, it is typically far less expensive per page than a conventional photocopier, laser printer, or inkjet printer.
Laser printing is an electrostatic digital printing process. It produces high-quality text and graphics (and moderate-quality photographs) by repeatedly passing a laser beam back and forth over a negatively charged cylinder called a "drum" to define a differentially-charged image. The drum then selectively collects electrically charged powdered ink (toner), and transfers the image to paper, which is then heated in order to permanently fuse the text and/or imagery. As with digital photocopiers and multifunction/all-in-one inkjet printers, laser printers employ a xerographic printing process. However, laser printing differs from analog photocopiers in that the image is produced by the direct scanning of the medium across the printer's photoreceptor. This enables laser printing to copy images more quickly than most photocopiers.
What I did
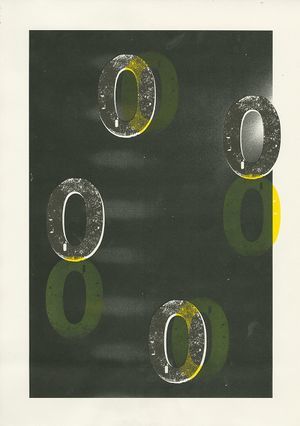
I printed a black analog photograph with a Xerox laserprinter and printed black en yellow zero's over the prints with the risograph. The difference in printing techniques is especially evident when you compare the blacks.
A new skill: Photogram as a reproduction technique
The technique
A photogram is a photographic image made without a camera by placing objects directly onto the surface of a light-sensitive material such as photographic paper and then exposing it to light. The usual result is a negative shadow image that shows variations in tone that depends upon the transparency of the objects used. Areas of the paper that have received no light appear white; those exposed through transparent or semi-transparent objects appear grey. In a darkroom, or a darkened room, objects are arranged on top a piece of photographic material, usually photographic paper. When the operator is satisfied with the arrangement, the photographic material is exposed with light, usually by switching on an enlarger or other artificial light source. The material is then processed, washed and dried.
What I did
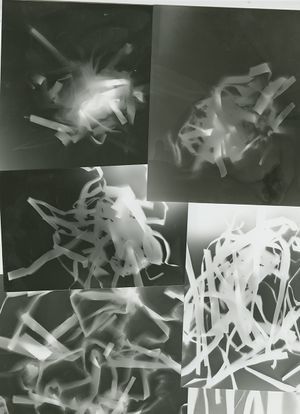
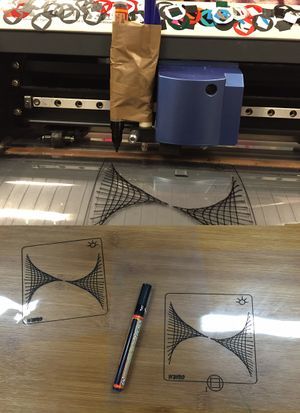
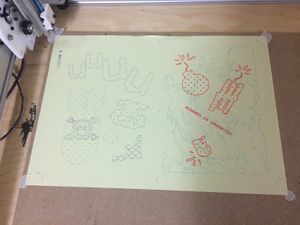
The first photograms I made where made with cut up paper, the images produced were chaotic and expressive, it was almost impossible to make the same image twice. After that I made a stencil using transparent paper, an acrylic paint marker and a plotter so I could transfer my design to light sensitive paper. Using the lights provided in the dark room resulted in a very clean print, so I started to use a lighter to expose the paper for a more blurry effect.
Pushing a technique to the limit: F*cking up the paper feed
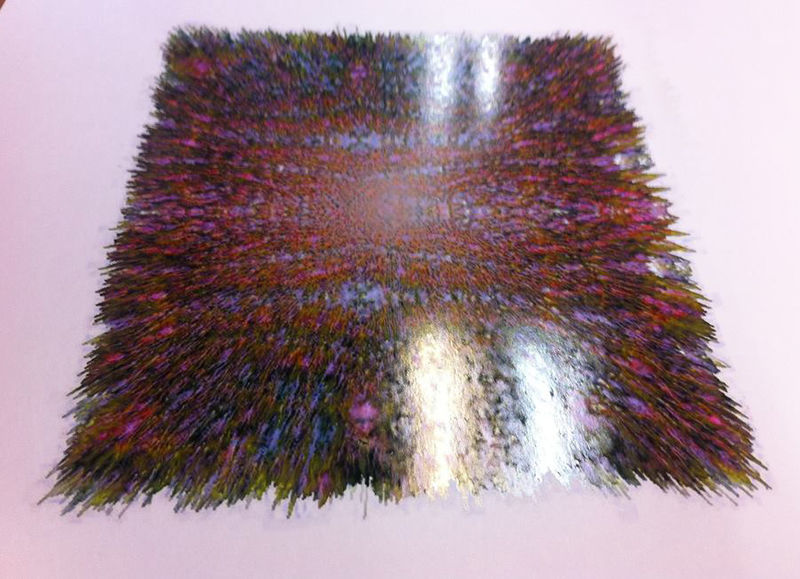
I once found out, through no fault of my own, that when you load up lustre paper the wrong way around the ink will still be wet when your paper comes out of the printer. The paper will in fact slowly absorb the ink as it dries and transform the image. The drying will take several months and as a result the image will slowly change. The image I printed was something I once made using processing, I was curious to see what would happen to it.
Indianen workshop
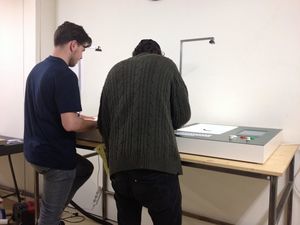
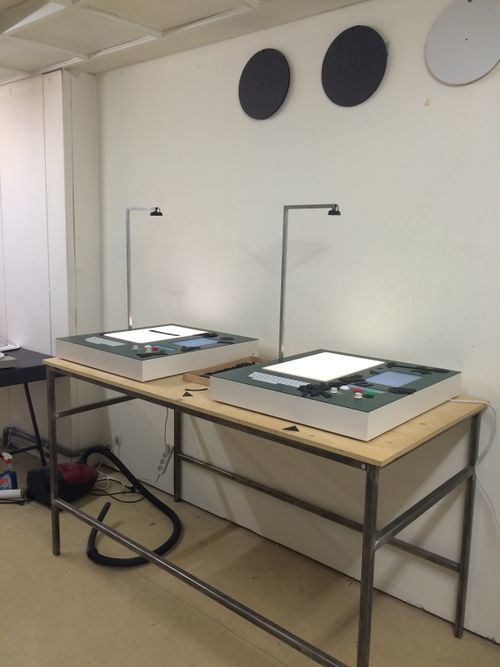
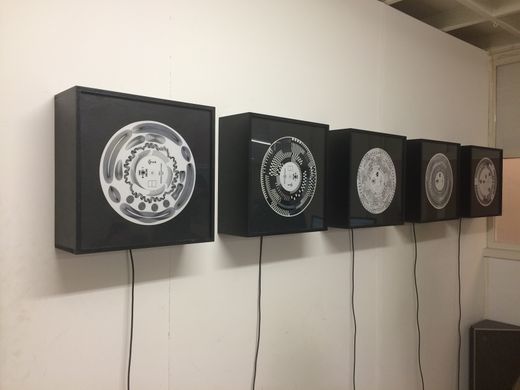
The Indianen workshop was really cool, the longhand publisher which was supposed to impose restrictions upon the user still gave a lot of room for experimentation. The Evil Eye project is also really cool. Paper records which you can only play with the Evil Eye optic laser is a really nice idea on its own, but the fact that you can position the laser yourself to play the part you want to play makes it extra fun.
(digital_input) CONTROL: Making posters with video feedback
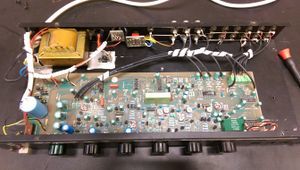
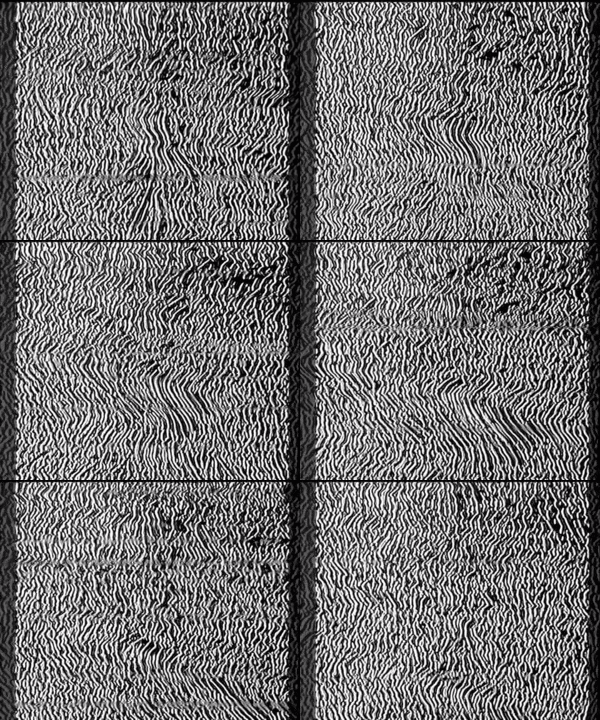
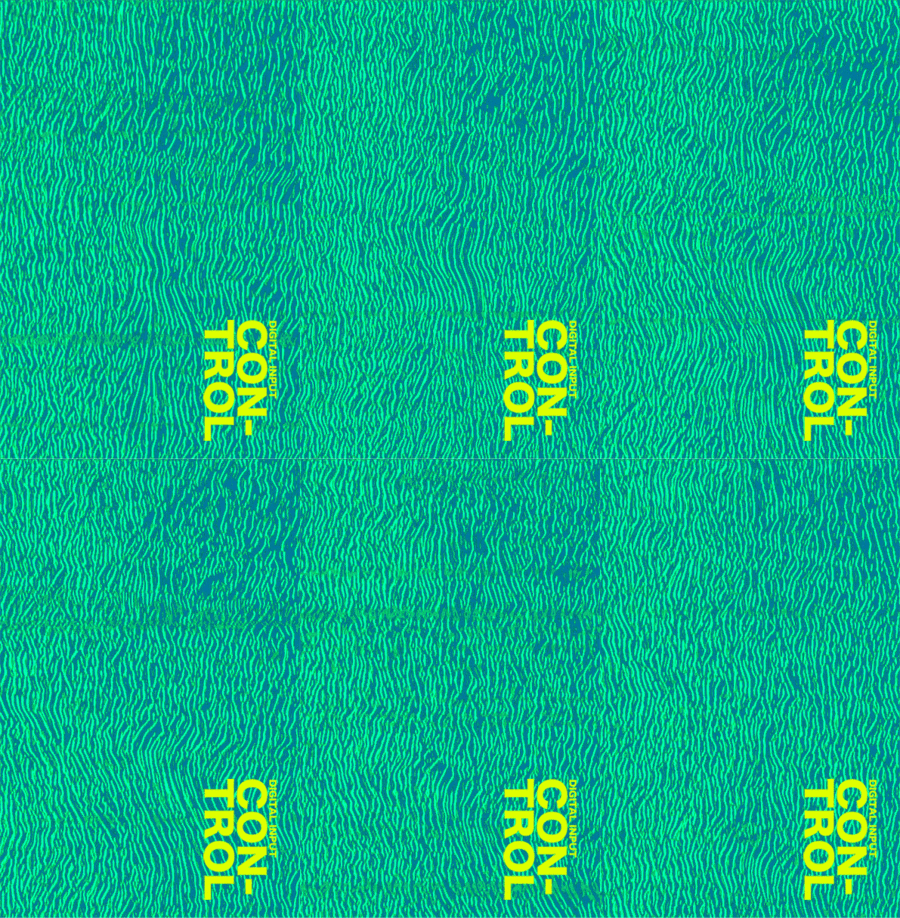
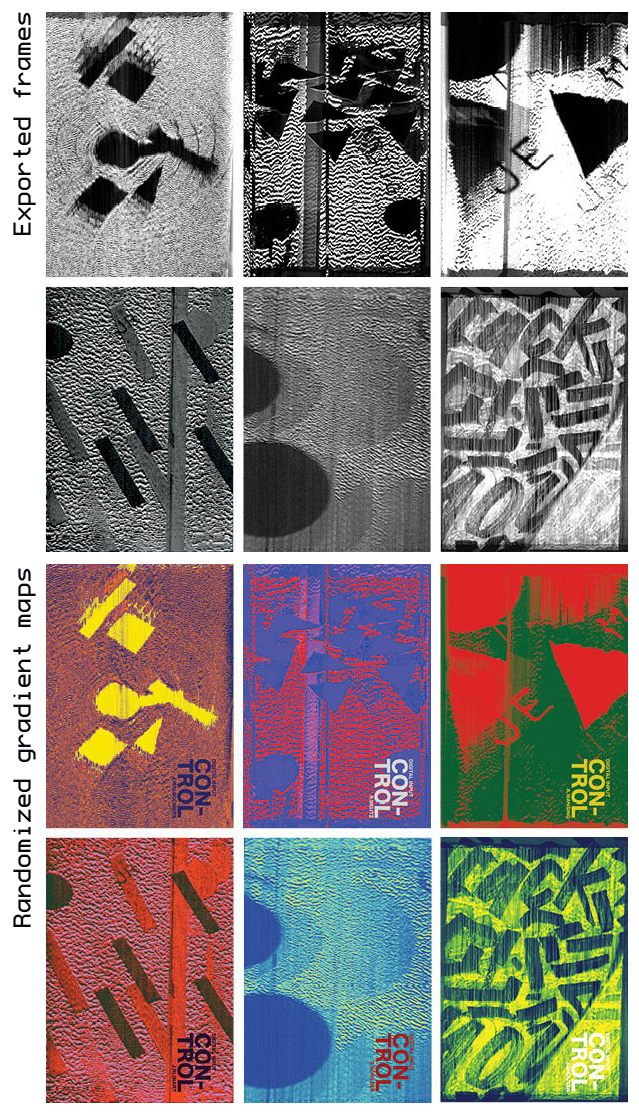
I wanted to build my own system for creative experimentation and esthetically pleasing end results, so I made an installation that consisted of a video feedback loop and a videoprocessor I once modified. I hooked it up to a computer and made other students make designs on translucent paper with stickers of geometric shapes and letters. The translucent paper was to be held between the camera and tv-screen in the feedback loop so it would be distorted by the videoprocessor, all the while the footage was being digitized and recorded onto a computer in Adobe premiere. I would then export a frame from the recorded footage and load it into Photoshop where I would apply a random gradient map. The idea was that the translucent paper would be taped to the screen but the first student already started experimenting with folding and moving his design in front of the camera, the last student to participate used a marker instead of the stickers I gave him to make his design. The result is a series of abstract posters. I named the project (digital_input) CONTROL.
