THE CONCEPT
Aaron Boot
Spatial Design
aaron.boot@hotmail.com
0890035
Image ONE (the moment I knew what I wanted to do)
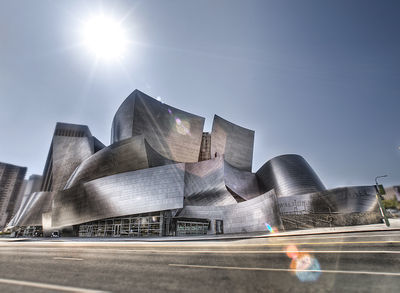
The Walt Disney concert hall - Frank Gehry - 2003
I love to make sculptures but Frank Gehry has inspired me to choose for Spatial instead of Autonomous because he make sculptural buildings with a lot of movement and energy in it. Truly fascinating in my eyes.
Image TWO (my background)
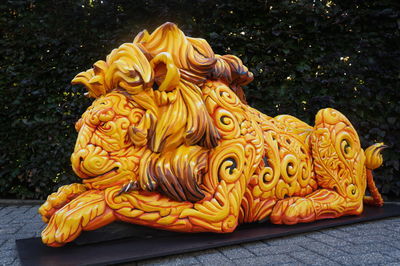
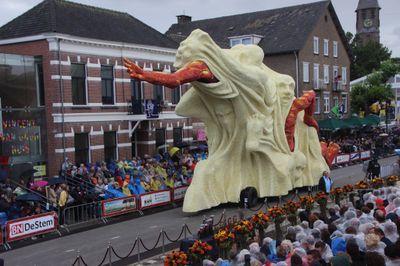
My creative background has deep roots by the flower parade from Zundert(biggest dahlia corso in the world) I have build the floats for over 9 years but since last year I am a designer of one of the twenty floats. Here you see the maquete for this year and the full scale float from last year.
Image THREE (topic of interest)
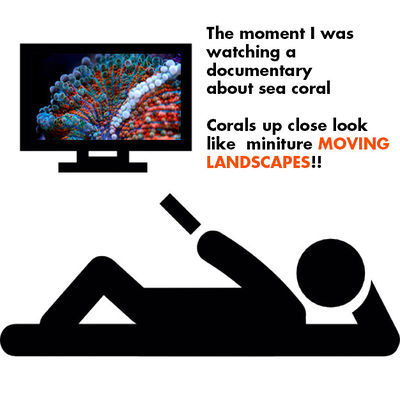
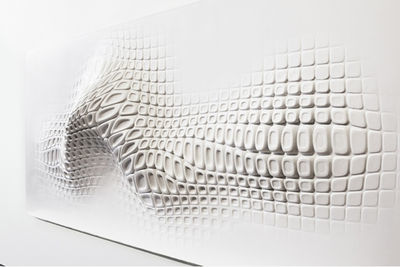
The coral landscape and the movement of them have brought my by Ora Ito he inspired his wallpaper on the sole of Reebok sneakers. He loved the way the sole bends and creates a moving landscape. He has tried to capture that movement in one piece of special acrylic. This quarter I want to actually let the wallpaper move.
Image FOUR (medium)
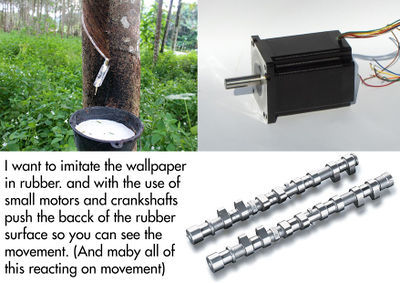
MAKING A MOLD (for the membrane)
I have chosen to make a coral landscpae istead of the wallpaper of Ora Ito beacause I think the corals have an even nicer and a more various lanscape than Ora's wallpaper.
Step 1 - make a landscape (relievo) you want, this is going to be your "positive" form
Step 2 - cover your relievo in acrilic one (an artificial plaster) or just plaster
Step 3 - repeat step 2 but dont forget to stronger your mold (with fiberglass)
Step 4 - repeat step 3 so your mold can be positioned in a stable postion so you can work better with it in a later stage
Step 5 - get your positive form out of your mold so you get a "negative" relievo which is your final mold
Step 6 - here you have your mold (negative) cover your mold in a mold release agent so you can get your print out
Step 7 - cover the mold in the chosen fluid (latex, silicone, etc.)
TESTING
Test 1: Membrane of high elastic fabric
https://www.youtube.com/watch?v=md2VDZHLkGw&feature=youtu.be
'
LAB
MEASURING VOLT, RESISTANCE & CURRENT
Step 1 - make a landscape (relievo) you want, this is going to be your "positive" form
Step 2 - cover your relievo in acrilic one (an artificial plaster) or just plaster
Step 3 - repeat step 2 but dont forget to stronger your mold (with fiberglass)
Step 4 - repeat step 3 so your mold can be positioned in a stable postion so you can work better with it in a later stage
Step 5 - get your positive form out of your mold so you get a "negative" relievo which is your final mold
Step 6 - here you have your mold (negative) cover your mold in a mold release agent so you can get your print out
Step 7 - cover the mold in the chosen fluid (latex, silicone, etc.)
MAKING A CIRCUIT
Step 1 - make a landscape (relievo) you want, this is going to be your "positive" form
Step 2 - cover your relievo in acrilic one (an artificial plaster) or just plaster
Step 3 - repeat step 2 but dont forget to stronger your mold (with fiberglass)
Step 4 - repeat step 3 so your mold can be positioned in a stable postion so you can work better with it in a later stage
Step 5 - get your positive form out of your mold so you get a "negative" relievo which is your final mold
Step 6 - here you have your mold (negative) cover your mold in a mold release agent so you can get your print out
Step 7 - cover the mold in the chosen fluid (latex, silicone, etc.)


