User:0892381
Contents
LABS
LAB 1 - Measuring Voltage
24 -05 - 2016
Kerem en ik sluiten de batterij van 9V aan.
Measurements:
LED = 3.17 V
Resistor = 5.55 V
Batterij = 8.77 (9V)
PROCESS
26-05-2016 Brainstorm
Personal information
Name: Mikki
E-mail: 0892381@hr.nl
The moment I knew what I wanted to do.
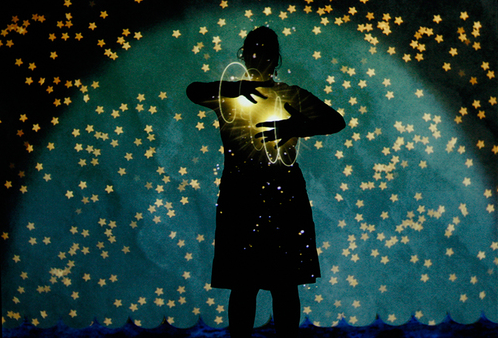
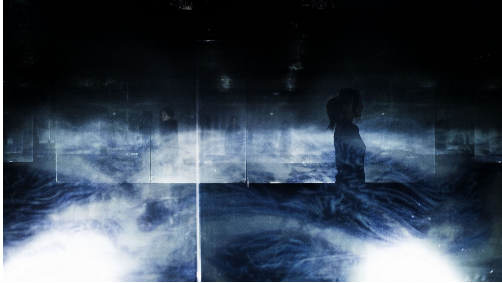
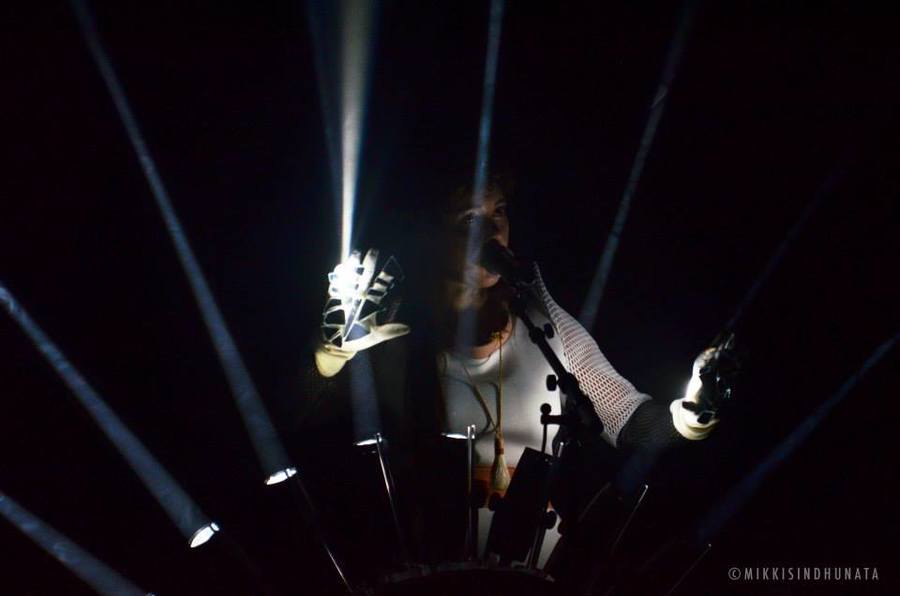
When I did a linking course animation I stumbled across the Californian multimedia-artist Miwa Matreyek. I loved the way how she placed herself into an animation, and with doing so, created a complete performance. It is an interactive animation which creates an experience. I realized that as an audiovisual designer I don't have to focus myself on making feature films, but I can develop myself more as an audiovisual artist that creates live experiences.
What do I make
In 2014 I finished my bachelor communication sciences and started audiovisual design at WDKA.
I work as a freelance filmmaker and commercial production manager/castingdirector and practice dance in my spare time.
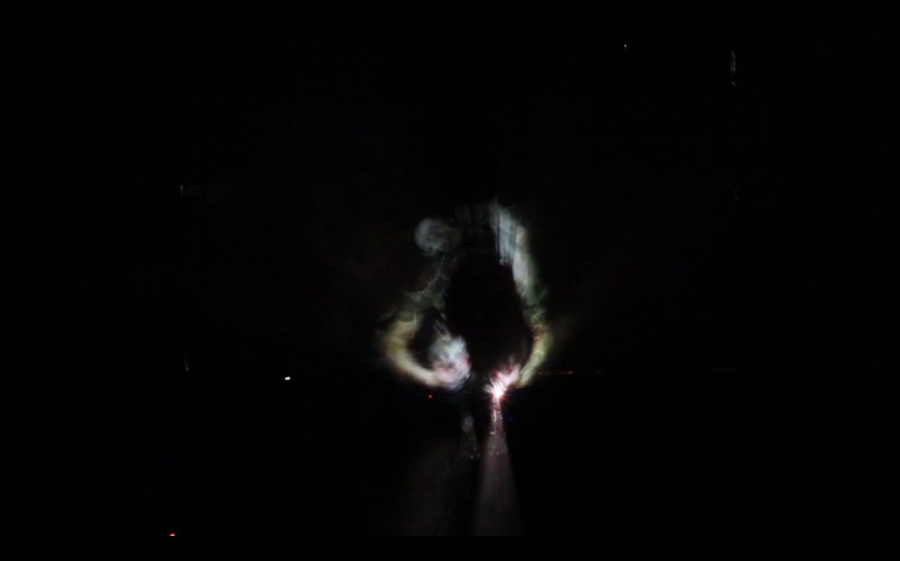
As an art-student I make disturbing stories and the videoinstallation ceci n'est pas mode.
Topic of interest
I am interested in designing space and live experiences. I would like to explore the theatric space and the added value of audiovisual designs. For instance build live interactiveness for the audience. Or build an installation that performance-artists can work with. Act to wonder and surprise.
What is my medium
I would like to work with analogue tools, that you have to control live. Tangible earthly materials and liquids. Interesting shapes, spheres, triangles, 360 spaces.
I wanna learn to work with the ceramic station and lasercut materials.
PROJECT
Inspiration
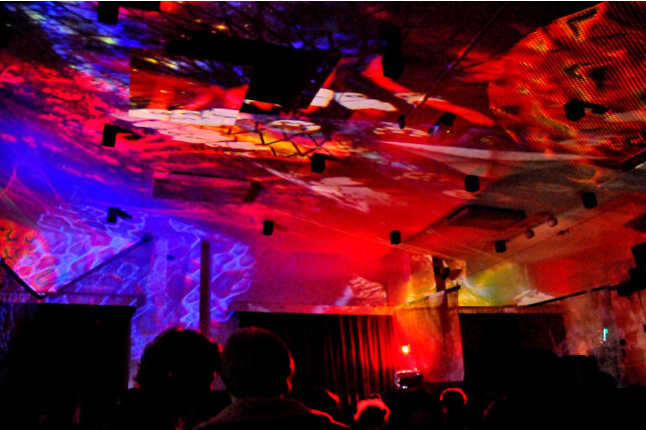
Id like to design something that is fragile alone, but big in a group. Inspired by the Dandlelights of Studio Drift. Also the Lumiere of Commonplace felt this way.
I want that the design can hang in a space and people can lie beneath it and watch it, and get lured into that moment. This way of present installations always seems very fascinating to me. Herefore a big inspiration was an installion at Afrikaburn festival: a frame where you have to crawl under and then lie and watch the lights.
Because I want people to not only watch it, but something has to happen, it has to be interactive. And preferably is unpredictable, so live generated.
I am also inspired by nature. For this I was thinking about a three where the wind is blowing through the leaves and the leaves will light up. People could lie under it.
Idea 1
I thought about designing a cloud of a kind of cotton (in dutch: 'watten materiaal) with one or 2 little leds in it. People can touch it with their hands or with a laserlight to get a reaction.
Research idea
When I researched the cotton I saw that something exists like the Amazing Cloud Lamp (http://www.stylecowboys.nl/Lifestyle/3805)
The cotton has to maybe do something with temperature: if the temperature rises, it will conduct to the led and there is a kind of thunder effect. And if it colder, it will create a pinkish effect.
Idea 2
What if the cloud will react on your breath? Then people shouldnt have to touch the design, but can trigger it to light up.
Research watten materiaal
Wick?
Gewoon wat?
https://www.yatzer.com/nimbus-berndnaut-smilde
EXPERIMENT FOR PROJECT
07-06-2016: Dark sensor with LDR, transistor and a LED
Ik wil graag een wolk maken die oplicht op de plekken waar je met je hand komt, en geleidelijk uit gaat als je je hand weer weghaalt. Omdat ik graag wil weten hoe dit met electronics werkt, heb ik geëxperimenteerd met een donkere sensor met LDR, transistor en een LED. Het was een circuit die ik samen met Thomas vond op http://www.instructables.com/id/Dark-Sensor-with-LDR-transistor-and-a-LED/. Alleen ik werkte met een 9V in plaats van een 12V
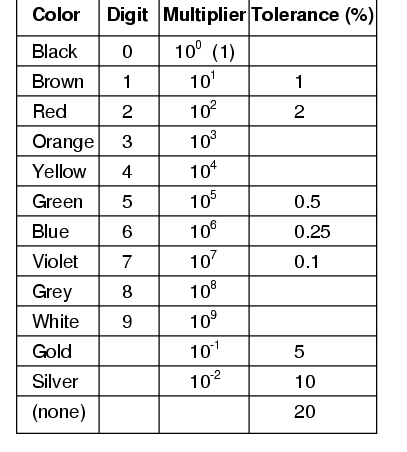
Ik had 2 weerstandjes nodig (680Kohm en 1Kohm), en leerde hoe ik de hoeveelheid kon checken via color code resistor via http://www.allaboutcircuits.com/textbook/reference/chpt-2/resistor-color-codes/
Ik vond het nog wel een gepriegel op het breadbord, maar had na een tijdje wel het goede rondje gemaakt. Alleen toen ik het circuitje kloppend had, leek het alsof de LED kapot was. Hij ging namelijk niet aan. Eigenlijk heb ik toen meteen het LEDje vervangen, maar die deed het ook niet. Het bleek dat er teveel licht was en ik mijn hand er op moest houden. Er ontstond een geleidelijk uitgaande led als ik het aanraakte, precies zoals ik wilde.
Het kon overigens ook dat ik kortsluiting had veroorzaakt, want de draadjes raakten elkaar op mijn circuit.
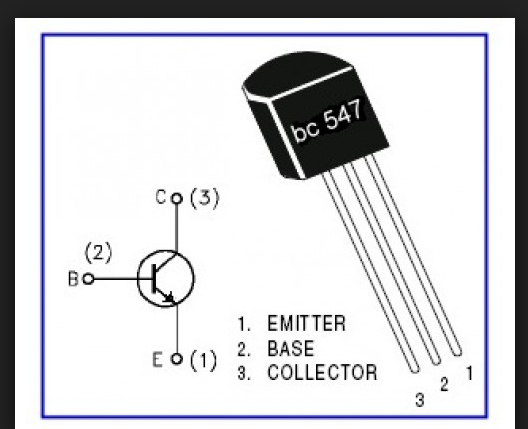
Een toevalligheid die ik goed had uitgevoerd was de bc547 transistor de goede kant op plaatsen. Maar ik wist niet wat deze inhield Thomas wees me erop dat de 3 uiteindes verschillend waren en dit ook aangegeven stond met het symbool op de circuit tekening.
08-06-2016: Dark sensor with LDR, transistor and a LED
Ik ging proberen of ik het ledje feller kon verlichten door de weerstandjes te verlagen.
220k op R2 zorgt voor een gevoeligere transistor, waardoor ik mijn vinger er niet op hoef te leggen om het ledje aan te laten gaan. Deze lijkt me super chill voor het doel dat ik wil bereiken.
In deze video kun je de reactie op donker zien; ik draai het rond zodat de sensor erop valt:
https://youtu.be/lQ5_30YjRyg
Op de volgende video kun je de gevoeligheid van de sensor zien; je hoeft de sensor niet aan te raken, maar reageert op het licht dat wordt afgeschermd door mijn hand. https://youtu.be/tLgn9SVopnk
CHOOSING MATERIALS
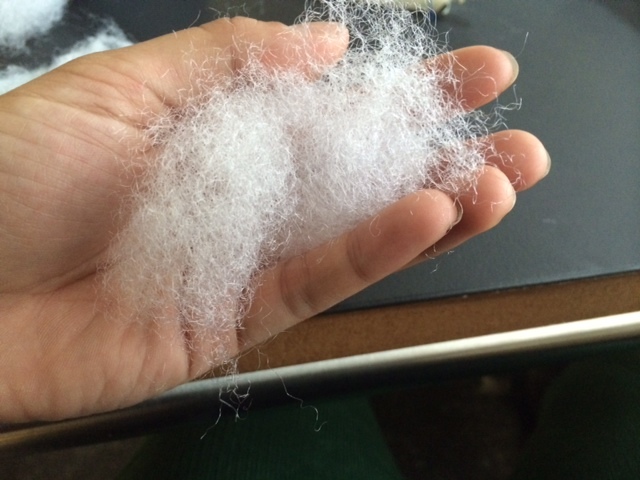
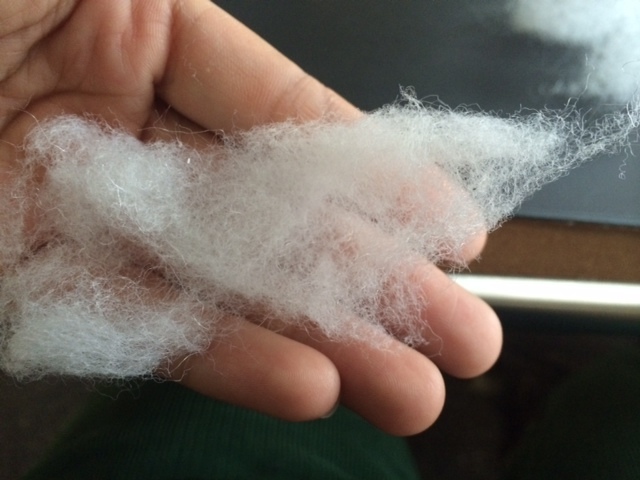
Ik heb 2 soorten materialen uitgestest: het isolerende materiaal van kleding, de zachte plakken en de meer synthetische variant.
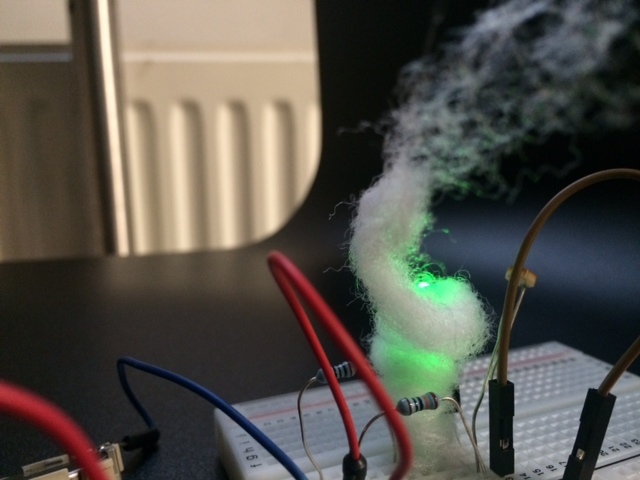
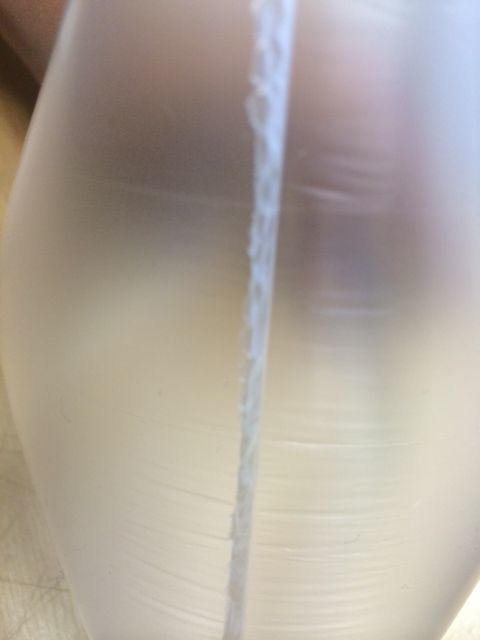
Ik vond deze materialen teveel lijken op watten op een stokje. Niet fragiel genoeg. Vervolgens bedacht ik met boterhamzakjes te werken en lucht.Het materiaal van een boterhamzakje difuust ook.
Boterhamzakjes met lucht zijn tijdelijk en houden niet langer dan een aantal uur. Dit heb ik getest door ze 1 nacht te laten staan.
Hier kwam ik erachter dat er constante lucht in moet worden geblazen. Een ventilator gaf een mooi effect. Ik zou het concept kunnen aanscherpen naar een lichte ruimte waarvan het licht gecontroleerd is. Zodra het donker wordt gaan de lichtjes aan, als het raam open staat zal de wind de boterhamzakjes bol blazen en kun je een slinger aan mooie diffuse lichtbolletjes kunnen krijgen.
Van Breadbord naar Dead Bug
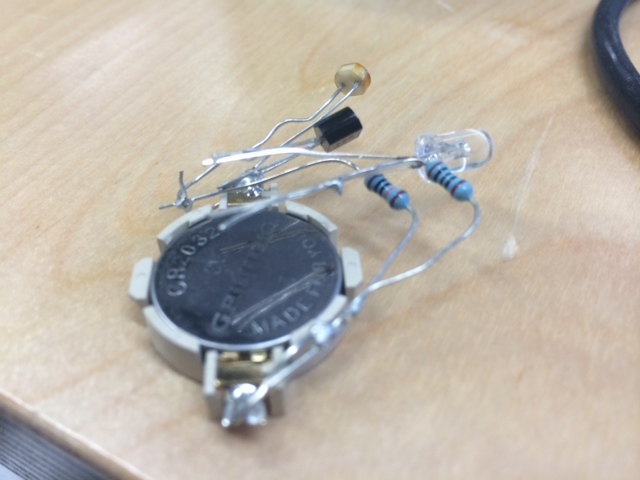
Allereerst heb ik de 9V batterij vervangen door een knoop-batterij, om het wat compacter en lichter te krijgen.
Ik heb gekozen om het circuitje van mijn dreadbord aan elkaar te solderen op de dead bug methode. De reden hiervoor is dat de deadbug mij de gelegenheid geeft om het circuitje zo klein mogelijk te krijgen.
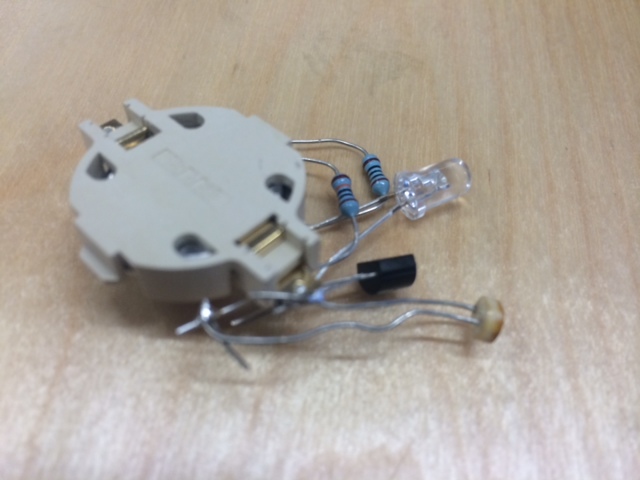
Reflection
Why did I choose digital craft?
In film im always making things on screen. But I got interested in creating spatial experiences with audiovisual design. Like installations. So I thought this practice would give me a good base knowledge to further develop skills that I can apply to make those installations.
I learned a lot here. I did things I never have done before and got concious about how much there is to learn to make things I always had in my head. And that therefore experimenting is key.
And this was an upside and at the same a time a downside for me. I don’t think I underestimated it, but I didn’t know how I had to start. Because I didn't had a clue of what i could do.
So how did i start?
Actually I started with very big concepts about filling spaces. But after several feedback sessions with Simon I had to reduce my plans. To actually something that i really like. This was one of the important insights what I really liked here: that i also can create small things and think in the possibility of big.
To make a small thing that you actually can work on, crafting on and that it will ebevery effective in bigger groups. and that gave me a insight in another way of how you can think about filling spaces.
So for my project I wanted to make some small fragile visually interesting work, that could be effective in big groups.
I first did research on what I wanted to make, and decided to make a cloud for an exposition space, that I wanted to be interactive with the visitor.
It was hard for me to think in methods, so i researched some blogs and introductions on how to get a light change with less touching. So I came up with the LED dark sensor
To build this opened a whole new world for me, so i started really slow but careful.
I got the hang of it and read new things about how i could manage the sensitivity of the sensor and how i could control the brightness of the LED.
Because it actually took quiet some effort, I came to the fact that i didn't have much time to experiment with the form.
I did research different materials for the cloud, but started a little too late with the wool that i decided eventually on that its to synthetic and to stiff. So I choose for sandwich bags. : its really light and fragile and cool effect in big groups.
But therefore I needed another technique.
As a method i didn't wanna do things that i already knew. i wanted to step out of my comfort zone.
Unfortunately i couldn't make the form of the cloud, but i succeeded in making a working electronic.
This symbolizes a couple of choice i made. Of course the size of it started with a big 9V and now i have this button battery. I choose to dead bug it, so i can make it actually more smaller.
I now know how I can make lights invisible and small, and also I discovered the technique of interactive electronics. i didn't have time to completely designed the form, but i experimented with it and made some decisions, so I think with this knowledge, I can draw a potential future: thinking in a bigger amount of this small lights.
