User:NKArranz
Hello!
My name is Niko Arranz and I'm an exchanged student from Boston, US.
My email is NKArranz@massart.edu.
Spring 2017 - Digital Craft Q8
––––––––––––––––––––––––––––––––––––––––––––––––––––––––––––––––––––––––––––––––––––––––––––––––––––––––––––––––––––––––––––––––––––––––––––––––––––––––––––––––––––––––
First Group Project: Demonstrate a Concept
––––––––––––––––––––––––––––––––––––––––––––––––––––––––––––––––––––––––––––––––––––––––––––––––––––––––––––––––––––––––––––––––––––––––––––––––––––––––––––––––––––––––
File:DigitalCraft NMASS Project1(s).pdf
––––––––––––––––––––––––––––––––––––––––––––––––––––––––––––––––––––––––––––––––––––––––––––––––––––––––––––––––––––––––––––––––––––––––––––––––––––––––––––––––––––––––
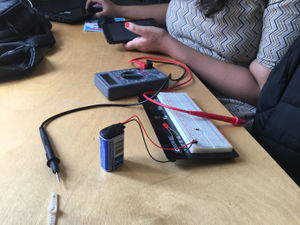
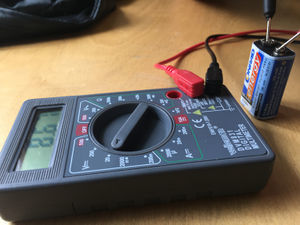
Second Group Project: Measuring Voltage and Current
––––––––––––––––––––––––––––––––––––––––––––––––––––––––––––––––––––––––––––––––––––––––––––––––––––––––––––––––––––––––––––––––––––––––––––––––––––––––––––––––––––––––
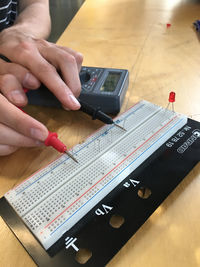
Original Readings:
Battery: 8.67V Resistance: 470 ohms Current: 13.8 mA
––––––––––––––––––––––––––––––––––––––––––––––––––––––––––––––––––––––––––––––––––––––––––––––––––––––––––––––––––––––––––––––––––––––––––––––––––––––––––––––––––––––––
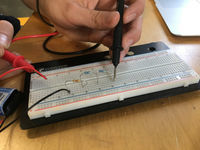
Readings with Resistors in Series:
Volts in series: 9.3 V 6.2 V 3.1 V Resistance in series: 470 ohms - 1 series 940 ohms - 2 series 1399 ohms - 3 series Current in series: 18 mA 9 mA 6 mA
––––––––––––––––––––––––––––––––––––––––––––––––––––––––––––––––––––––––––––––––––––––––––––––––––––––––––––––––––––––––––––––––––––––––––––––––––––––––––––––––––––––––
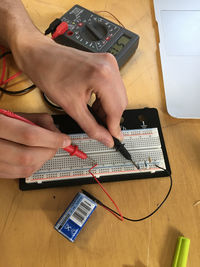
Readings with Resistors in Parallel:
Volts in parallel: 5.93 V Resistance in parallel: 235 ohms - 2 parallel 156.66 ohms - 3 parallel Current in parallel: 47 mA
––––––––––––––––––––––––––––––––––––––––––––––––––––––––––––––––––––––––––––––––––––––––––––––––––––––––––––––––––––––––––––––––––––––––––––––––––––––––––––––––––––––––
Third Project: Creating a Sound Circuit
––––––––––––––––––––––––––––––––––––––––––––––––––––––––––––––––––––––––––––––––––––––––––––––––––––––––––––––––––––––––––––––––––––––––––––––––––––––––––––––––––––––––
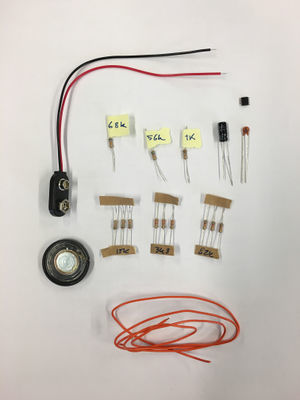
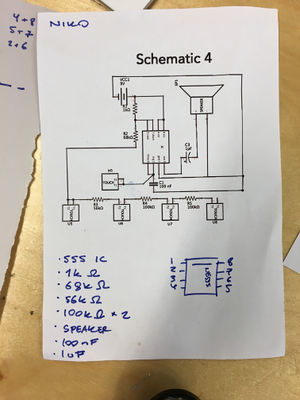
After reading the schematic, the necessary components were gathered. Unfortunately for me there were no 100K left to complete my circuit, so I improvised. I at first considered using a combination of a 15K and 82K resistors, but in the end I just used 120K resistors. I also redrew the schematic to make a more realistic representation of the terminals of the 555 timer.
––––––––––––––––––––––––––––––––––––––––––––––––––––––––––––––––––––––––––––––––––––––––––––––––––––––––––––––––––––––––––––––––––––––––––––––––––––––––––––––––––––––––
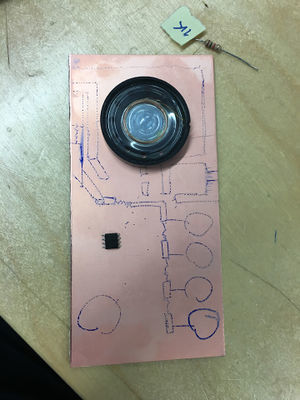
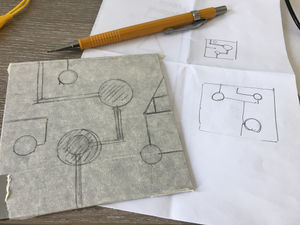
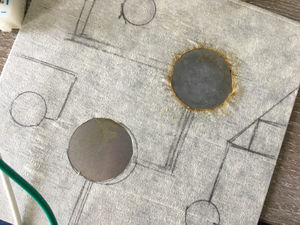
After receiving a copper plate, I made an outline of where I wanted to manually etch the circuit paths.
––––––––––––––––––––––––––––––––––––––––––––––––––––––––––––––––––––––––––––––––––––––––––––––––––––––––––––––––––––––––––––––––––––––––––––––––––––––––––––––––––––––––
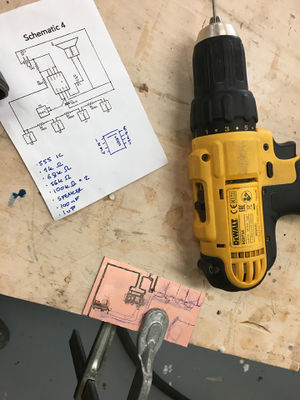
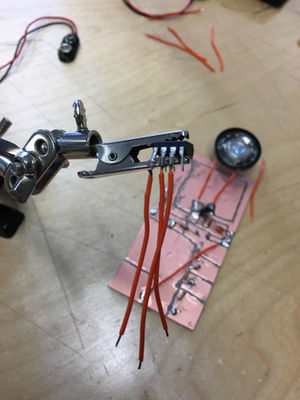
Due to the dremel at the Interaction Station repeatedly losing power, I went to the woodshop and used a drill to etch the rest of the plate.
––––––––––––––––––––––––––––––––––––––––––––––––––––––––––––––––––––––––––––––––––––––––––––––––––––––––––––––––––––––––––––––––––––––––––––––––––––––––––––––––––––––––
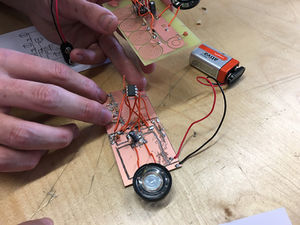
Soldering with the original 555 timer provide to be quite difficult, so I replaced it with a larger 555 timer that was easier to handle.
––––––––––––––––––––––––––––––––––––––––––––––––––––––––––––––––––––––––––––––––––––––––––––––––––––––––––––––––––––––––––––––––––––––––––––––––––––––––––––––––––––––––
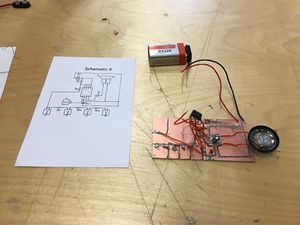
Final circuit - completely operational.
––––––––––––––––––––––––––––––––––––––––––––––––––––––––––––––––––––––––––––––––––––––––––––––––––––––––––––––––––––––––––––––––––––––––––––––––––––––––––––––––––––––––
Final Project: Personal Circuit
––––––––––––––––––––––––––––––––––––––––––––––––––––––––––––––––––––––––––––––––––––––––––––––––––––––––––––––––––––––––––––––––––––––––––––––––––––––––––––––––––––––––
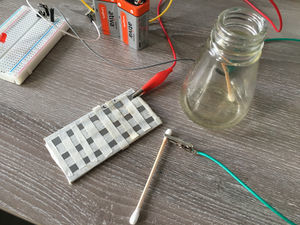
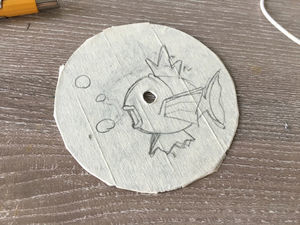
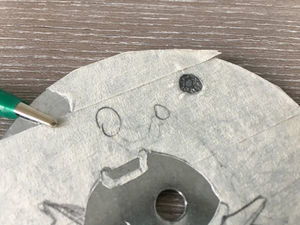
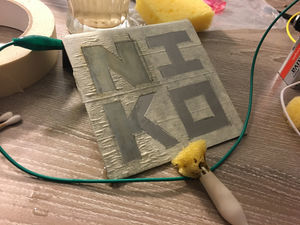
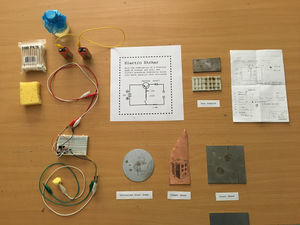
Awhile back, I saw a video on Youtube of someone chemically etching their water with vinegar and a few batteries. I was amazed by this, and still am. I intend to recreate this electro chemical etching circuit, and somewhat tweak it to be more efficient if I can.
I first created a simple version of the circuit so I can test out the chemical reaction. After attempting it several times on a piece of steel, I was pleased to see it working. One thing I noticed immediately was that Q-Tips I was using as a medium to hold the rust solution quickly burned when the reaction occurred.
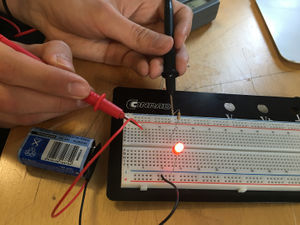
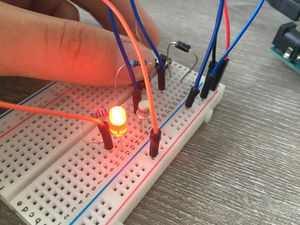
I then began to design a transistor-based circuit to control the output power. Using some LEDs for testing, I figured out the proper placement and usage of the 2N2222A transistor, one of the most standard transistor.
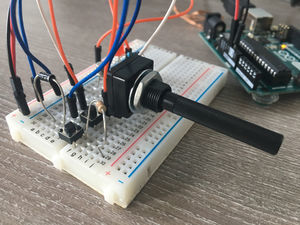
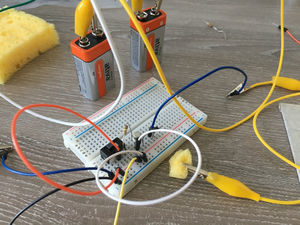
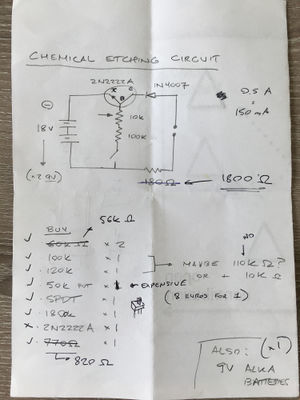
After completing a final schematic and buying the parts, I created my final circuit. With a power supply of two 9V Alkaline batteries, or 18V, a 100K resistor and 10K potentiometer control the transistor. I attached a diode at the end of the transistor so that no current travels back, a concern I had when dealing with a liquid based solution.
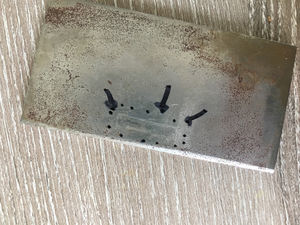
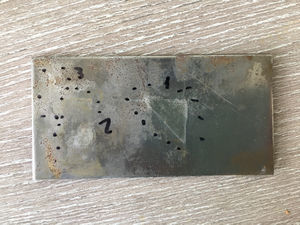
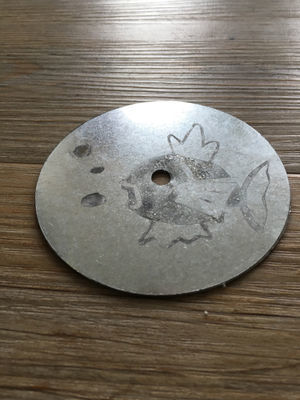
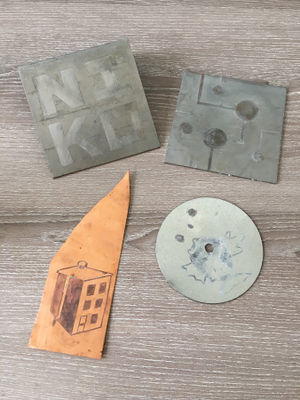
I began testing more materials, such as copper and galvanized steel. Cooper was incredibly easy and efficient to etch into, and galvanized steel left an interesting pattern when lightly etched.
Unfortunately, while I was testing voltage in my circuit, my transistor was accidentally fried and stopped working. Despite that, I was still able to etch into numerous metal pieces.
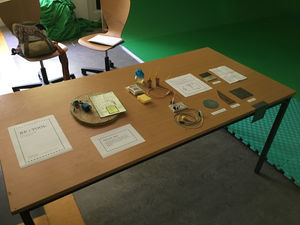
For my final exhibit, I formed a group with Tiffany Wederfoot ( .tiff), who is working on creating a personal tattoo gun. Since both of our projects are based on DIY / creating tools, we decided that the title of our group should be along the lines of Recreating Tools or Re:Tool.
Posters:
