Difference between revisions of "Quickstartguide:Screenprint"
From Publication Station
| Line 15: | Line 15: | ||
[[File:Screenprocess-08.png|300px]] | [[File:Screenprocess-08.png|300px]] | ||
== Collect paper. == | == Collect paper. == | ||
Paper sheets thicknes and weight doesn’t mater | |||
Use paper sheets of the same size | |||
[[File:Screenprocess-03.png|300px]] | [[File:Screenprocess-03.png|300px]] | ||
== Mix inks == | == Mix inks == | ||
one part acrylic paint | |||
one part screen print medium | |||
[[File:Screenprocess-04.png|300px]] | [[File:Screenprocess-04.png|300px]] | ||
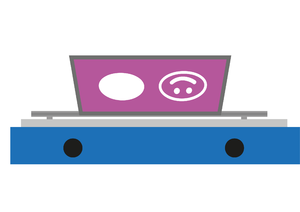
== Place the screen in the clamps of the print table. == | == Place the screen in the clamps of the print table. == | ||
Revision as of 15:53, 4 March 2021
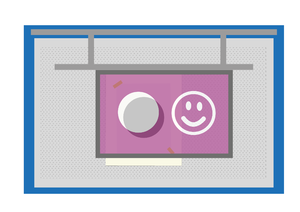
Steps to take for making a two colour print.
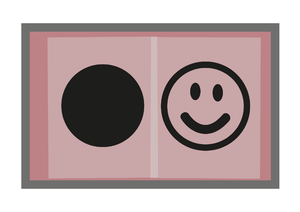
Make a design
Make colour seperations and print both layers with black on transparant sheet
Coat a screen with light sensitive emulsion
Expose screen to UV light
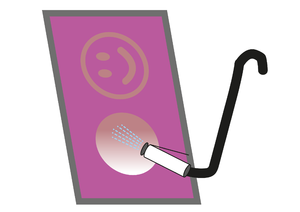
Wash out the non-exposed parts
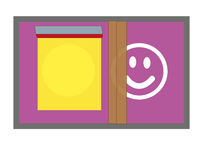
Let the screen dry
In the drying drawers, don't place it in a drawer above a no exposed screen to avoid dripping.

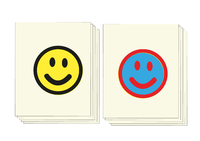
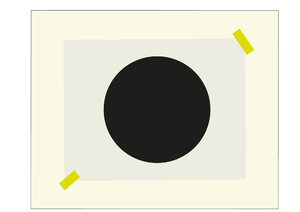
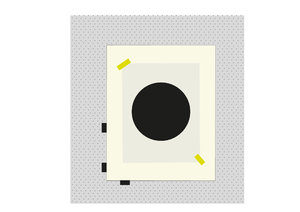
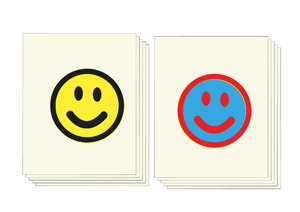
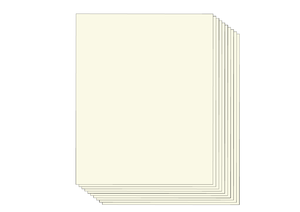
Collect paper.
Paper sheets thicknes and weight doesn’t mater
Use paper sheets of the same size
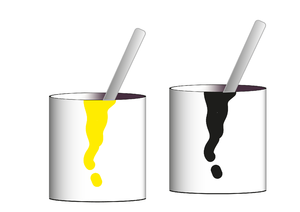
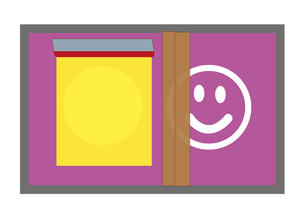
Mix inks
one part acrylic paint
one part screen print medium
