Difference between revisions of "Web scraping"
VKranendonk (talk | contribs) |
VKranendonk (talk | contribs) |
||
| (18 intermediate revisions by the same user not shown) | |||
| Line 6: | Line 6: | ||
{{Column}}[[File:Alice Wonderland Scraped.png]]{{ColumnEnd}} | {{Column}}[[File:Alice Wonderland Scraped.png]]{{ColumnEnd}} | ||
{{ColumnsEnd}} | {{ColumnsEnd}} | ||
== Video == | |||
You can follow the video or read the steps below the video. | |||
{{#evt: | |||
service=vimeo | |||
|id=745732932 | |||
|dimensions=x400 | |||
}} | |||
== Installing == | == Installing == | ||
| Line 11: | Line 21: | ||
'''Step 1:''' | '''Step 1:''' | ||
We will use a browser extension called WebScraper.io. You can install the extension [https://addons.mozilla.org/en-US/firefox/addon/web-scraper/ for Firefox] or for [https:// | We will use a browser extension called WebScraper.io. You can install the extension [https://addons.mozilla.org/en-US/firefox/addon/web-scraper/ for Firefox] or for [https://chrome.google.com/webstore/detail/web-scraper-free-web-scra/jnhgnonknehpejjnehehllkliplmbmhn for Chrome]. | ||
To learn about all of the functionality in the WebScraper.io extension you can watch [https://www.youtube.com/watch?v=n7fob_XVsbY&t=47s the intro video]. | To learn about all of the functionality in the WebScraper.io extension you can watch [https://www.youtube.com/watch?v=n7fob_XVsbY&t=47s the intro video]. | ||
| Line 68: | Line 78: | ||
Click on "Sitemap alice" and then on "scrape". Press "Start scraping" to... you guessed it, start scraping 😃. | Click on "Sitemap alice" and then on "scrape". Press "Start scraping" to... you guessed it, start scraping 😃. | ||
This will open a new window in which a robot will "scrape" all the content you selected in the previous steps. | |||
When the scraping is done, press the "refresh" button. If all went okay, you should now see some data. | |||
<gallery> | |||
Web-scrape-scrape.png|Open the scrape window | |||
Web-scrape-start-scraping.png|Start scraping | |||
Web-scrape-refresh.png|Press the refresh button after scraping | |||
Web-scrape-data.png|Tadaah! 🥳 Scraped data. | |||
</gallery> | |||
'''Step 8''' | '''Step 8''' | ||
We can now export and download the data. | |||
Press "Sitemap alice" and then "Export data". Click the big blue button ".CSV" to download a CSV file. This file can be opened in Microsoft Excel or Numbers. | |||
<gallery> | |||
Web-export-data.png|Open the export data window | |||
Web-export-data-download.png|Download the .csv file | |||
</gallery> | |||
== Transforming CSV data to JSON == | |||
'''Step 9''' | |||
CSV data is good for analysis, but not so handy to use on the Web. JSON is a format that the Web and JavaScript likes. Luckily we can transform data from CSV to JSON with [https://csvjson.com/csv2json CSV2JSON]. | |||
The scraped data usually needs to be edited first. You can open the excel file in Number or Excel, change the headers and add content. After this you will need to export the data again to CSV (Comma-separated values) or TSV (Tab-separated values). This new file can then be uploaded to [https://csvjson.com/csv2json CSV2JSON], exported to a JSON file and added to you Web project. | |||
We have a [https://hrnl-my.sharepoint.com/:f:/g/personal/kranv_hr_nl/EjySoHDaH5lPgdiA4aKTrUQBb2UpSQF5t9l7bUrcm2VI5g?e=bDz4KS demo video] available on this process. | |||
== Conclusion == | == Conclusion == | ||
Scraping allows us to gather data from the web, which can then be used in another way, for example in an art installation or to build an unique way of browsing the same content. | |||
Scraping can also be automated to run at intervals, for example each week. You could for example scrape music events from different websites and gather those events on your personal agenda page. | |||
What's next. Try scraping other websites and creating multiple selectors. The WebScaper.io [https://www.youtube.com/watch?v=n7fob_XVsbY&t=47s intro video] is a good place to learn more about selectors. | |||
Latest revision as of 13:45, 12 September 2022
Web scraping is used to scrape data such as text and images from websites. In this example we will scrape data from the Gutenberg website.
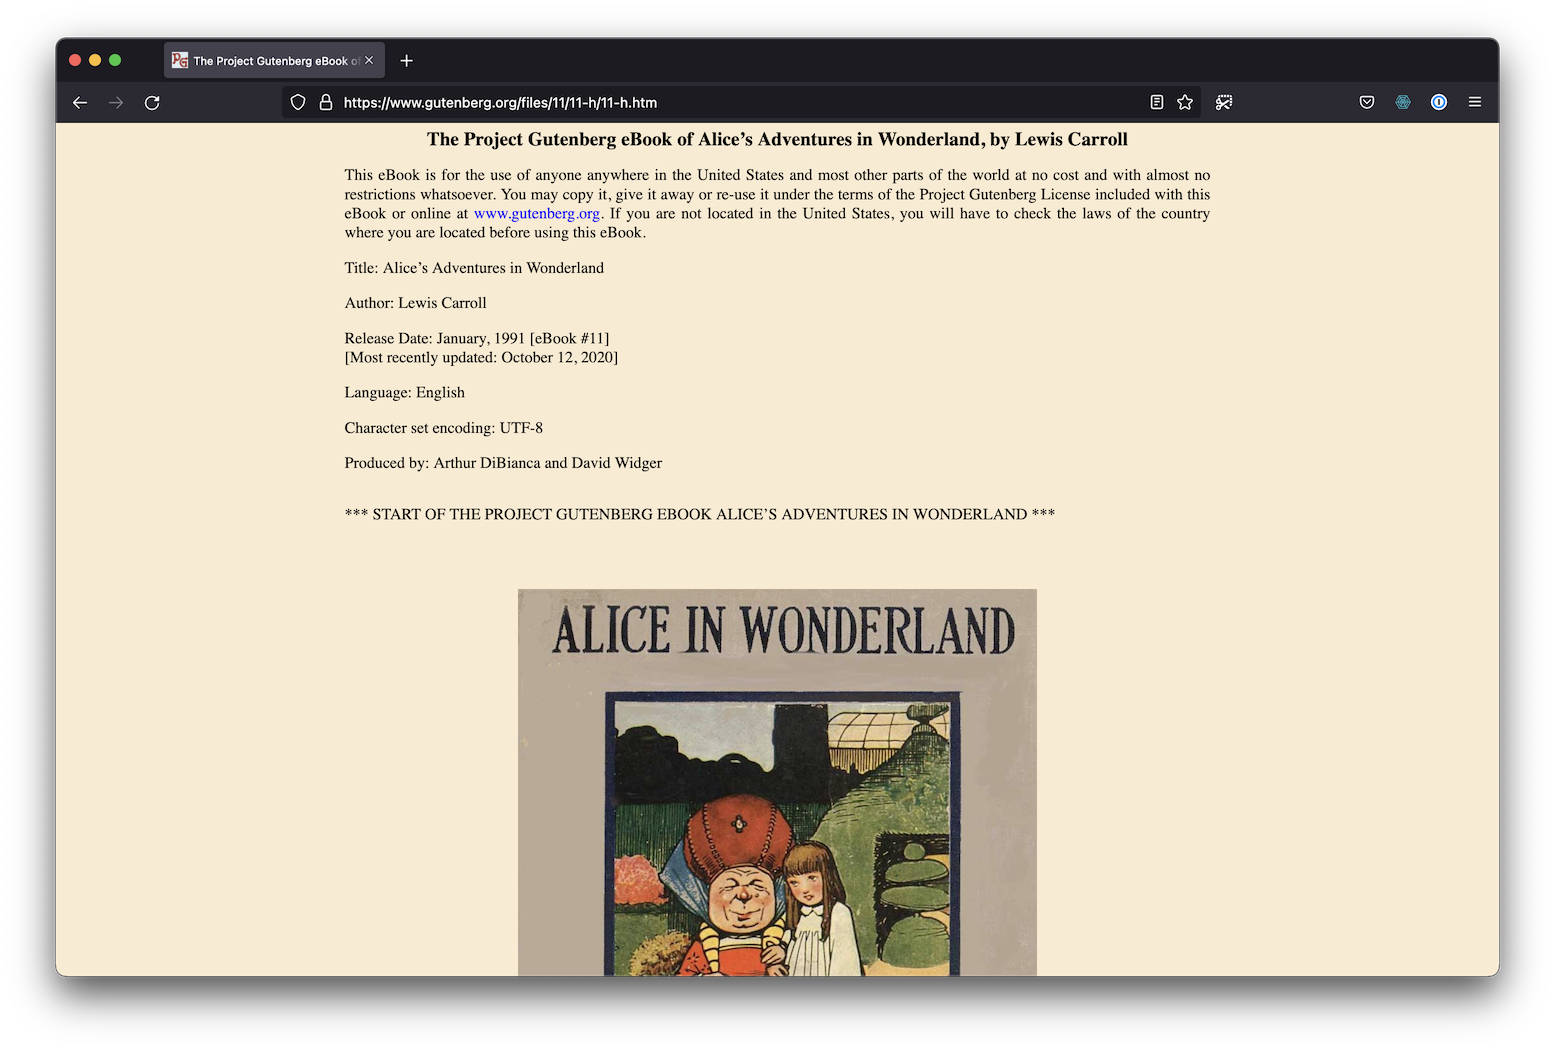
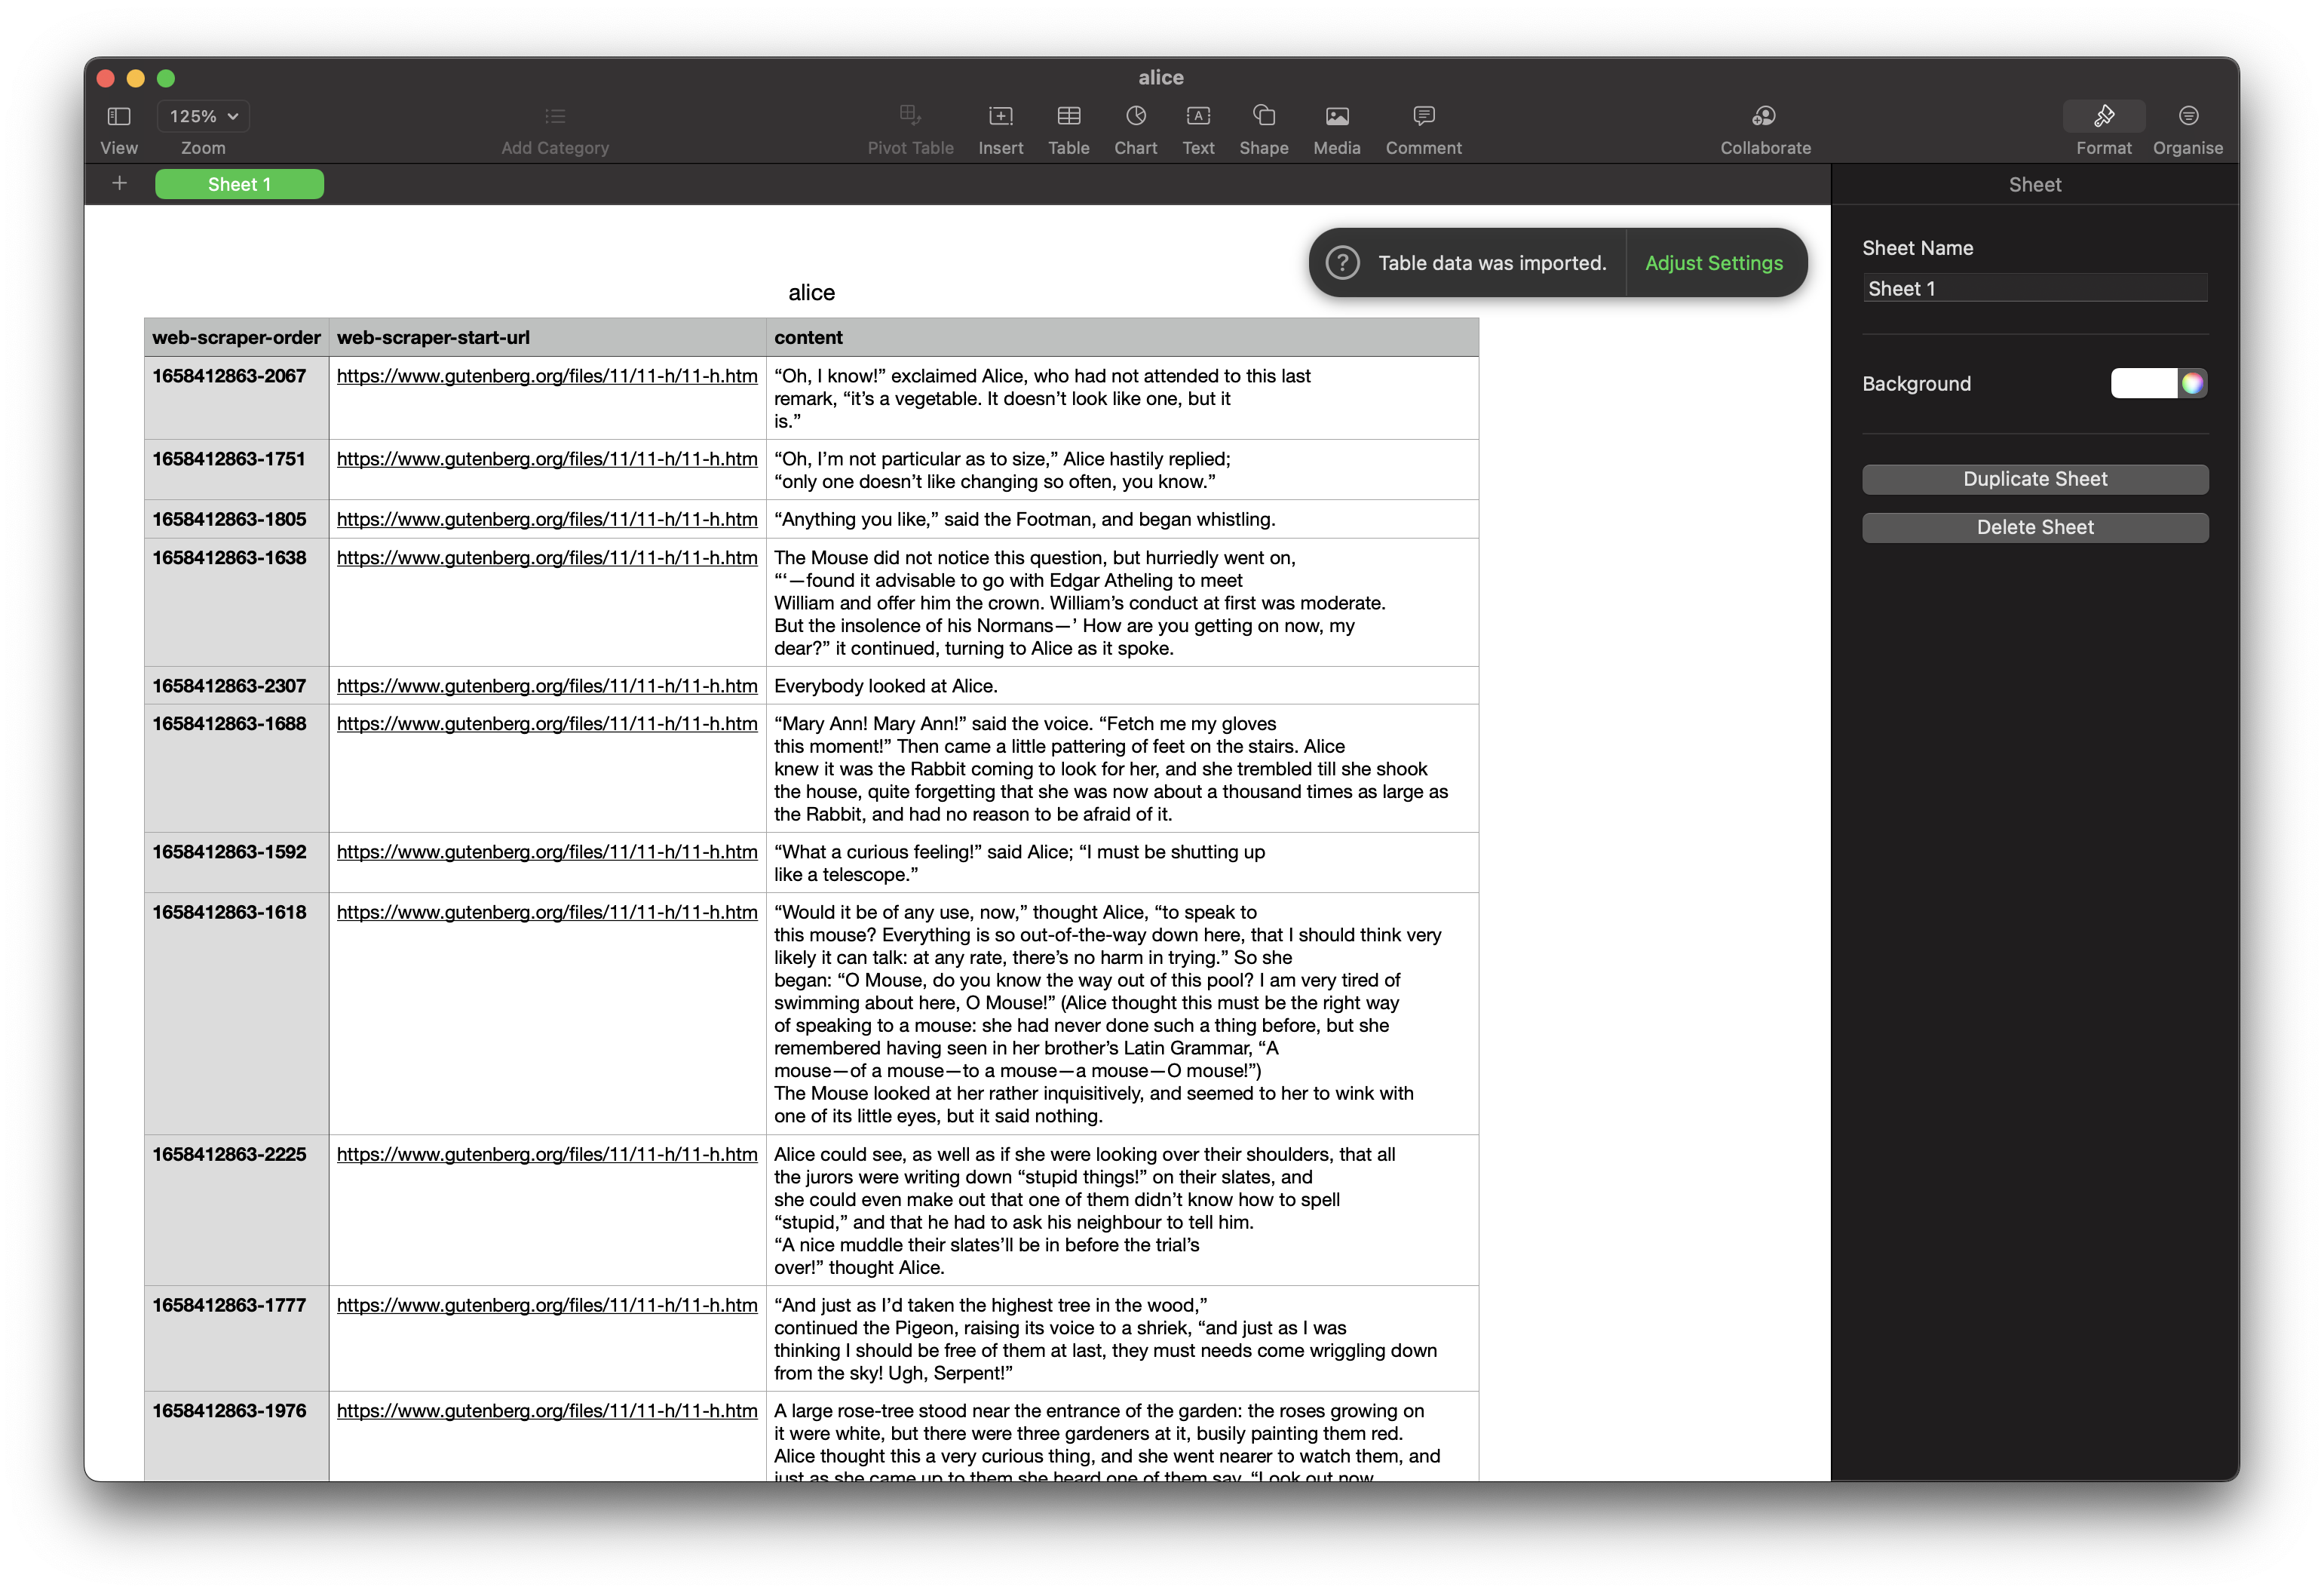
The purpose of web scraping is to transform web content into usable data for other programs or analysis. In this case we transform the following website into CSV data which can be opened in Microsoft Excel or Numbers.
Video
You can follow the video or read the steps below the video.
Installing
Step 1:
We will use a browser extension called WebScraper.io. You can install the extension for Firefox or for for Chrome.
To learn about all of the functionality in the WebScraper.io extension you can watch the intro video.
Step 2:
Navigate to Alice’s Adventures in Wonderland on the Gutenberg website.
Step 3:
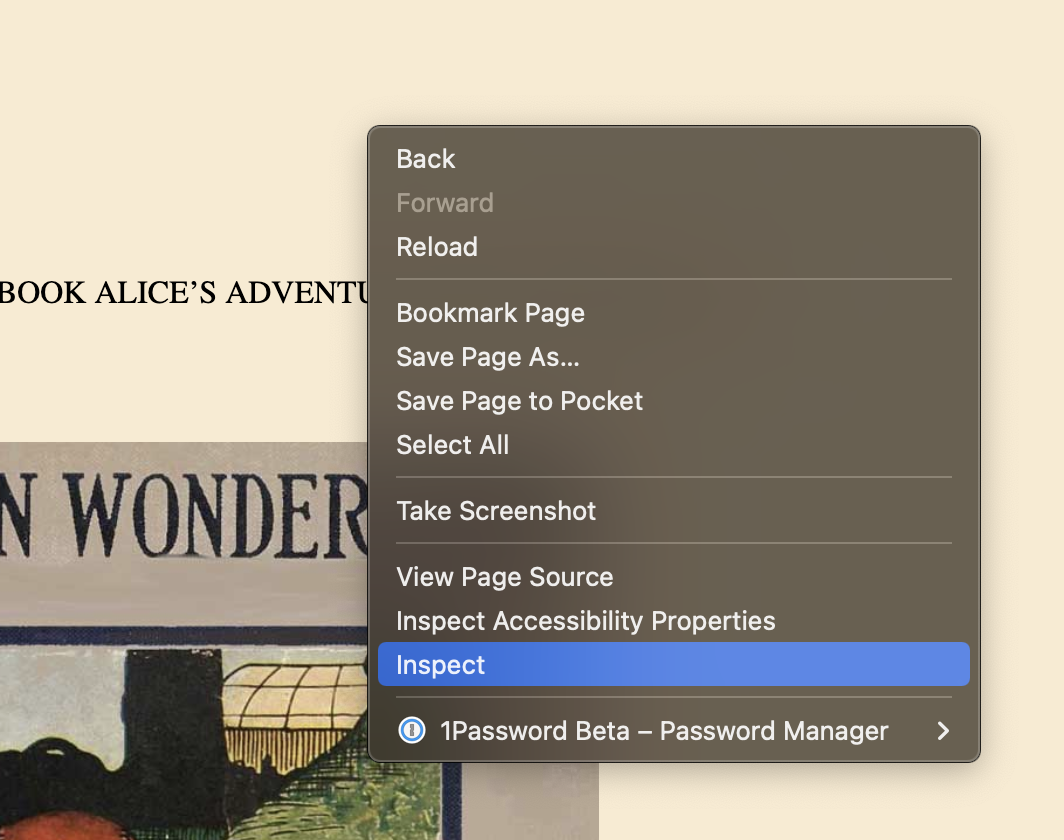
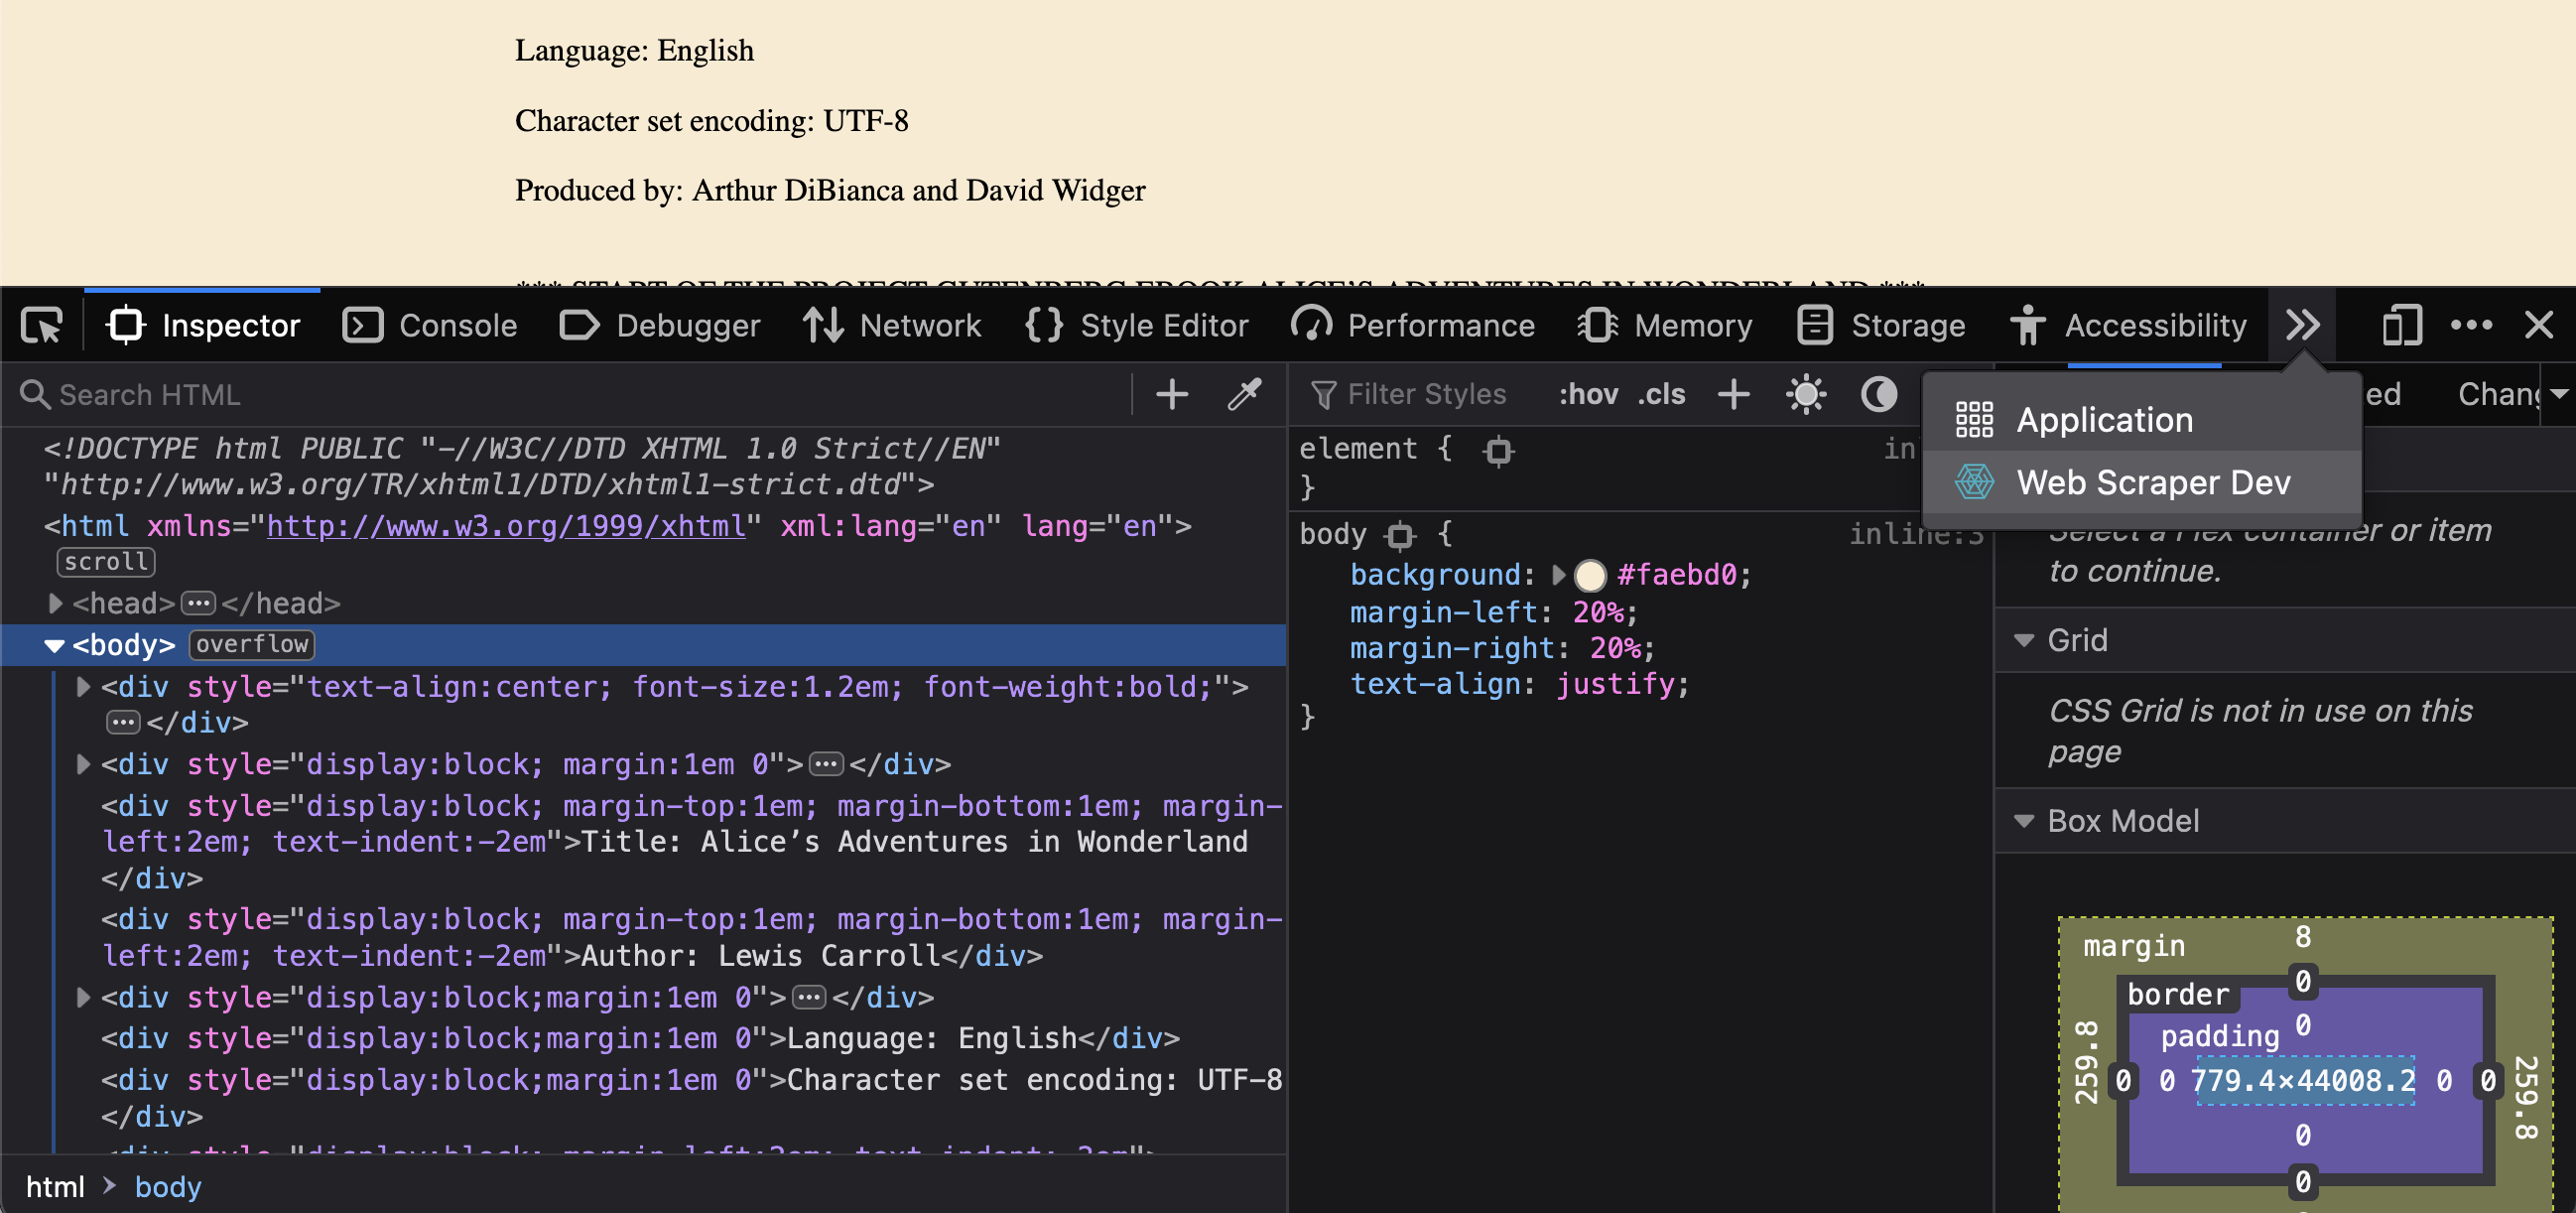
Right click anywhere on the screen and click "inspect". This will open the inspector, a tool commonly used for debugging websites.
Step 4:
You should now have an extra tab called "Web Scraper Dev". Open this tab.
Creating a selector
Step 5
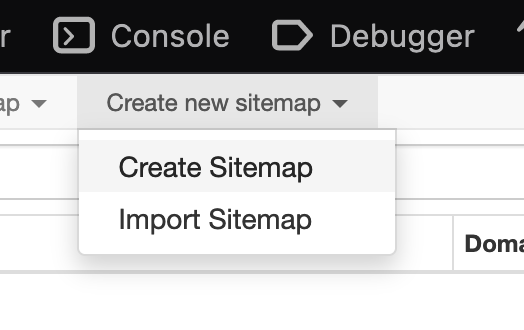
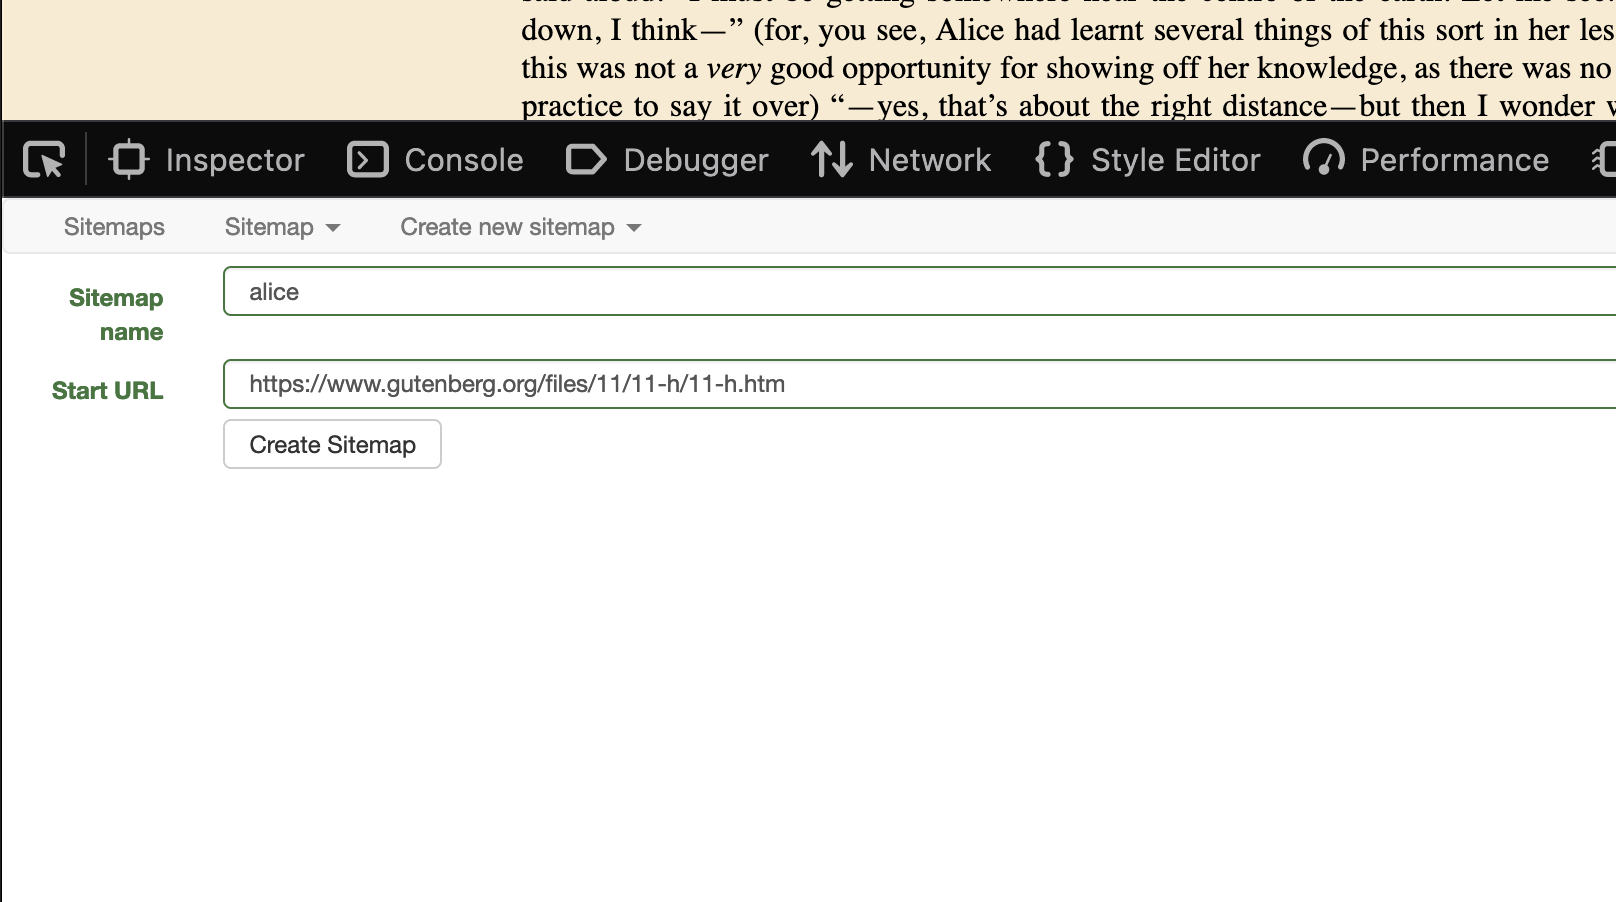
Create a new sitemap. Call it for example "alice". The start url is the page you are currently on: https://www.gutenberg.org/files/11/11-h/11-h.htm
Step 6
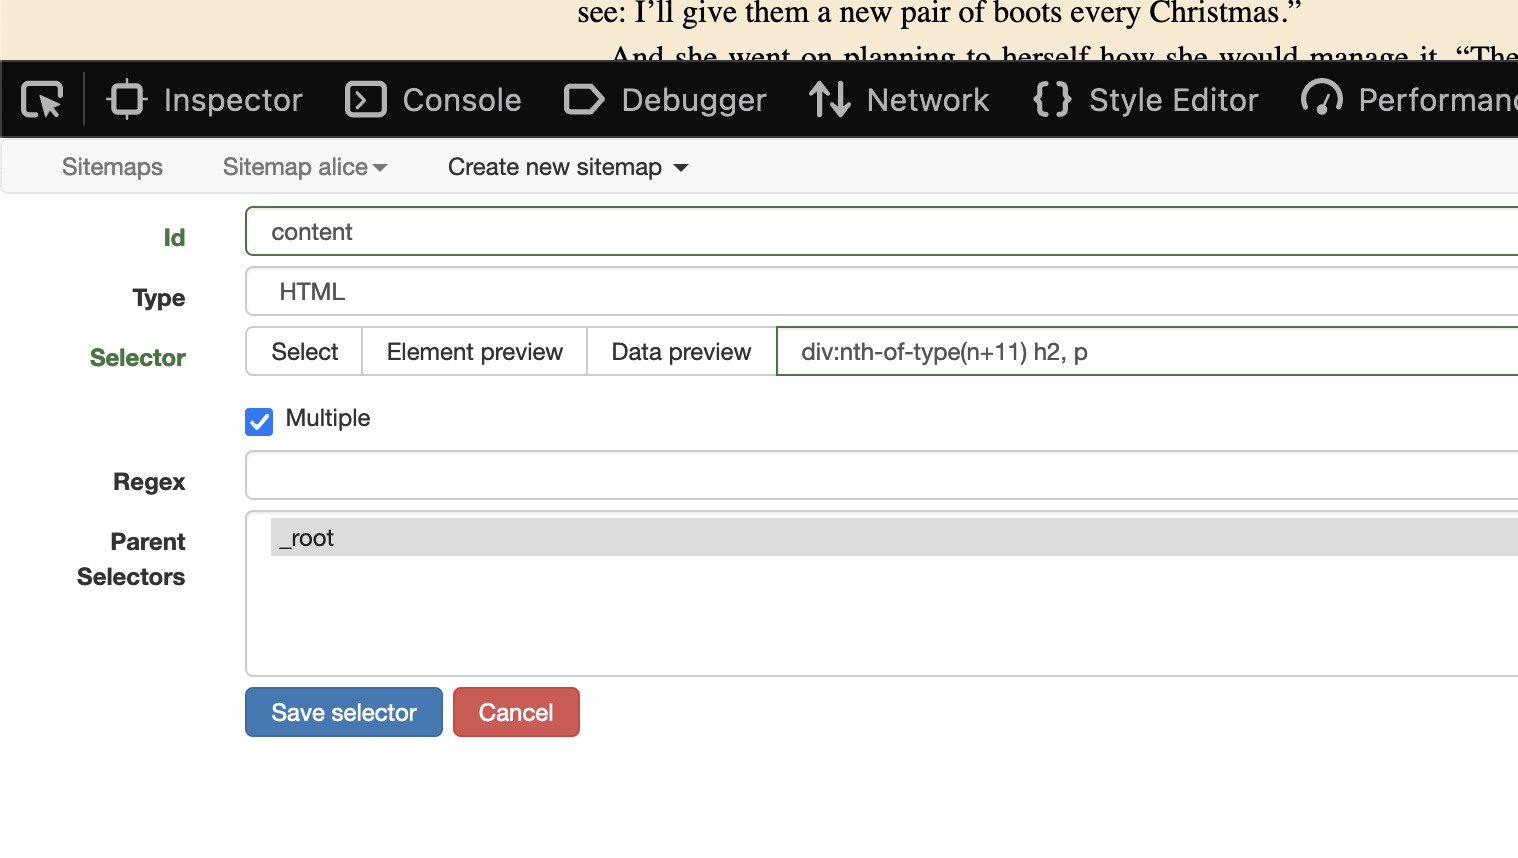
Our goal will be to scrape each title and paragraph.
- Click on "Add new selector".
- Add an "Id" which makes sense, for example "content".
- Set "Type" from "Text" to "HTML". We do this because each paragraph can still have HTML inside it.
- Click "Select". You can now start selecting which elements you would like to scrape. Start with the title and then the paragraphs while holding "shift".
- Click on "Done selecting"
- Check the checkbox for "multiple". Otherwise only the first element will be scraped.
- Click on "Save selector"
Scrape and export data
Step 7
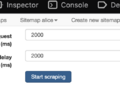
Click on "Sitemap alice" and then on "scrape". Press "Start scraping" to... you guessed it, start scraping 😃.
This will open a new window in which a robot will "scrape" all the content you selected in the previous steps.
When the scraping is done, press the "refresh" button. If all went okay, you should now see some data.
Step 8
We can now export and download the data.
Press "Sitemap alice" and then "Export data". Click the big blue button ".CSV" to download a CSV file. This file can be opened in Microsoft Excel or Numbers.
Transforming CSV data to JSON
Step 9
CSV data is good for analysis, but not so handy to use on the Web. JSON is a format that the Web and JavaScript likes. Luckily we can transform data from CSV to JSON with CSV2JSON.
The scraped data usually needs to be edited first. You can open the excel file in Number or Excel, change the headers and add content. After this you will need to export the data again to CSV (Comma-separated values) or TSV (Tab-separated values). This new file can then be uploaded to CSV2JSON, exported to a JSON file and added to you Web project.
We have a demo video available on this process.
Conclusion
Scraping allows us to gather data from the web, which can then be used in another way, for example in an art installation or to build an unique way of browsing the same content.
Scraping can also be automated to run at intervals, for example each week. You could for example scrape music events from different websites and gather those events on your personal agenda page.
What's next. Try scraping other websites and creating multiple selectors. The WebScaper.io intro video is a good place to learn more about selectors.
