Difference between revisions of "Course Time Machine"
From Publication Station
VKranendonk (talk | contribs) |
VKranendonk (talk | contribs) |
||
| Line 65: | Line 65: | ||
'''Tasks''' | '''Tasks''' | ||
# CSS Grid | # CSS Grid | ||
## Create a two column website similar to [https://kostasmurkudis.org/about kostasmurkudis.org] | ## Create a two column website similar to [https://kostasmurkudis.org/about kostasmurkudis.org], [https://nelsonheinemann.com/] | ||
## '''Bonus:''' Create the list with links on the left side [https://kostasmurkudis.org/about kostasmurkudis.org] | ## '''Bonus:''' Create the list with links on the left side [https://kostasmurkudis.org/about kostasmurkudis.org] | ||
# Position absolute and fixed | # Position absolute and fixed | ||
## Add a position fixed element over the grid like the flower on [https://www.bigzh.ch/ kostasmurkudis.org] | ## Add a position fixed element over the grid like the flower on [https://www.bigzh.ch/ kostasmurkudis.org] | ||
## Add a couple of position absolute elements randomly over the page | ## Add a couple of position absolute elements randomly over the page. Have a look at [http://www.waltersantomauro.com/#/list waltersantomauro.com] for some inspiration. | ||
# Add fonts and style your document | # Add fonts and style your document | ||
## Look at [https://brutalistwebsites.com/ Brutalistwebsites.com] for some inspiration | |||
## Pick some nice [https://fonts.google.com Google Fonts] | ## Pick some nice [https://fonts.google.com Google Fonts] | ||
## Read [https://www.freecodecamp.org/news/how-to-use-google-fonts-in-your-next-web-design-project-e1ad48f1adfa/ this documentation] on implementation | ## Read [https://www.freecodecamp.org/news/how-to-use-google-fonts-in-your-next-web-design-project-e1ad48f1adfa/ this documentation] on implementation | ||
## Add the fonts to your project | ## Add the fonts to your project | ||
Revision as of 09:42, 30 September 2022
Welcome to the Time Machine course.
The Time Machine consists of two classes in which we introduce basic HTML and CSS skills. We start of in The Sh***y 90's, building websites from back in the day. We then fast-forward, via the fourth dimension, to the BRUTALIST design period.
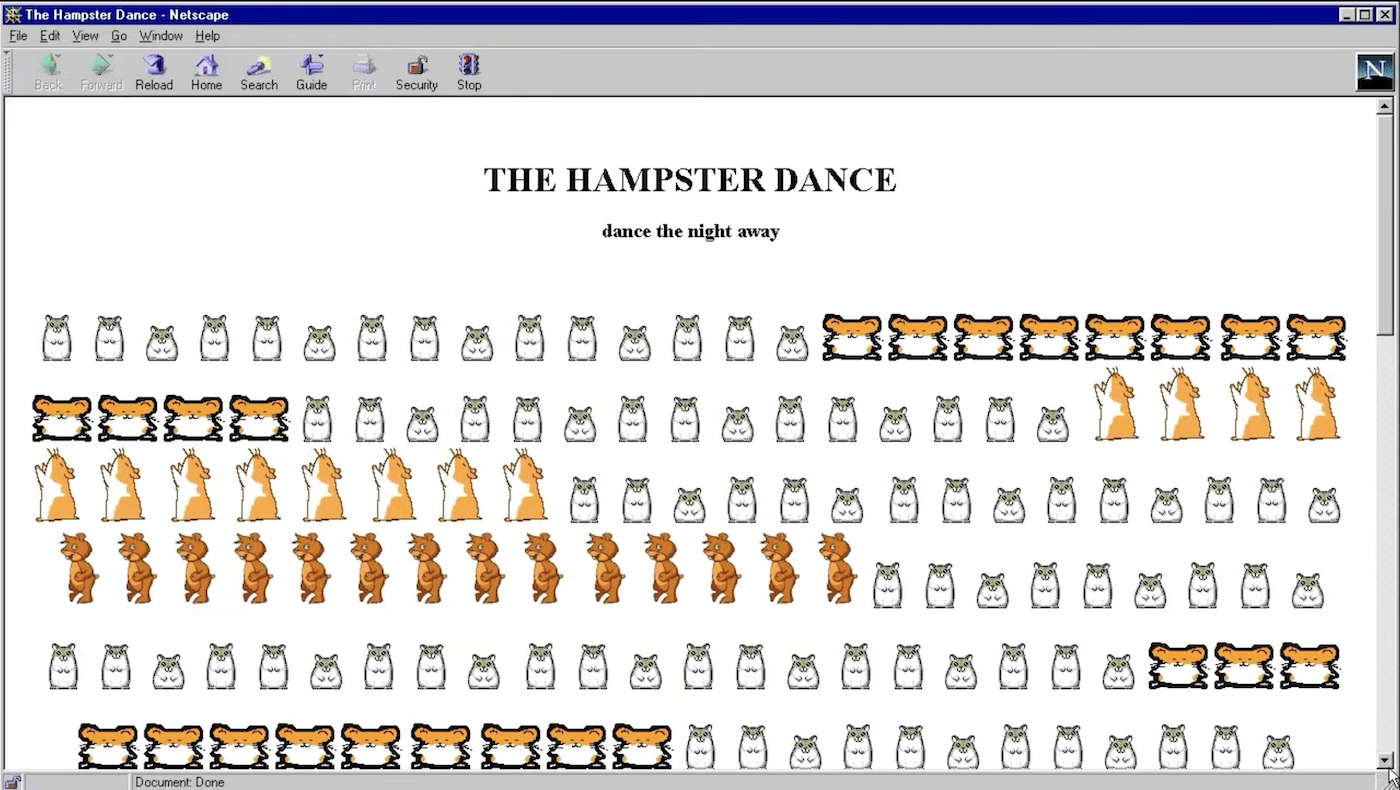
 The Hampster Dance website in 1999 in Netscape Navigator 4.04. Screenshot taken from YouTube - Web Design Museum
Program
Class 1
Demos
- Websites in the 90's
- Take a look at websites made in the 90's
- Quiz question: What is the first item ever sold on the web?
- What do you notice changing over time? Does the content and audience change? And how about the design?
- Follow along HTML / CSS
Tasks
- Try out
Class 2
Demos
- BRUTALIST
- Take a look at BrutalistWebsites.com
- Code
- Installing Live Share
- Classes
- CSS grid
- Position fixed and absolute
- Fonts
Tasks
During the class we will work in groups of 3. Using the Live Share functionality in Visual Studio Code you can work together.
We have 3 tasks to complete, each team member picks up one task.
Tasks
- CSS Grid
- Create a two column website similar to kostasmurkudis.org, [1]
- Bonus: Create the list with links on the left side kostasmurkudis.org
- Position absolute and fixed
- Add a position fixed element over the grid like the flower on kostasmurkudis.org
- Add a couple of position absolute elements randomly over the page. Have a look at waltersantomauro.com for some inspiration.
- Add fonts and style your document
- Look at Brutalistwebsites.com for some inspiration
- Pick some nice Google Fonts
- Read this documentation on implementation
- Add the fonts to your project