Fabric Patterns: Difference between revisions
| (5 intermediate revisions by the same user not shown) | |||
| Line 18: | Line 18: | ||
The paint did not transfer well to the blue fabric. I had to use an extra piece of fabric underneath it to up the pressure on the fabric. This way, the paint transferred better from the screen to the fabric.<br><br> | The paint did not transfer well to the blue fabric. I had to use an extra piece of fabric underneath it to up the pressure on the fabric. This way, the paint transferred better from the screen to the fabric.<br><br> | ||
[[File:Tas_project_video | [[File:Tas_project_video.mp4]] | ||
<br><br> | <br><br> | ||
After I screen-printed all the pieces, I let them dry for a few hours. <br> | After I screen-printed all the pieces, I let them dry for a few hours. <br><br> | ||
[[File: | [[File:MushroomPatterns2.jpg]] | ||
==Branding== | |||
I wanted to create a label for the bags to make them look more finished. I created my own logo in procreate and transferred this to an illustrator file. <br> | |||
I made a template to engrave my logo into labels, with the laser cutter. After that, I've sewn everything together into a bag and finished it with the lock machine in the fabric station.<br><br> | |||
[[File:MushroomBagCoverS.jpg]] | |||
==Finishing== | |||
I took the bags with me to the printmaking station where I used the heat gun to puff up the paint.<br><br> | |||
[[File:Tas_project_video3.mp4]]<br> | |||
I did the same steps to create the pencil case, but here I also made a zipper on to the fabric.<br><br> | |||
[[File:Tas_en_etui.jpg]] | |||
Latest revision as of 11:18, 12 December 2022
a project by Marleen van Griethuysen
Inspiration
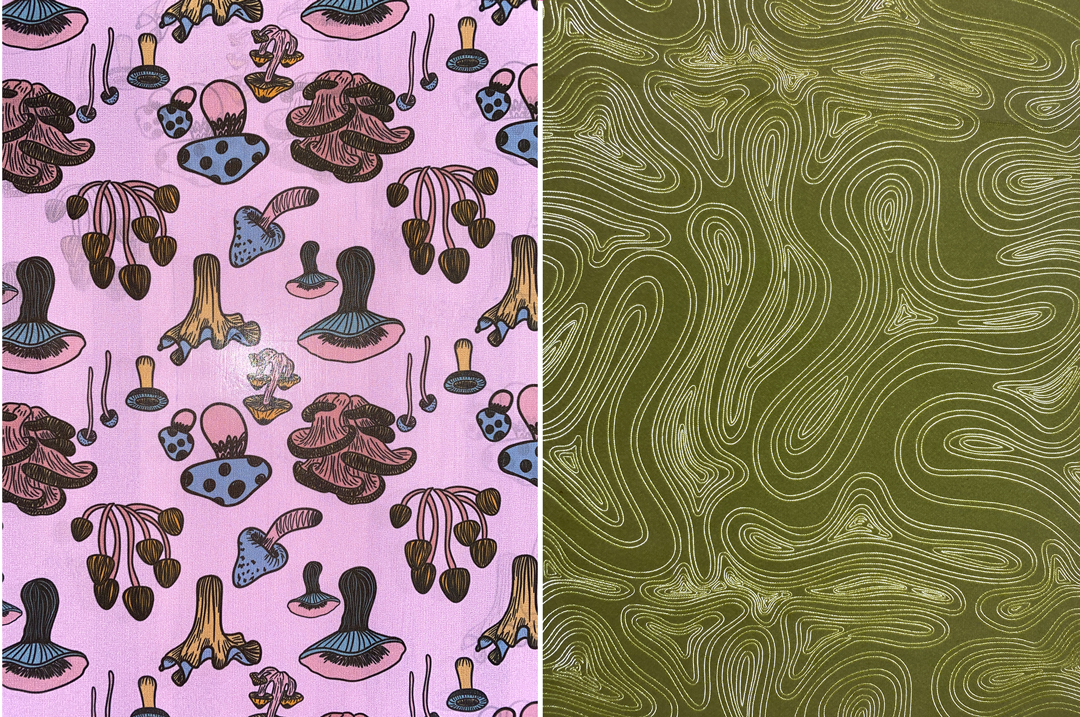
Inspired by the Pattern Design elective, I decided to use one of the patterns to make a tote bag. In the elective, we had to create patterns with a nature theme. My pattern was inspired by forms of mushrooms.

Design Decisions
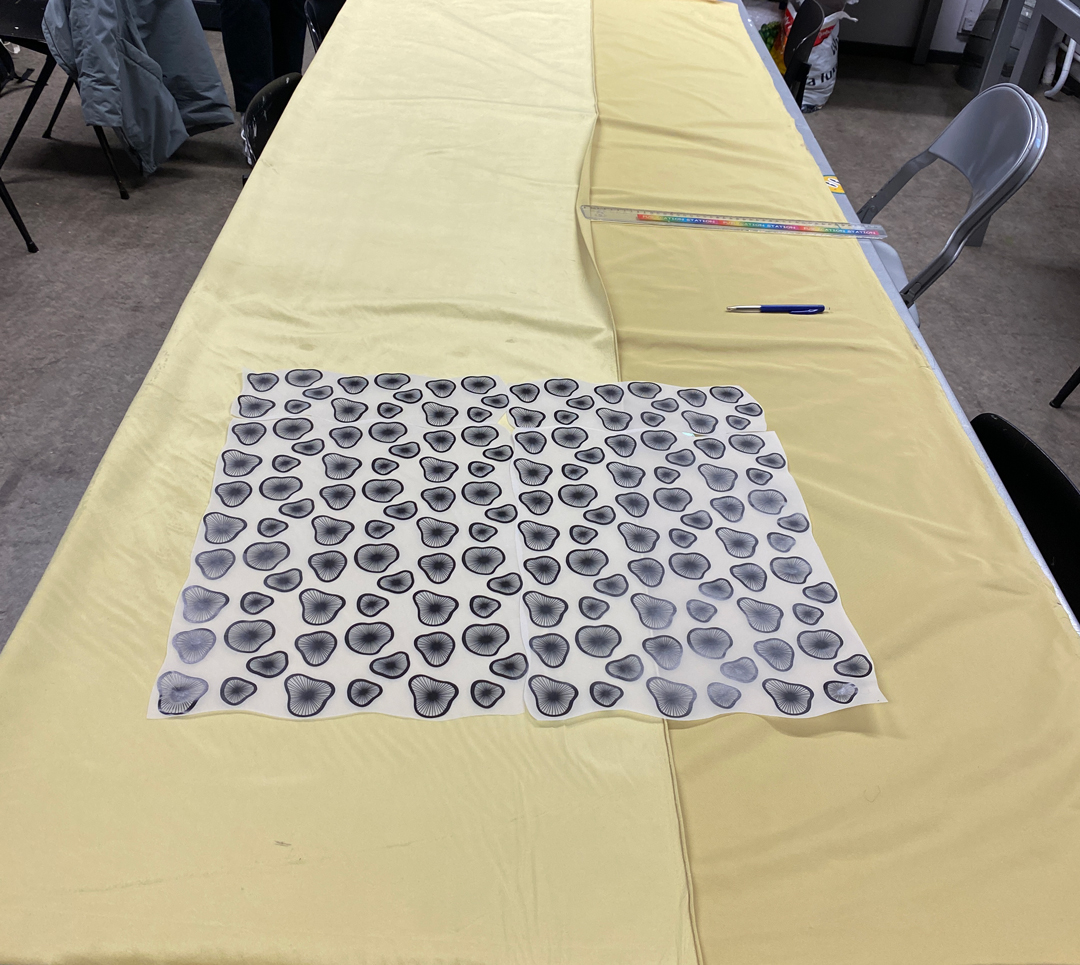
First, I looked for a way to screen print on a big piece of fabric (1,5x3m).

When I realised that making the pattern seamless on a big piece of fabric would have been very hard, I decided to first cut the fabric in the pattern for the bags.
I decided the size of my bag will be 40x45cm, then made a simple sewing pattern for the bags.
Screen Printing on Fabric
First, I prepared a big print screen for fabric.
I had two slightly different fabrics - a yellow soft synthetic one, and a blue one that was more like a suede.
I used a puff paint base to mix the paint.
The paint did not transfer well to the blue fabric. I had to use an extra piece of fabric underneath it to up the pressure on the fabric. This way, the paint transferred better from the screen to the fabric.
File:Tas project video.mp4
After I screen-printed all the pieces, I let them dry for a few hours.

Branding
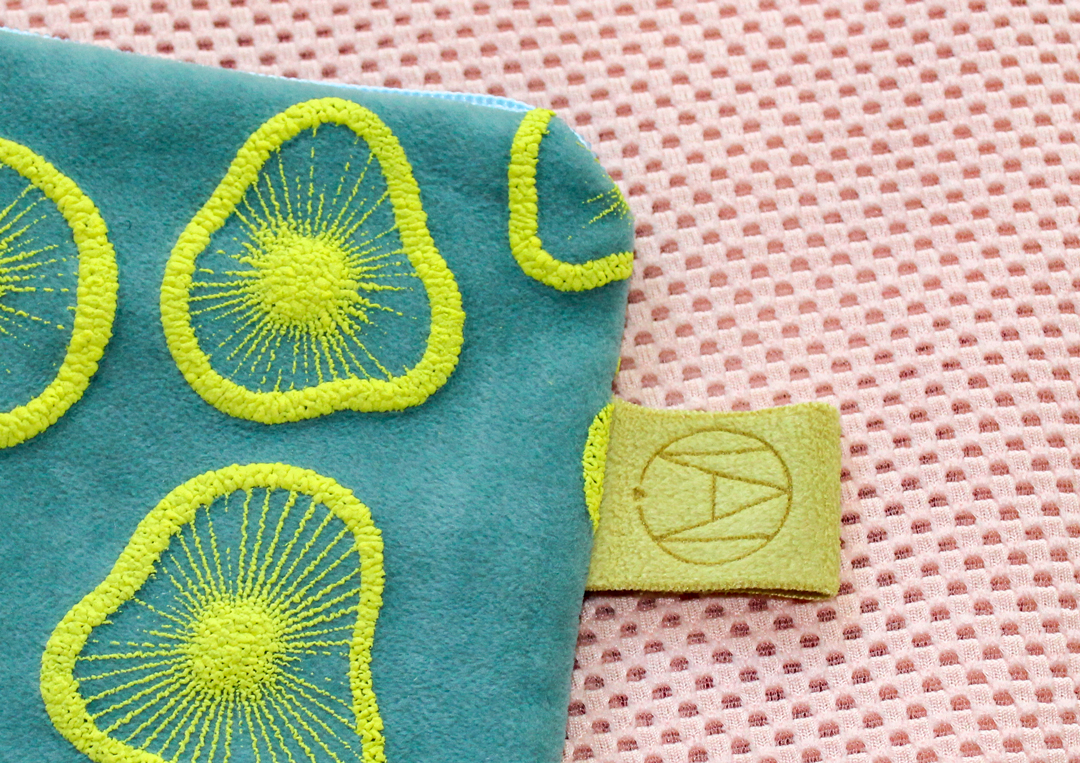
I wanted to create a label for the bags to make them look more finished. I created my own logo in procreate and transferred this to an illustrator file.
I made a template to engrave my logo into labels, with the laser cutter. After that, I've sewn everything together into a bag and finished it with the lock machine in the fabric station.

Finishing
I took the bags with me to the printmaking station where I used the heat gun to puff up the paint.
File:Tas project video3.mp4
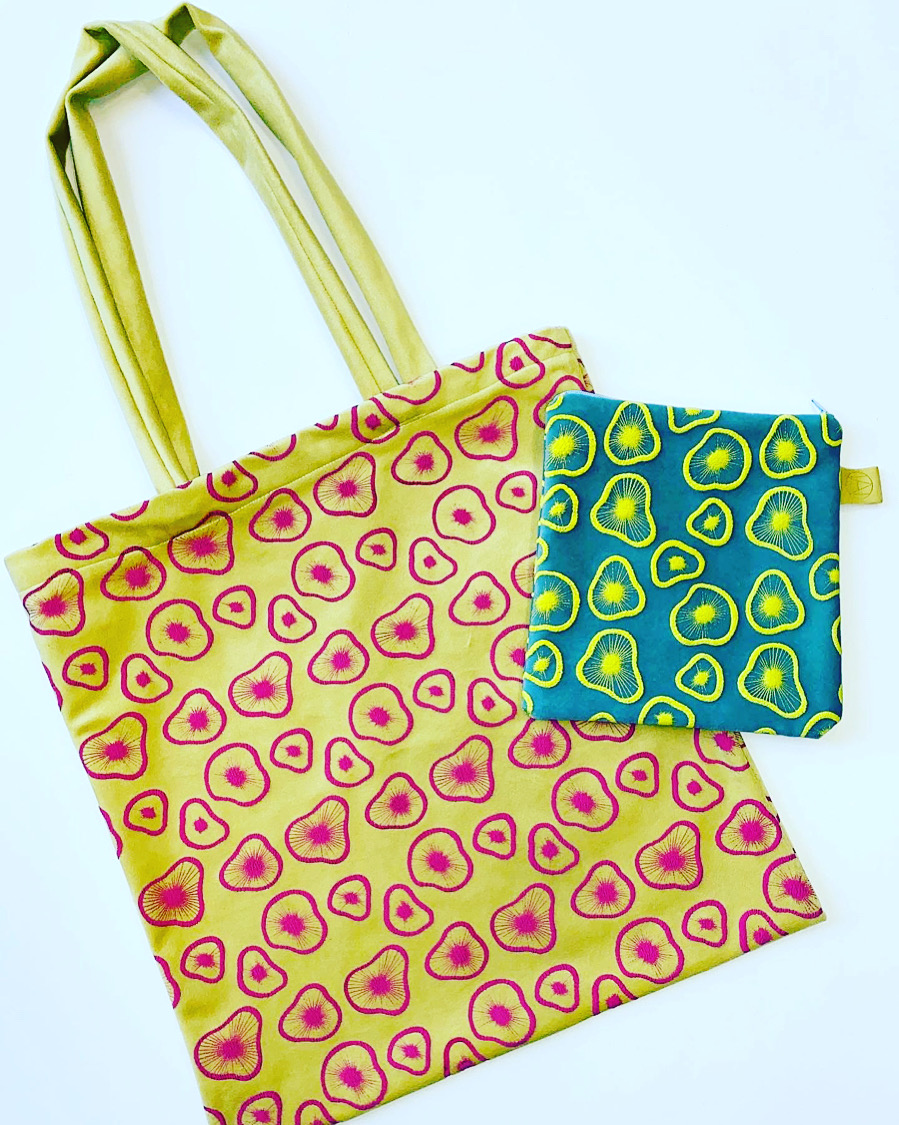
I did the same steps to create the pencil case, but here I also made a zipper on to the fabric.

