Difference between revisions of "Quickstartguide:Mirage"
From Publication Station
| (22 intermediate revisions by 5 users not shown) | |||
| Line 1: | Line 1: | ||
==Choosing paper and putting it in== | |||
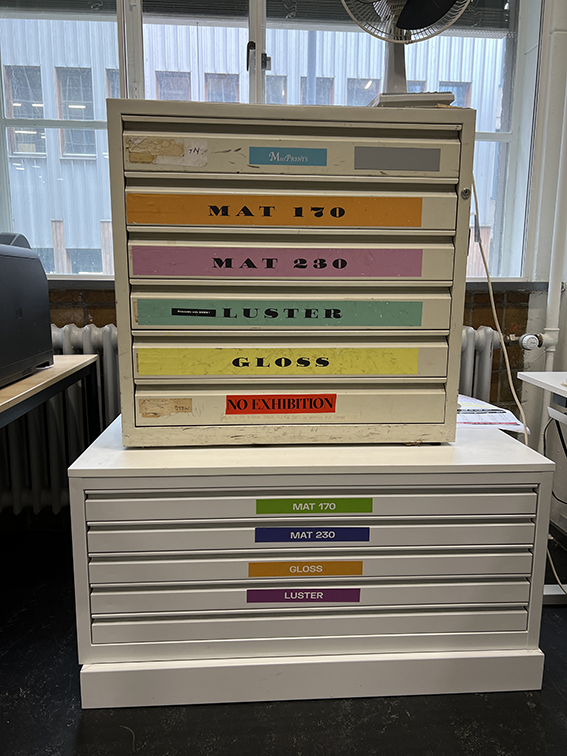
*Select the type and size of paper you will use from these drawers. | |||
[[File: 01 copy.png]] | |||
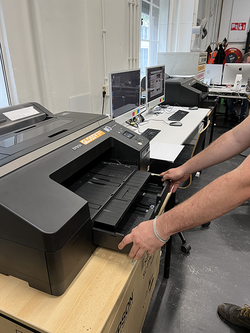
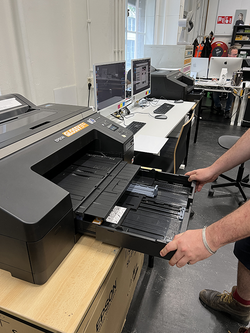
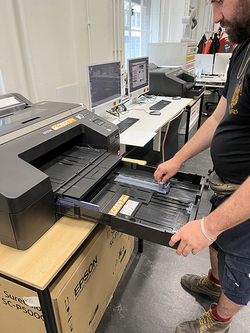
*On the printer, pull the drawer where you will place the paper.If you want to use matte paper, go to the printer with MATTE sticker on it if you want to use glossy or luster paper use the printer with the GLOSSY sticker. | |||
[[File: 03 copy.png | 250px]][[File: 04 copy.png | 250px]][[File: 05 copy.png | 250px]] | |||
*Place the paper always with the printable side down, touching the edges of the far-right corner of the drawer.It is very important for the A4 230 matte paper, luster paper and glossy | |||
[[File: 06 copy.png | 250px]][[File: 07work.png | 250px]] | |||
[[File: | *Adjust the guides so they touch the paper. Careful not to push them so much that they bend it. | ||
[[File: 08 copy.png | 250px]][[File: 09 copy.png | 250px]] | |||
*Push the drawer back in slowly but firmly until it is fully back. | |||
[[File: 10 copy.png | 250px]] | |||
==Sending and printing your file== | |||
*Drag the file you want to print to one of the M logos. Chose the one that has the same paper dimensions on the name. | |||
[[File: 11 copy.png | 600px]] | |||
*Make sure that the size of the image is correct. Look at the preview to see how the image will look in the paper. | |||
[[File: 12 copy.png | 600px]] | |||
*Chose the amount of copies | |||
[[File: | [[File: 13 copy.png | 600px]] | ||
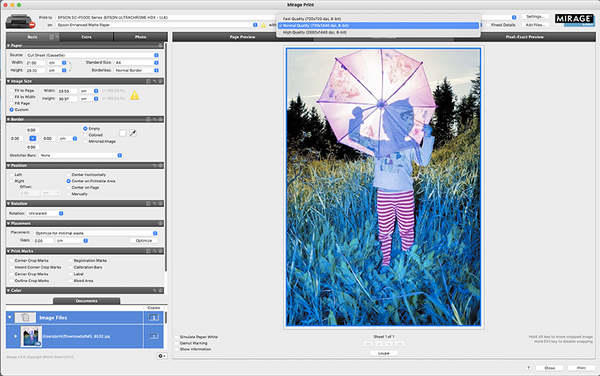
*You can change the quality of the print. | |||
[[File: 14 copy.png | 600px]] | |||
*Click print. | |||
Latest revision as of 11:13, 31 August 2023
Choosing paper and putting it in
- Select the type and size of paper you will use from these drawers.
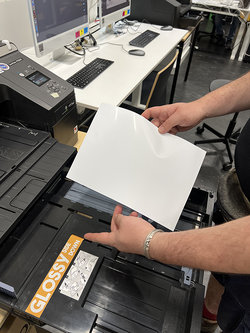
- On the printer, pull the drawer where you will place the paper.If you want to use matte paper, go to the printer with MATTE sticker on it if you want to use glossy or luster paper use the printer with the GLOSSY sticker.
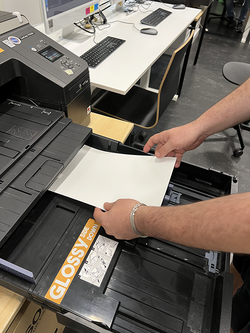
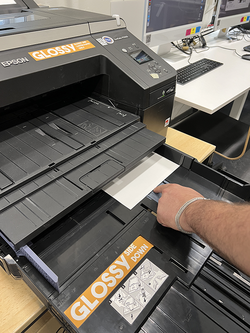
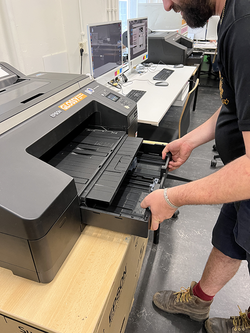
- Place the paper always with the printable side down, touching the edges of the far-right corner of the drawer.It is very important for the A4 230 matte paper, luster paper and glossy
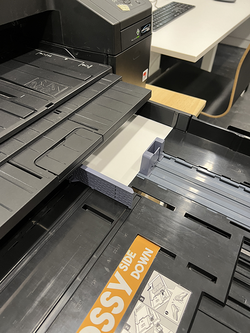
- Adjust the guides so they touch the paper. Careful not to push them so much that they bend it.
- Push the drawer back in slowly but firmly until it is fully back.
Sending and printing your file
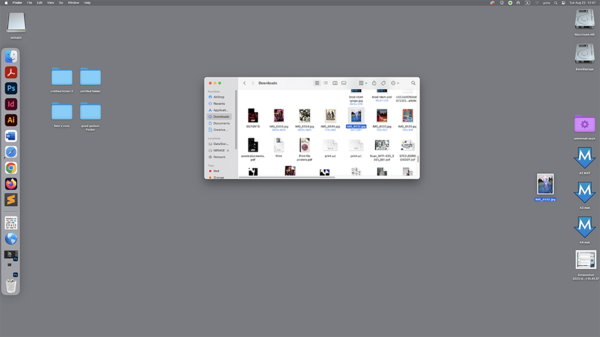
- Drag the file you want to print to one of the M logos. Chose the one that has the same paper dimensions on the name.
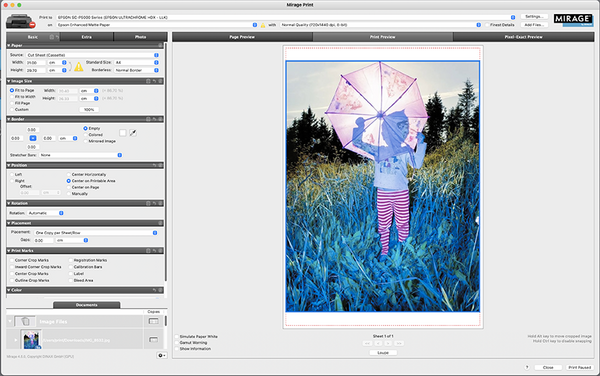
- Make sure that the size of the image is correct. Look at the preview to see how the image will look in the paper.
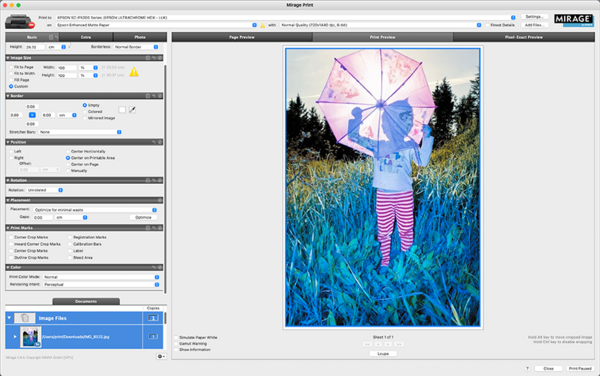
- Chose the amount of copies
- You can change the quality of the print.
- Click print.
