Quickstartguide:Roland: Difference between revisions
From Publication Station
No edit summary |
No edit summary |
||
| Line 1: | Line 1: | ||
{{Template:Quickstartguide}} | {{Template:Quickstartguide}} | ||
=== Prepare the file === | |||
* Open Illustrator on the iMac | * Open Illustrator on the iMac | ||
* Open your file | * Open your file | ||
| Line 8: | Line 9: | ||
[[File:Create outlines.png|700px]] | [[File:Create outlines.png|700px]] | ||
[[File:Outlines created.png|700px]] | [[File:Outlines created.png|700px]] | ||
== Prepare the plotter == | |||
* Set the blade or pen. Always make sure they are in place before cutting. If you don't find it inserted, look behind the plotter in the pencil holder. [[#pen|Dont know how?]] | * Set the blade or pen. Always make sure they are in place before cutting. If you don't find it inserted, look behind the plotter in the pencil holder. [[#pen|Dont know how?]] | ||
* Place your Sheet or Roll in the plotter. [[#set|Dont know how?]] | * Place your Sheet or Roll in the plotter. [[#set|Dont know how?]] | ||
| Line 21: | Line 24: | ||
<br> | <br> | ||
== Roland Cut Studio setups == | |||
* Open the CutStudioPlugin by clicking on the Illustrator menu Window>Extensions>RolandCutStudio | * Open the CutStudioPlugin by clicking on the Illustrator menu Window>Extensions>RolandCutStudio | ||
[[File:Window extension.png|800px]] | [[File:Window extension.png|800px]] | ||
| Line 28: | Line 31: | ||
[[File:First window extension.png|400px]] | [[File:First window extension.png|400px]] | ||
<br> | <br> | ||
=== Output options === | |||
* Depending on the setting, you may have to '''select everything in your graphic you want to plot''' | * Depending on the setting, you may have to '''select everything in your graphic you want to plot''' | ||
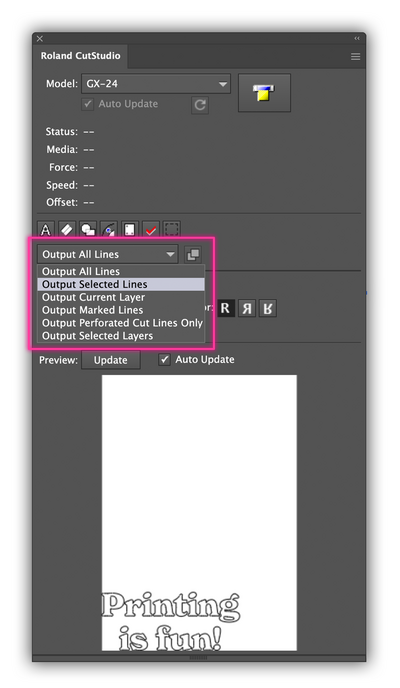
* You can also set what you would like to cut through the window highlighted in the screenshot. | * You can also set what you would like to cut through the window highlighted in the screenshot. | ||
| Line 35: | Line 39: | ||
[[File:Move to origin window.png|400px]] | [[File:Move to origin window.png|400px]] | ||
[[File:Originsetup.jpg|400px]] | [[File:Originsetup.jpg|400px]] | ||
=== Cut the design === | |||
* When you're ready, click the button with the plotter graphic | * When you're ready, click the button with the plotter graphic | ||
<br> | <br> | ||
| Line 43: | Line 47: | ||
[[File:Cutstudio-plotscreen.png]] | [[File:Cutstudio-plotscreen.png]] | ||
<br> | <br> | ||
== <span id="set"></span> Setting Media == | == <span id="set"></span> Setting Media == | ||
Revision as of 11:26, 22 March 2022
Prepare the file
- Open Illustrator on the iMac
- Open your file
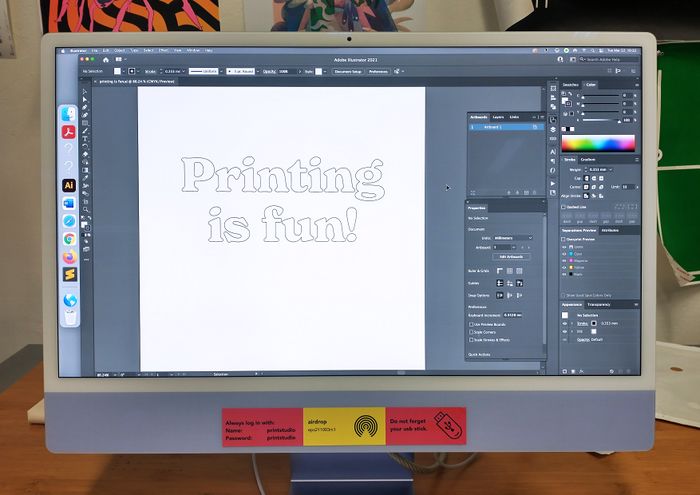
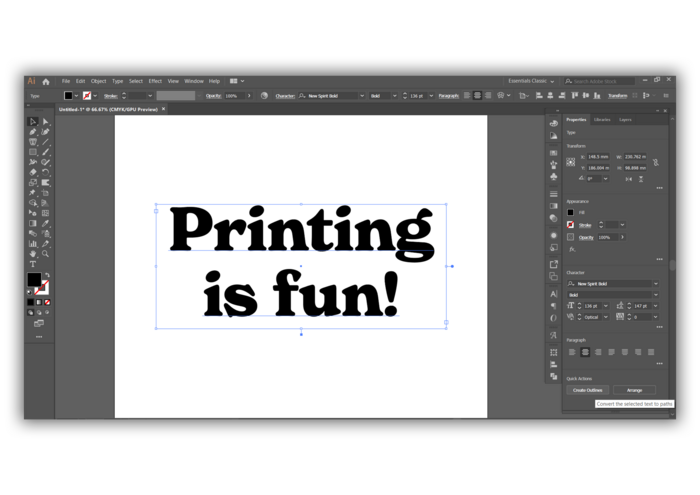
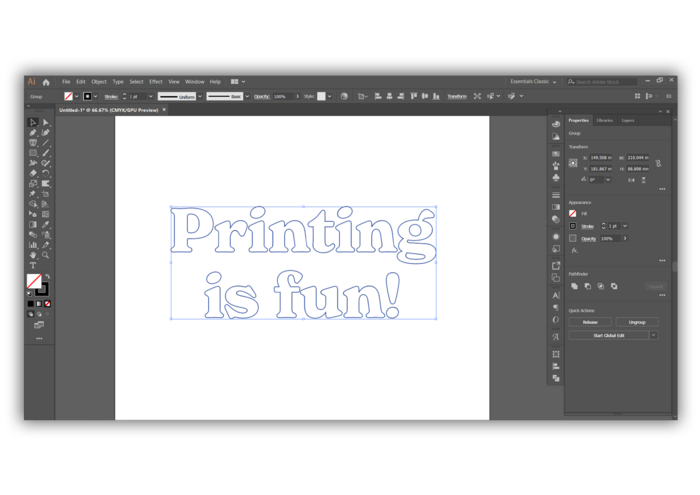
- If you have text, make sure you have made them into outlines. You can do it by selecting your text box and look for the option "Create Outlines" in quick actions or ---> (Type>Create Outlines/Shift+Ctrl+O)
Prepare the plotter
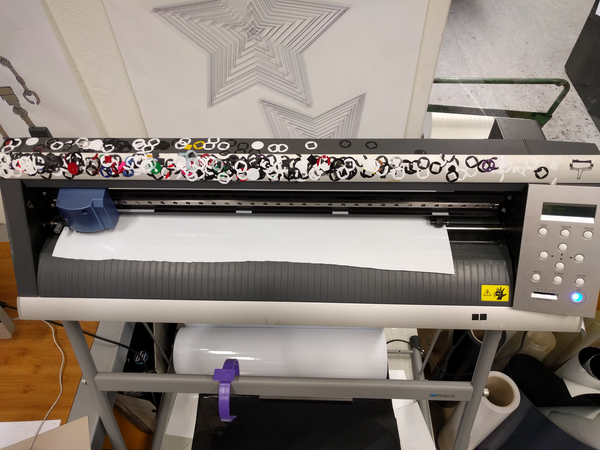
- Set the blade or pen. Always make sure they are in place before cutting. If you don't find it inserted, look behind the plotter in the pencil holder. Dont know how?
- Place your Sheet or Roll in the plotter. Dont know how?
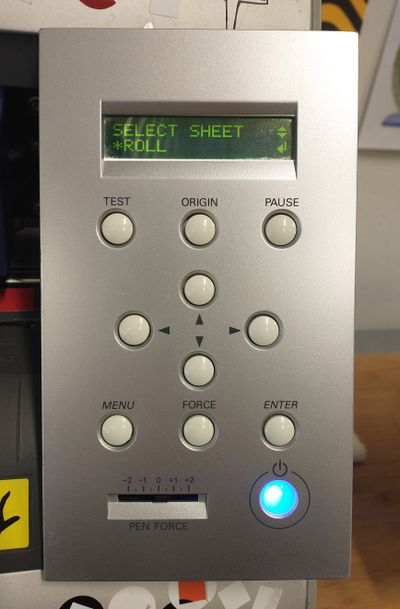
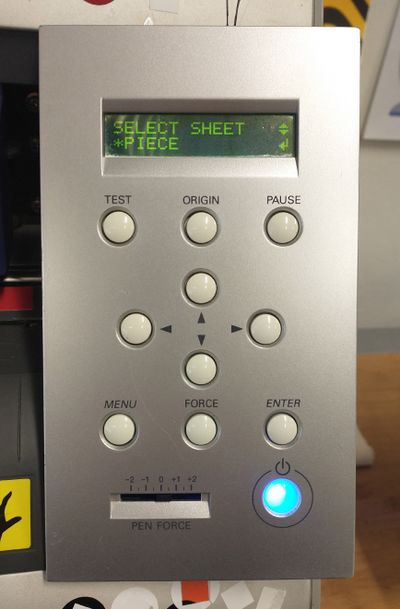
- Select the media type on the display and then press the enter button.
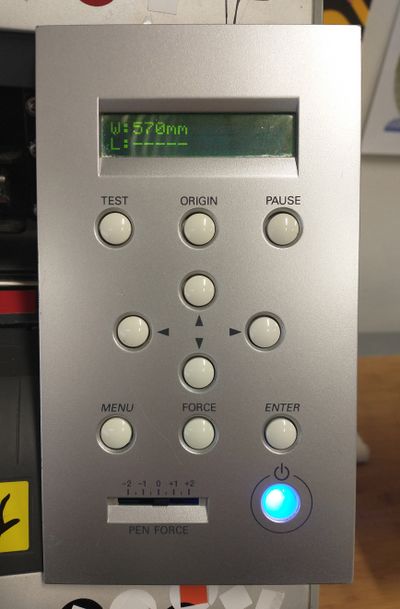
- The plotter will show you the width of the roll, and measure the width and length of your sheet. Verify that your graphic in Illustrator is not bigger than the plot area
Roland Cut Studio setups
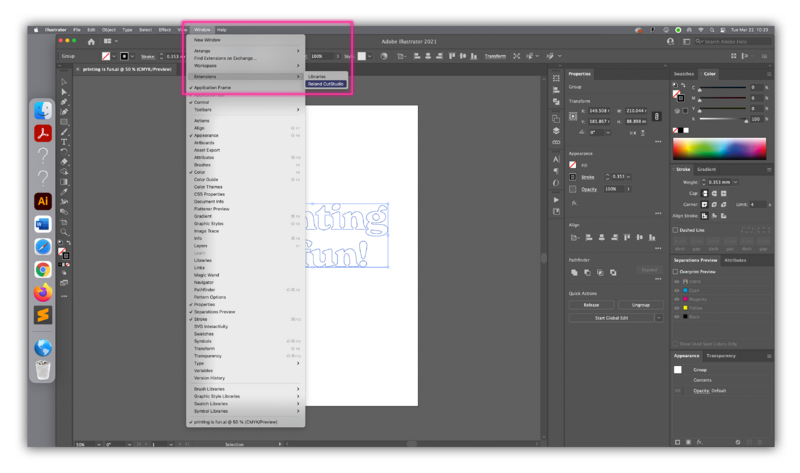
- Open the CutStudioPlugin by clicking on the Illustrator menu Window>Extensions>RolandCutStudio
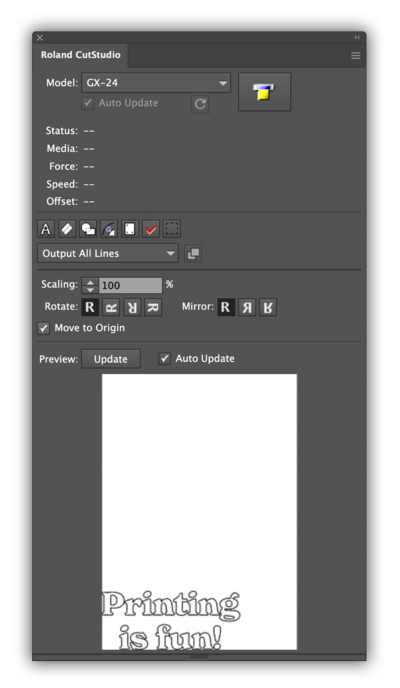
- The preview box will show you what will be plot
Output options
- Depending on the setting, you may have to select everything in your graphic you want to plot
- You can also set what you would like to cut through the window highlighted in the screenshot.
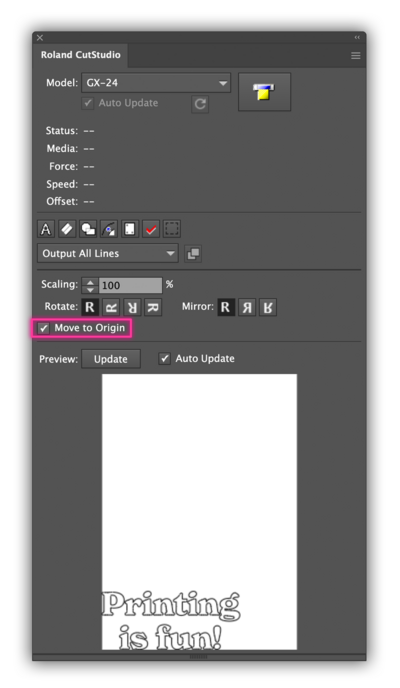
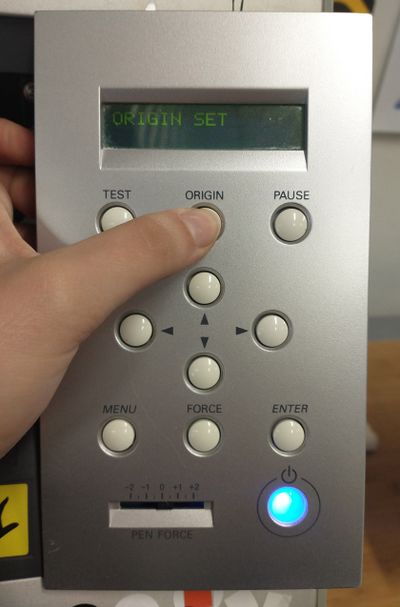
- To make the knife start cutting/drawing in a given position on the piece of vinyl/paper, move the knife with the arrows and then press the button "Set Origin" on the plotter. Then make sure to tick the "Move to origin box on the Roland Cut Studio extension window as shown here.
Cut the design
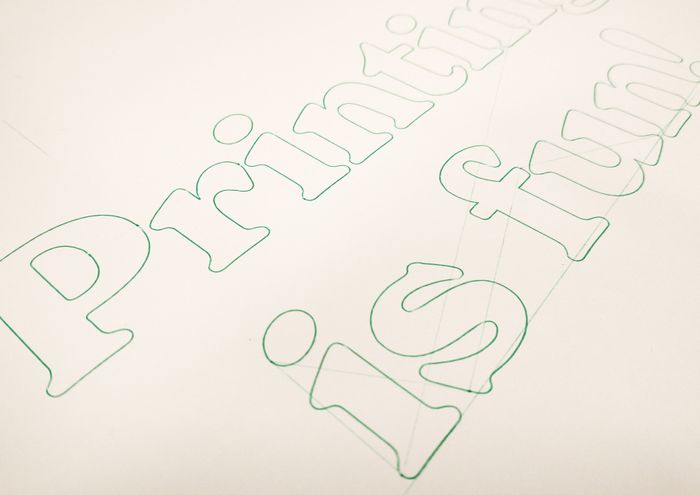
- When you're ready, click the button with the plotter graphic
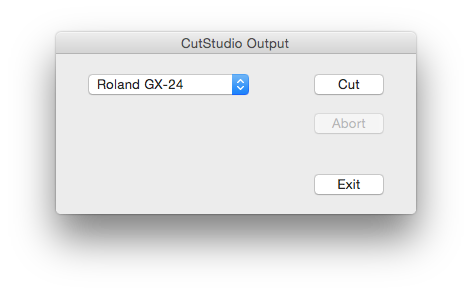
- If the plotter is detected, click "Cut"
Setting Media
When setting up the media you will need to do the following:
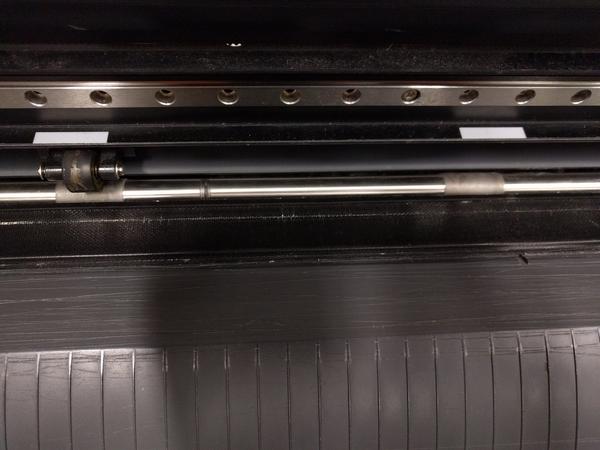
- Set the rollers under the white markings.
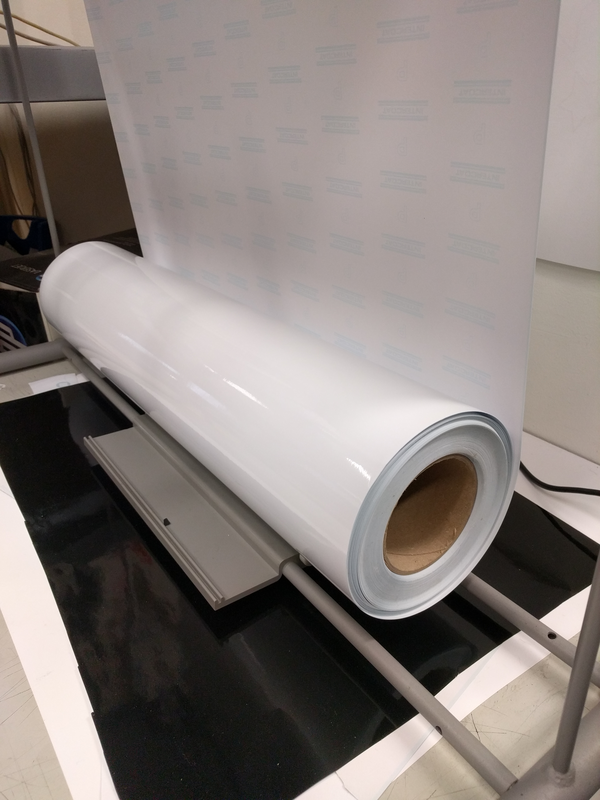
- When using a roll, place it in the holder at the base of the machine
- Then feed the edge of the roll from the back to the front so that it is under the rollers
- When using a sheet, feed it in making sure that it is under the rollers
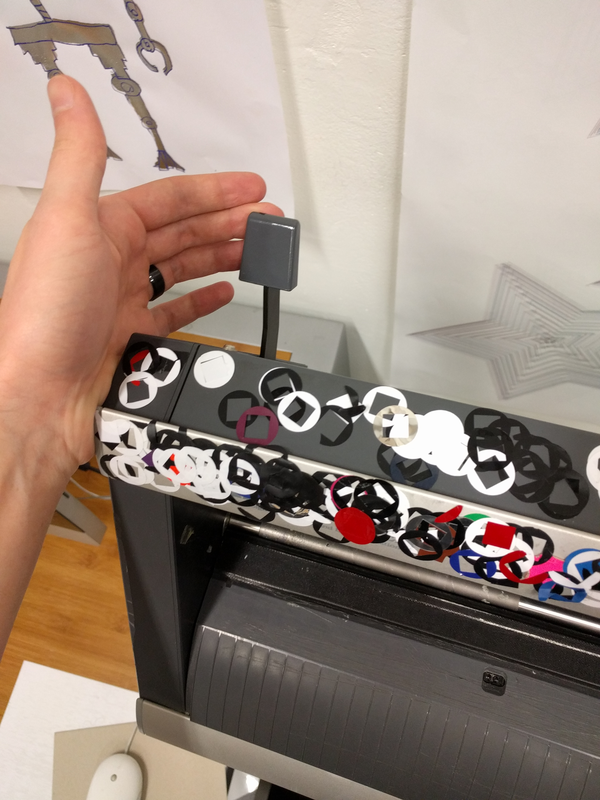
- Clamp the roll or sheet using the lever by pulling it towards you
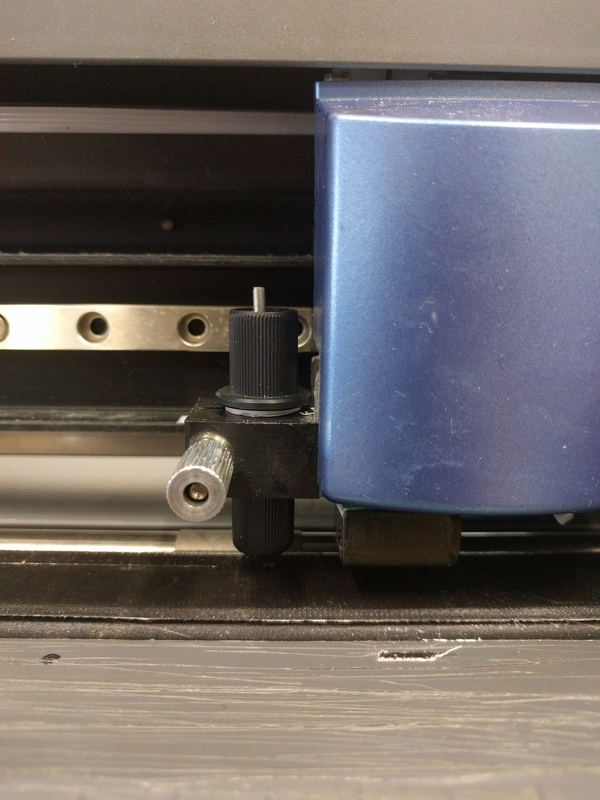
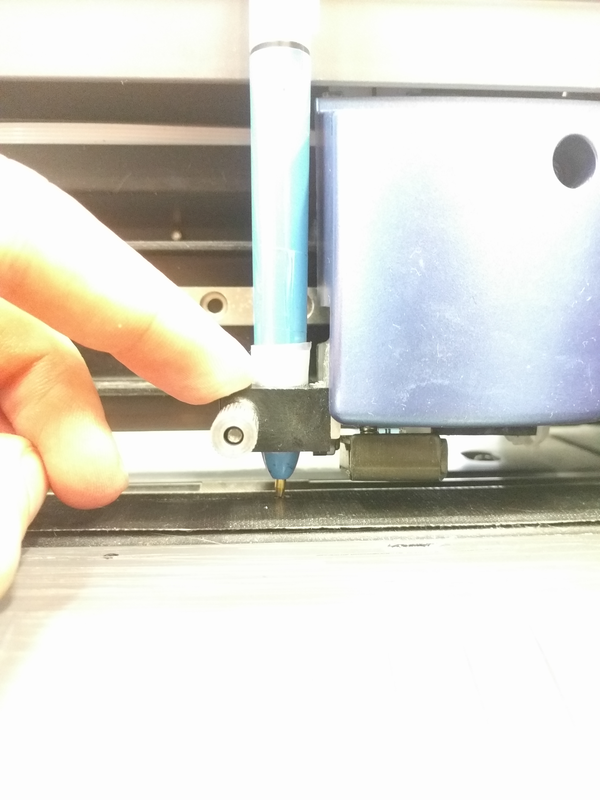
Changing Pen/Blade
- Loosen the blade holder by screwing the silver tightener anti-clockwise
- If you are inserting a pen, make sure that when the holder is completely pressed the pen touches the surface you wish to draw on.
- If you are inserting a blade, make sure that it is inserted as far as it can go.
- Tighten the tightener by screwing it clockwise
- Plot
