Quickstartguide talk:Riso
From Publication Station
There are two stages involved in printing on the RISO. First Master creation, then Printing.
Step 1. Master Creation
with the Computer
- Create a file or layer per colour you want to print in greyscale
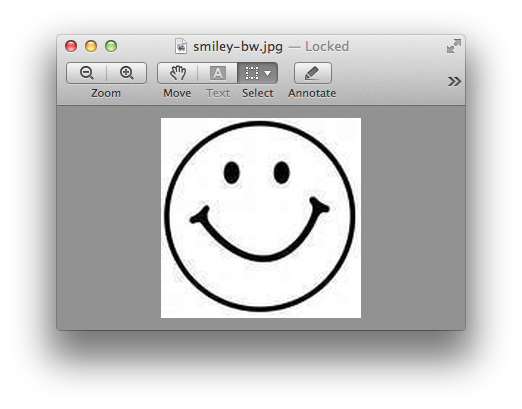
- Open your file
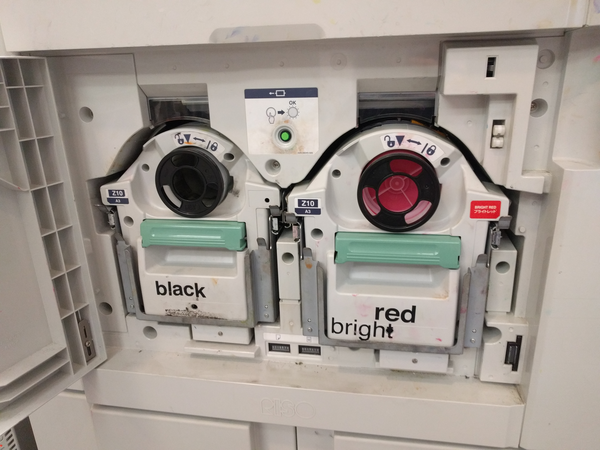
- Place the colour(s) that you want into the RISO making sure that your chosen colour is in the left hand side. Don't know how?
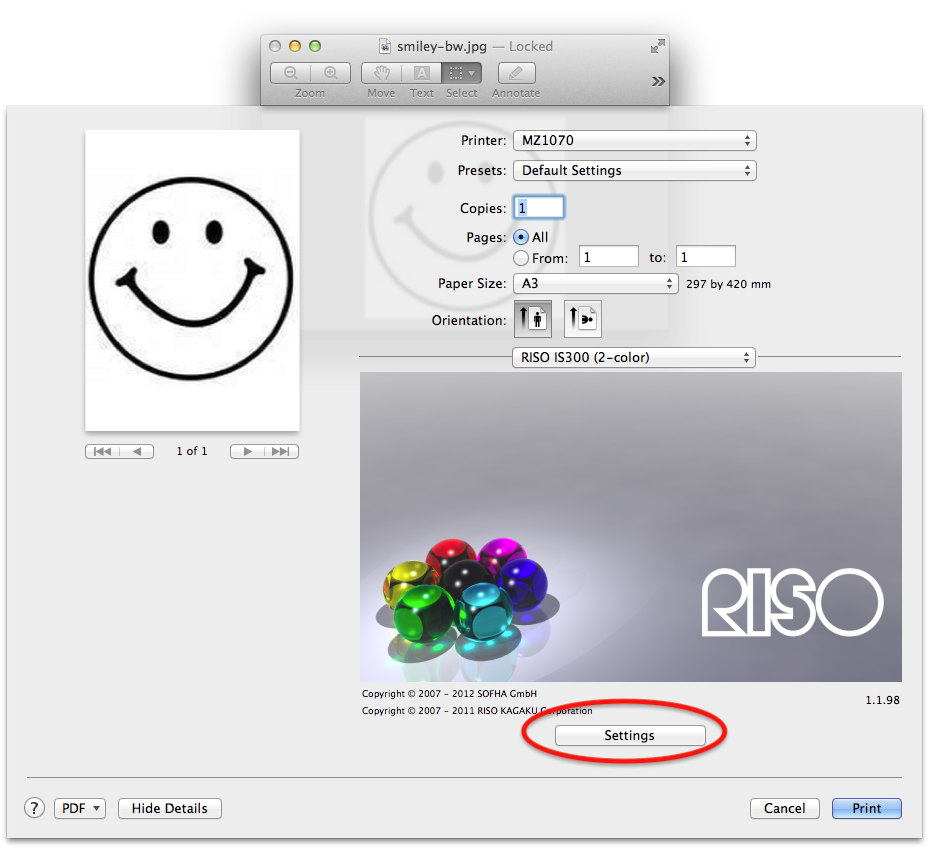
- Open the Print dialogue, or press Ctrl+P
- Go to RISO IS300, and click "Settings"
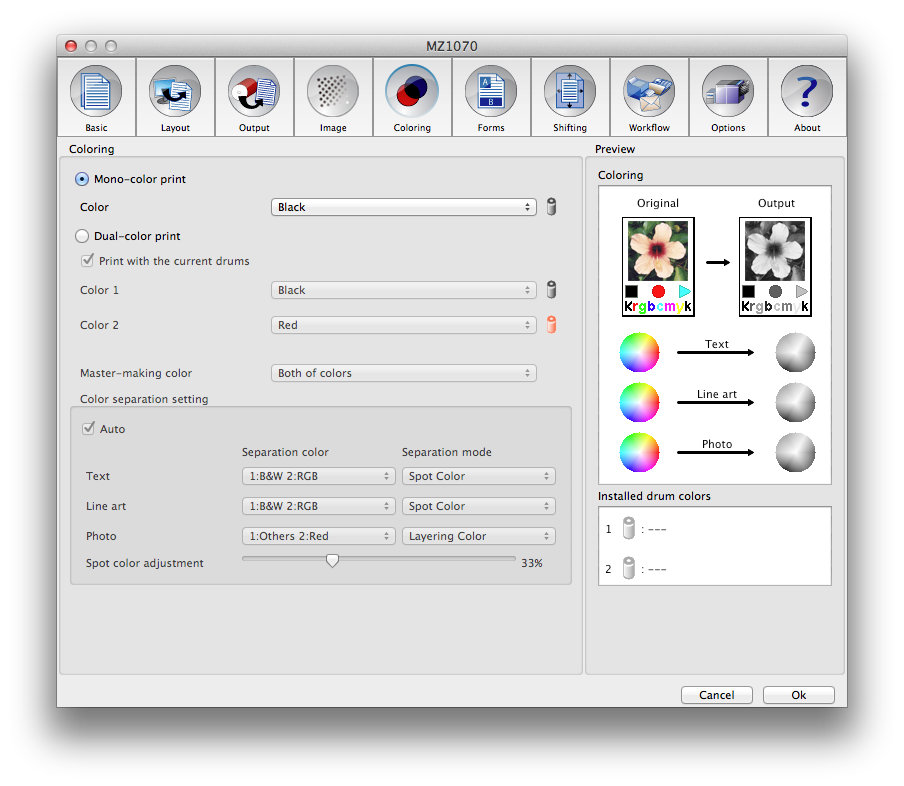
- Make sure that under Coloring you have selected the colours that you have inserted into the machine
- Check and set any other settings you like (like paper size)
- Place paper into the RISO
- Press Print to create the master
Step 2. Printing
- First make your Master(s) (see above)
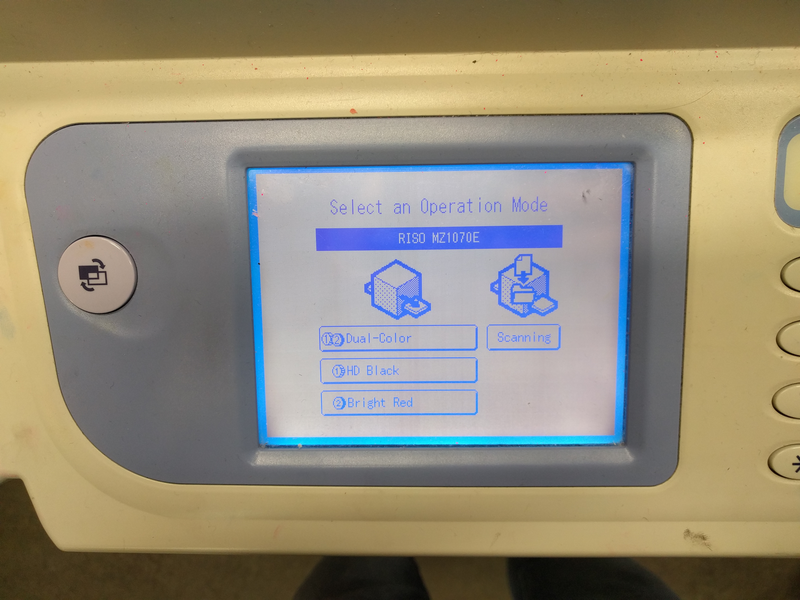
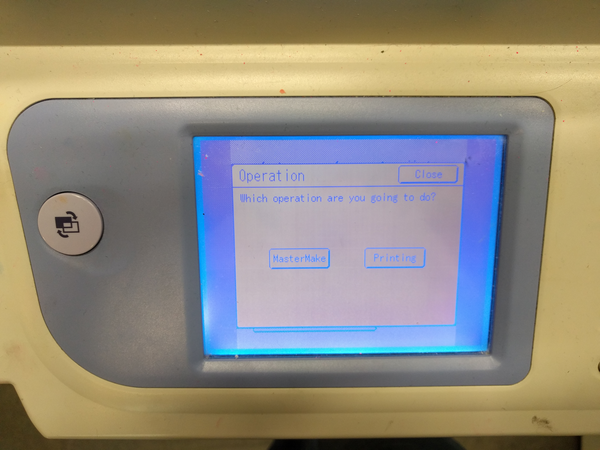
- Go to the screen on the RISO
- Select Drum 1 or Dual-Color
- Select Printing
- Place your paper in the feed tray
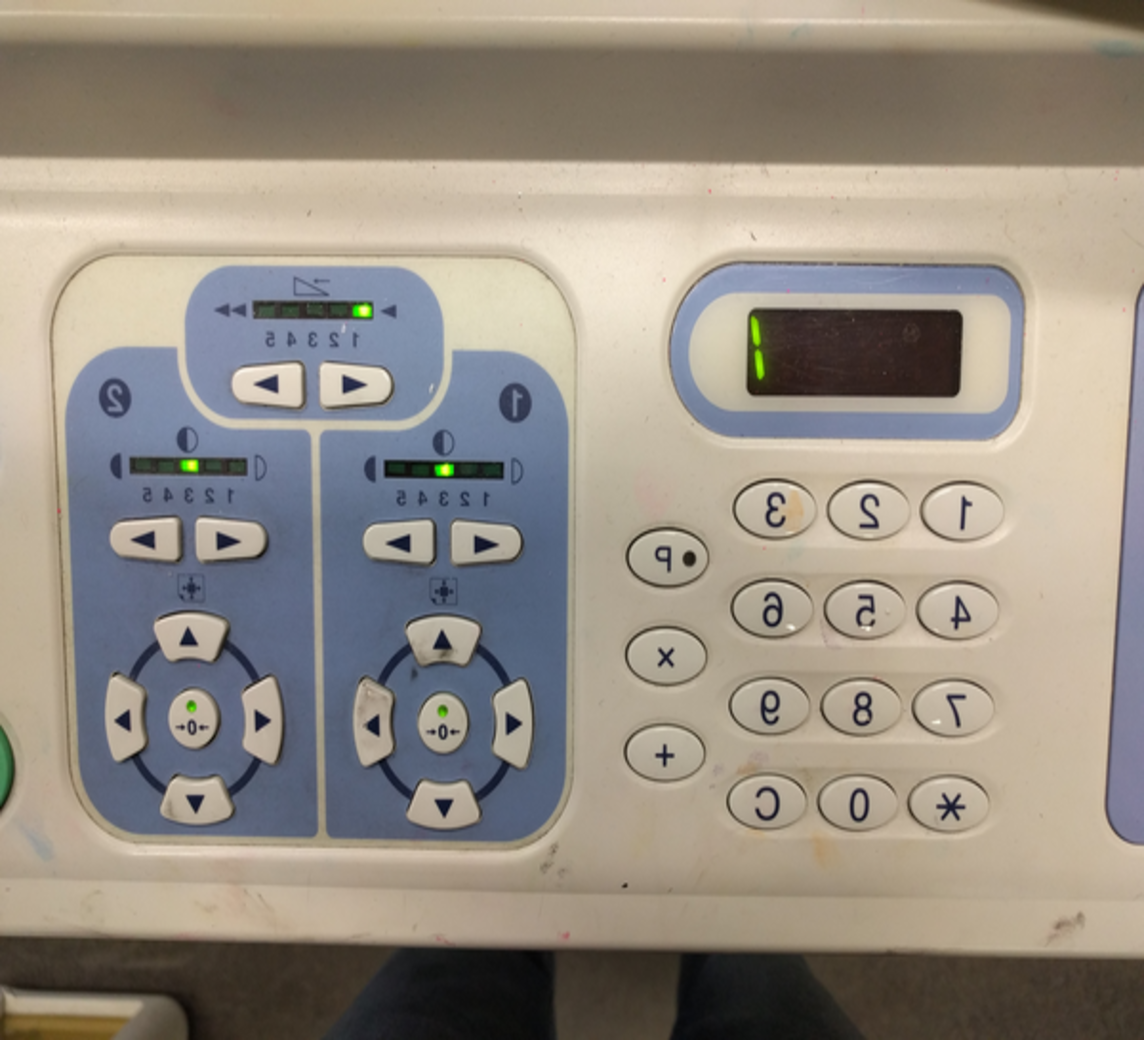
- Select how many copies you would like to make
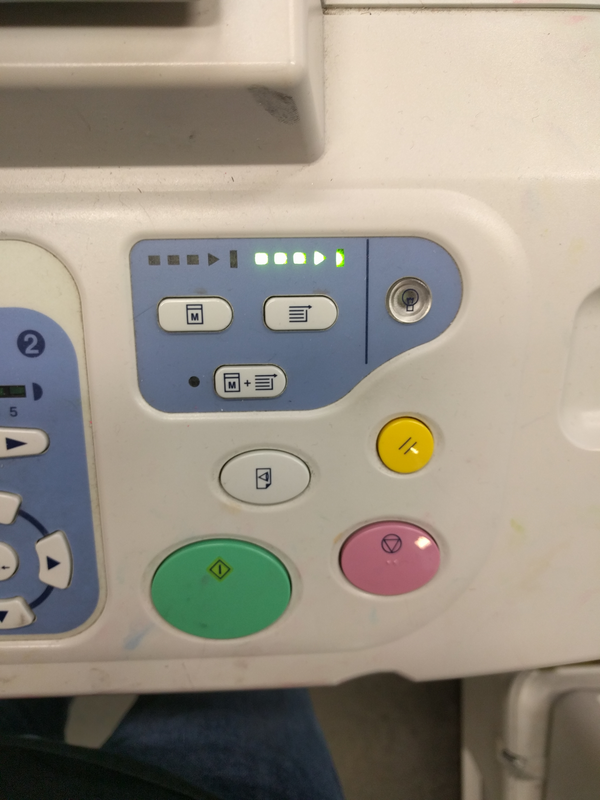
- Press the green button
File Preparation
Switching Colours
- Open the front of the RISO
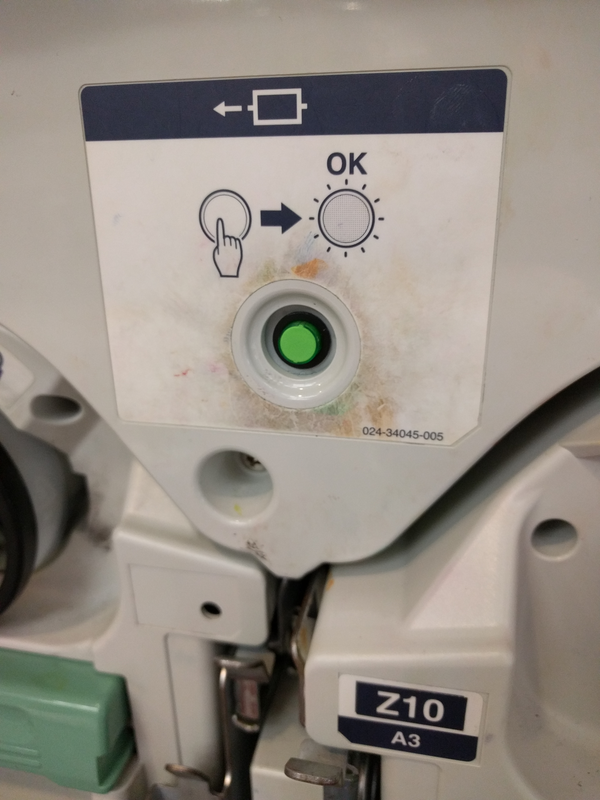
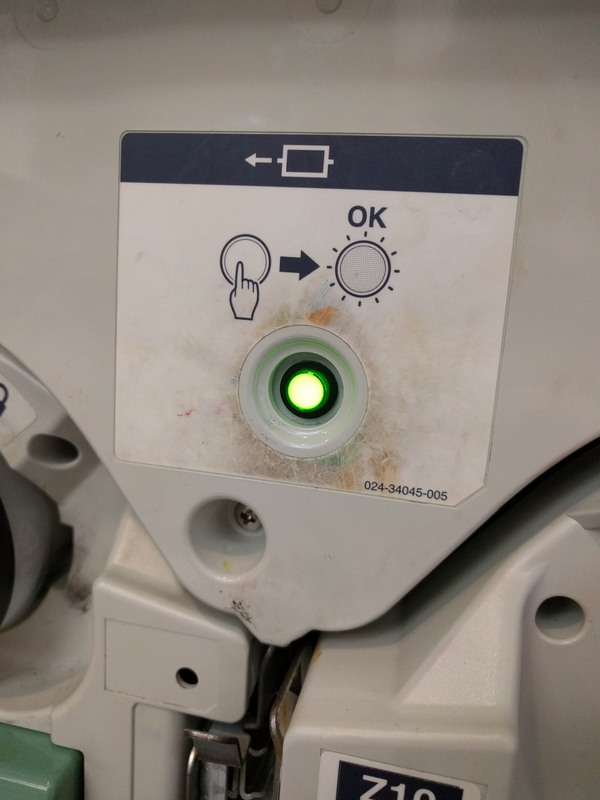
- Press the green button to release the drums
- Wait until the button is solid green
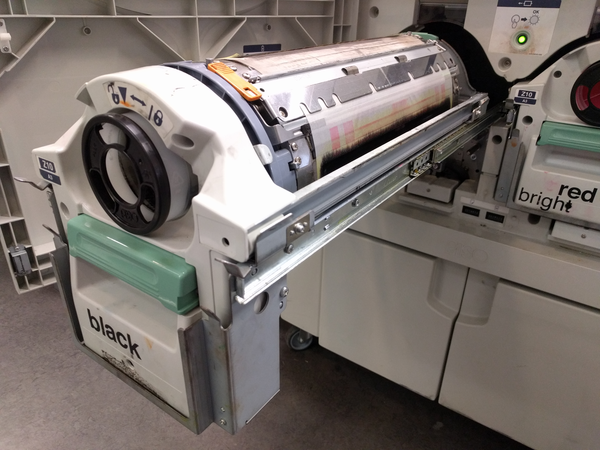
- Roll out the colour that you wish to change
- Pick it up by the green handles
- Place it carefully ontop of another colour box
- Take out the colour you wish to use
- Place into the empty drum tray and roll it back in until it clicks closed
- Close the door
- Place un-wanted colour into now empty colour box
- Print!
