Quickstartguide:Riso
From Publication Station
There are two stages involved in printing on the RISO. First Master creation, then Printing.
Step 1. Choose colour
- Turn on the RISO printer
- Open the front of the RISO
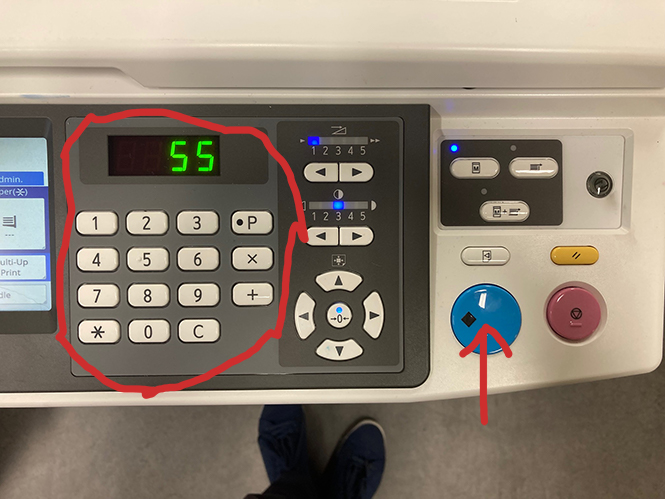
- Press the blue button to release the drums
- Wait until the button is solid blue
- Roll out the colour that you wish to change
- Pick it up by the blue handles
- Take out the colour you wish to use
- Place into the empty drum tray and roll it back in until it clicks closed
- Close the door
Step 2. Master Creation
with the Computer
- Create a file or layer per colour you want to print in greyscale
- Open your file
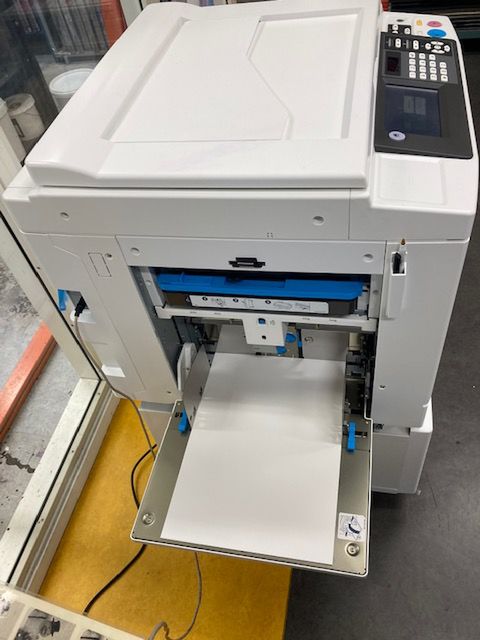
- Place paper into the RISO
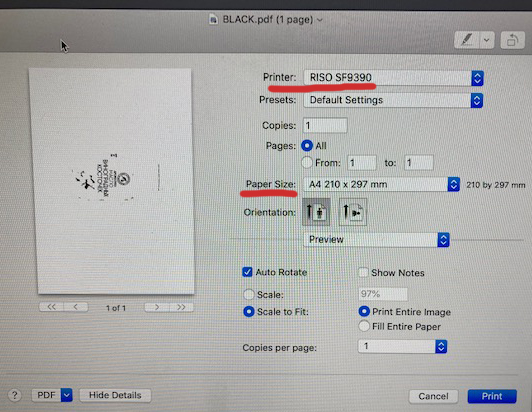
- Choose the RISO SF9390 printer, then check and set any other settings you like. (paper size etc) When done press Print to create the master
Step 3. Printing
3.1. Opening the printing dialogue window
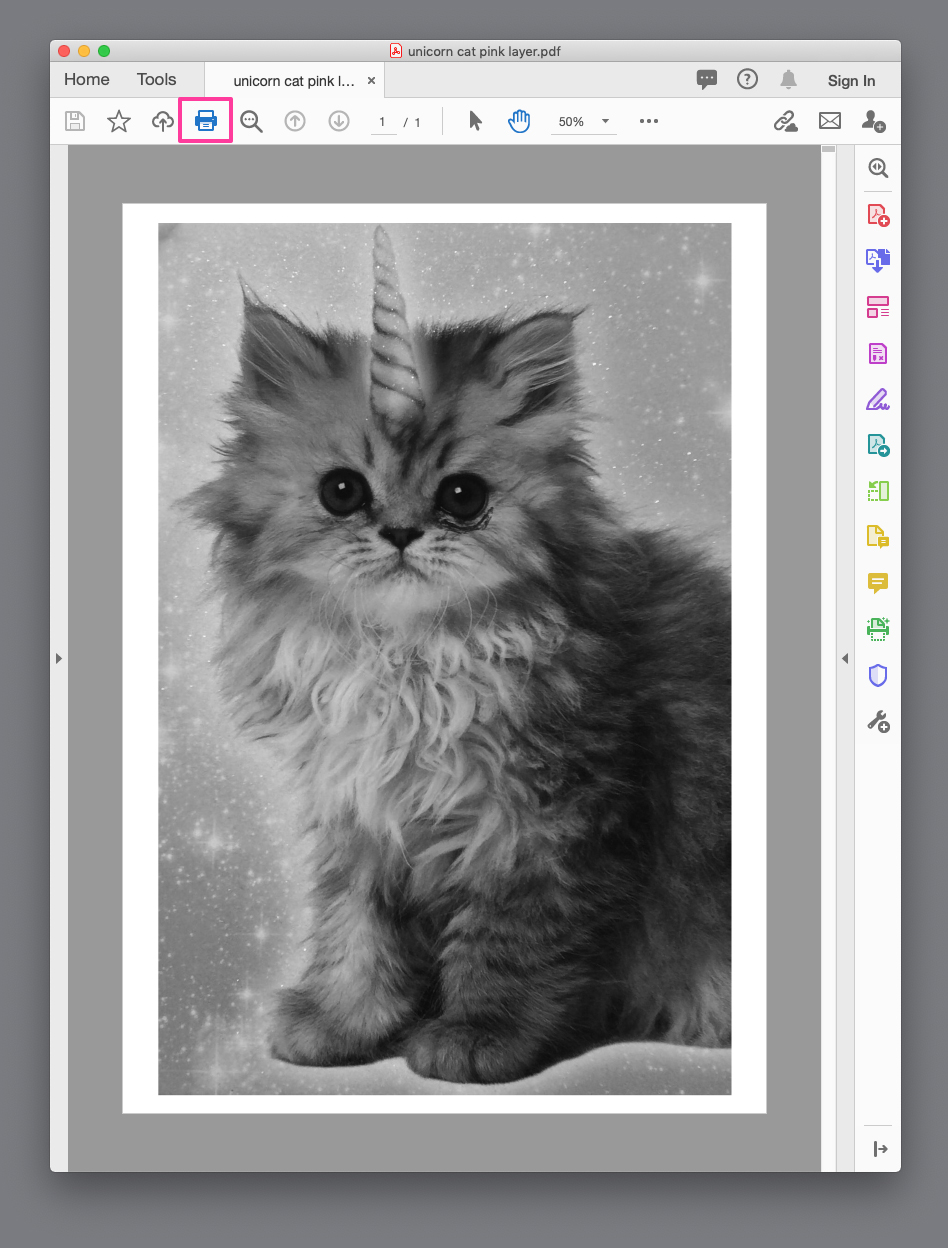
- Open the pdf file with the black and white image in Acrobat
- Click the printing icon on the top left
- Place your paper in the feed tray
- Select how many copies you would like to make and press the blue button
spectrolite is a program that can help you to make colour separations for the Riso

