Print Studio/singlesided a4a3 canon
PRINTING SINGLE-SIDED A4/A3
Preparations
a) Airdrop your files to the computer (address: eps…PrintL; eps…PrintS) It’s going to land in the Downloads folder.
b) Drag and drop your file to HELD folder of the Fiery Command WorkStation.
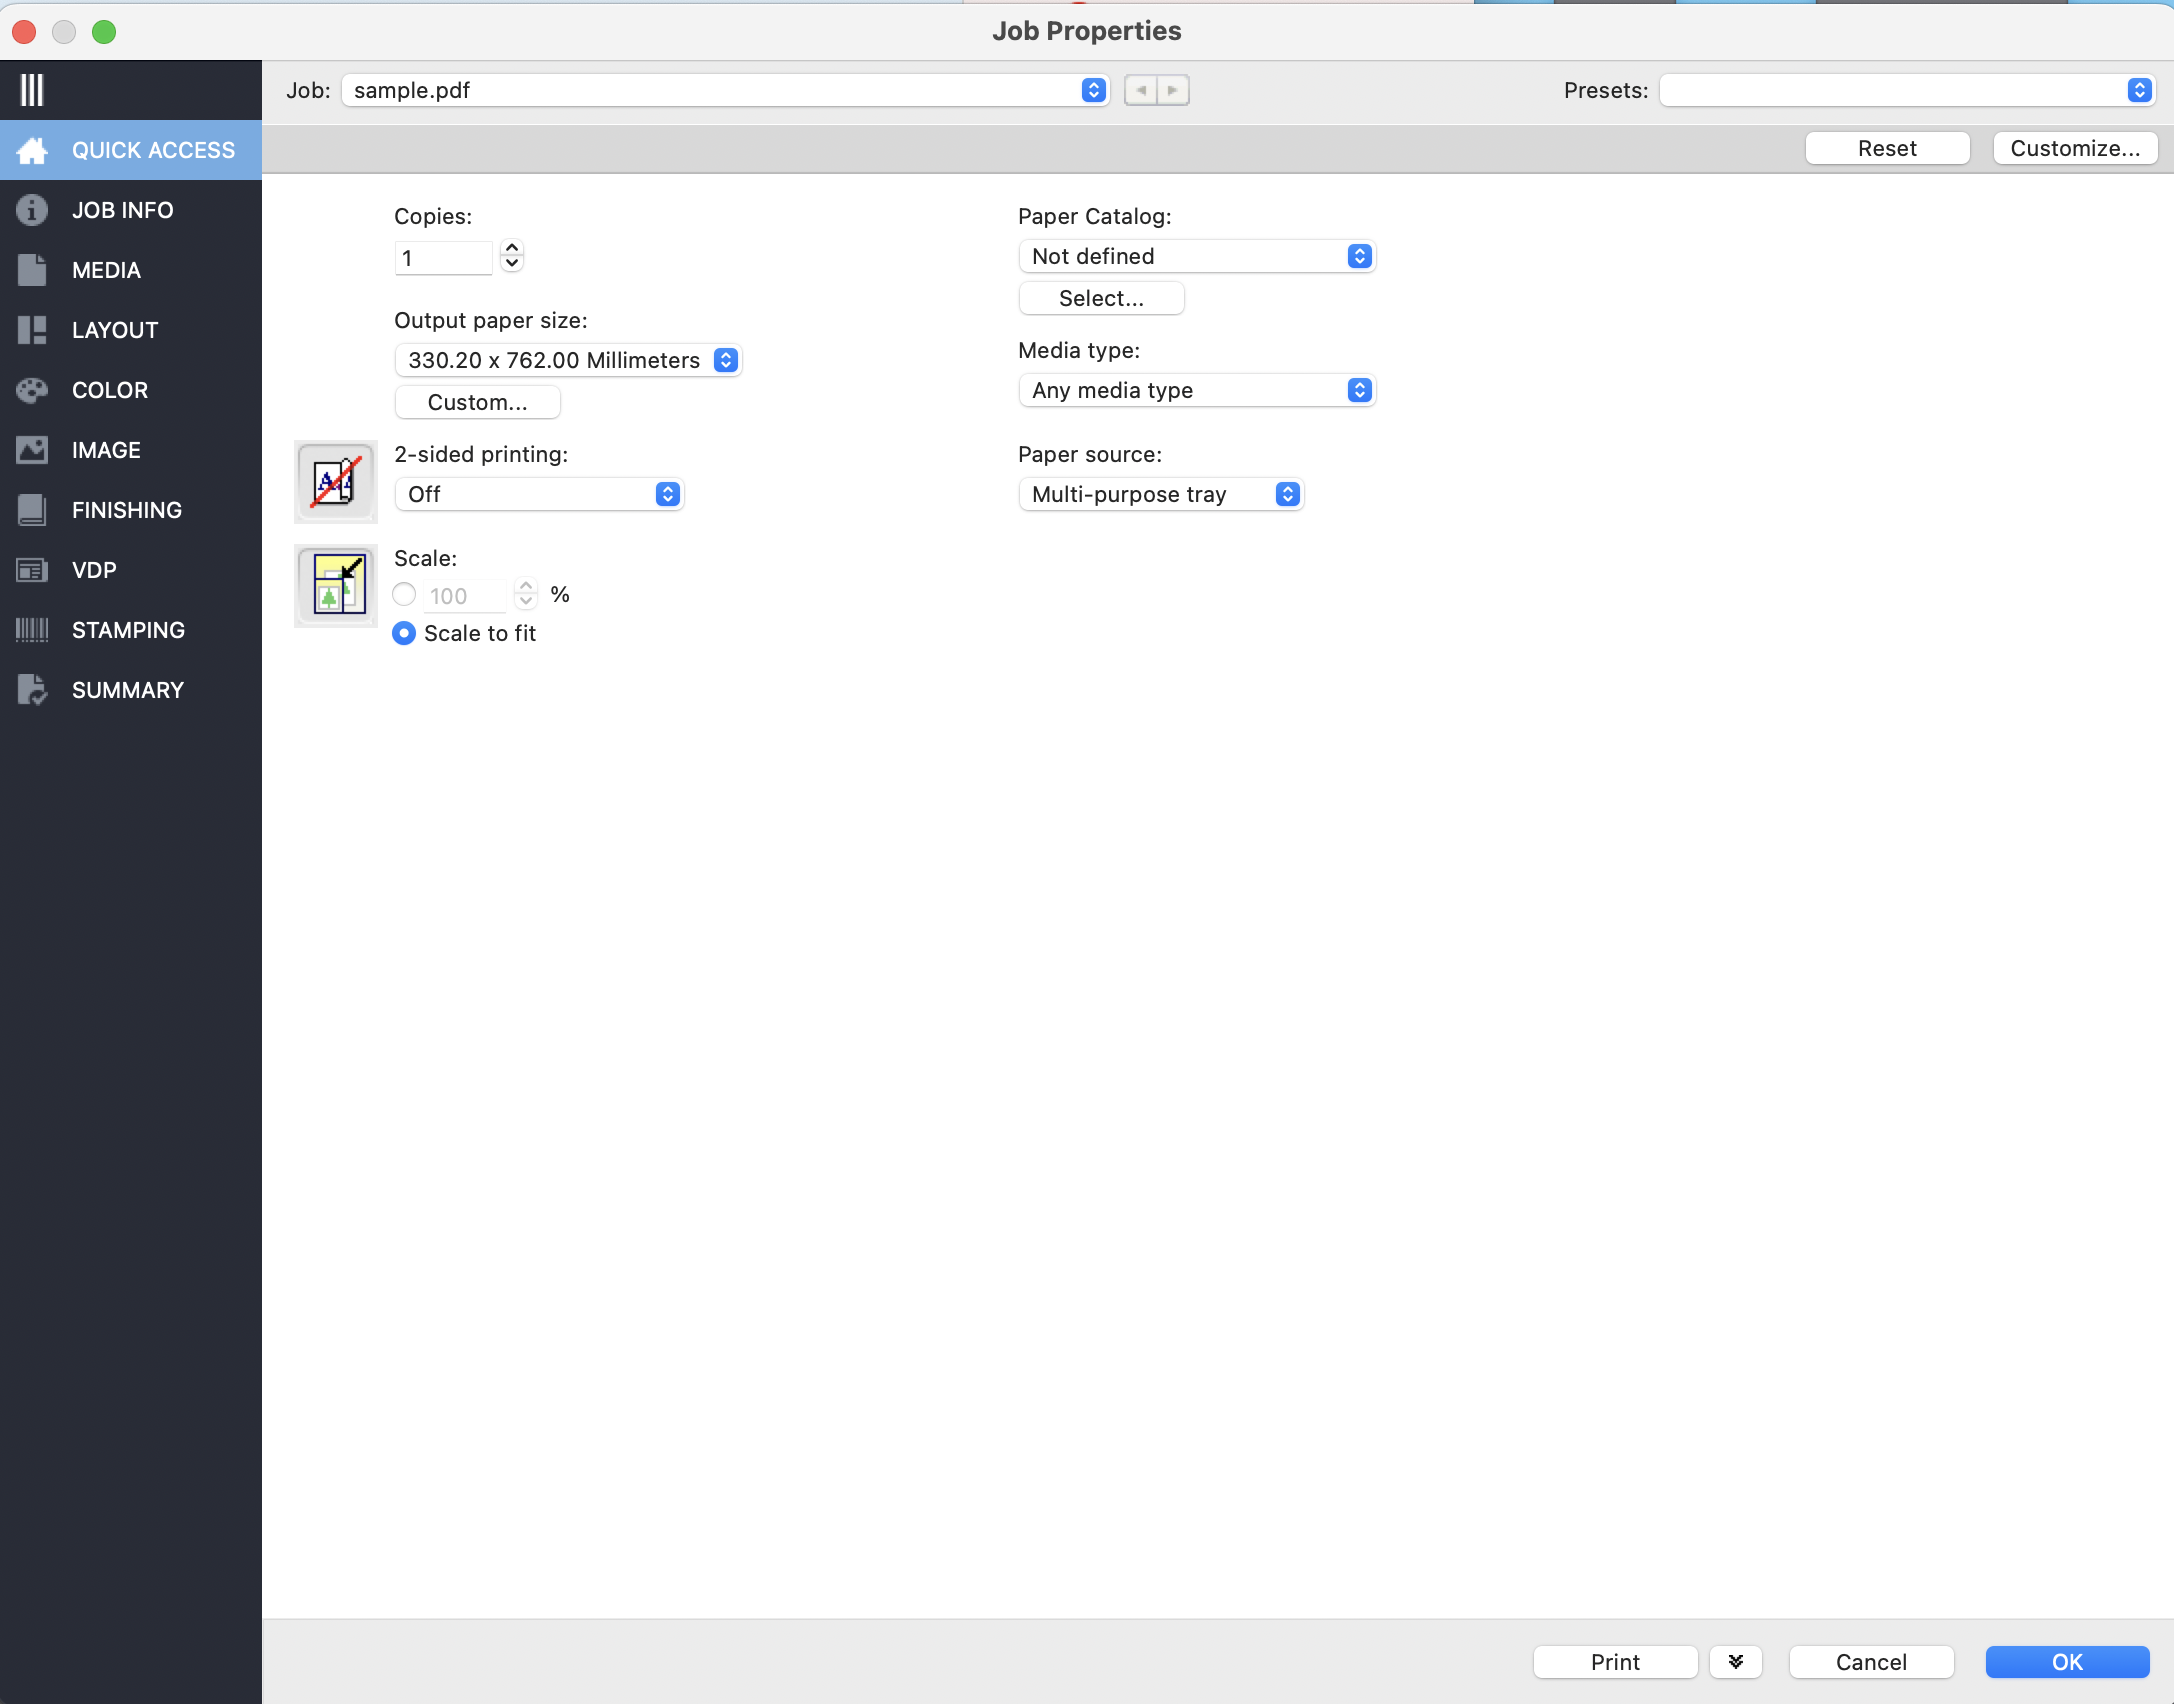
c) Double click on your file to open the Properties Panel.
d) Go to Quick Access.
2.0 Printing on the cheapest, most regular paper.
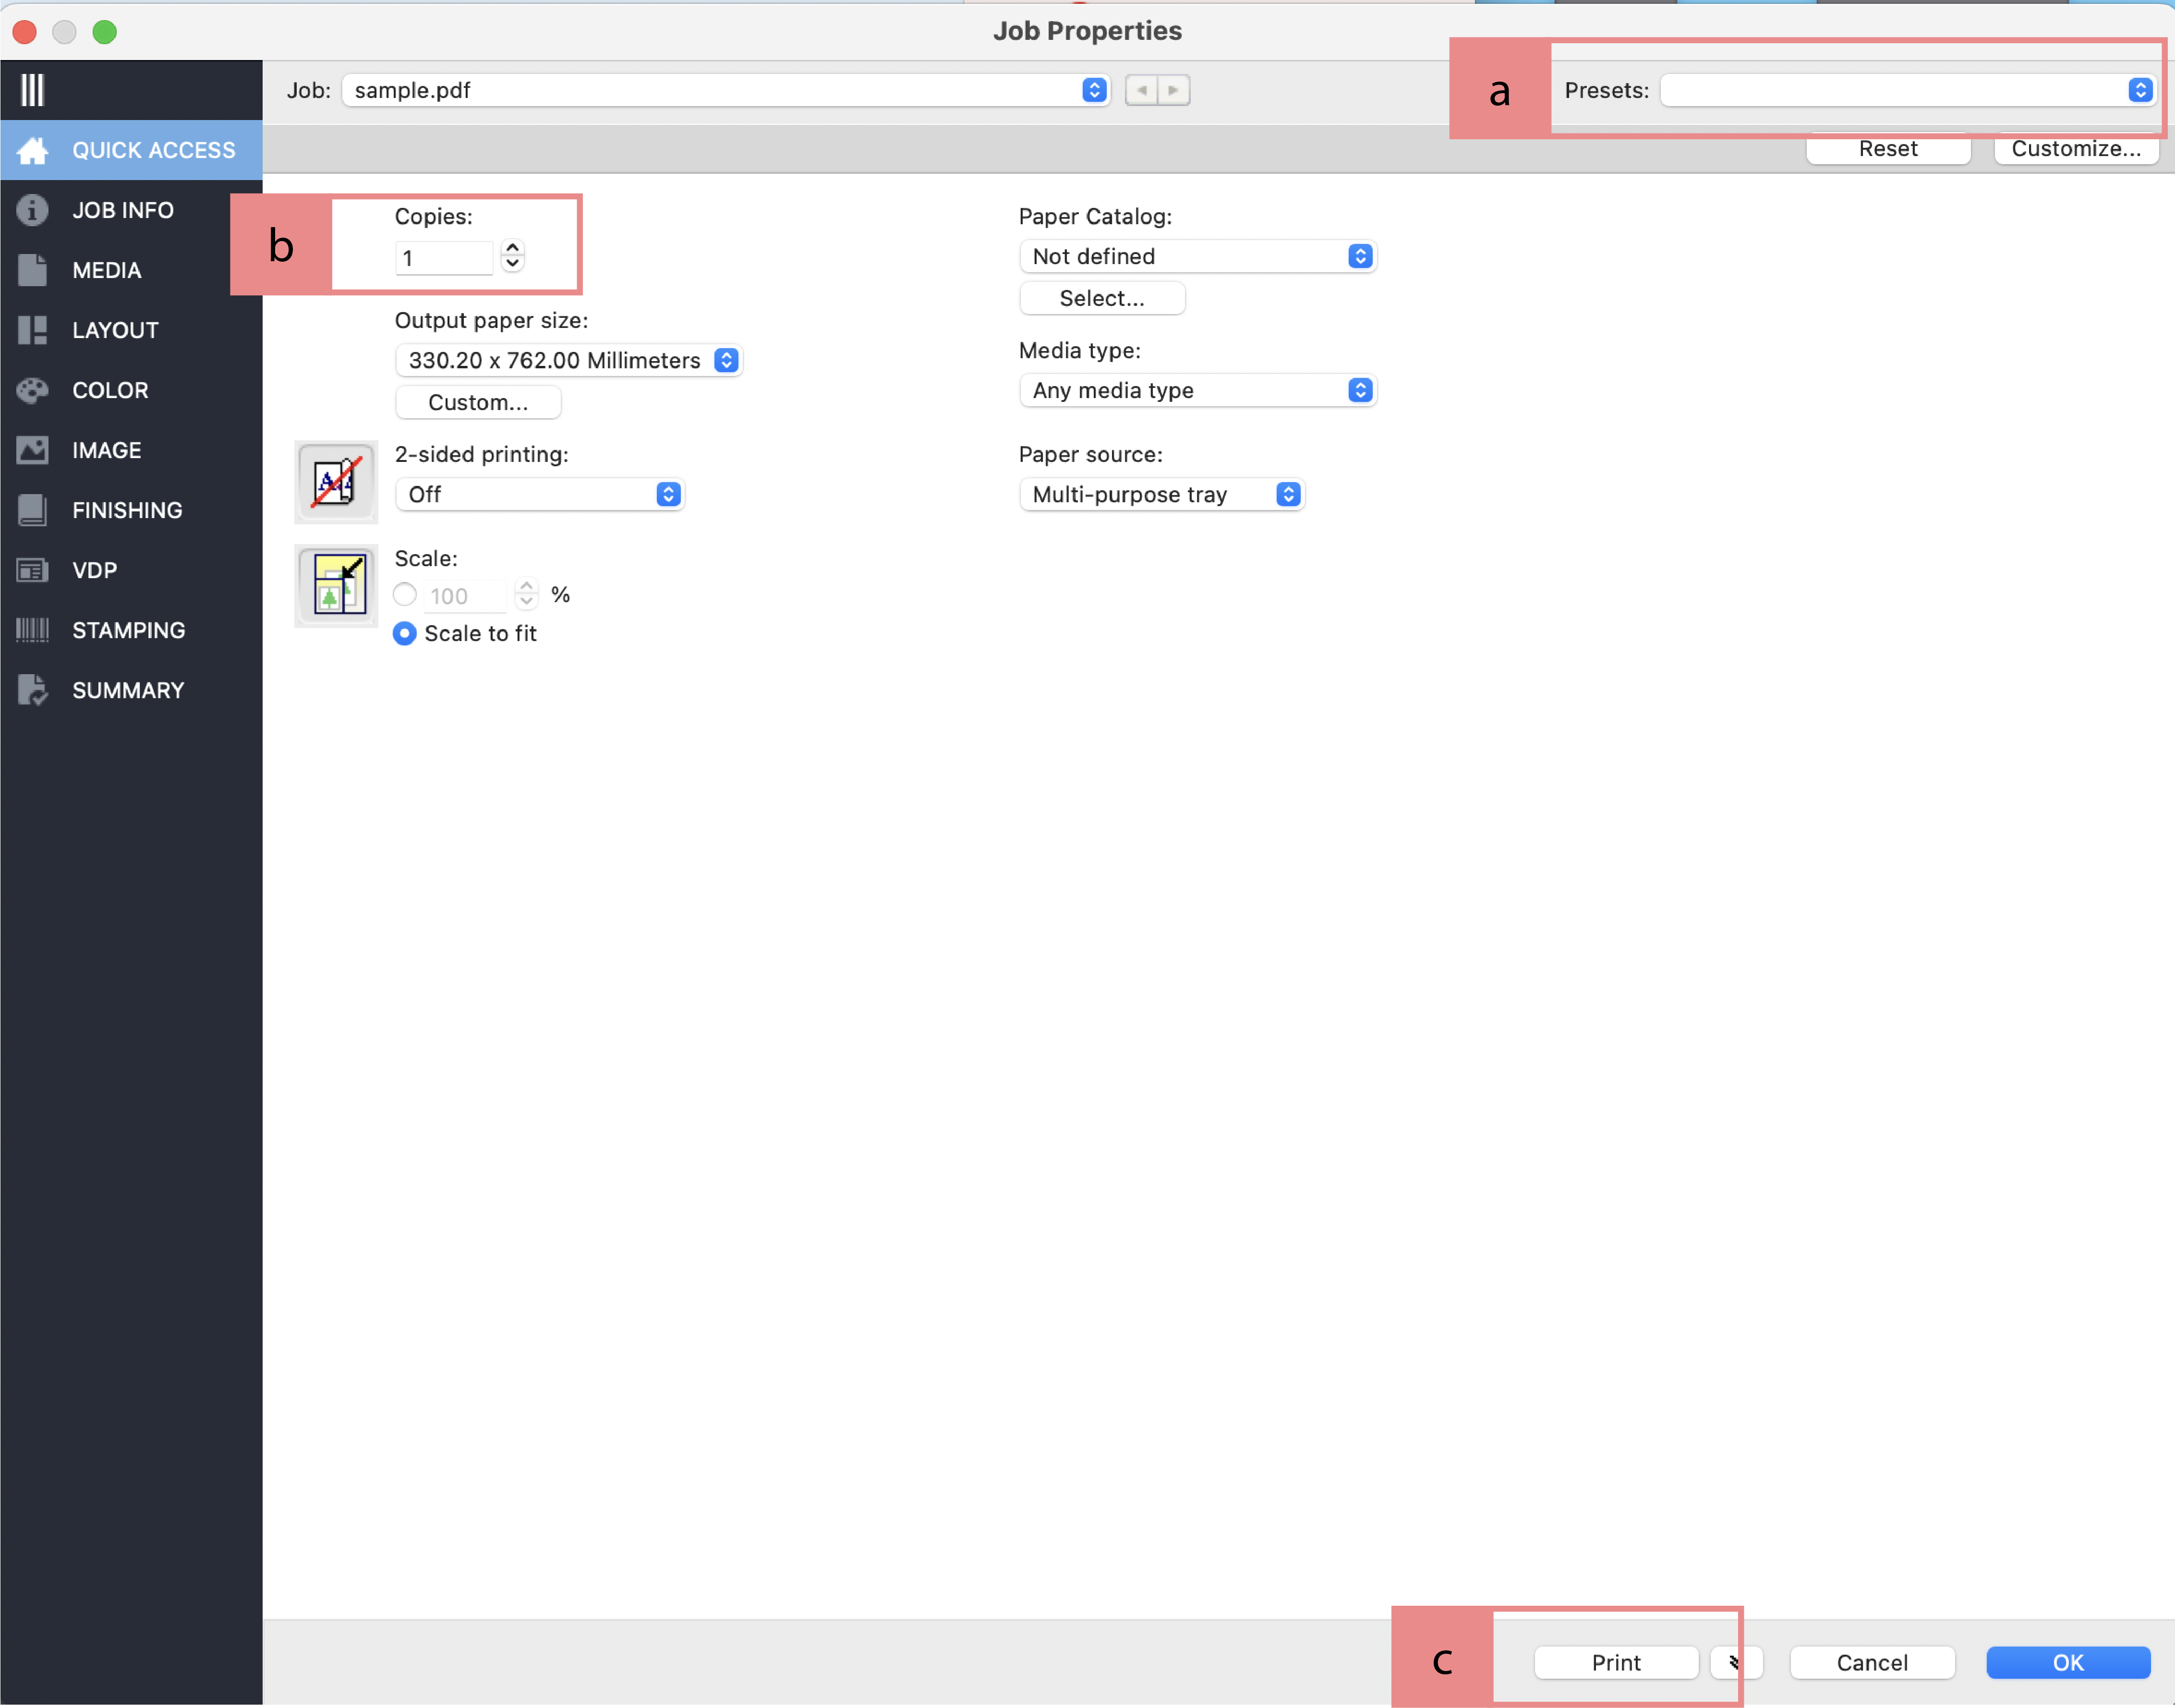
a) Click on ‘Preset’ and choose from these options:
‘a_tray_1_Plain120_A4’
‘a_tray_2_Plain120_A3’
‘a_tray_3_Plain160_A3’
b) Define the number of Copies.
c) Click on ‘Print’.
2.1 Choosing from the selection of the Print Studio
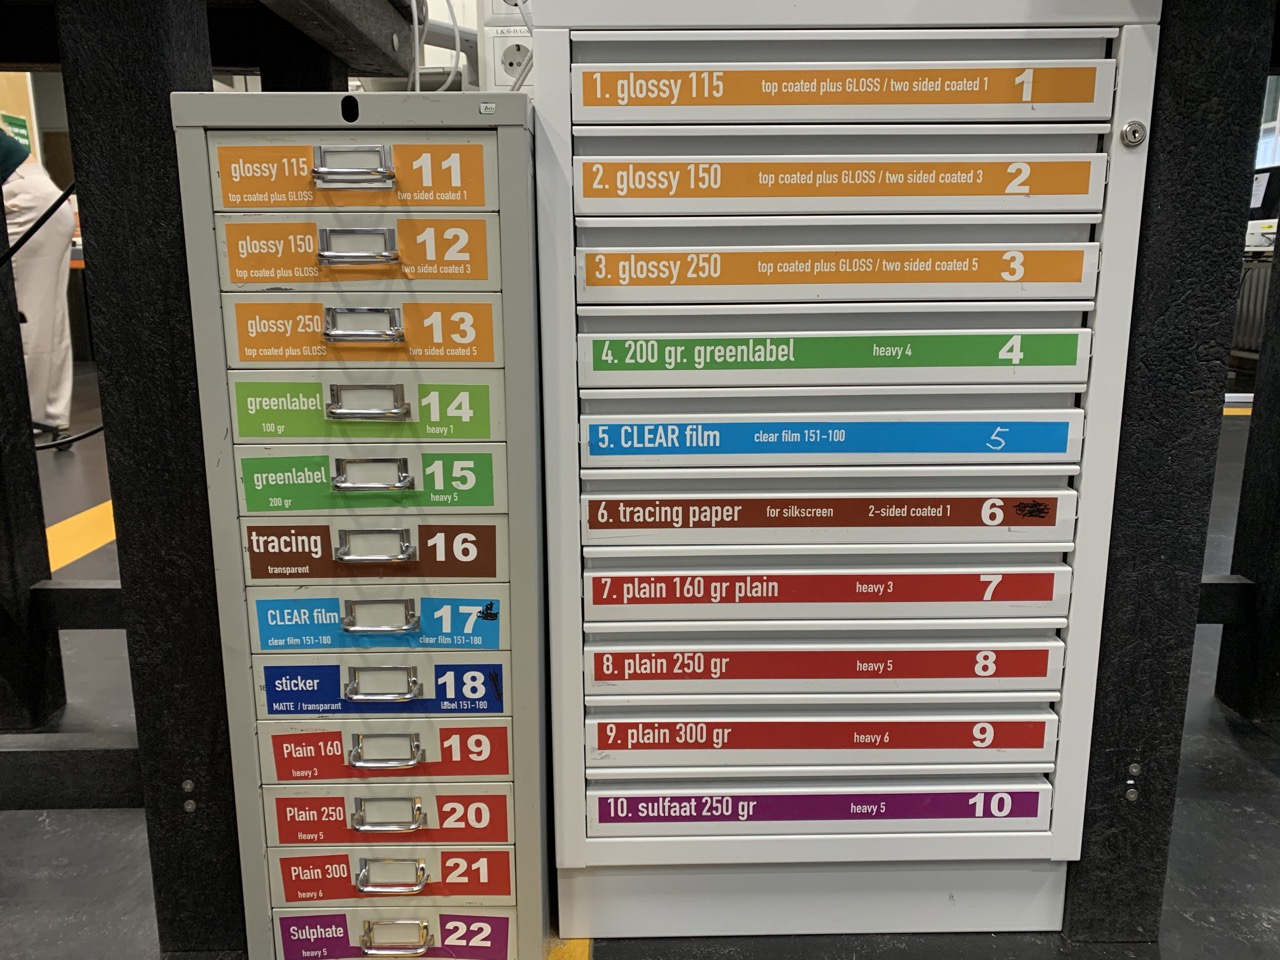
a) We have a wide range of paper selection that you can check in the drawers with colourful stickers. Remember the number of the drawer that you took your sheets from! (1-22)
b) Go back to the Fiery WorkStation ‘Quick Access’ to set your choice of paper. You can do this by clicking on the ‘Paper Catalogue’ that has a list of numbers (1-22) that relate to the drawers that you just took the paper from!
c) Define the number of Copies.
d) Click on ‘Print’.
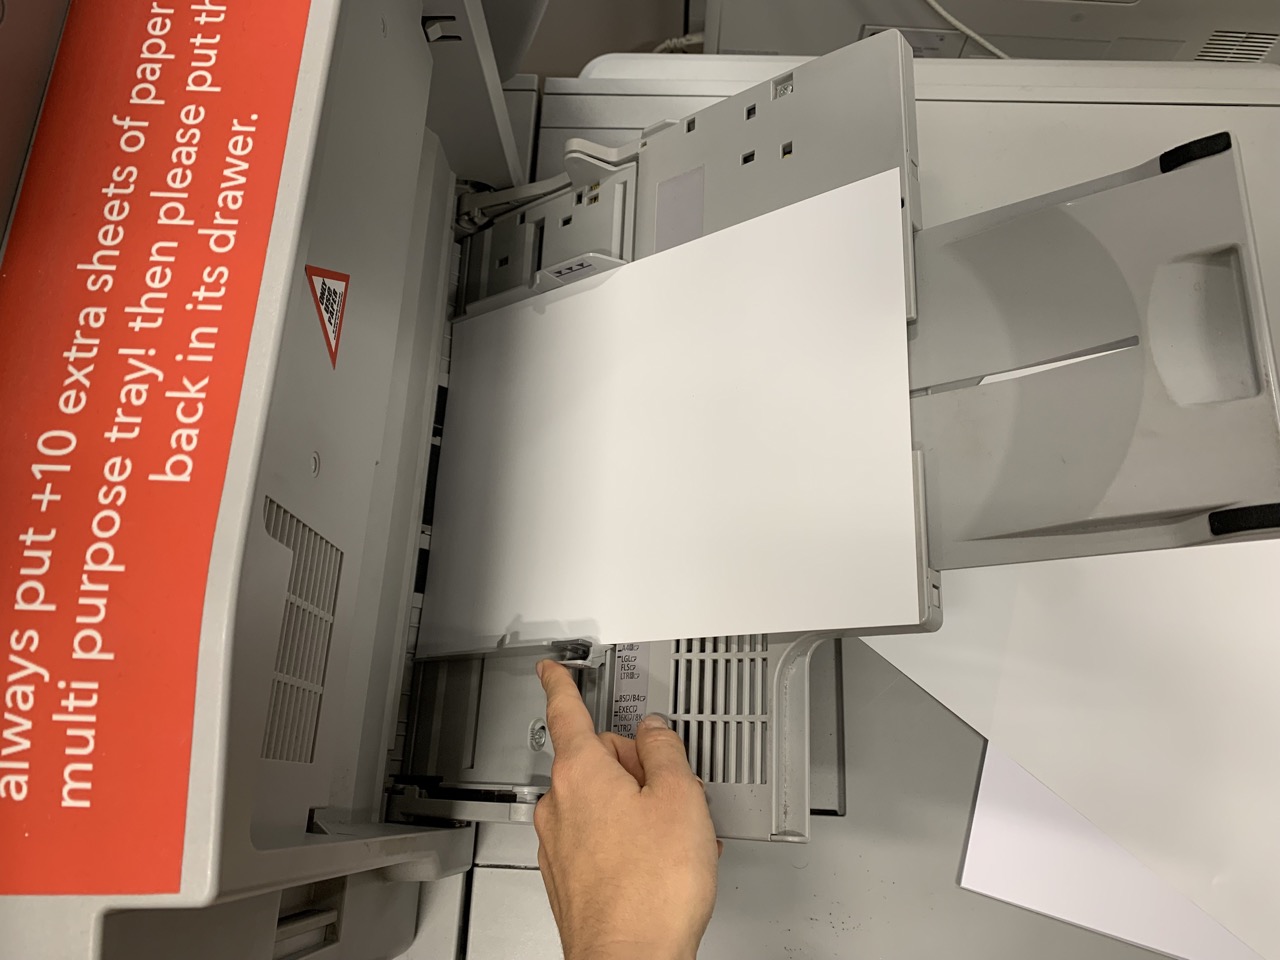
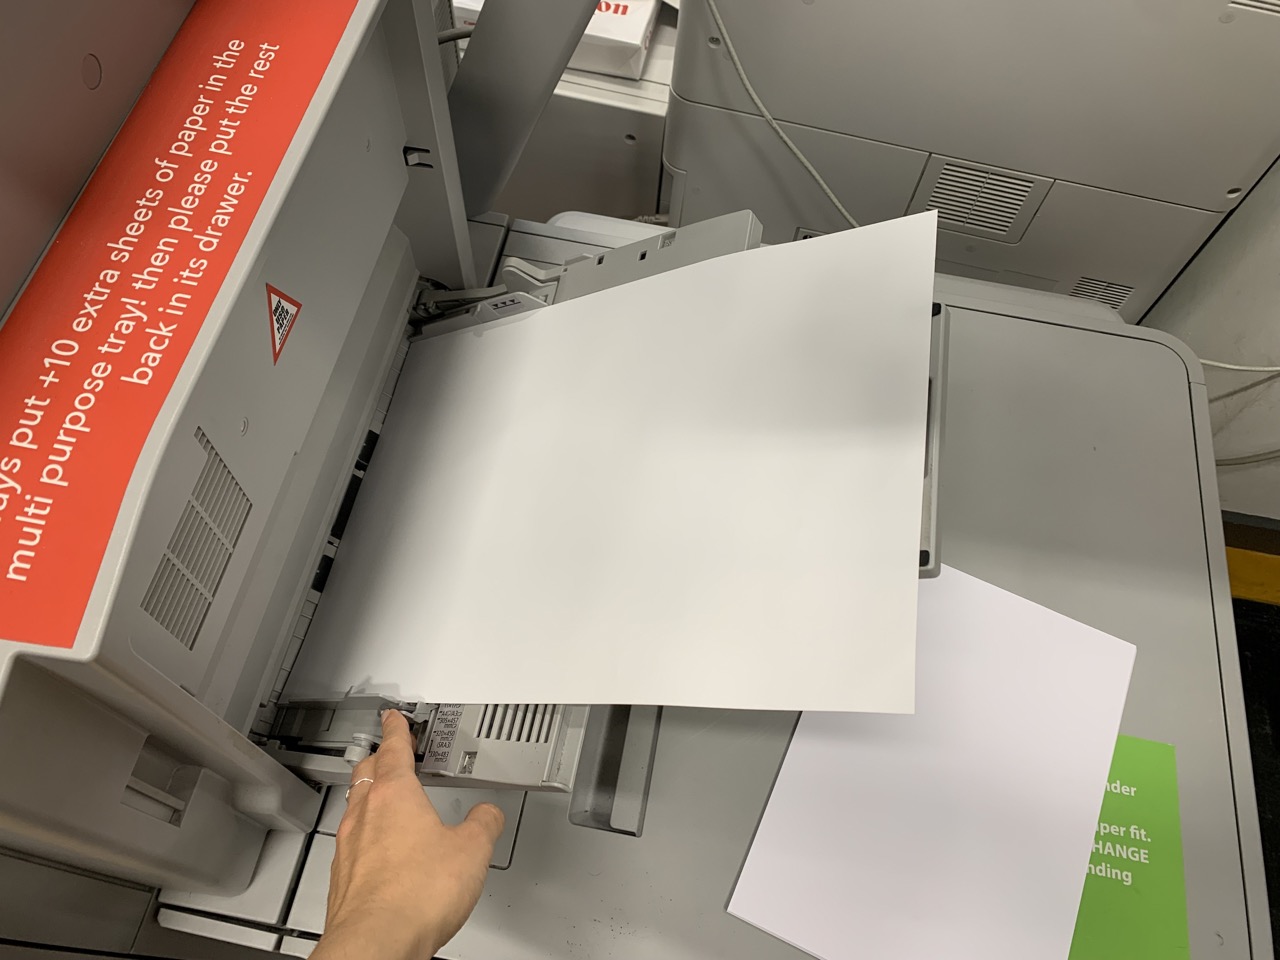
e) Take out the sheets from the drawer and put it in the tray of the machine. (A4: short side down, A3: long side down)
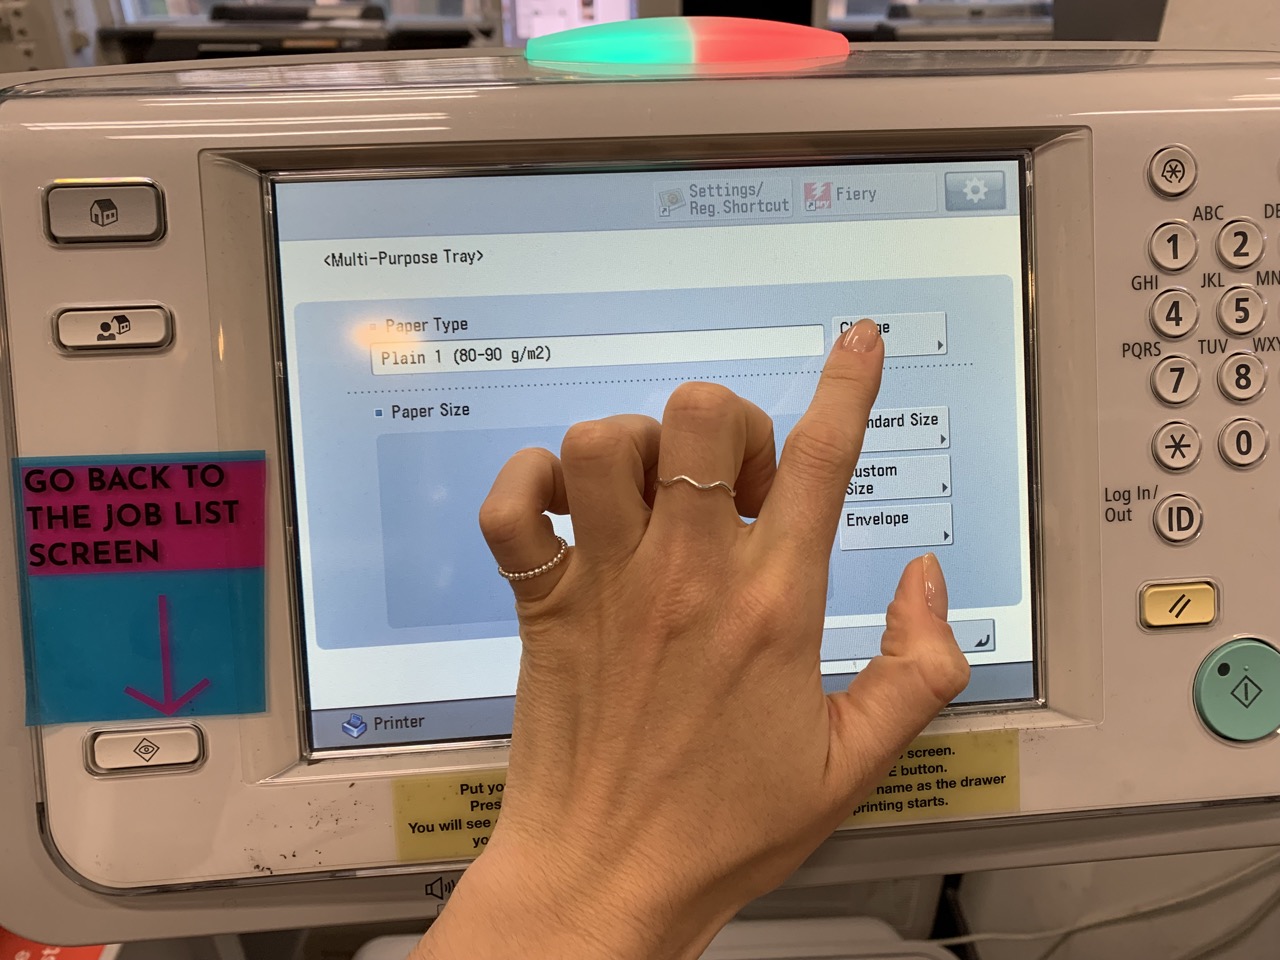
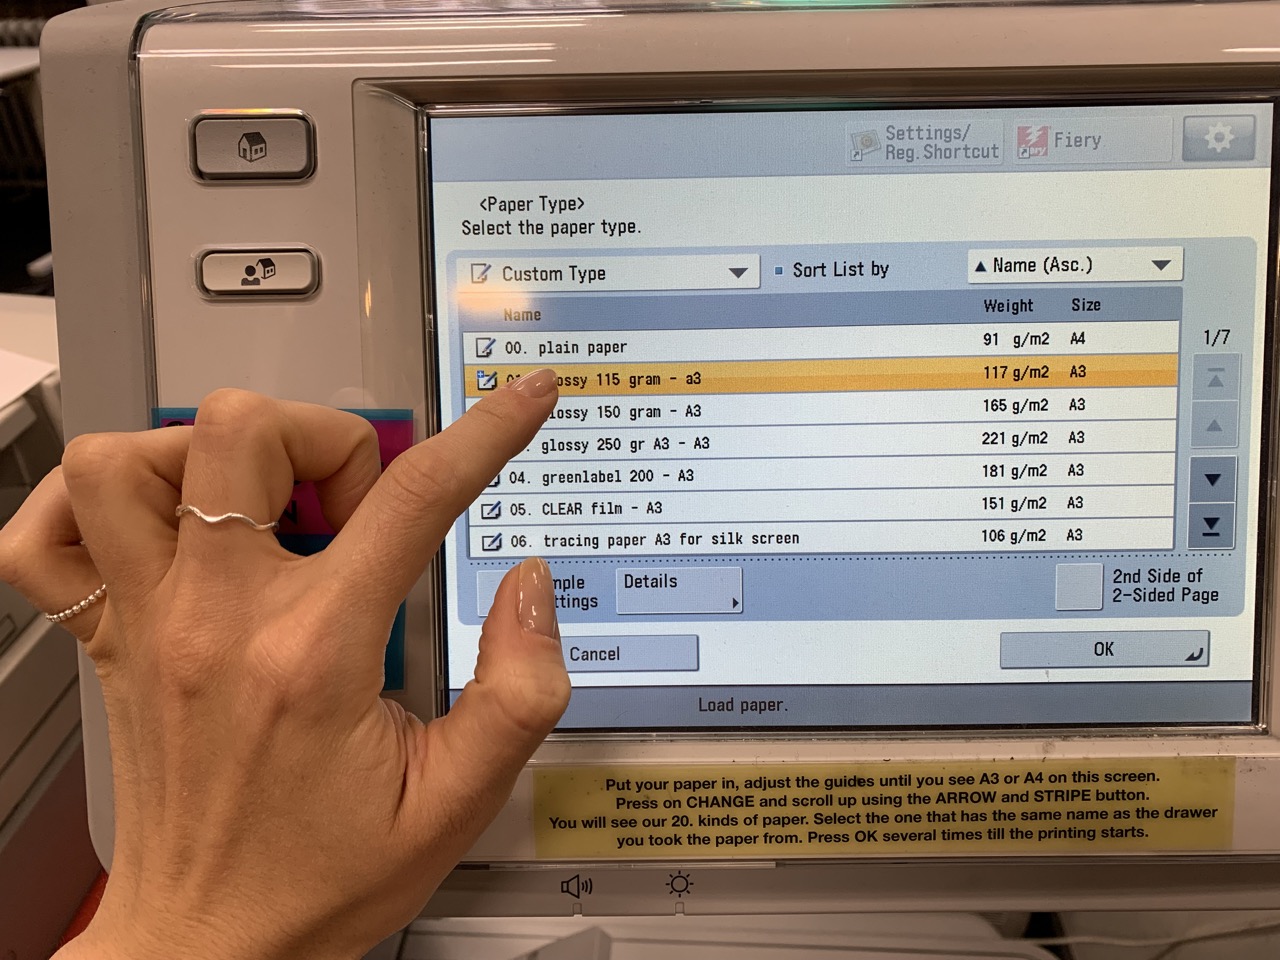
f) Set the paper on the Canon. Press ‘Change’ and look for the same number again (1-22)
g) Click ‘OK’ and ‘OK’ again.
2.2 Using your own paper
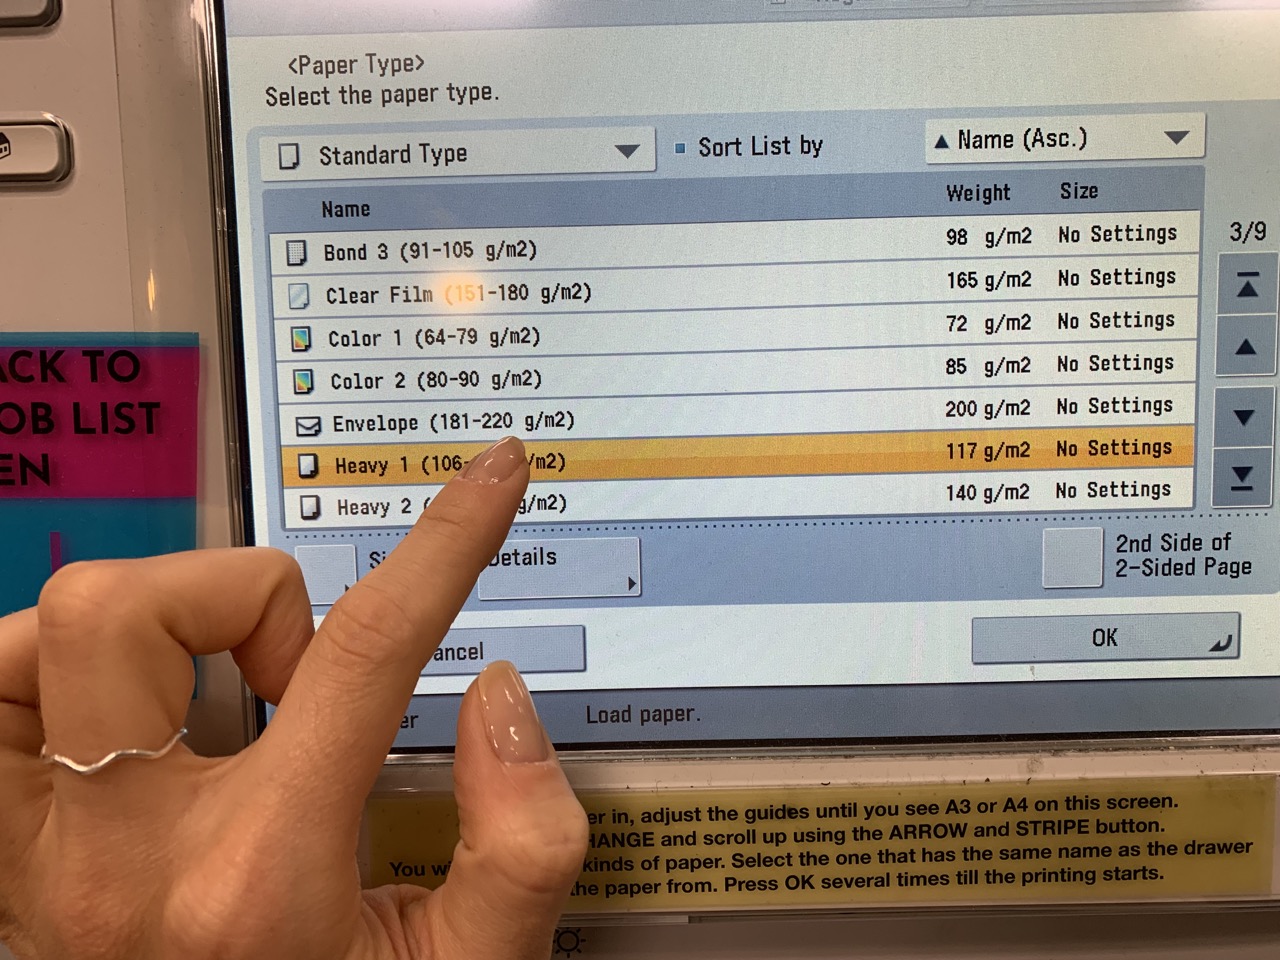
a) In Quick Access go to ‘Media type’ and choose the description that suits your paper the most. Remember these settings! (This case we chose Heavy 1)
b) Define the number of Copies.
c) Click on ‘Print’.
d) Put your paper in the tray (A4: short side down, A3: long side down)
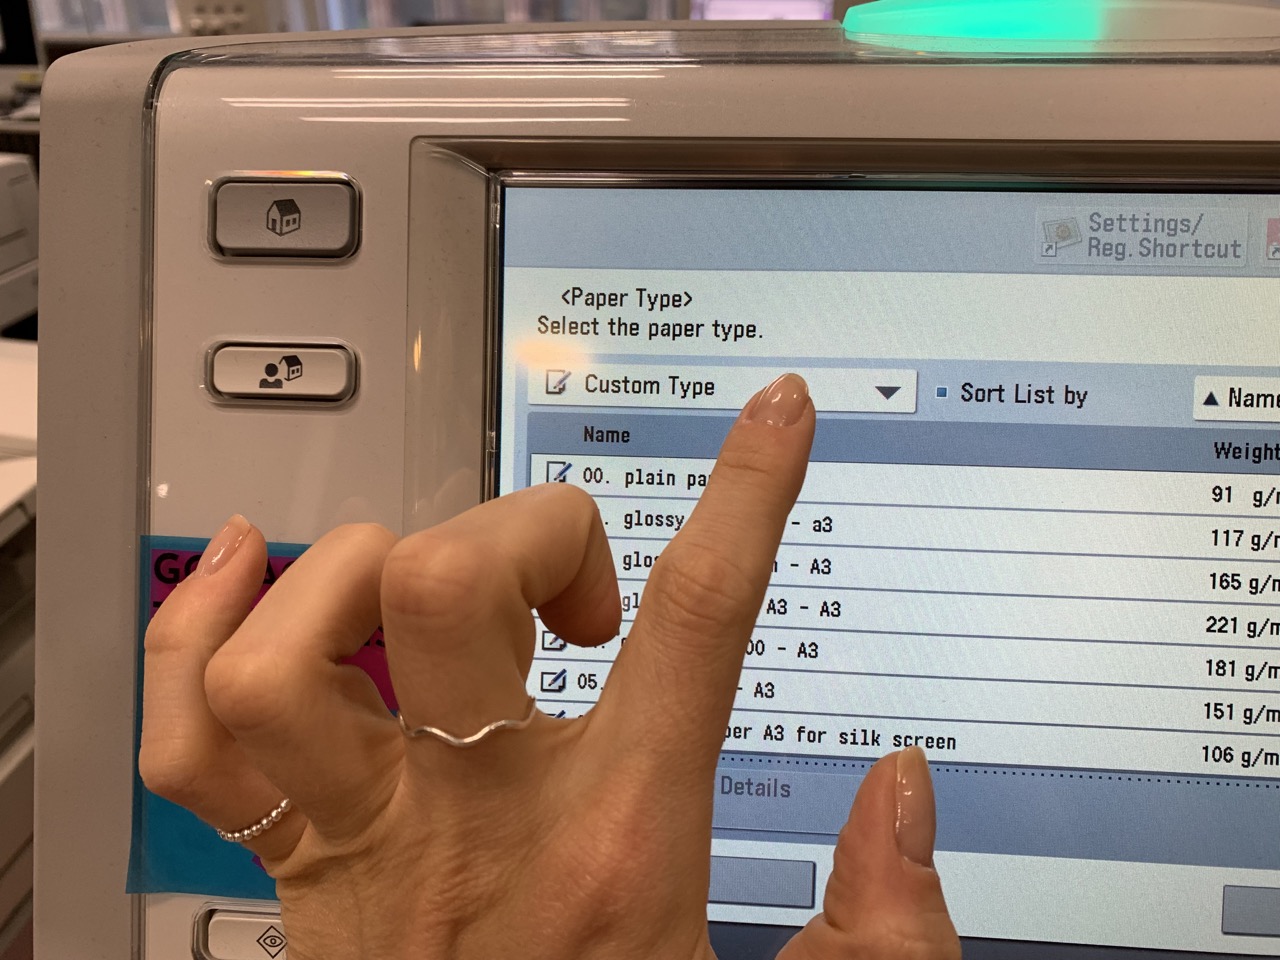
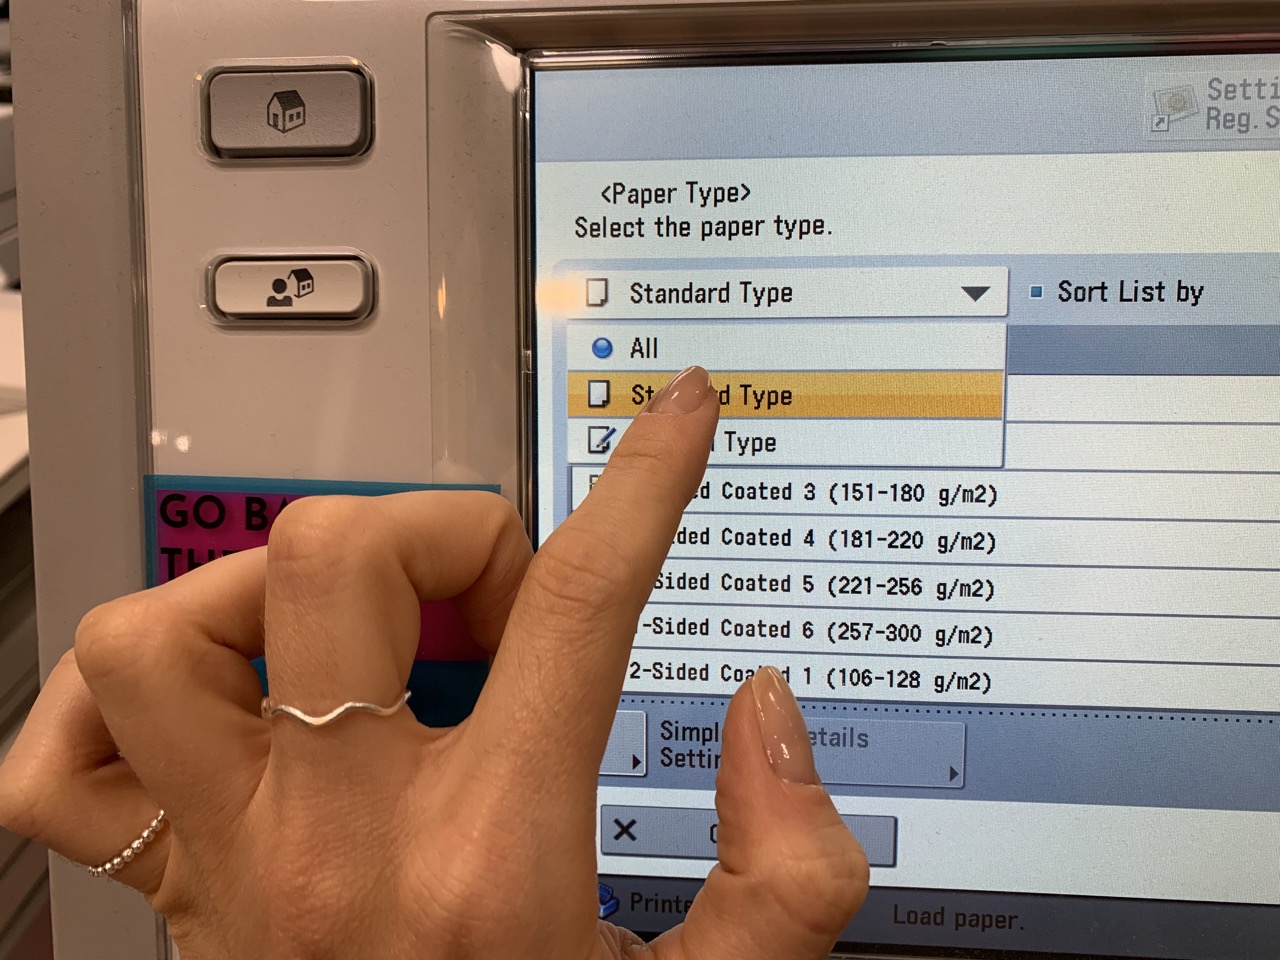
e) Set the paper on the Canon. Press ‘Change’ then press on the arrow next to ‘Custom Type’. Press ‘Standard Type’ and look for the same settings as you set in the previous step. (Heavy 1)
g) Click ‘OK’ and ‘OK’ again.
