Difference between revisions of "User:Urf"
| Line 9: | Line 9: | ||
Welcome to my page where I document the progress we're making at the elective called Mimicking Machines. At this elective we're looking at different kind of printers and plotters. In the first lessons we made a plotter using 3d printed parts, electric motors, belts and a control panel called Arduino. Making the plotter I learned a lot about the mechanics and how the plotter works. | Welcome to my page where I document the progress we're making at the elective called Mimicking Machines. At this elective we're looking at different kind of printers and plotters. In the first lessons we made a plotter using 3d printed parts, electric motors, belts and a control panel called Arduino. Making the plotter I learned a lot about the mechanics and how the plotter works. | ||
| − | |||
| − | |||
| − | |||
| − | |||
| − | |||
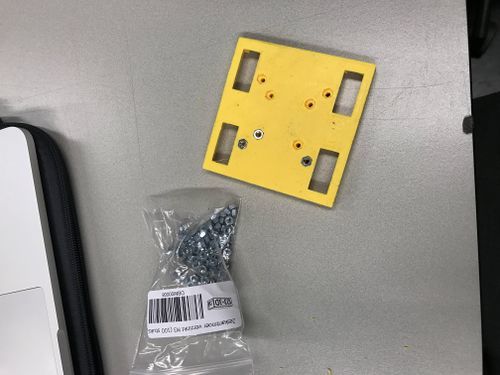
[[File:IMG_0384.jpg|500px|thumb|right|3d printed part]] | [[File:IMG_0384.jpg|500px|thumb|right|3d printed part]] | ||
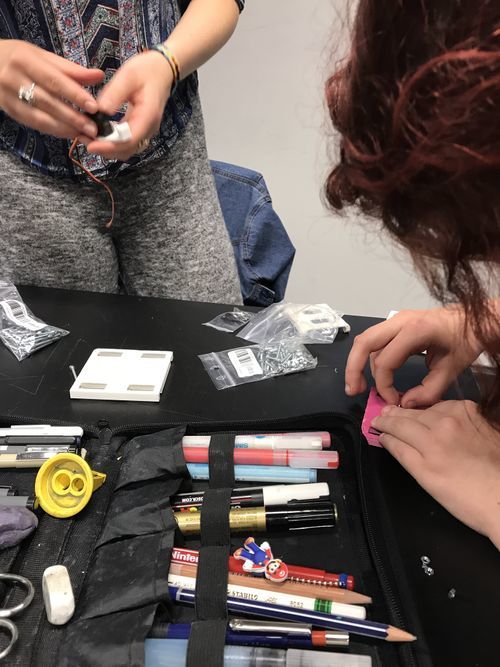
[[File:IMG_0385.jpg|500px|thumb|right|Us assembling the plotter]] | [[File:IMG_0385.jpg|500px|thumb|right|Us assembling the plotter]] | ||
| − | + | <br> | |
| + | <br> | ||
| + | <br><br> | ||
| + | <br> | ||
| + | <br><br> | ||
| + | <br> | ||
| + | <br><br> | ||
| + | <br> | ||
| + | <br> | ||
First I made a vector illustration in illustrator and imported the file into Inkscape to make a G-code of it. This G-code can be used in the software called Universal G-code sender. In this software you can control the | First I made a vector illustration in illustrator and imported the file into Inkscape to make a G-code of it. This G-code can be used in the software called Universal G-code sender. In this software you can control the | ||
Revision as of 09:57, 29 June 2017
Ervin Poot
0929997
Illustration
Welcome to my page where I document the progress we're making at the elective called Mimicking Machines. At this elective we're looking at different kind of printers and plotters. In the first lessons we made a plotter using 3d printed parts, electric motors, belts and a control panel called Arduino. Making the plotter I learned a lot about the mechanics and how the plotter works.
First I made a vector illustration in illustrator and imported the file into Inkscape to make a G-code of it. This G-code can be used in the software called Universal G-code sender. In this software you can control the
I’ve been experimenting with different kind of materials such as a pentel brush and a posca marker. I tried to get different result with the same G-code.


