Quickstartguide:Riso
From Publication Station
The printable version is no longer supported and may have rendering errors. Please update your browser bookmarks and please use the default browser print function instead.
There are two stages involved in printing on the RISO. First Master creation, then Printing.
Step 1. Master Creation
with the Computer
- Create a file or layer per colour you want to print in greyscale
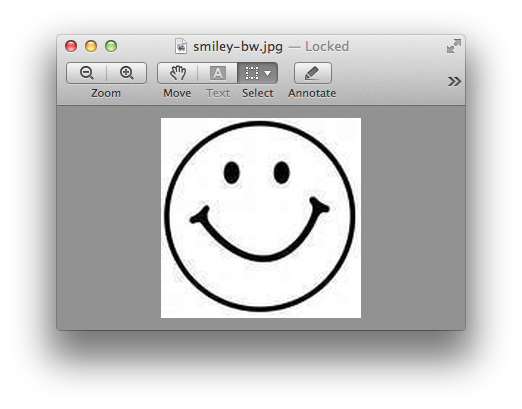
- Open your file
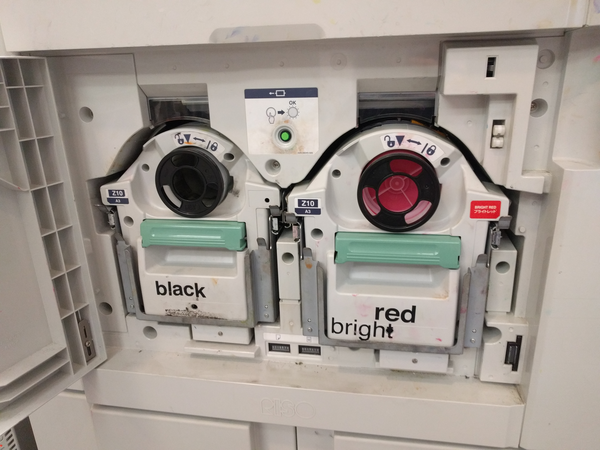
- Place the colour(s) that you want into the RISO making sure that your chosen colour is in the left hand side. Don't know how?
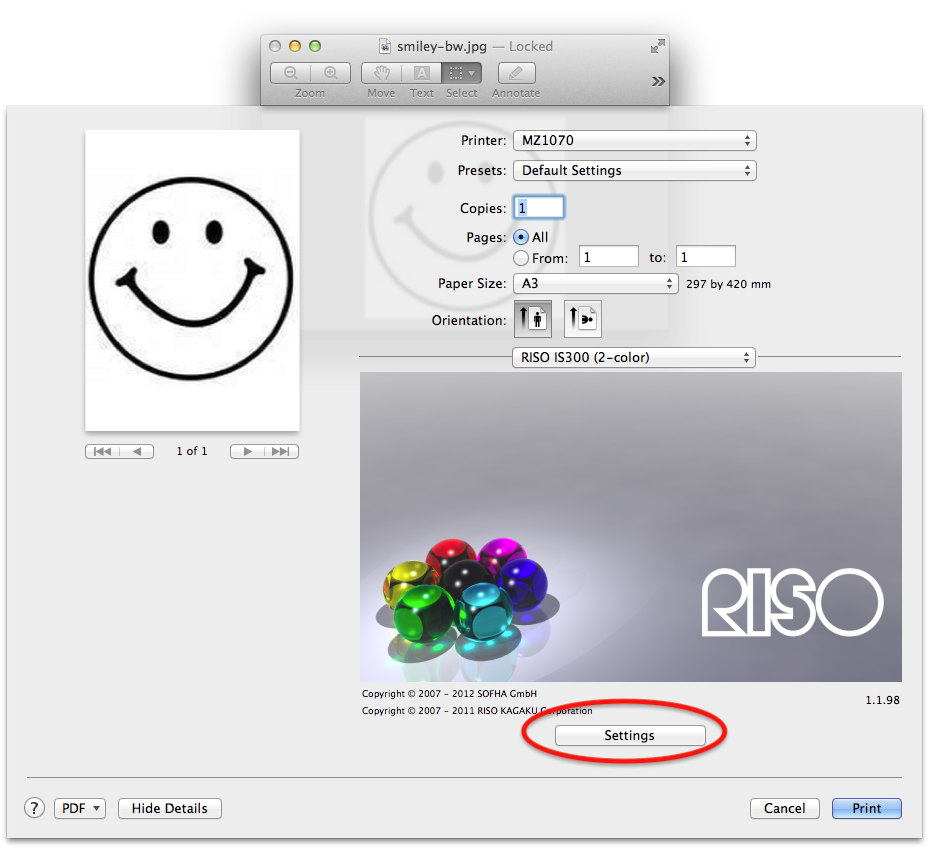
- Open the Print dialogue, or press Ctrl+P
- Go to RISO IS300, and click "Settings"
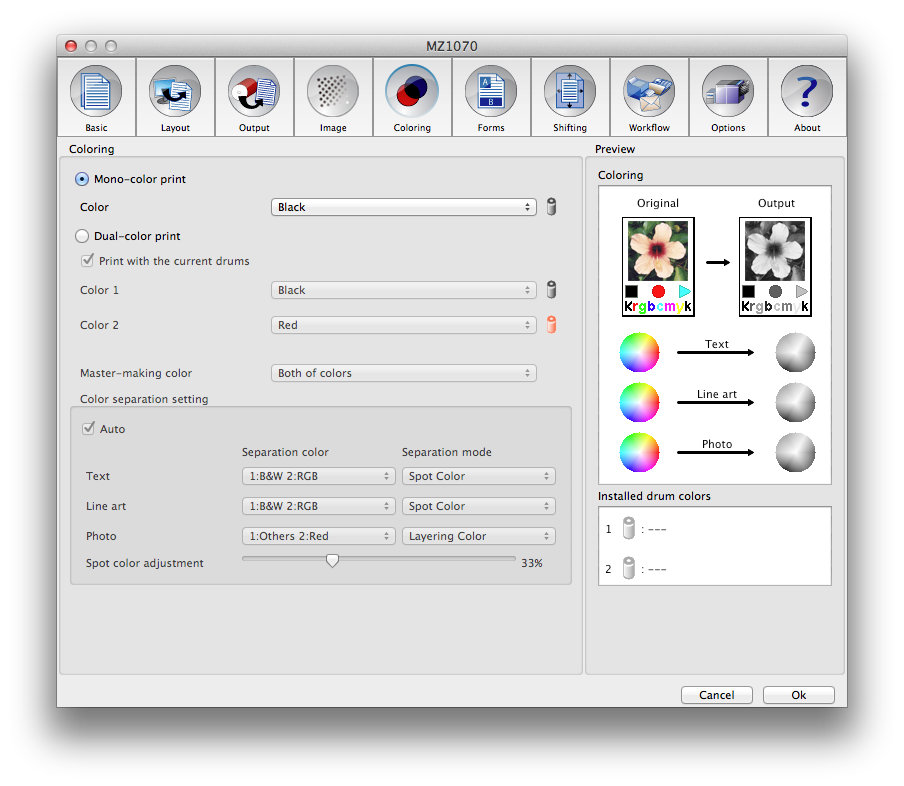
- Make sure that under Coloring you have selected the colours that you have inserted into the machine
- Check and set any other settings you like (like paper size)
- Place paper into the RISO
- Press Print to create the master
Step 2. Printing
- First make your Master(s) (see above)
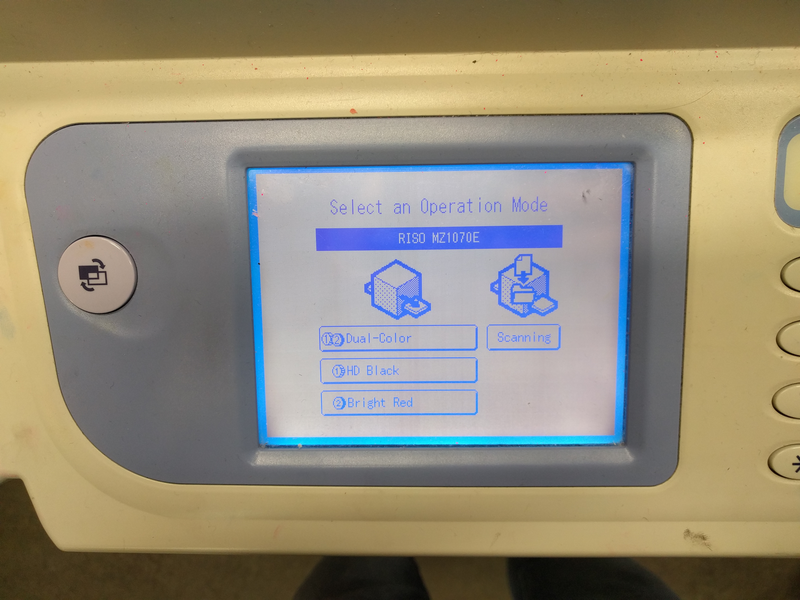
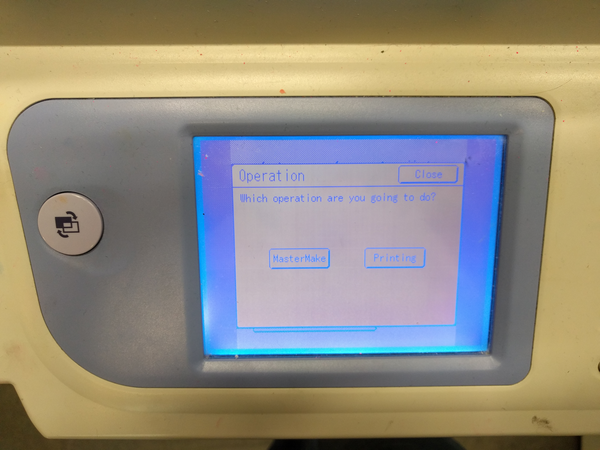
- Go to the screen on the RISO
- Select Drum 1 or Dual-Color
- Select Printing
- Place your paper in the feed tray
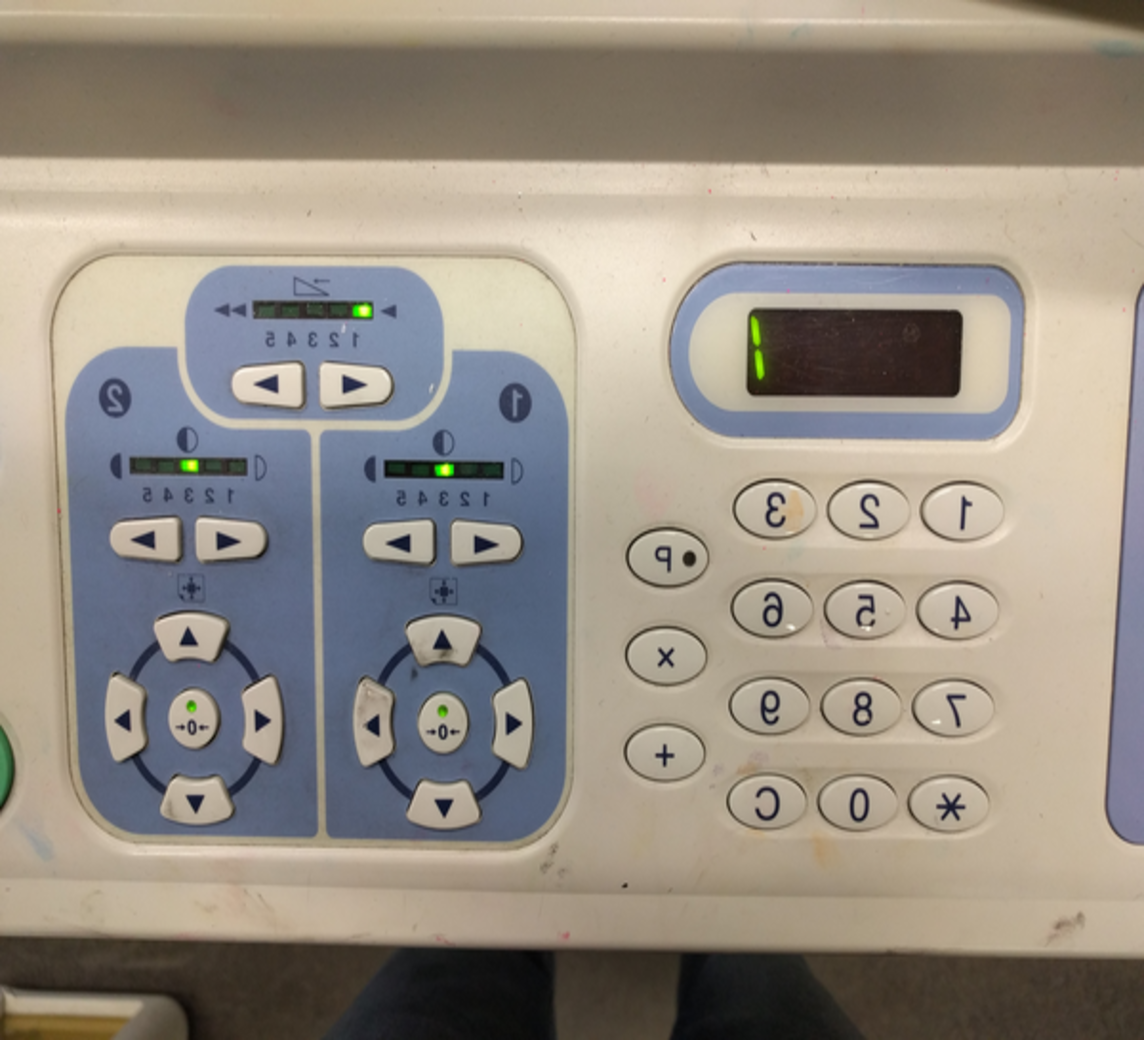
- Select how many copies you would like to make
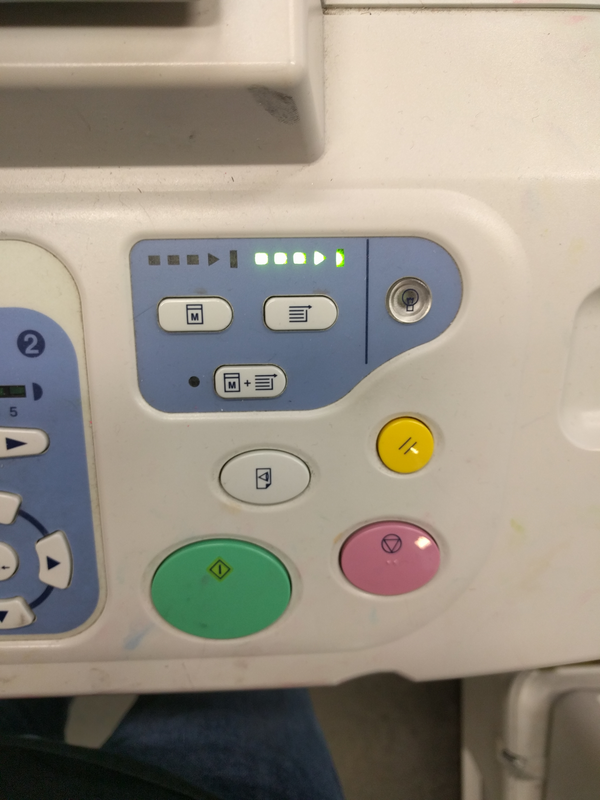
- Press the green button
Switching Colours
- Open the front of the RISO
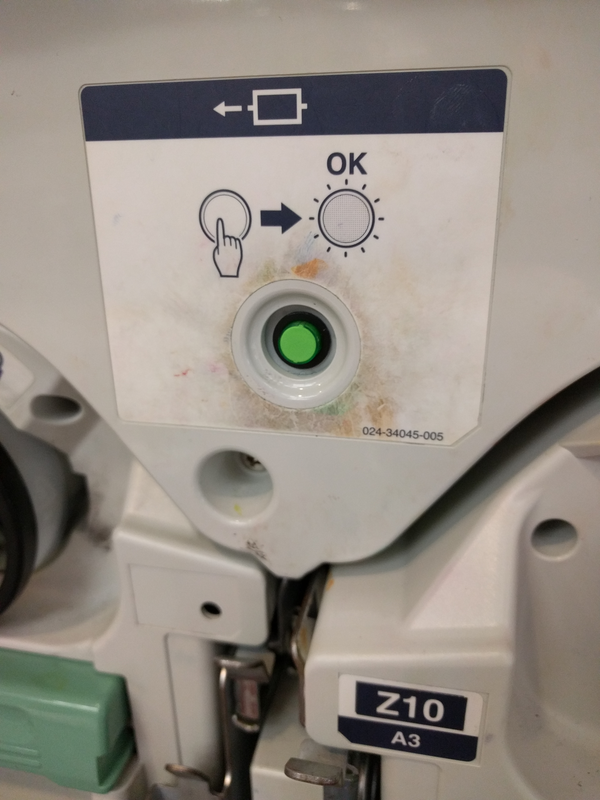
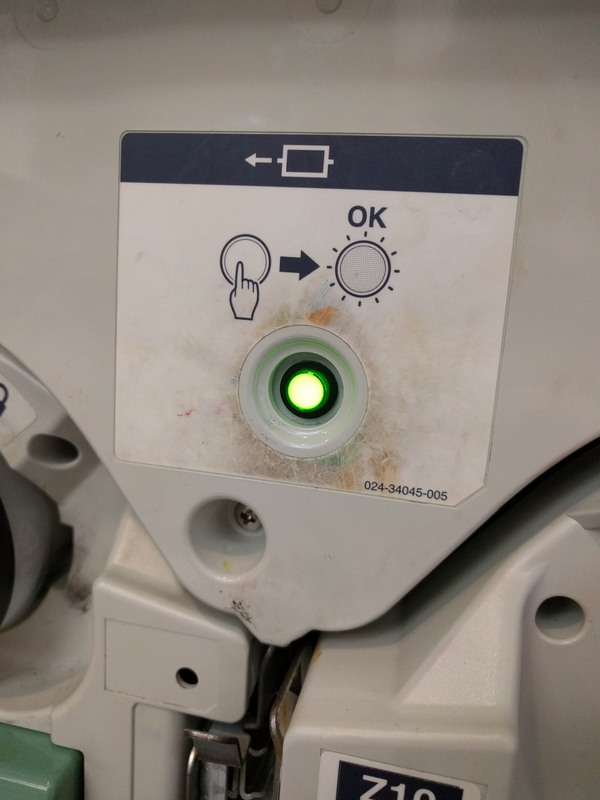
- Press the green button to release the drums
- Wait until the button is solid green
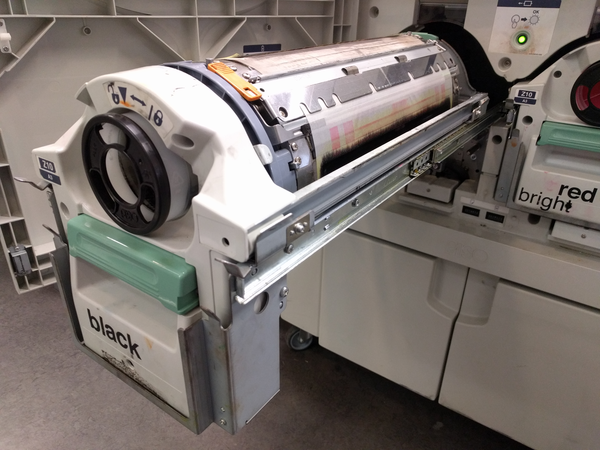
- Roll out the colour that you wish to change
- Pick it up by the green handles
- Place it carefully ontop of another colour box
- Take out the colour you wish to use
- Place into the empty drum tray and roll it back in until it clicks closed
- Close the door
- Place un-wanted colour into now empty colour box
- Print!
