User:Stef
Contents
Student product design
Stefanie Klingbeil
Email: 0846502@hr.nl
Digital Craft keuzevak
Human powered
I work conceptually and autonomous with a technical influence. My products are often combinations of services and everyday objects.
Even though my starting point ate techniques and mechanisms, I work autonomously. In my designs, form and function changes continuously, nothing is excluded as a source of inspiration.
With the motto reversed engineering for mass production, I want to make the process of the product more transparent, making the product more accessible to everyone. Through the combination of simple mechanisms and functional objects, I wanna create new patterns of use and stimulate the DIY mentality.
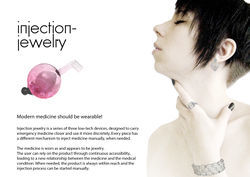
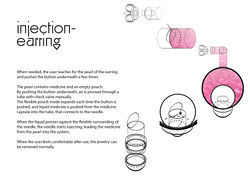
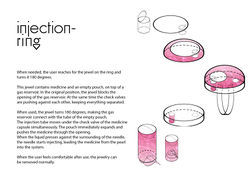
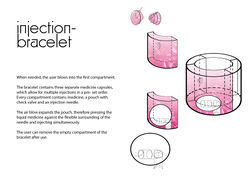
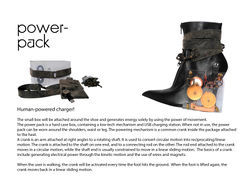
Transparent design means to me independence of agencies and a self-sufficient handling of techniques, raw materials and products around us. As for example injection jewelry and power pack, my products are often human-powered and adapted to our current environment.
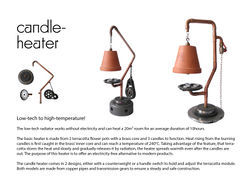
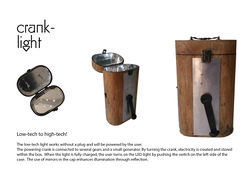
passion for low-tech
Low-Tech is een ontwerp filosofie die de antithese tot high-tech vormt. Dit betekent dat de bewuste zonder dure gecompliceerde technologie en het gebruik van eenvoudige werkzame bestanddelen. De term low-tech vormt het contrast met high-tech en verwijst naar technologie die de volgende normen ontwikkelen. Eenvoudige functie, productie, bediening, onderhoud en robuustheid.
Een van de belangrijkste toepassingsgebieden voor low-tech producten zijn ontwikkelingslanden. Low-tech-producten worden ontwikkeld onder het aspect van duurzaamheid en afvalreductie. Door hoge robuustheid hebben vanuit hun fabricage een langere levensduur dan vergelijkbare high-tech producten. Door gemakkelijke onderhoudbaarheid en repareerbaarheid wordt de levensduur vaak aanzienlijk verlengt. De producten moeten niet worden vervangen. Low-tech producten zijn na gebruik gemakkelijk te demonteren en te recycling voor een geschikte hergebruik. Ze komen vaak uit zonder elektriciteit. Voor de bediening is meestal eenvoudige menselijke kracht voldoende, er zijn geen aandrijvende batterijen nodig.
tool reverse engineering
reverse engineering also called back engineering, is the processes of extracting knowledge or design information from anything man-made and re-producing it or re-producing anything based on the extracted information. The process often involves disassembling something (a mechanical device, electronic component, computer program, or biological, chemical, or organic matter) and analyzing its components and workings in detail.
Current project
Re-developing the mechanismen for mass-production
I want to expand these types of mechanisms and apply these to machines, systems or products that provide a service for home or can be set up in the public spaces.
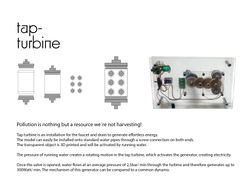
Through open source design and human powered systems, I want to animate the user to make the product themselves and maintain it independently, to ensure each individual can promote change. I don't want to start a collectieve group, but I wanna give humans a piece of independence back. The product is a service or a depot of raw materials, in order to prevent the concept of waste.
By questioning function and use of surrounding products and rejecting traditionalists systems and processes, I want to make the world of products more understandable and independent. I work for technical innovation and strive for a more conscious handling of products around us.
Mimicking Machines
Assignment 1
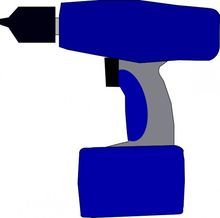
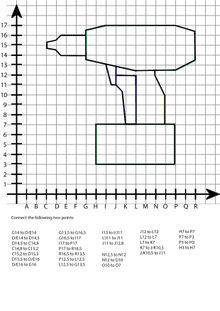
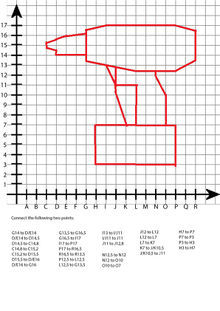
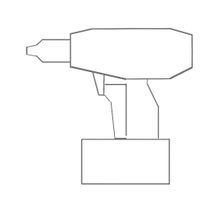
I Draw. You Draw. It Draws I had chosen a drill as my favorite tool for the assignment. First I looked up pictures and line drawings of drills online, than I choose the one which was the most simple and clear. I traced it in Adobe Illustrator and printed it on the scales. To ensure the corner points are at a clear point in the scale, I modified the drawing to match the points better. For example: I changed the form to mostly full numbers, like draw a line from A4 to B8, in place of draw a line from point A3,4 to B7,85. I scanned it and traced it again in Adobe Illustrator.
I divided the drill in different colored parts to make the number blocks, instead of an unlimited list without breaks. I thought maybe people get it, that each number block is a different closed part of the drawing.
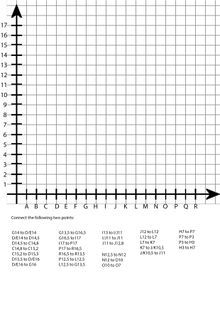
Rather than using x & y scales with just numbers, I decided to use letters across the top, and numbers down the side. Because it`s less confusing to hear a letter with a number, instead of just numbers. This way there won`t be a mix up where to start and you can`t start at the wrong scale/axe.
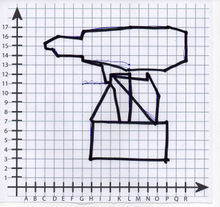
The people in class didn`t get it right 100%, but it was clear to see, what it`s supposed to be (picture with black fineliner, 1st picture in 2nd row below). My first testperson responded per mail and had the same mistake in the drawing as the people in class (picture with red fineliner, last picture in 1st row below). I think, it`s my number fault then. ;)
Assignment 2
The Extruded Milled and Sliced Alphabet
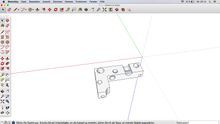
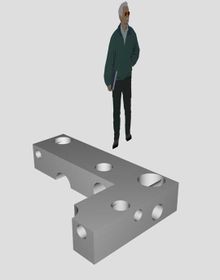
I got the letter L and wanted to 3D print it. Because I used the cnc mill quite often, I knew the structure of some sketch-up drawings for 3D print would not match the fabrication with the cnc mill. My letter had holes through all sides of the object.
Unfortunate my usb stick wasn`t recognized from the computer :(
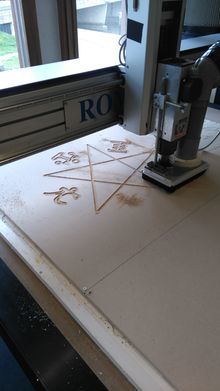
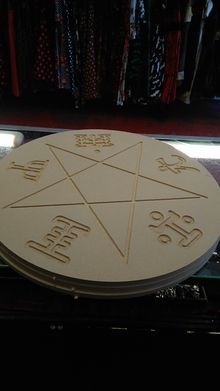
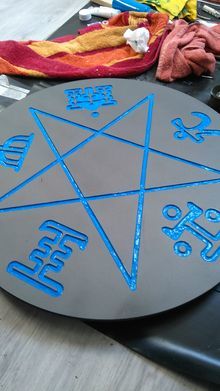
Because I had to CNC mill a table for the Black Widow Cafe, I decided to use "other letters" and the cnc assignment to make these tables....
Assignment 3
Human Powered Machine
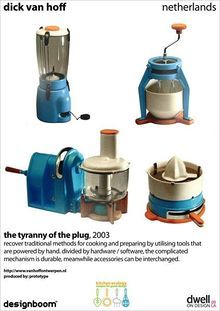
First, I looked again on the internet for inspiration. One of my favorite designer is Dick van Hoff with the Tyranny of the plug. I would like to make a product for daily use in the household.
Another interesting idea was the biking computer charging table.
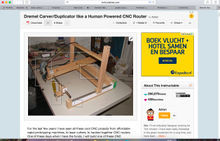
And of course, DIY cnc mill …
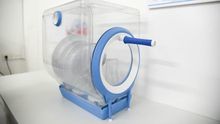
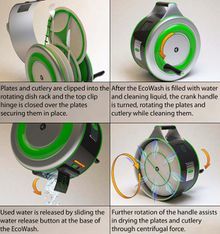
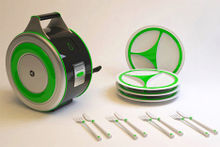
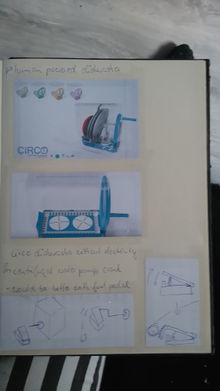
The most interesting internet found, was the eco dishwasher. I would like to make this. because everybody with access to a 3Dprinter/ lasercutter could make an eco dishwasher for a much lower price ;)
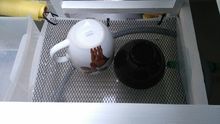
Because I really wanted to do something practical, I stayed with the idea pf a human powered dishwasher.....
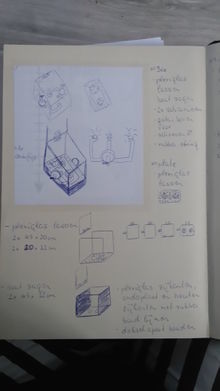
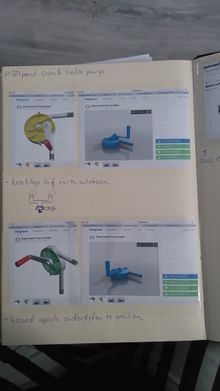
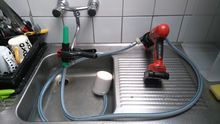
The important gadget for the mechanism was the centrifugal water pump....
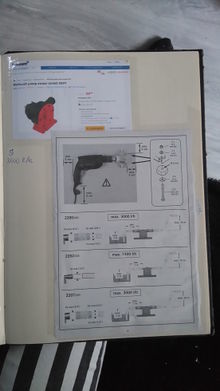
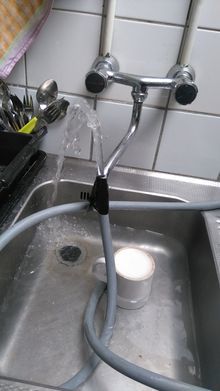
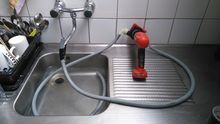
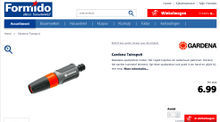
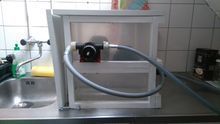
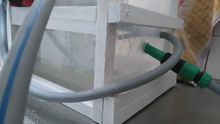
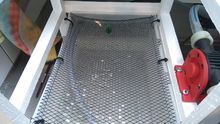
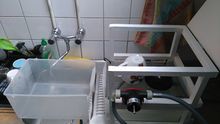
I would loved to 3D print the water pump, what the downloaded file wasn`t printable.... so, I bought one online and connected it with a "tuinsproier" to ensure the water will be diffused.
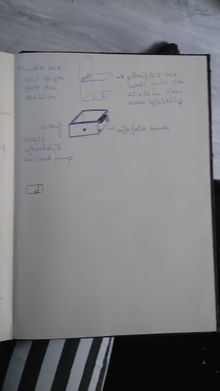
Unfortunate the bought plexiglas sheets weren`t big enough, thats why I choose to use plastic boxes from my tool box to make the first prototype with a simple frame.
And last, but not least.....testing!
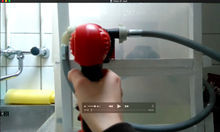
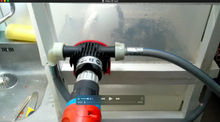
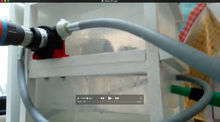 I could not upload the video`s :( .....I sent you a wetransfer ;)
