Difference between revisions of "User:Floor/week6"
| Line 4: | Line 4: | ||
The lithography experiment continues... | The lithography experiment continues... | ||
| + | This day involved a lot of chemicals and substances being put onto the surface, then being removed again, the image being 'erased', and coming back again.. I honestly have to say I can't quite remember every step of the process exactly, due to the amount. Anyhow: the properties and effects of two substances are especially important to the process of creating a lithograph print: 1. 'arabisch gom' is only soluble in water. 2. grease repels water, and allows ink to stick to it. | ||
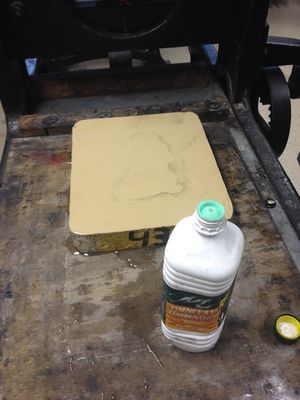
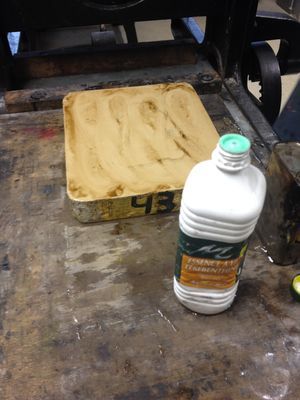
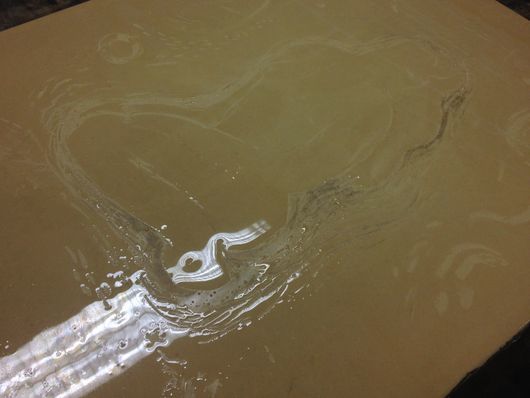
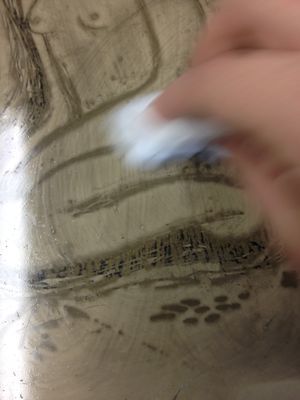
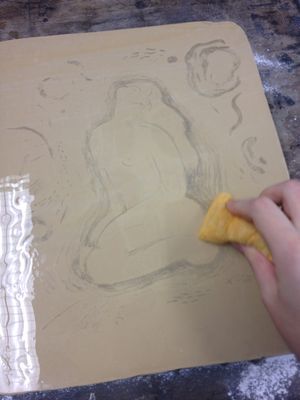
| + | After removing the 'gom' mixture using water, you have to wash off your drawing using turpentine. This looks and feels strange, but the design hasn't really disappeared. The grease still sits in the pores, and therefor it still repels water. | ||
[[File:litho-fs1.JPG | 300px]] [[File:litho-fs2.JPG | 300px]] [[File:litho-fs3.JPG | 530px]] | [[File:litho-fs1.JPG | 300px]] [[File:litho-fs2.JPG | 300px]] [[File:litho-fs3.JPG | 530px]] | ||
| + | |||
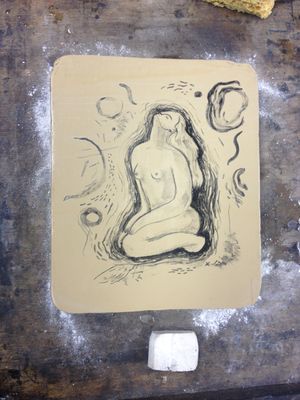
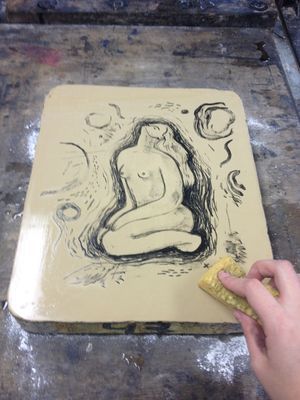
| + | Then you use a very tough kind of ink (that becomes soft when you move it?) and roll it onto your stone, revealing the design. Then you clean it off again. | ||
[[File:litho-fs4.JPG | 300px]] [[File:litho-fs5.JPG | 300px]] [[File:litho-fs6.JPG | 300px]] | [[File:litho-fs4.JPG | 300px]] [[File:litho-fs5.JPG | 300px]] [[File:litho-fs6.JPG | 300px]] | ||
| + | |||
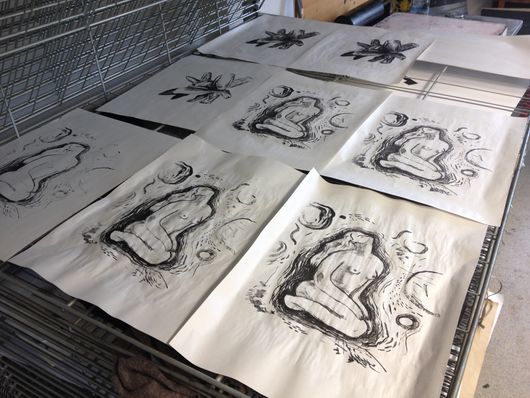
| + | And bring it back once again.. This time using the actual printing ink. You have to keep the surface wet constantly so the ink doesn't stick to the blank parts of your design. | ||
[[File:litho-fs7.JPG | 300px]] [[File:litho-fs8.JPG | 530px]] | [[File:litho-fs7.JPG | 300px]] [[File:litho-fs8.JPG | 530px]] | ||
| − | + | I'm sure I missed a few in-between steps.. It's really quite a lot, but once you have it ready, the printing part is easy and fast. Therefor it is not surprising that this was a very popular and commonly used printing technique.That is, before they invented offset printing, which is actually very similar to the way lithography works. | |
==Start statement and artefact== | ==Start statement and artefact== | ||
Revision as of 20:43, 18 April 2016
Lithography part 2
The lithography experiment continues...
This day involved a lot of chemicals and substances being put onto the surface, then being removed again, the image being 'erased', and coming back again.. I honestly have to say I can't quite remember every step of the process exactly, due to the amount. Anyhow: the properties and effects of two substances are especially important to the process of creating a lithograph print: 1. 'arabisch gom' is only soluble in water. 2. grease repels water, and allows ink to stick to it.
After removing the 'gom' mixture using water, you have to wash off your drawing using turpentine. This looks and feels strange, but the design hasn't really disappeared. The grease still sits in the pores, and therefor it still repels water.
Then you use a very tough kind of ink (that becomes soft when you move it?) and roll it onto your stone, revealing the design. Then you clean it off again.
And bring it back once again.. This time using the actual printing ink. You have to keep the surface wet constantly so the ink doesn't stick to the blank parts of your design.
I'm sure I missed a few in-between steps.. It's really quite a lot, but once you have it ready, the printing part is easy and fast. Therefor it is not surprising that this was a very popular and commonly used printing technique.That is, before they invented offset printing, which is actually very similar to the way lithography works.
Start statement and artefact
recap on key text - mining for quotes Statement & Artefact brainstorm
