UNDER KUNSTRUCTION: Difference between revisions
No edit summary |
|||
| (3 intermediate revisions by one other user not shown) | |||
| Line 27: | Line 27: | ||
= Cover = | |||
[[File:Cover.jpg]]<br> | [[File:Cover.jpg]]<br> | ||
== Screenprinting the letters == | |||
<br> | <br> | ||
For my cover, I chose light blue textured paper and wanted to print bright orange letters on it. | For my cover, I chose light blue textured paper and wanted to print bright orange letters on it. | ||
| Line 40: | Line 40: | ||
[[File:Cover_screenprinting.jpg]]<br><br> | [[File:Cover_screenprinting.jpg]]<br><br> | ||
== Lasercutting the pattern == | |||
<br> | <br> | ||
Another part of my cover design was the laser-cut pattern that imitates construction sites' covers. | Another part of my cover design was the laser-cut pattern that imitates construction sites' covers. | ||
| Line 47: | Line 47: | ||
[[File:Cover_mash_procreate.jpg]] | [[File:Cover_mash_procreate.jpg]] | ||
<br><br> | <br><br> | ||
and exported it in Illustrator | and exported it as a pdf to open in Adobe Illustrator | ||
[[File:Cover_mash_illustratorr.jpg]] | [[File:Cover_mash_illustratorr.jpg]] | ||
<br><br> | <br><br> | ||
After the automatic Image Trace in | After the automatic [https://www.vectornator.io/design-tips/how-to-trace-an-image-in-illustrator#:~:text=After%20you%20have%20your%20logo,the%20options%20are%20grayed%20out. Image Trace in Adobe Illustrator] (the process that transforms pixel images into vector images), my initial design was too complex and contained too many small details. It would take 4 hours to Lasercut. <br> | ||
after scaling it up and cleaning the design, I was able to reduce the time to 1 hour.<br><br> | after scaling it up and cleaning the design, I was able to reduce the time to 1 hour.<br><br> | ||
[[File:Cover_mash_close_up.jpg]] | [[Quickstartguide:Laser_Cutter#Prepare_file_in_Illustrator|Preparing file for the laser cutter]]<br><br> | ||
<br><br> | [[File:Cover_mash_close_up.jpg]]<br><br> | ||
[[Quickstartguide:Laser_Cutter|How to use Laser Cutter]]<br><br> | |||
= Pages = | |||
[[File:Pages_-_1.jpg]]<br><br> | [[File:Pages_-_1.jpg]]<br><br> | ||
Everyone has a different flow when working on the book. Here are the steps I took to create this particular book (leaving out the concept and content creation):<br><br> | Everyone has a different flow when working on the book. Here are the steps I took to create this particular book (leaving out the concept and content creation):<br><br> | ||
== sketches == | |||
<br> | |||
[[File:Pages_sketches.JPG]]<br><br> | [[File:Pages_sketches.JPG]]<br><br> | ||
[[Quickstartguide:HR-PRINTERS|Printing with HR printers]]<br><br> | |||
== the layout of the book == | |||
<br> | |||
-add picture<br><br> | -add picture<br><br> | ||
== make illustrations == | |||
<br> | |||
The illustrations were created in procreate. 8 spreads in the book were intended to be Risoprinted. Because of that, from the beginning, I was working on the separate layers for two colors I had in mind - Black and Fluo Orange. <br><br> | The illustrations were created in procreate. 8 spreads in the book were intended to be Risoprinted. Because of that, from the beginning, I was working on the separate layers for two colors I had in mind - Black and Fluo Orange. <br><br> | ||
[[File:Pages_-_procreate.JPG]]<br><br> | [[File:Pages_-_procreate.JPG]]<br><br> | ||
From Procreate I exported files as PSD to preserve the layers (PDF with layer would also work).<br><br> | From Procreate I exported files as PSD to preserve the layers (PDF with layer would also work).<br><br> | ||
[[Export_to_pdf#Procreate|Guide for exporting PDF from Procreate]]<br><br> | |||
== Print a new dummy, adjust the layout and create a few extra illustrations == | |||
<br> | |||
-add picture<br><br> | -add picture<br><br> | ||
== Combine illustrations into spreads == | |||
<br><br> | |||
[[File:Spread.JPG]]<br><br> | [[File:Spread.JPG]]<br><br> | ||
== Figure out the placement of the spreads on A3 == | |||
When you print with the Riso printer, you pay for 1 master, which is the size of A3. Because of that, I prepared a document with 2 spreads on | <br> | ||
When you print with the Riso printer, you pay for 1 master, which is the size of A3. Because of that, I prepared a document with 2 spreads on each side of the paper. <br><br> | |||
[[File:Pages_riso_photoshop.JPG]]<br><br> | [[File:Pages_riso_photoshop.JPG]]<br><br> | ||
[https://creativepro.com/photoshop-how-adding-bleeds-and-crop-marks-0/#:~:text=than%200.125%20inches%3F-,You%20can%20create%20the%20crop%20marks%20manually.,in%20the%20Stroke%20dialog%20box.) How to add crop marks in Photoshop]<br><br> | |||
To figure out the layout, I used a dummy book and disassembled it to create a page 1 - side a and b for the spreads 10-11, 4-17/ 12-9, 18-3 ; page 2 - side a and b for the spreads 2-19, 6-15/ 20-1, 16-5<br><br> | To figure out the layout, I used a dummy book and disassembled it to create a page 1 - side a and b for the spreads 10-11, 4-17/ 12-9, 18-3 ; page 2 - side a and b for the spreads 2-19, 6-15/ 20-1, 16-5<br><br> | ||
== Risoprint == | |||
<br> | |||
-add picture<br><br> | -add picture<br><br> | ||
[[Quickstartguide:Riso|Guide]]<br><br> | |||
== Print the transparent spread == | |||
<br> | |||
One spread in the book was printed on transparent paper. This paper can't be used in the Riso printer, because it is too smooth for this technique. Instead, I printed it with the Canon c600i. For this printer, you need to prepare a PDF file. Because this spread is folded in the book, I needed to prepare the file for the double-sided printing.<br><br> | One spread in the book was printed on transparent paper. This paper can't be used in the Riso printer, because it is too smooth for this technique. Instead, I printed it with the Canon c600i. For this printer, you need to prepare a PDF file. Because this spread is folded in the book, I needed to prepare the file for the double-sided printing.<br><br> | ||
[[File:Transparent_spread.JPG]]<br><br> | [[File:Transparent_spread.JPG]]<br><br> | ||
[[File:Spread_photo.jpg]]<br><br> | [[File:Spread_photo.jpg]]<br><br> | ||
[[Export_to_pdf#Photoshop|Export PDF from Photoshop]]<br><br> | |||
Latest revision as of 08:47, 2 October 2022
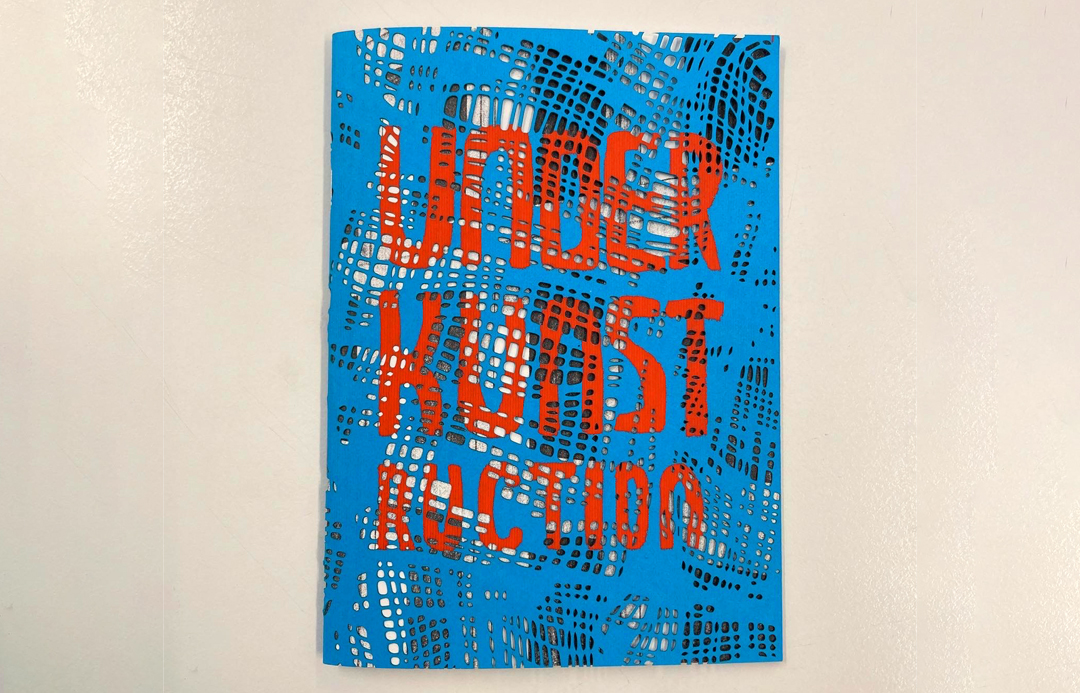
Under KUNSTruction is a self-published book by (at the time) a 3rd-year illustration student Dasha Starostin.
The entire process of publishing was done under the roof of WdKA. Even the paper was bought at the WdKA Shop
I will try to walk you through the process, inserting as many useful links as possible.
In the process, I used programs such as Procreate, Adobe Photoshop, and Adobe Illustrator.
In the Publication station, I used:
- Screen Printing
- Laser cutter
- Risograph
- laser printer
Besides that:
- folding machine
- cutting machine
- staple binding machine
Cover
Screenprinting the letters
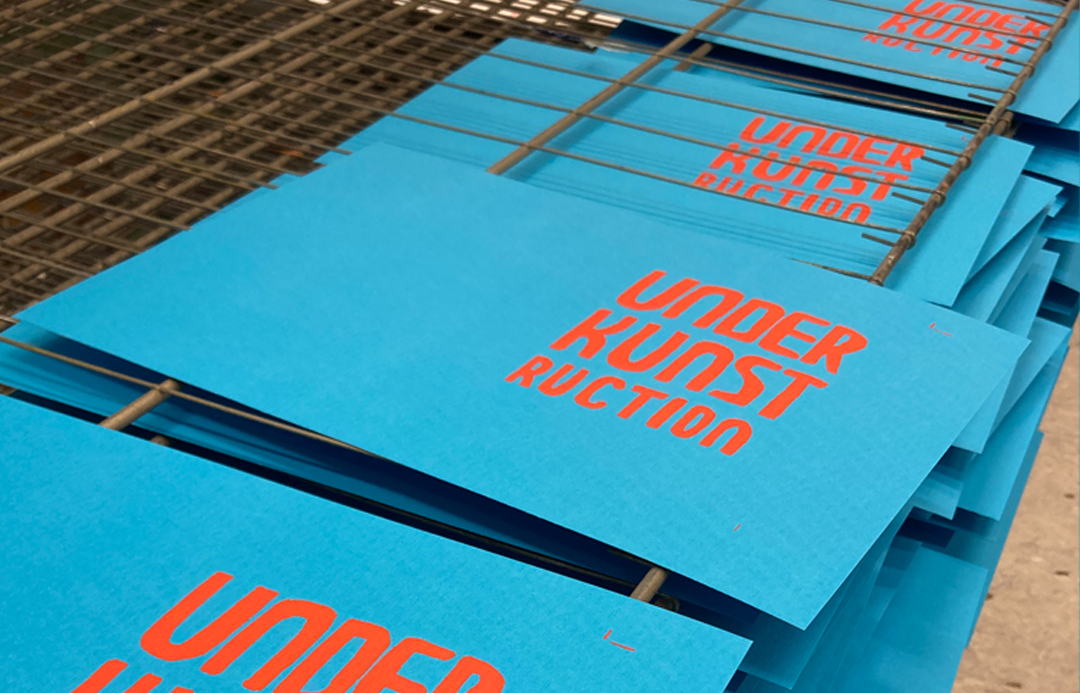
For my cover, I chose light blue textured paper and wanted to print bright orange letters on it.
First, I tested the orange acrylic mixed with the screen-printing medium for paper. The result was dark, dull, and brown. The reason for that is the transparency of the screen-printing medium for paper.
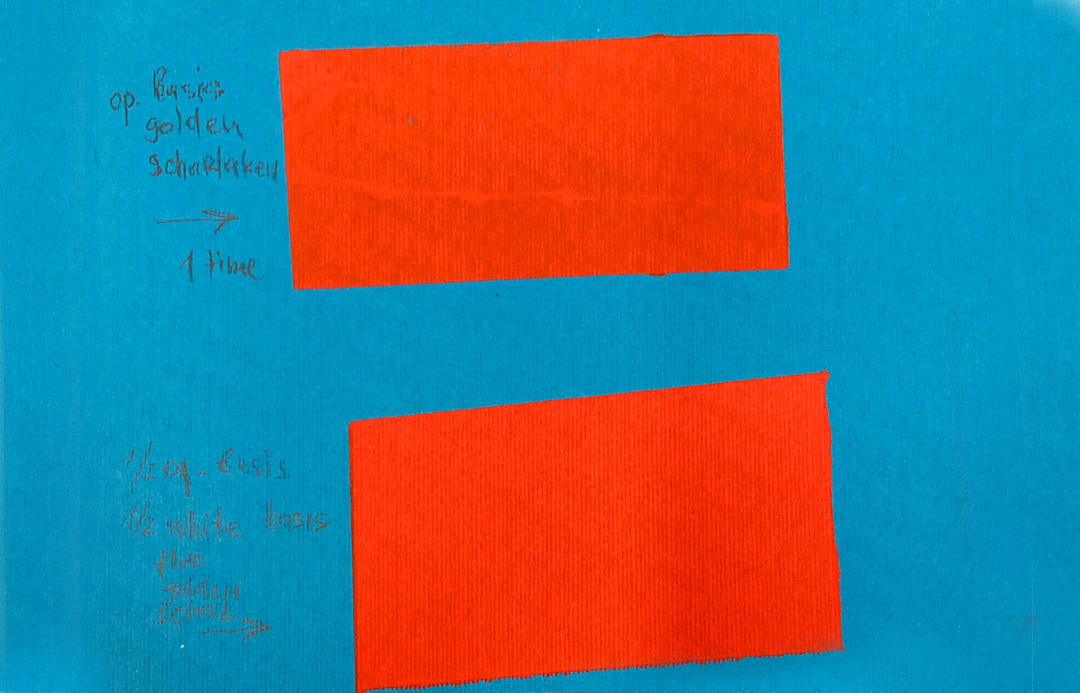
To resolve this issue, I printed with white medium for textiles, mixed with orange pigment.
Lasercutting the pattern
Another part of my cover design was the laser-cut pattern that imitates construction sites' covers.
I drew the pattern in Procreate
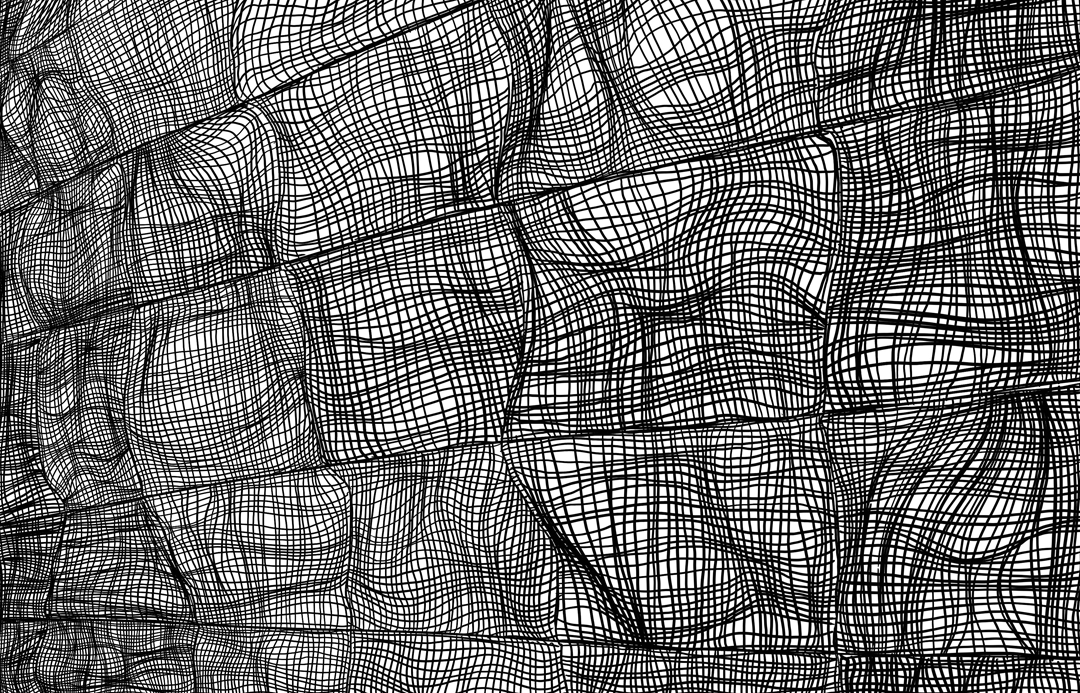
and exported it as a pdf to open in Adobe Illustrator
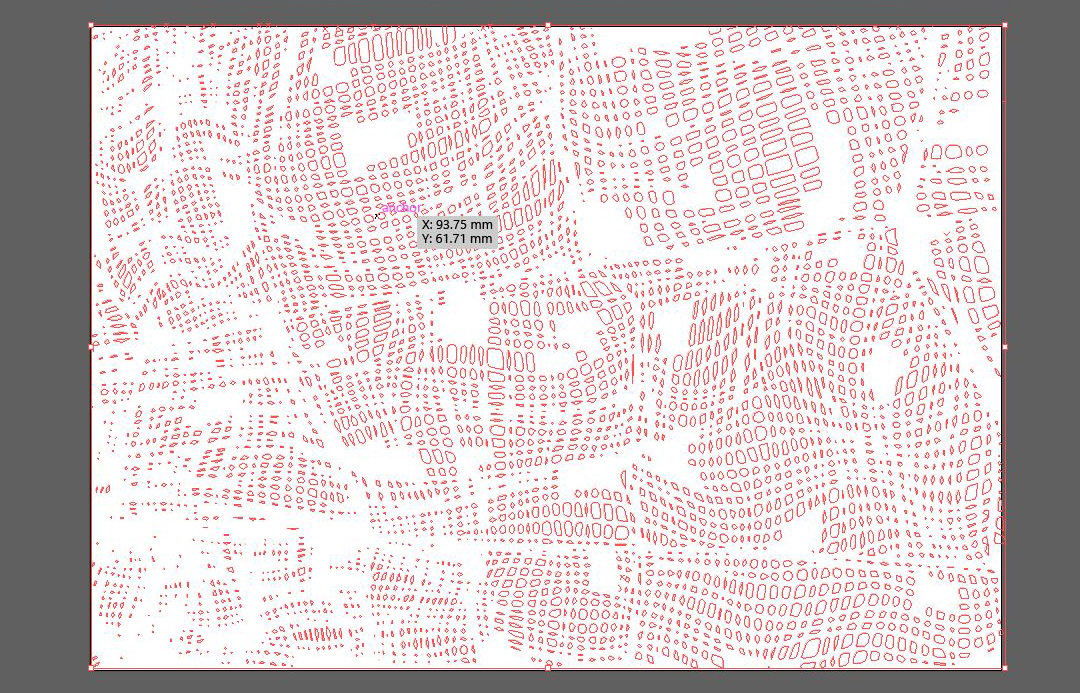
After the automatic Image Trace in Adobe Illustrator (the process that transforms pixel images into vector images), my initial design was too complex and contained too many small details. It would take 4 hours to Lasercut.
after scaling it up and cleaning the design, I was able to reduce the time to 1 hour.
Preparing file for the laser cutter
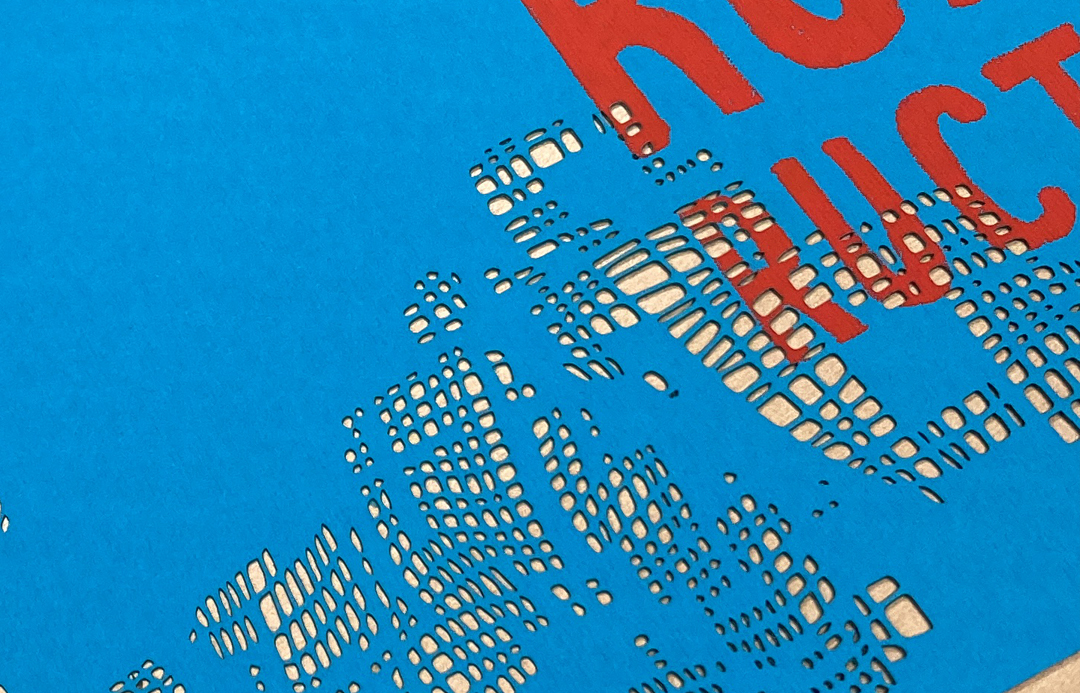
How to use Laser Cutter
Pages
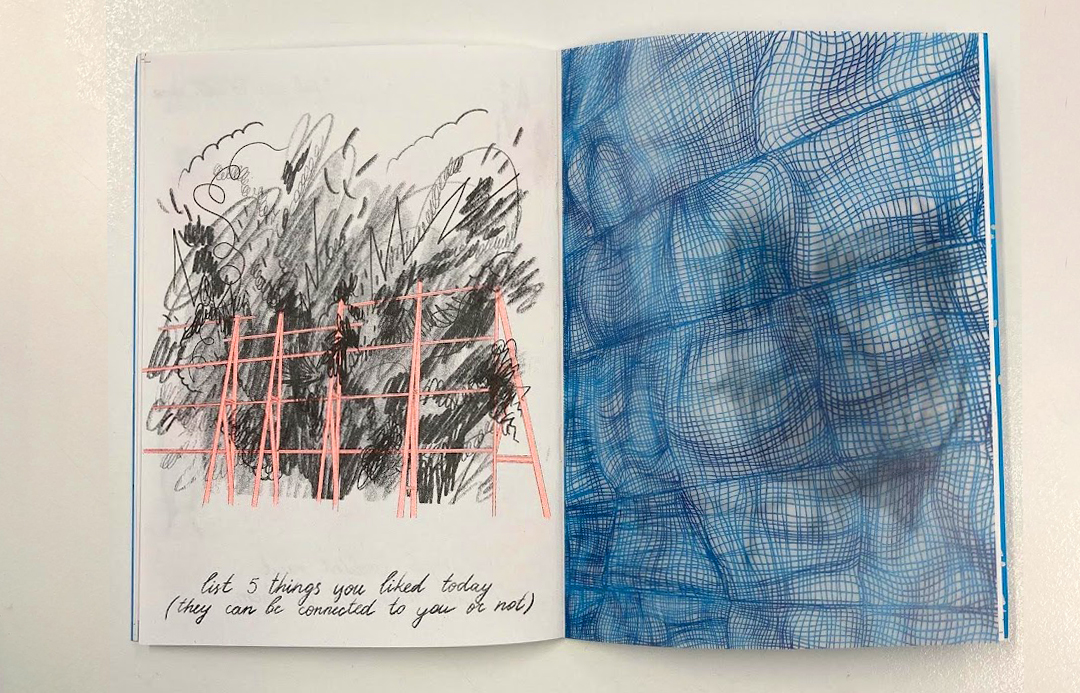
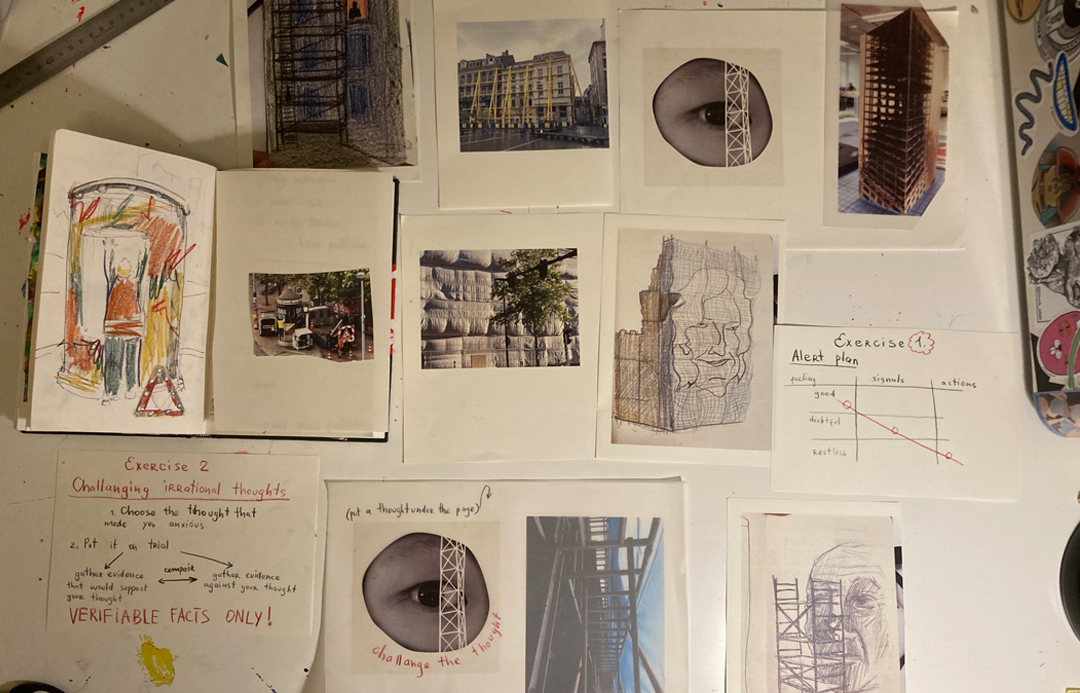
Everyone has a different flow when working on the book. Here are the steps I took to create this particular book (leaving out the concept and content creation):
sketches
the layout of the book
-add picture
make illustrations
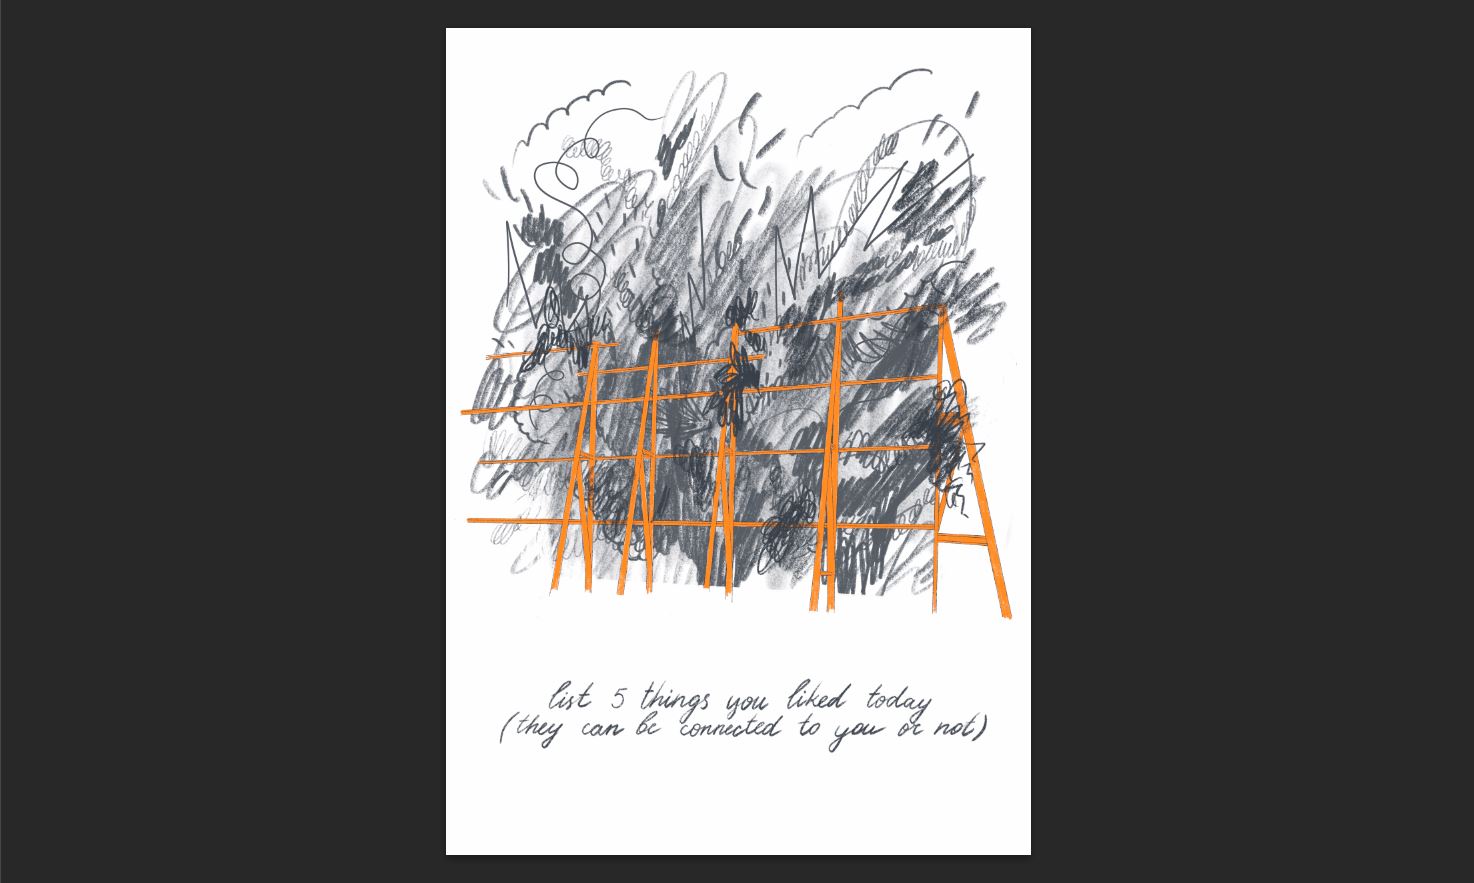
The illustrations were created in procreate. 8 spreads in the book were intended to be Risoprinted. Because of that, from the beginning, I was working on the separate layers for two colors I had in mind - Black and Fluo Orange.
From Procreate I exported files as PSD to preserve the layers (PDF with layer would also work).
Guide for exporting PDF from Procreate
Print a new dummy, adjust the layout and create a few extra illustrations
-add picture
Combine illustrations into spreads
Figure out the placement of the spreads on A3
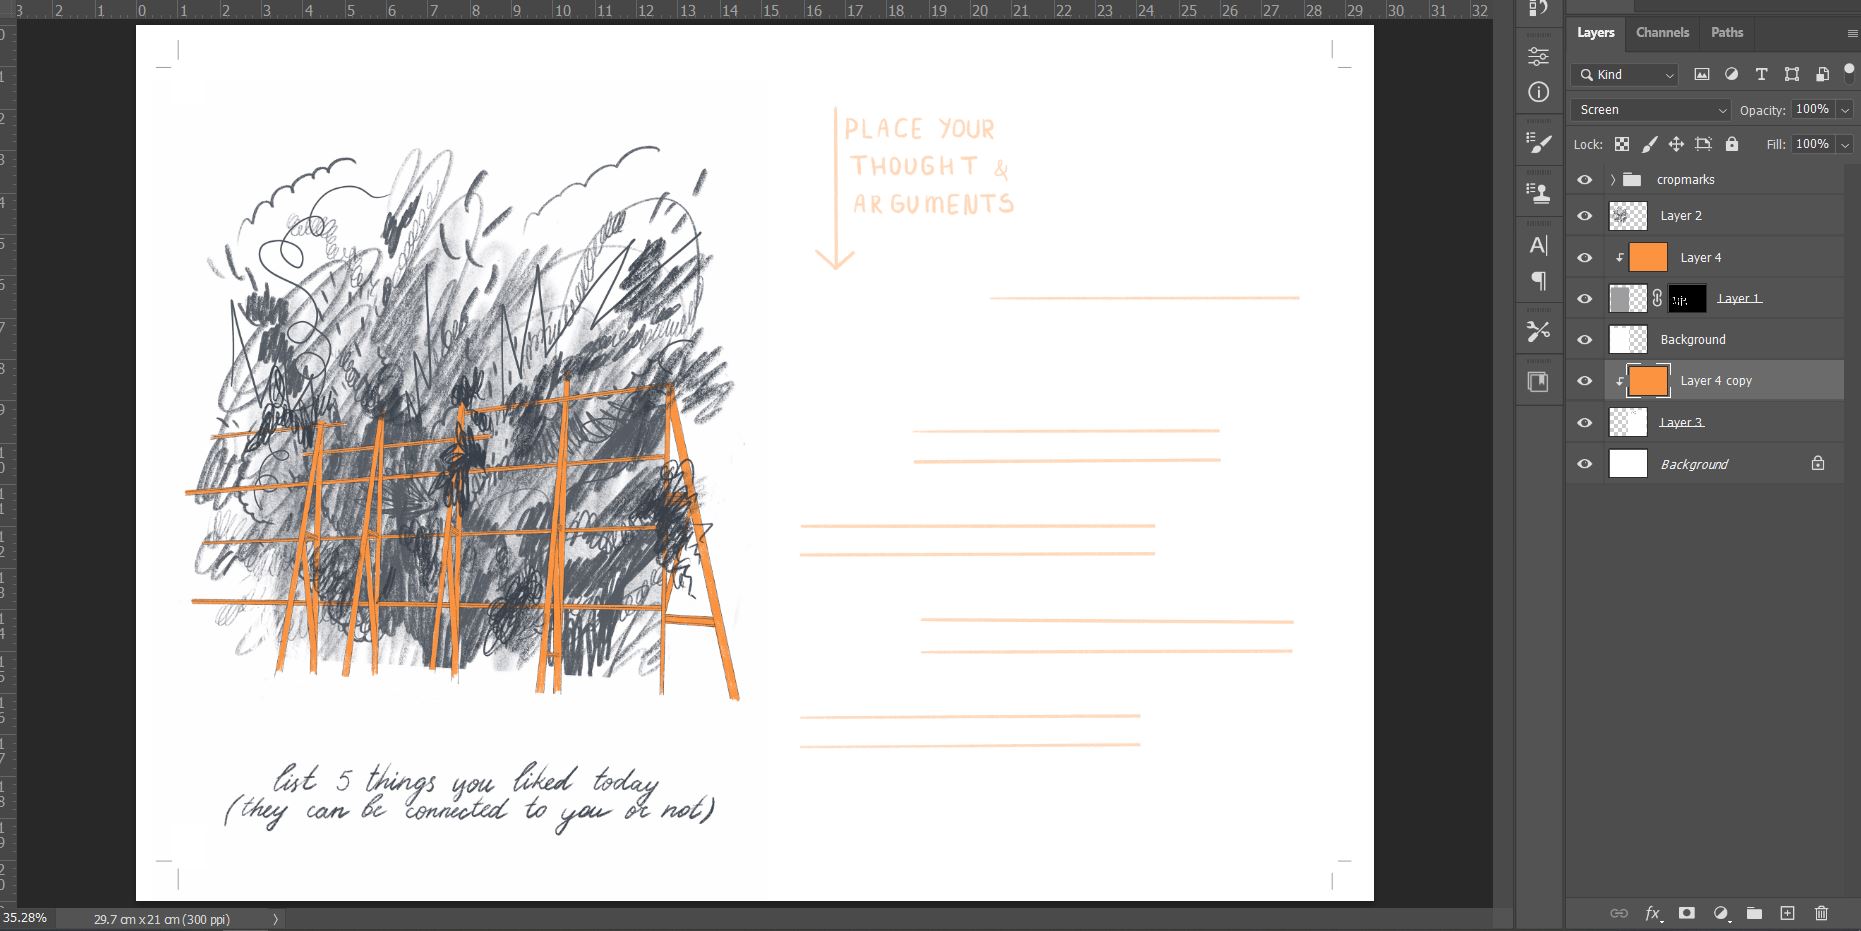
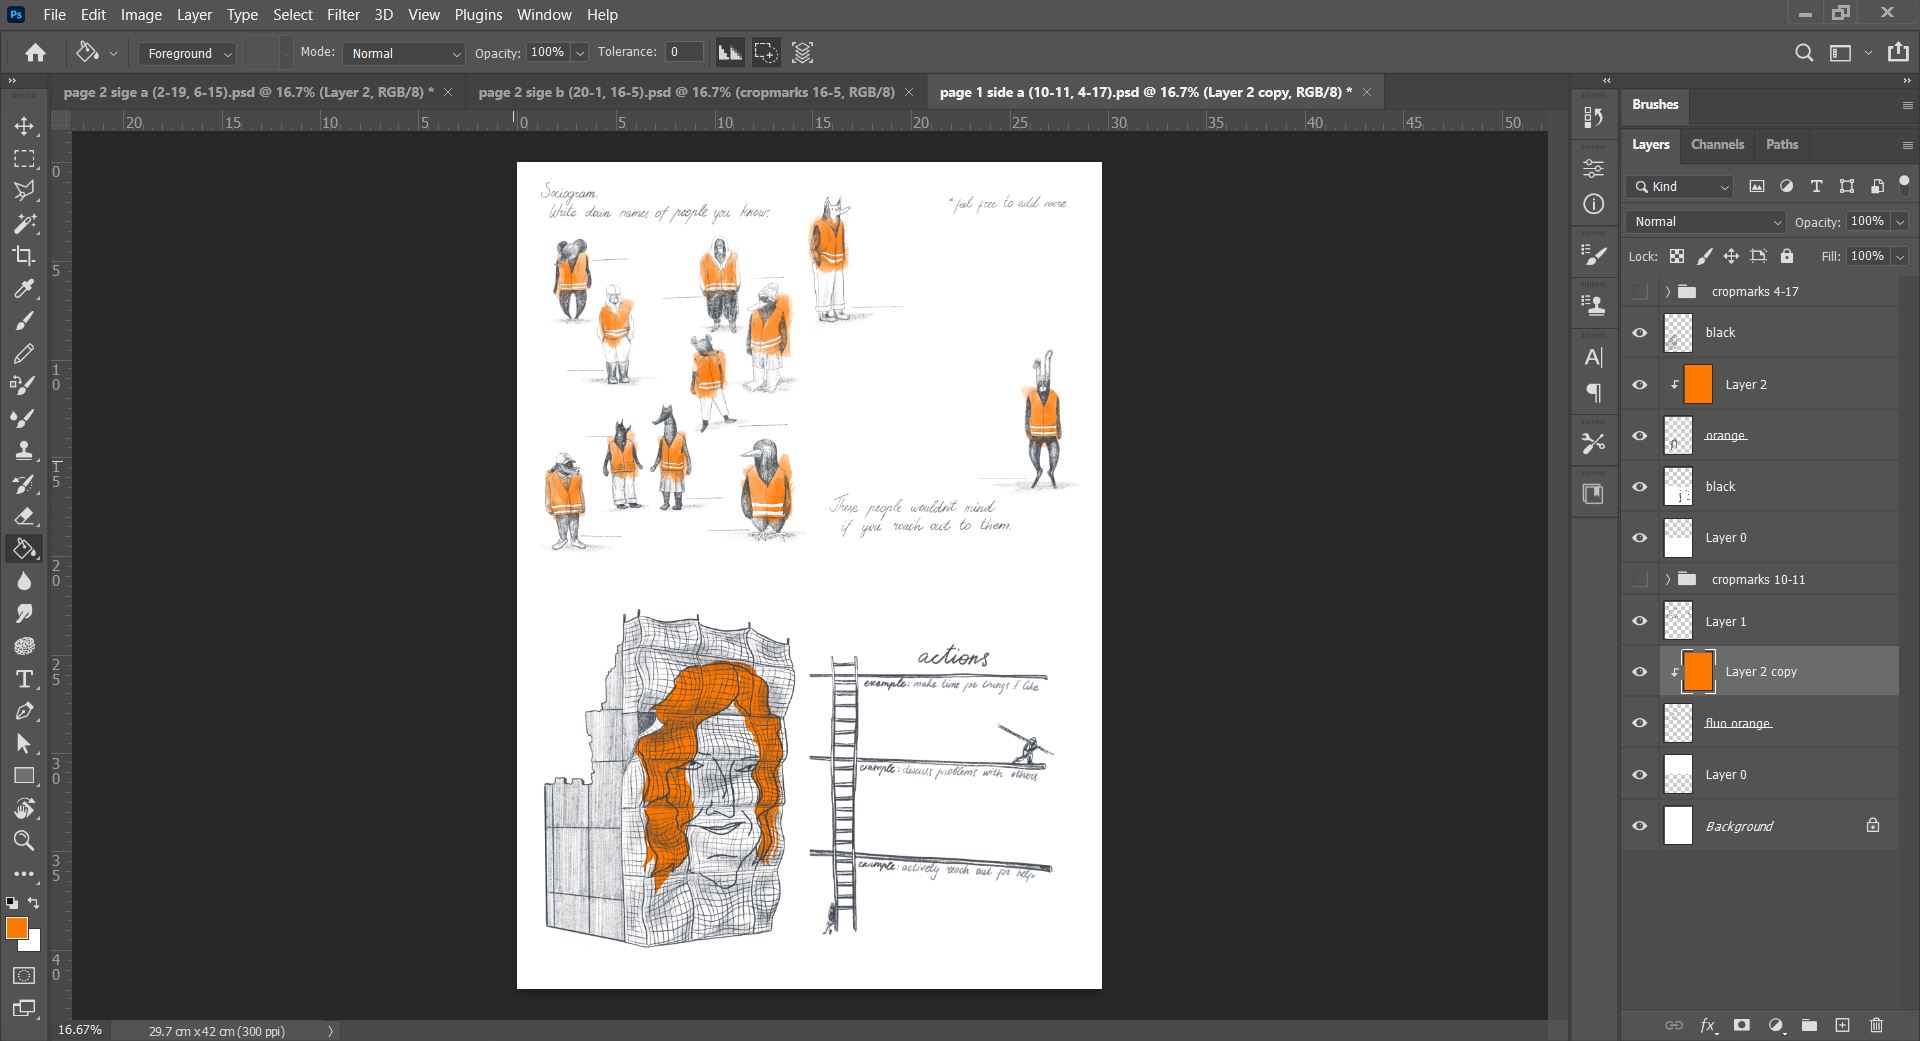
When you print with the Riso printer, you pay for 1 master, which is the size of A3. Because of that, I prepared a document with 2 spreads on each side of the paper.
How to add crop marks in Photoshop
To figure out the layout, I used a dummy book and disassembled it to create a page 1 - side a and b for the spreads 10-11, 4-17/ 12-9, 18-3 ; page 2 - side a and b for the spreads 2-19, 6-15/ 20-1, 16-5
Risoprint
-add picture
Guide
Print the transparent spread
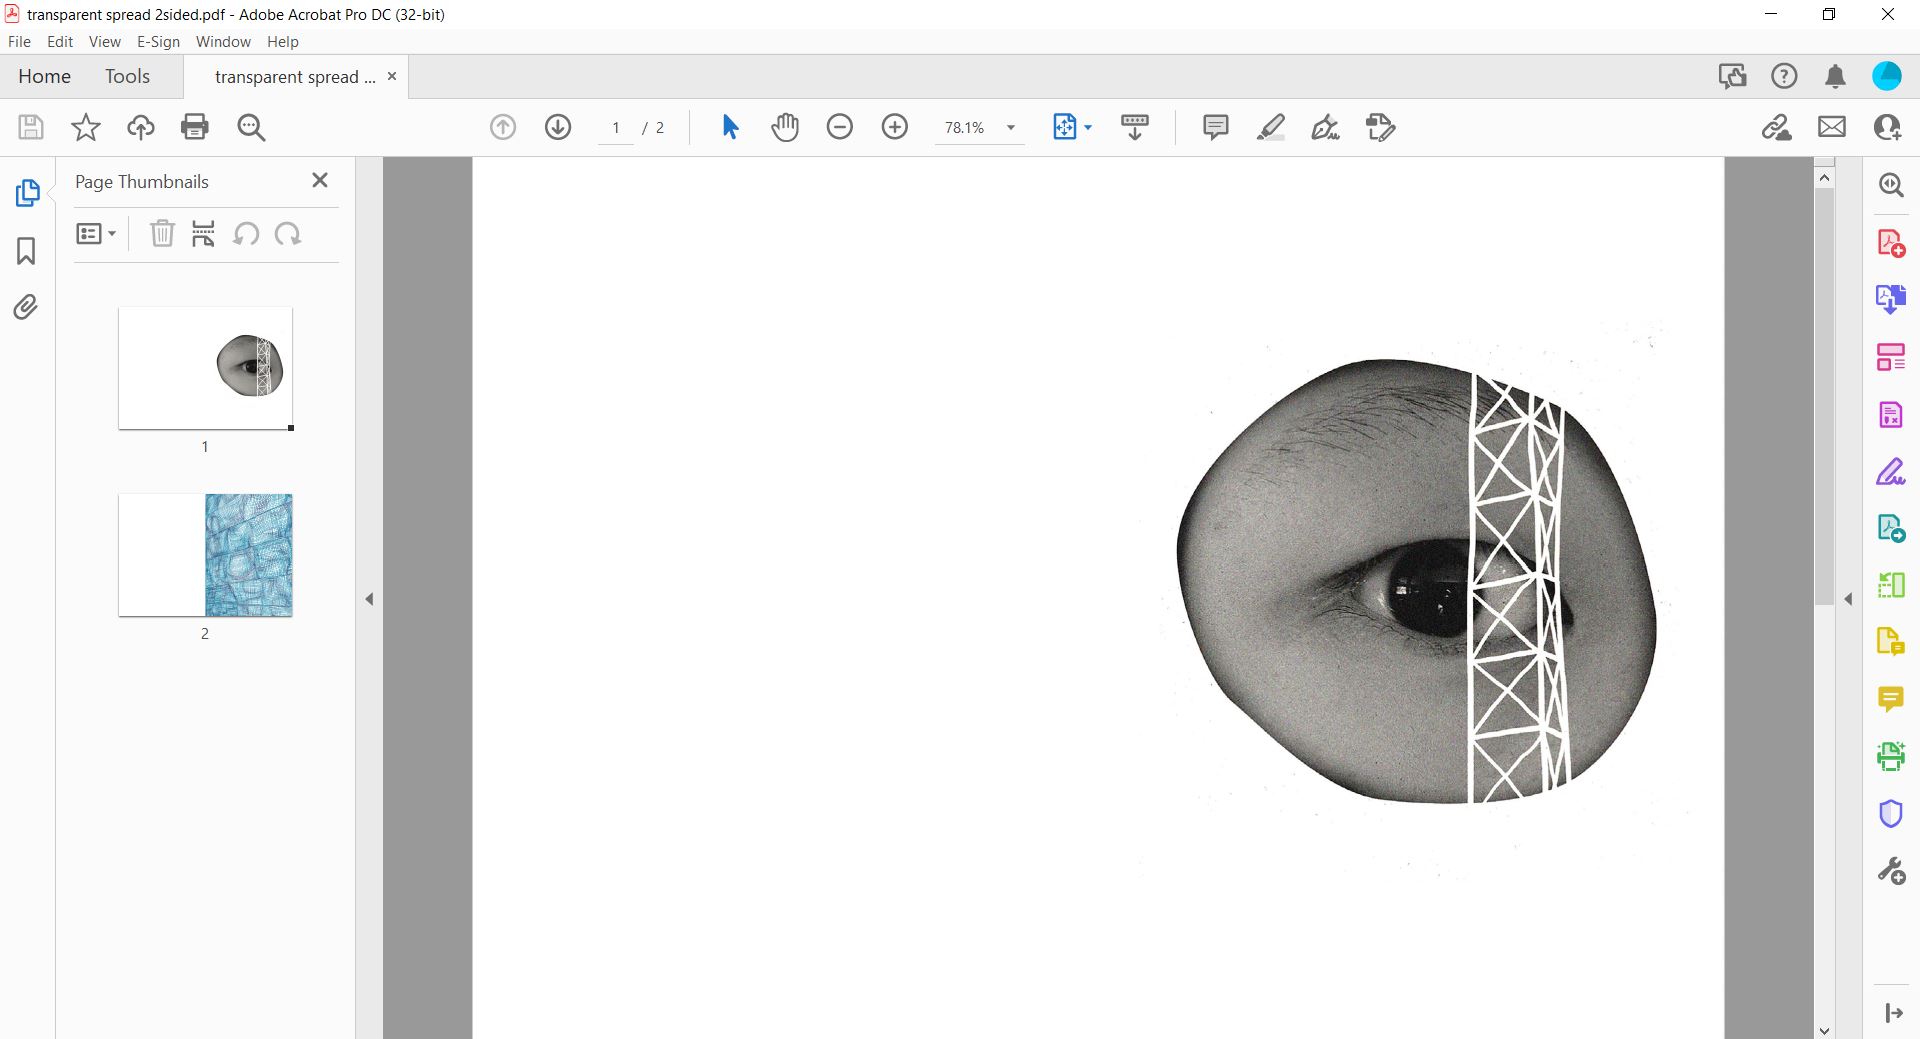
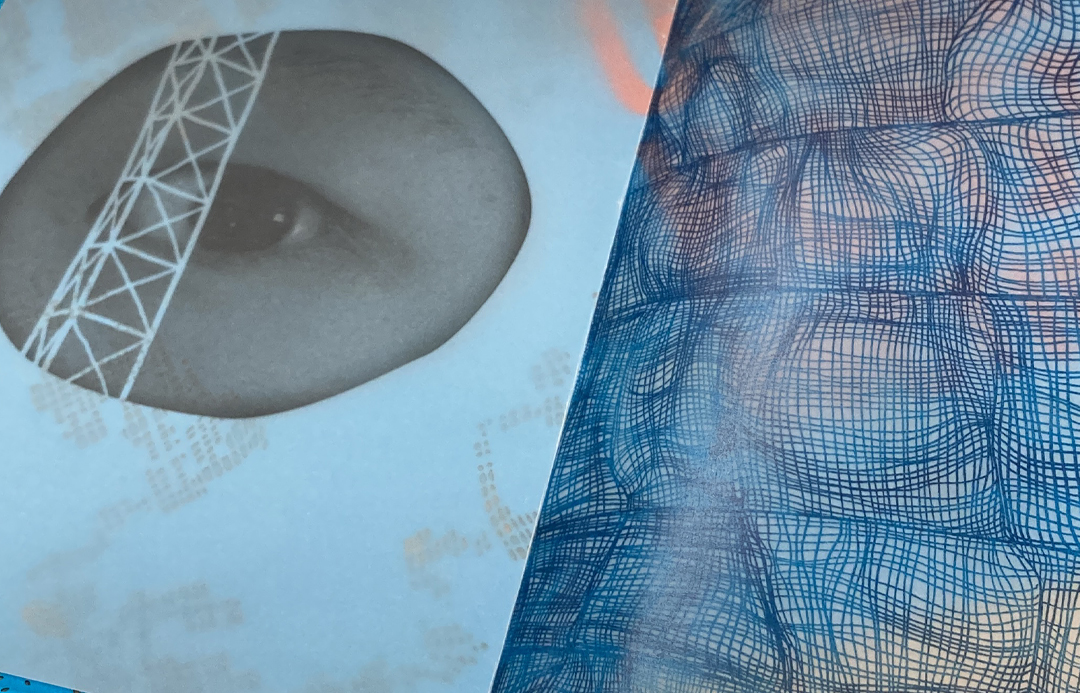
One spread in the book was printed on transparent paper. This paper can't be used in the Riso printer, because it is too smooth for this technique. Instead, I printed it with the Canon c600i. For this printer, you need to prepare a PDF file. Because this spread is folded in the book, I needed to prepare the file for the double-sided printing.
Export PDF from Photoshop
