Quickstartguide:Transferpress: Difference between revisions
| (14 intermediate revisions by 3 users not shown) | |||
| Line 3: | Line 3: | ||
== Setting up == | == Setting up == | ||
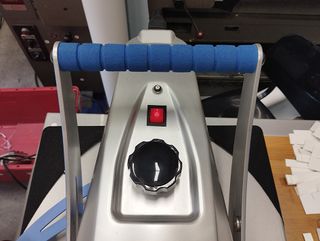
Switch the machine on with the switch on the | 1. Switch the machine on with the red switch on the top of the machine. | ||
[[File:On off switch heat press.jpg|320px]] | |||
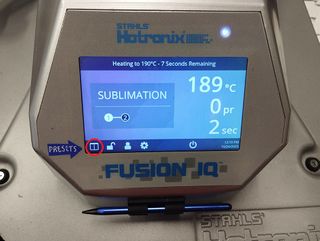
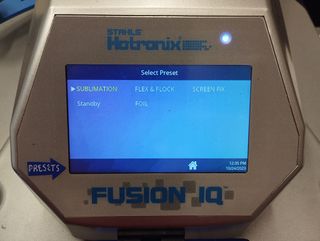
2. Go to the presets menu to choose the according settings. *[[#settings|What do these settings mean?]] | |||
[[File:Heat press main menu.jpg|320px]] [[File:Heat press presets menu.jpg|320px]] | |||
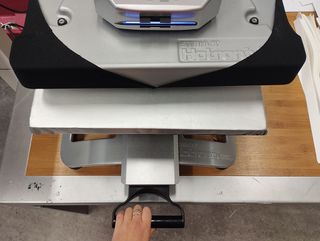
3. Put your fabric on the plate by opening the boad with the black handle | |||
[[File: | [[File:Heat press handle.jpg|320px]] [[File:Heat press placing fabric.jpg|320px]] | ||
<br> | |||
4. Press the blue handle down until it clicks to start the heating process | |||
(release the handle after you start hearing the beeping sound and the screen turns green) | |||
There are 2 steps of heating: | |||
# Preheat the fabric | |||
# Place the material (sublimation print/flex/flock etc.) on top of the fabric | |||
The machine automatically switches from step 1 to step 2. If you want to go back to any step you can just press the according number | |||
Step 1 | |||
[[File:Heat press blue handle.jpg|320px]] [[File:Heat press done green screen.jpg|320px]] | |||
<br> <br> | |||
Step 2 | |||
[[File:Heat press step 2.jpg|320px]] | |||
Wait till the temperature is right. You can see the remaining time on the top of the screen. | |||
(Don't leave a hot machine unattended!) | |||
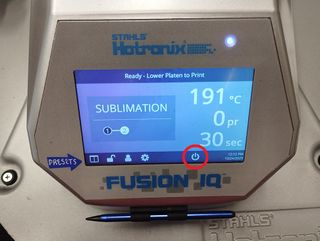
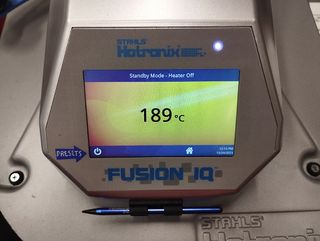
5. To turn off the machine press the power button on the screen. This will put the machine in a stend by mode. | |||
Afterwards you can switch off the machine entirely from the red on/off switch on the top of the machine. | |||
[[File:Heat press switch off sign.jpg|320px]] [[File:Heat press stand by mode.jpg|320px]] | |||
== <span id="settings"></span>The Settings == | |||
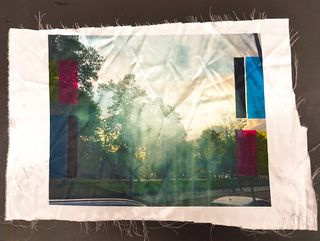
* '''Sublimation''' | |||
Sublimation print + synthetic fabric + heat transfer press | |||
<br><br> | |||
[[File:Sublimation print example.jpg|320px]] | |||
more info about the prining method: | |||
http://ps.wdka.nl/wiki/Quickstartguide:Sublimation | |||
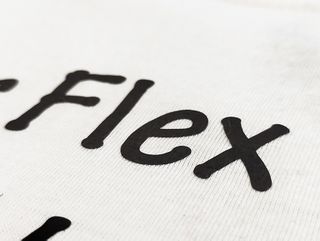
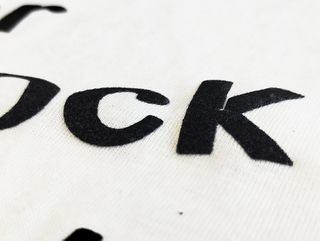
* '''Flex and Flock''' | |||
Plotter + fabric + heat transfer press | |||
<br><br> | |||
[[File:Shirt flex.jpg|320px]] [[File:Shirt flock 2.jpg|320px]] | |||
more info about the prining method: | |||
http://ps.wdka.nl/wiki/Quickstartguide:Roland | |||
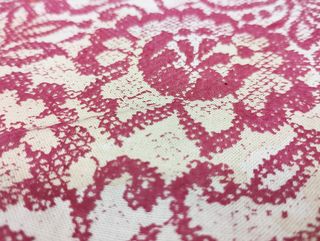
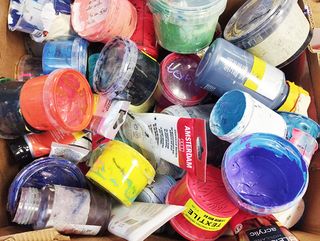
* '''Screen Fix''' | |||
To make sure your beautiful silkscreen prints on fabric don't wash away. <br> | |||
Screen printing with fabric paint + fabric + heat transfer press | |||
<br><br> | |||
[[File:Screenfix example.jpg|320px]] [[File:Screen printing inks.jpg|320px]] | |||
more info about the prining method: | |||
http://ps.wdka.nl/wiki/Quickstartguide:Screenprint | |||
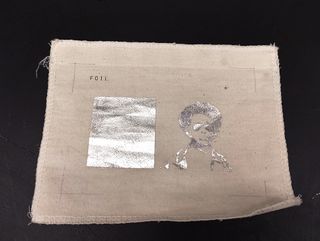
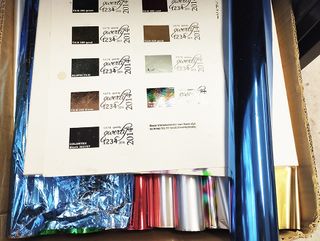
* '''Foil''' | |||
Screen Printing with glue + foil + heat transfer press | |||
<br><br> | |||
[[File:Foil example.jpg|320px]] [[File:Foil box small.jpg|320px]] | |||
more info about the prining method: | |||
http://ps.wdka.nl/wiki/Quickstartguide:Screenprint | |||
<br> | |||
Latest revision as of 14:35, 31 October 2023
Setting up
1. Switch the machine on with the red switch on the top of the machine.
2. Go to the presets menu to choose the according settings. *What do these settings mean?
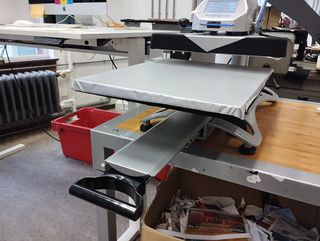
3. Put your fabric on the plate by opening the boad with the black handle
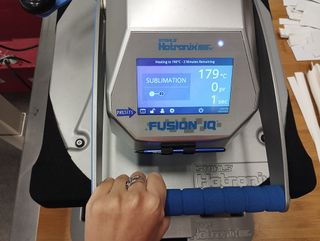
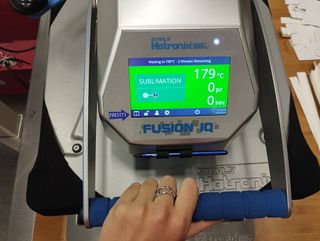
4. Press the blue handle down until it clicks to start the heating process
(release the handle after you start hearing the beeping sound and the screen turns green)
There are 2 steps of heating:
- Preheat the fabric
- Place the material (sublimation print/flex/flock etc.) on top of the fabric
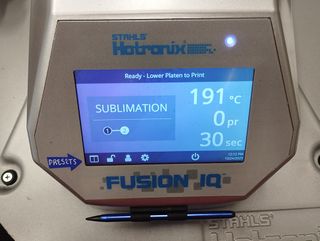
The machine automatically switches from step 1 to step 2. If you want to go back to any step you can just press the according number
Step 1
Step 2
Wait till the temperature is right. You can see the remaining time on the top of the screen.
(Don't leave a hot machine unattended!)
5. To turn off the machine press the power button on the screen. This will put the machine in a stend by mode. Afterwards you can switch off the machine entirely from the red on/off switch on the top of the machine.
The Settings
- Sublimation
Sublimation print + synthetic fabric + heat transfer press
more info about the prining method: http://ps.wdka.nl/wiki/Quickstartguide:Sublimation
- Flex and Flock
Plotter + fabric + heat transfer press
more info about the prining method: http://ps.wdka.nl/wiki/Quickstartguide:Roland
- Screen Fix
To make sure your beautiful silkscreen prints on fabric don't wash away.
Screen printing with fabric paint + fabric + heat transfer press
more info about the prining method: http://ps.wdka.nl/wiki/Quickstartguide:Screenprint
- Foil
Screen Printing with glue + foil + heat transfer press
more info about the prining method: http://ps.wdka.nl/wiki/Quickstartguide:Screenprint
